Love this? Save it for later!
Share the inspiration with your friends
Introduction
The power went out halfway through my usual Sunday baking ritual, and honestly, I was about ready to throw in the towel. But then, in the dim light of my phone flashlight, I decided to try browning the butter anyway—something I’d read about but never dared attempt in the chaos of a busy kitchen. That’s when the magic began. The warm, nutty aroma filled the room, and I knew these weren’t going to be just any chocolate chip cookies. They turned out to be tender, rich, and so chewy that I found myself sneaking bite after bite before the batch even cooled.
Maybe you’ve been there—trying to salvage a recipe under less-than-perfect conditions only to end up with something unexpectedly wonderful. These tender brown butter chocolate chip cookies became my go-to whenever I wanted that perfect balance of chewiness and buttery depth, without any fuss. I still laugh thinking about how the blackout might have saved my cookie game that day.
Let me tell you, these cookies aren’t just about nostalgia or a happy accident; they bring something special to the table. The browned butter adds a toasty, caramel-like note that regular melted butter just can’t touch. And the extra chew? That’s the kind of texture you’ll crave long after the last crumb is gone. Plus, I spilled some flour on the floor during the process—you know, the kind of messy that somehow makes baking feel more like home.
So, if you’re ready to make a batch that’s both easy and unforgettable, let’s get into this tender brown butter chocolate chip cookies recipe that’s as cozy as a Sunday afternoon and as satisfying as a warm hug from the oven.
Why You’ll Love This Recipe
Having baked countless chocolate chip cookies over the years, I can confidently say these stand out for all the right reasons. Here’s why this recipe is a must-try:
- Quick & Easy: Comes together in under 30 minutes, perfect for busy weeknights or unexpected sweet cravings.
- Simple Ingredients: No fancy or hard-to-find items—just pantry staples you probably already have.
- Perfect for Any Occasion: Whether it’s a casual coffee break, a holiday treat, or a last-minute potluck contribution, these cookies fit right in.
- Crowd-Pleaser: Kids, adults, picky eaters—they all ask for seconds. Seriously, these cookies have that kind of charm.
- Unbelievably Delicious: The brown butter adds a rich, nutty flavor that’s deep and complex, while the texture stays tender and extra chewy.
What sets this recipe apart is the simple trick of browning the butter before mixing. It’s not just a step for fancy recipes; it changes the whole cookie game. Plus, the dough uses a mix of brown and white sugar to lock in moisture and chewiness, making every bite soft but substantial.
Honestly, these cookies are one of those recipes you’ll want to keep on hand for life. They’re the kind that make you close your eyes after the first bite and say, “Yep, this is exactly what I needed.” If you love a cookie that feels homemade but a little more special, this is it.
What Ingredients You Will Need
This recipe uses simple, wholesome ingredients to deliver bold flavor and satisfying texture without the fuss. Most are pantry staples, and substitutions are easy if you need them.
- Unsalted Butter, 1 cup (227g), browned (adds rich, nutty flavor)
- Granulated Sugar, ½ cup (100g)
- Light Brown Sugar, 1 cup (220g), packed (locks in moisture for chewiness)
- Large Eggs, 2, room temperature (helps with texture and binding)
- Pure Vanilla Extract, 2 teaspoons (for depth of flavor)
- All-Purpose Flour, 2 ¼ cups (280g) (I prefer King Arthur for consistent results)
- Baking Soda, 1 teaspoon (leavening agent)
- Salt, 1 teaspoon (balances sweetness)
- Chocolate Chips, 2 cups (340g) semi-sweet or dark (I like Ghirardelli for a quality melt)
Optional: Swap in almond flour for a gluten-free twist, or use dairy-free butter and coconut sugar for a vegan adaptation. If you want a seasonal spin, try stirring in chopped toasted pecans or walnuts.
Equipment Needed
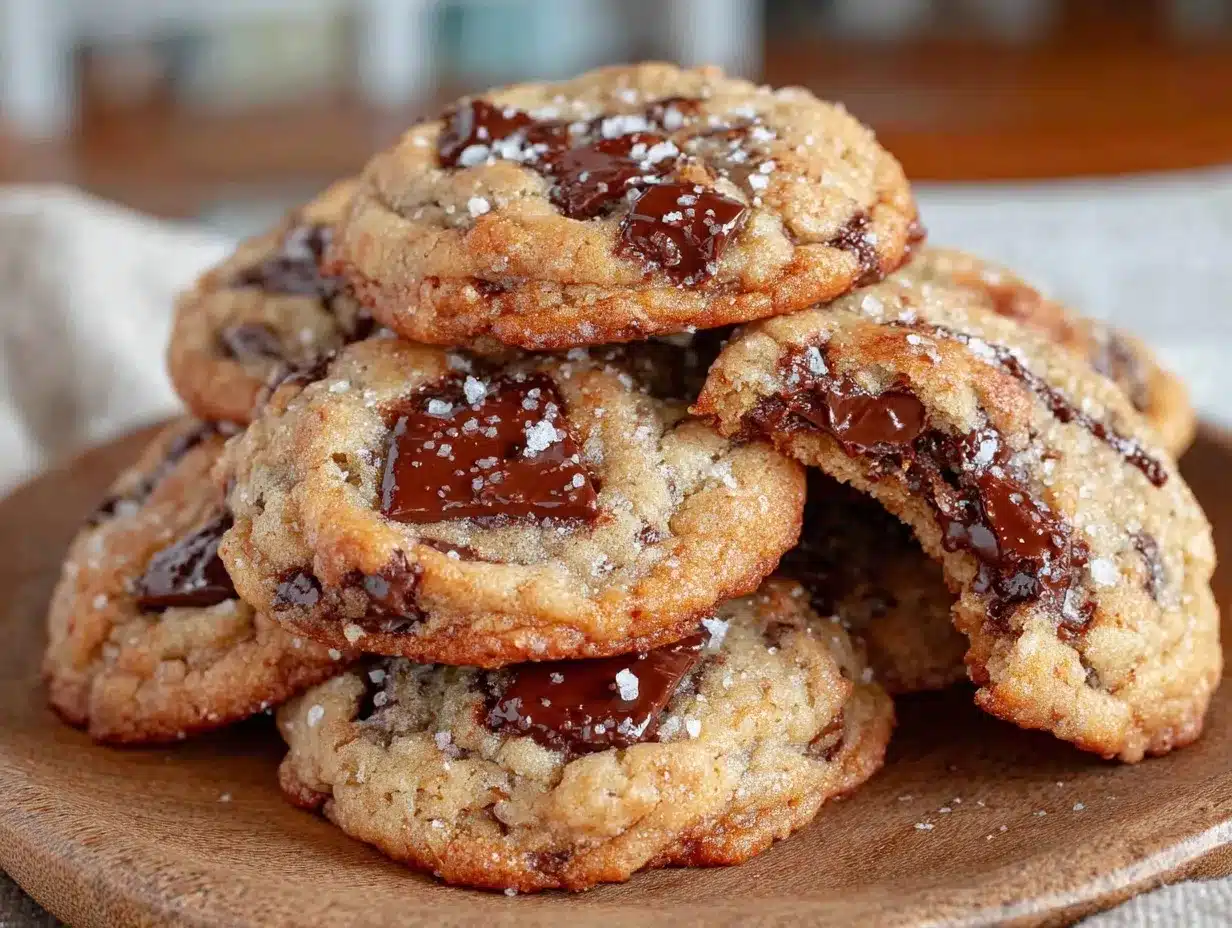
- Medium saucepan or skillet for browning butter – a heavy-bottomed pan works best to avoid burning
- Mixing bowls (one large and one medium)
- Electric mixer or sturdy wooden spoon for mixing dough (both work fine, but a mixer makes it quicker)
- Measuring cups and spoons – accurate measurements matter here
- Silicone spatula for scraping the bowl
- Baking sheet lined with parchment paper or a silicone baking mat
- Cooling rack to let cookies rest and firm up
If you don’t have a heavy-bottomed pan, a regular nonstick skillet works fine—just keep a close eye on the butter while browning. For budget-friendly options, any basic mixing bowl and wooden spoon will do the trick, no fancy gadgets needed. I also recommend cleaning your baking mats regularly to keep cookies from sticking and to maintain even baking.
Preparation Method
- Browning the Butter: Place 1 cup (227g) unsalted butter in a medium saucepan over medium heat. Stir frequently as it melts and then begins to foam. Watch carefully as it changes color from yellow to golden brown and gives off a nutty aroma (about 5–7 minutes). Remove from heat and transfer butter to a heatproof bowl to cool slightly.
- Mixing Sugars and Butter: Add ½ cup (100g) granulated sugar and 1 cup (220g) packed light brown sugar to the browned butter. Stir until combined and smooth. This mixture should be warm but not hot to the touch.
- Incorporating Eggs and Vanilla: Beat in 2 large eggs, one at a time, stirring well after each addition. Then add 2 teaspoons pure vanilla extract and mix until fully combined.
- Combining Dry Ingredients: In a separate bowl, whisk together 2 ¼ cups (280g) all-purpose flour, 1 teaspoon baking soda, and 1 teaspoon salt. Gradually add this dry mix to the wet ingredients, stirring just until no streaks of flour remain. Don’t overmix—this keeps your cookies tender.
- Adding Chocolate Chips: Fold in 2 cups (340g) chocolate chips evenly throughout the dough. At this point, the dough will be soft and slightly sticky.
- Chilling the Dough (optional but recommended): Cover the dough and refrigerate for 30 minutes to 1 hour. This helps develop flavor and prevents spreading during baking.
- Preheating the Oven: Preheat your oven to 350°F (175°C). Line baking sheets with parchment paper or silicone mats.
- Shaping and Baking: Scoop dough using a cookie scoop or tablespoon onto the baking sheets, spacing about 2 inches apart. Bake for 10–12 minutes until edges are golden but centers still look slightly soft.
- Cooling: Let cookies cool on the sheet for 5 minutes before transferring to a wire rack to cool completely. This step is key for achieving that perfect chewy texture.
Pro tip: If you find your cookies spreading too much, chill the dough longer or reduce oven temperature by 10 degrees. If they’re too cakey, try baking a minute less next time. I’ve learned these little tweaks from trial and error—and trust me, you’ll get to know your oven’s quirks quickly!
Cooking Tips & Techniques
One of the trickiest parts of these cookies is the browned butter, but don’t be intimidated. Here’s how to nail it every time:
- Watch Closely: Butter can go from browned to burnt in seconds. Stir constantly, and once you see golden flecks and smell the toasted aroma, remove from heat immediately.
- Temperature Matters: Let the browned butter cool just enough so it’s warm but not hot when mixing with sugars and eggs. Too hot, and you’ll scramble the eggs.
- Use Both Sugars: The combination of white and brown sugar is what gives these cookies their chewy texture and balanced sweetness. Don’t skip or replace both!
- Don’t Overmix: Once you combine wet and dry ingredients, stop mixing as soon as the flour disappears to keep cookies tender.
- Chill the Dough: This helps control spreading and deepens flavor. I usually start this step while cleaning up—it’s a kitchen win-win.
- Baking Time: Remove cookies just before the centers look fully set. They’ll firm up while cooling, giving you that signature extra chewiness.
From personal experience, skipping the chill stage was my biggest mistake early on—cookies spread out too thin and lost that tender bite. Also, I once forgot the vanilla extract (don’t ask), and the difference was surprisingly noticeable. So, little details matter, but the process is forgiving enough for a few slip-ups.
Variations & Adaptations
While these cookies are fantastic as-is, here are a few ways to mix things up:
- Nutty Boost: Stir in ½ cup chopped toasted pecans or walnuts for added crunch and flavor.
- Chewy Coconut: Add ½ cup sweetened shredded coconut to the dough for a tropical twist.
- Vegan Version: Use dairy-free butter and substitute eggs with flax eggs (1 tablespoon ground flaxseed + 3 tablespoons water per egg).
- Gluten-Free Option: Swap all-purpose flour with a 1:1 gluten-free baking blend. I have good luck with Bob’s Red Mill here.
- Double Chocolate: Replace ½ cup flour with unsweetened cocoa powder and use semi-sweet or dark chocolate chips for an intense chocolate experience.
Personally, I once added a sprinkle of flaky sea salt on top just before baking—it was a game changer that highlighted the brown butter flavor. Feel free to experiment with your favorite mix-ins or spices like cinnamon or espresso powder for a grown-up touch.
Serving & Storage Suggestions
These cookies are best served warm or at room temperature. The moment they come out of the oven, the chocolate chips are perfectly melty, and the cookie is tender yet chewy—honestly, that’s when they’re most irresistible.
Pair them with a cold glass of milk, a cup of coffee, or even a scoop of vanilla ice cream for an indulgent treat. For gatherings, they hold up well on a cookie platter and are easy to transport.
Store leftover cookies in an airtight container at room temperature for up to 4 days. For longer storage, freeze the baked cookies or dough balls—baked cookies thaw quickly, and dough can be baked straight from frozen with an extra minute or two added to baking time.
Reheating in the microwave for 10–15 seconds softens the cookie and brings back that fresh-baked warmth. Over time, the flavor deepens, especially if you let the dough chill longer before baking, so you might find yourself making multiple batches just to perfect the timing.
Nutritional Information & Benefits
Per cookie (based on 24 cookies per batch): approximately 180 calories, 9g fat, 23g carbohydrates, 2g protein.
The browned butter provides a richer fat profile with a toasty flavor, while the mix of sugars helps maintain moisture without being overly sweet. Using semi-sweet chocolate chips keeps the sugar in balance.
If you swap in almond flour or dairy-free options, the recipe can fit gluten-free or vegan diets respectively. Just watch for allergens like nuts or dairy depending on your substitutions.
From a wellness perspective, these cookies are a treat worth savoring mindfully—they bring comfort and joy without complicated ingredients or processes, perfect for sharing and making memories.
Conclusion
These tender brown butter chocolate chip cookies have quickly become a staple in my baking routine because they hit every note I want in a cookie: rich flavor, tender crumb, and that perfect chewy texture. I encourage you to make this recipe your own—try different add-ins or chilling times to find your ideal cookie.
Honestly, I love how approachable and forgiving this recipe is, yet it feels a little fancy thanks to the browned butter. Whether you’re a seasoned baker or just starting out, these cookies bring a little kitchen joy with every batch.
Give them a try and let me know how they turn out—your feedback and twists on the recipe always brighten my day. Happy baking and enjoy every chewy, buttery bite!
FAQs About Tender Brown Butter Chocolate Chip Cookies
How do I brown butter without burning it?
Use medium heat and stir frequently. Watch for the butter to foam and turn golden brown with a nutty aroma; remove it from heat immediately once this happens.
Can I skip chilling the dough?
You can, but chilling helps control spread and improves flavor. If you’re short on time, chill for at least 30 minutes or bake immediately but expect thinner cookies.
What type of chocolate chips work best?
Semi-sweet or dark chocolate chips work beautifully. Choose quality brands like Ghirardelli for better melting and flavor.
How do I keep my cookies extra chewy?
Use a mix of brown and white sugar, don’t overbake, and chill your dough before baking. Also, removing cookies while centers are still soft ensures chewiness.
Can I freeze the cookie dough?
Yes! Freeze dough balls on a sheet, then transfer to a container. Bake from frozen by adding 1–2 extra minutes to baking time.
For a delightful twist on chocolate chip treats, you might enjoy the texture and flavor of my soft batch chocolate chip cookies or the rich warmth of brown butter snickerdoodles that also use browned butter in their recipes.
Pin This Recipe!
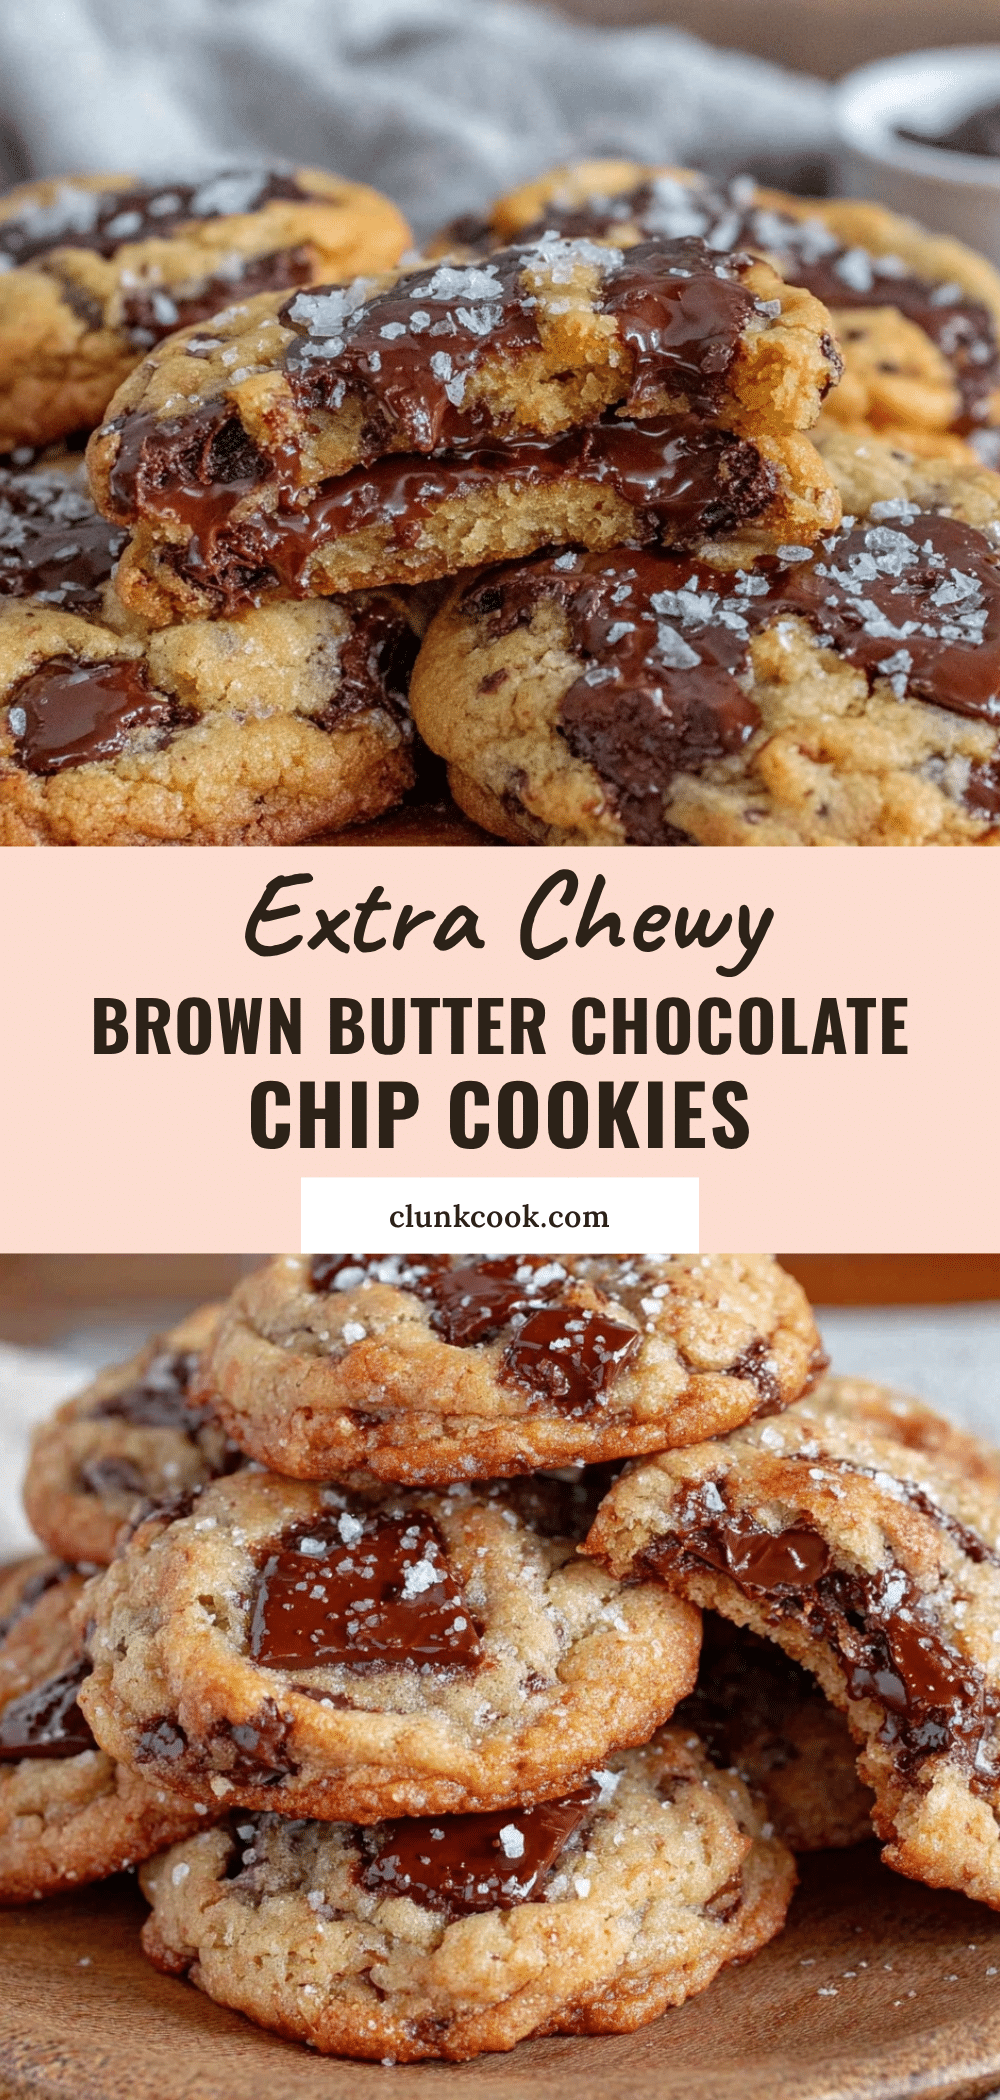
Tender Brown Butter Chocolate Chip Cookies

These tender brown butter chocolate chip cookies are rich, chewy, and full of nutty caramel flavor from browned butter. Perfect for any occasion, they are easy to make with simple pantry ingredients.
- Prep Time: 15 minutes
- Cook Time: 12 minutes
- Total Time: 45 minutes
- Yield: 24 cookies 1x
- Category: Dessert
- Cuisine: American
Ingredients
- 1 cup (227g) unsalted butter, browned
- ½ cup (100g) granulated sugar
- 1 cup (220g) light brown sugar, packed
- 2 large eggs, room temperature
- 2 teaspoons pure vanilla extract
- 2 ¼ cups (280g) all-purpose flour
- 1 teaspoon baking soda
- 1 teaspoon salt
- 2 cups (340g) semi-sweet or dark chocolate chips
Instructions
- Place 1 cup (227g) unsalted butter in a medium saucepan over medium heat. Stir frequently as it melts and begins to foam. Watch carefully as it changes color from yellow to golden brown and gives off a nutty aroma (about 5–7 minutes). Remove from heat and transfer butter to a heatproof bowl to cool slightly.
- Add ½ cup (100g) granulated sugar and 1 cup (220g) packed light brown sugar to the browned butter. Stir until combined and smooth. The mixture should be warm but not hot to the touch.
- Beat in 2 large eggs, one at a time, stirring well after each addition. Then add 2 teaspoons pure vanilla extract and mix until fully combined.
- In a separate bowl, whisk together 2 ¼ cups (280g) all-purpose flour, 1 teaspoon baking soda, and 1 teaspoon salt. Gradually add this dry mix to the wet ingredients, stirring just until no streaks of flour remain. Do not overmix.
- Fold in 2 cups (340g) chocolate chips evenly throughout the dough. The dough will be soft and slightly sticky.
- Cover the dough and refrigerate for 30 minutes to 1 hour (optional but recommended) to develop flavor and prevent spreading during baking.
- Preheat oven to 350°F (175°C). Line baking sheets with parchment paper or silicone mats.
- Scoop dough using a cookie scoop or tablespoon onto the baking sheets, spacing about 2 inches apart. Bake for 10–12 minutes until edges are golden but centers still look slightly soft.
- Let cookies cool on the sheet for 5 minutes before transferring to a wire rack to cool completely.
Notes
Watch the butter closely when browning to avoid burning. Let browned butter cool to warm before mixing with sugars and eggs to prevent scrambling. Chill dough to control spreading and improve flavor. Remove cookies from oven when edges are golden but centers are still soft for extra chewiness.
Nutrition
- Serving Size: 1 cookie
- Calories: 180
- Fat: 9
- Carbohydrates: 23
- Protein: 2
Keywords: brown butter, chocolate chip cookies, chewy cookies, easy cookies, homemade cookies, tender cookies


