Love this? Save it for later!
Share the inspiration with your friends
Introduction
Three months ago, during one of those rare, lazy Sunday mornings, I found myself staring at a pile of flour and yeast, wondering if I could actually make bread without turning the kitchen into a war zone. Honestly, I wasn’t expecting much. I mean, I’d always assumed bread-making was this complicated, hands-on process reserved for the pros or folks with hours to spare. But then, I stumbled upon this no-knead method—something I overheard my barista casually mention while handing me my coffee. She said, “It’s like magic—no kneading, no fuss, just time and patience.”
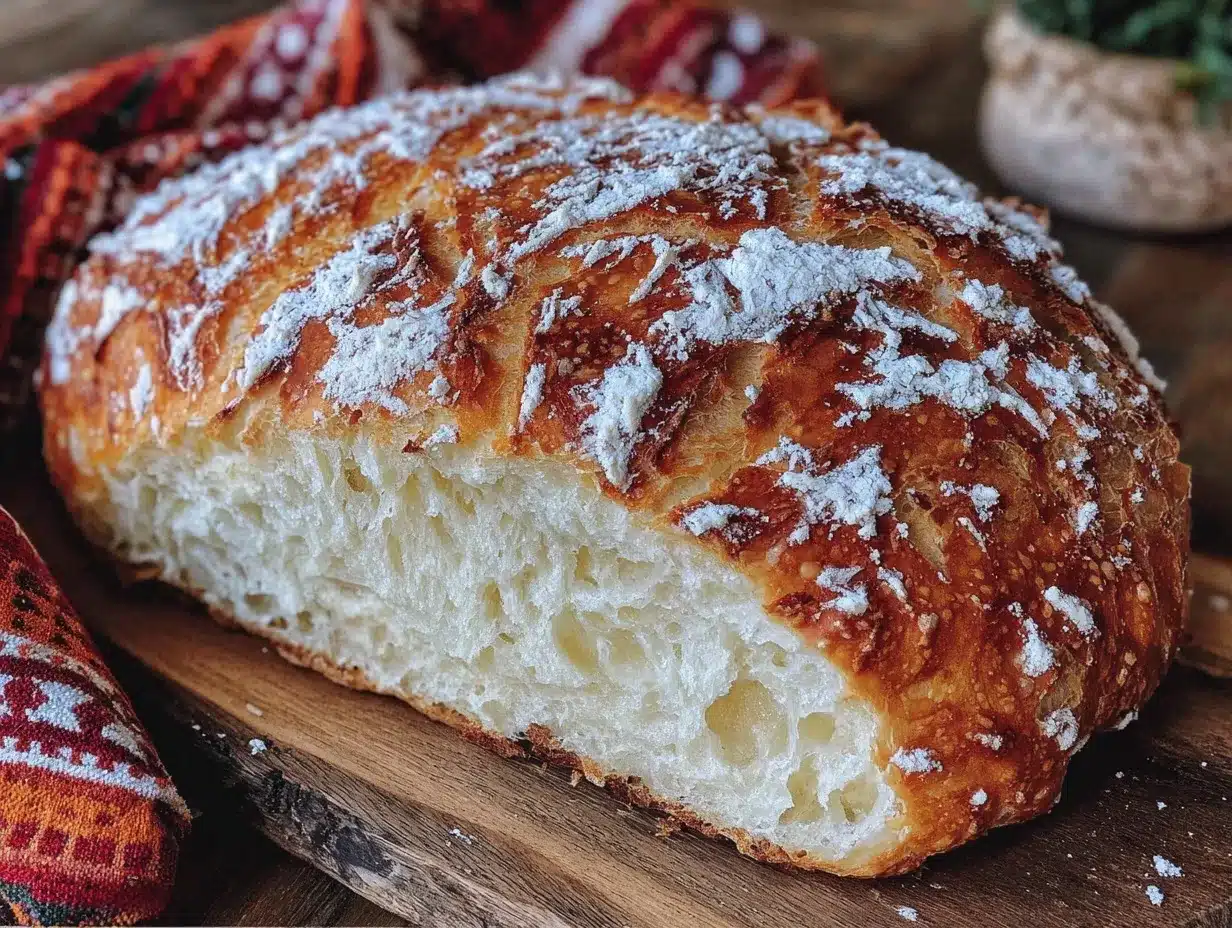
So, I gave it a shot. The dough was sticky and shaggy, and I almost gave up waiting for it to rise. I even forgot to set the timer once, which meant the dough sat longer than planned. But when I finally took that loaf out of the oven, golden and crusty on the outside, soft and tender on the inside, I was hooked. You know that feeling when a simple thing surprises you? That’s exactly what happened.
This Easy Foolproof Homemade Bread No-Knead Method isn’t just another bread recipe. It’s the kind of bread that smells like comfort and tastes like you spent hours mastering it—even if you barely lifted a finger. Whether you’re a beginner or someone who’s tried and failed bread before, this method is your secret weapon. And trust me, once you try it, you’ll be making fresh loaves every weekend (or maybe even during the week, if you’re anything like me).
Why You’ll Love This Recipe
After countless trials and early morning bakes (with some not-so-pretty results), this recipe has proven itself to be seriously reliable and delicious. Here’s why this no-knead bread method stands out in my kitchen:
- Quick & Easy: The hands-on prep takes just 10 minutes. You let the dough do its thing, so it’s perfect for busy days or when you want fresh bread without the hassle.
- Simple Ingredients: You probably have everything on hand—flour, yeast, salt, and water. No specialty flours or fancy mixers required.
- Perfect for Any Occasion: Whether you’re making sandwiches, serving it alongside soup, or just craving a warm slice with butter, this loaf fits the bill.
- Crowd-Pleaser: Family, friends, and even picky eaters tend to go back for seconds. I swear the crust alone gets a standing ovation.
- Unbelievably Delicious: The crust is crusty but not hard, and the crumb is soft and airy, with just the right chewiness. It’s bread that makes you pause mid-bite.
What makes this version different? The no-knead technique means less mess and less elbow grease, but the slow fermentation does all the flavor-building work. Plus, I’ve tweaked the water-to-flour ratio after many tests to get that perfect softness without sacrificing structure. It’s honestly a foolproof recipe that’s saved me more than once when I wanted fresh bread but had zero time.
What Ingredients You Will Need
This recipe uses simple, wholesome ingredients to deliver bold flavor and satisfying texture without the fuss. These are pantry staples, so no last-minute grocery runs necessary.
- All-purpose flour – 3 cups (360 g), preferably unbleached for better flavor and texture. I like King Arthur for consistent results.
- Instant yeast – 1/4 teaspoon (about 1 gram). This small amount slows fermentation, giving the bread a richer taste.
- Salt – 1 teaspoon (6 grams), to balance flavor and improve crust color.
- Warm water – 1 1/2 cups (360 ml), around 75°F (24°C). Too hot and it kills the yeast; too cold and it slows the rise.
Optional for tweaks:
- Whole wheat flour – swap up to 1 cup (120 g) for a nuttier flavor and extra fiber.
- Olive oil – 1 tablespoon (15 ml), if you want a softer crumb and subtle richness.
- Honey or sugar – 1 teaspoon (7 grams) can be added if you prefer a slightly sweet bread.
Feel free to experiment with these, but the base version is already a star. For gluten-free adaptations, almond or oat flour can work, but you’ll need additional binding agents—something I haven’t mastered yet, so if you try it, do tell!
Equipment Needed
- Large mixing bowl: A big, sturdy bowl to mix and let your dough rise. Glass or stainless steel both work fine.
- Dutch oven or heavy oven-safe pot with lid: This is key for that crisp, bakery-style crust. No worries if you don’t have one—a deep baking dish covered tightly with foil can substitute.
- Wooden spoon or spatula: For mixing the sticky dough. I avoid metal spoons here to prevent any unwanted reaction with the yeast.
- Kitchen scale (optional but recommended): Precision helps, especially with flour. But measuring cups work if you don’t have a scale.
- Kitchen towel or plastic wrap: To cover your dough while it rises.
I once tried this in a regular loaf pan, and while it baked, the crust didn’t get that perfect crackle. So, I’d say investing in a Dutch oven pays off big time—and they’re not as expensive as you might think!
Preparation Method
- Mix the dry ingredients: In your large bowl, combine 3 cups (360 g) all-purpose flour, 1/4 teaspoon (1 g) instant yeast, and 1 teaspoon (6 g) salt. Give it a good stir to distribute everything evenly. This should take about 2 minutes.
- Add warm water: Pour in 1 1/2 cups (360 ml) warm water gradually. Use a wooden spoon to mix until a shaggy, sticky dough forms. Don’t worry if it looks rough or uneven—that’s exactly what you want. Mixing takes about 3-4 minutes.
- Cover and rest: Cover the bowl with a damp kitchen towel or plastic wrap. Leave it at room temperature for 12 to 18 hours—overnight works great. You’ll see bubbles forming and the dough will nearly double in size. This slow fermentation is where the magic happens.
- Preheat your oven and pot: About 30 minutes before baking, place your Dutch oven with the lid inside your oven and preheat to 450°F (230°C). This ensures the pot is scorching hot, essential for a crispy crust.
- Shape the dough: Lightly flour a work surface and gently tip the dough out of the bowl. With floured hands, fold it over itself once or twice to form a rough ball. Resist the urge to knead! Let it rest for 30 minutes, covered with a towel.
- Bake: Carefully remove the hot pot from the oven. Place the dough ball inside (use parchment paper if you like for easier handling). Cover with the lid and bake for 30 minutes.
- Finish baking uncovered: Remove the lid and bake for another 15-20 minutes until the crust is deep golden brown and crackly.
- Cool: Transfer the bread to a wire rack and let it cool for at least 1 hour before slicing. This helps the crumb set perfectly.
Tip: If your dough seems too sticky when shaping, just dust your hands and surface lightly with flour. And if the crust browns too quickly, tent with foil during the last 10 minutes.
Cooking Tips & Techniques
Baking bread without kneading feels almost like cheating, but a few tricks make all the difference. First, patience is your friend. The long rise time allows gluten to develop slowly, so don’t rush it. I learned the hard way that cutting the rise short results in dense bread.
Temperature control is key. Using warm water—not hot—keeps yeast happy. Also, preheating your pot ensures that initial oven spring, which gives you that airy crumb.
When mixing, it’s okay if the dough looks messy. Resist the urge to add extra flour; wet dough leads to a softer crumb.
Covering the dough with a damp towel prevents drying out, but if your kitchen is dry, plastic wrap might work better. Experiment to find what suits your environment.
Lastly, don’t skip the cooling step. I know it’s tempting to slice right away, but fresh bread continues to cook and set as it cools, making it easier to slice and improving texture.
Variations & Adaptations
- Herb and garlic bread: Fold in 2 tablespoons of finely chopped fresh herbs (like rosemary or thyme) and 2 minced garlic cloves during mixing for a fragrant twist.
- Whole wheat version: Replace 1 cup (120 g) of all-purpose flour with whole wheat flour for a nuttier flavor and heartier texture.
- Cheese-stuffed loaf: After shaping, press small chunks of your favorite cheese (cheddar, mozzarella) into the dough before baking.
- Gluten-free adaptation: Though challenging, swapping in gluten-free flour blends with xanthan gum can work. This needs more experimentation, but it’s doable.
- Overnight fridge rise: For even deeper flavor, after mixing, cover the dough and place it in the fridge for up to 24 hours. Take it out an hour before baking to come to room temperature.
Personally, I once tried adding toasted seeds on top before baking—sunflower and sesame gave the crust a lovely crunch and nutty flavor that impressed my brunch guests.
Serving & Storage Suggestions
This bread is best served warm or at room temperature. I like slicing it thick and slathering butter or dipping it in olive oil and balsamic vinegar. It pairs wonderfully with hearty soups, stews, or even just a simple cheese plate.
To keep your loaf fresh, store it in a paper bag or wrapped loosely in a kitchen towel at room temperature for up to 3 days. Avoid plastic bags unless you want a soft crust.
If you want to save it longer, slice and freeze the bread. Toast slices straight from the freezer for a quick breakfast or snack.
Reheating in the oven at 350°F (175°C) for 10 minutes refreshes the crust nicely. I find that the flavors even deepen a bit after a day, so sometimes waiting before eating is worth it!
Nutritional Information & Benefits
This bread is a wholesome choice, made with minimal ingredients and no preservatives. A typical slice (about 50g) contains roughly 130 calories, 4g protein, and 25g carbohydrates, with just 1g fat—perfect for a balanced diet.
Using whole wheat flour boosts fiber content and adds essential minerals. The fermentation process also helps improve digestibility and flavor complexity.
This recipe is naturally dairy-free and can be made vegan by skipping any butter toppings. If you’re watching gluten intake, swapping flours can help, but this recipe is best enjoyed as is for that classic bread experience.
From a wellness perspective, making your own bread means controlling ingredients and avoiding additives found in many store-bought loaves. Plus, baking bread can be a soothing, mindful activity—good for the soul as well as the body.
Conclusion
If you’ve ever thought bread-making was too intimidating or time-consuming, this Easy Foolproof Homemade Bread No-Knead Method will change your mind. It’s simple, forgiving, and yields a crusty, soft loaf that feels like a little victory every time.
Feel free to tweak the herbs, flours, or add-ins to suit your taste—it’s your kitchen after all. I love how this recipe brings a sense of accomplishment with minimal effort, and I hope it becomes a staple in your home like it has in mine.
Go ahead, try it out, and let me know how your bread turns out. Share your twists or questions in the comments—I’m always eager to hear from fellow bread lovers. Happy baking!
FAQs
- Can I use active dry yeast instead of instant yeast?
Yes! Just dissolve active dry yeast in warm water first and let it activate for about 5-10 minutes before mixing with the flour. - What if my dough doesn’t rise much?
Make sure your yeast is fresh and the water temperature is right. Also, a warmer room speeds up fermentation; colder environments slow it down. - Can I bake this bread without a Dutch oven?
You can use a heavy oven-safe pot with a lid or cover a baking dish tightly with foil to trap steam, which is essential for crust development. - How do I know when the bread is done?
The crust should be deep golden brown and sound hollow when tapped. An internal temperature of 200°F (93°C) is a good indicator. - Can I add seeds or nuts to the dough?
Absolutely! Fold in your favorite seeds or nuts after the initial rise before shaping. Just don’t overload, or it might affect the dough structure.
Pin This Recipe!
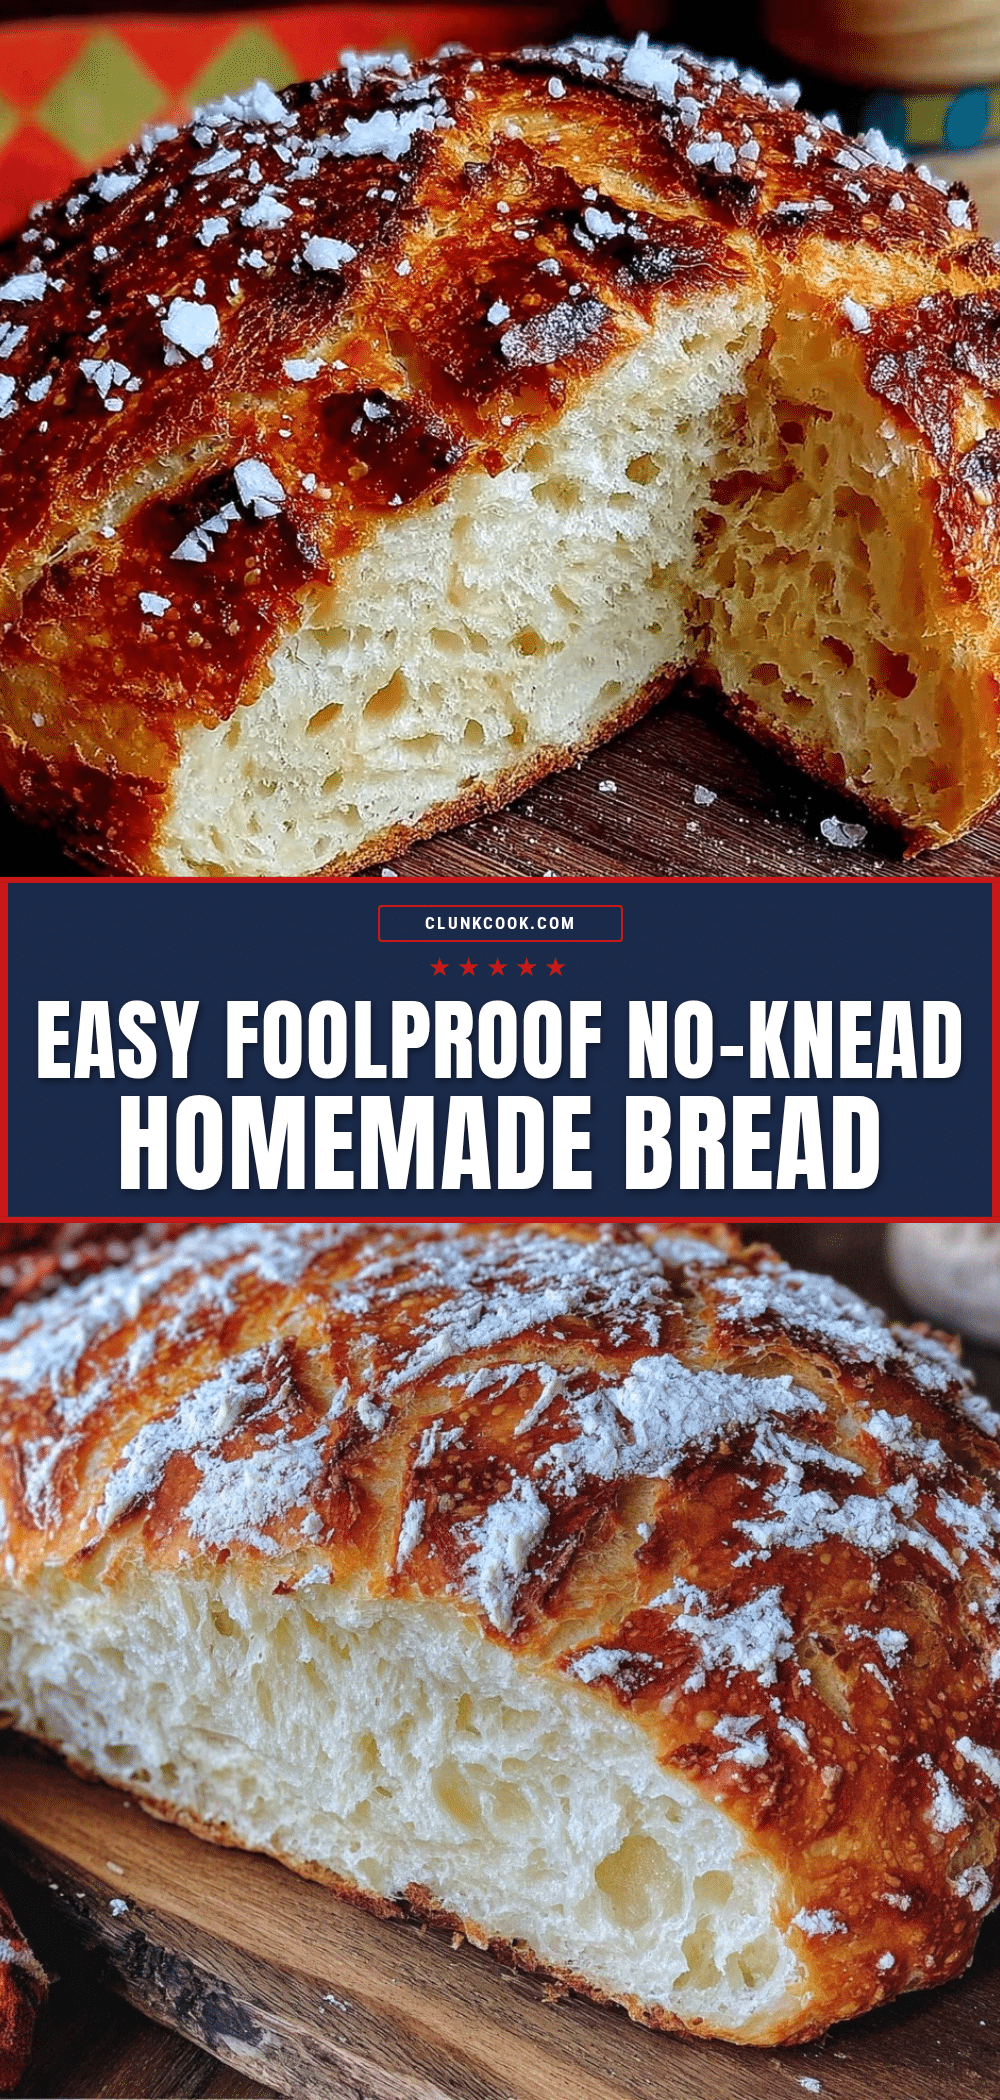
Easy Foolproof Homemade Bread No-Knead Method Recipe for Perfect Soft Loaf

A simple no-knead bread recipe that yields a crusty outside and soft, airy inside loaf with minimal effort and ingredients.
- Prep Time: 10 minutes
- Cook Time: 45-50 minutes
- Total Time: 13 hours (including 12-18 hour rise)
- Yield: 1 loaf (about 8-10 servings) 1x
- Category: Main Course
- Cuisine: American
Ingredients
- 3 cups (360 g) all-purpose flour, preferably unbleached
- 1/4 teaspoon (1 g) instant yeast
- 1 teaspoon (6 g) salt
- 1 1/2 cups (360 ml) warm water (around 75°F / 24°C)
- Optional: up to 1 cup (120 g) whole wheat flour to replace all-purpose flour
- Optional: 1 tablespoon (15 ml) olive oil for softer crumb
- Optional: 1 teaspoon (7 g) honey or sugar for slight sweetness
Instructions
- In a large mixing bowl, combine 3 cups (360 g) all-purpose flour, 1/4 teaspoon (1 g) instant yeast, and 1 teaspoon (6 g) salt. Stir well to distribute evenly (about 2 minutes).
- Gradually pour in 1 1/2 cups (360 ml) warm water while mixing with a wooden spoon until a shaggy, sticky dough forms (3-4 minutes).
- Cover the bowl with a damp kitchen towel or plastic wrap and let the dough rest at room temperature for 12 to 18 hours until nearly doubled and bubbly.
- About 30 minutes before baking, preheat your oven to 450°F (230°C) with a Dutch oven or heavy oven-safe pot with lid inside.
- Lightly flour a work surface and gently tip the dough out. Fold it over itself once or twice to form a rough ball. Let it rest covered for 30 minutes.
- Carefully remove the hot pot from the oven, place the dough ball inside (use parchment paper if desired), cover with lid, and bake for 30 minutes.
- Remove the lid and bake uncovered for an additional 15-20 minutes until the crust is deep golden brown and crackly.
- Transfer the bread to a wire rack and cool for at least 1 hour before slicing.
Notes
If dough is too sticky when shaping, dust hands and surface lightly with flour. Tent bread with foil if crust browns too quickly. For deeper flavor, refrigerate dough overnight up to 24 hours and bring to room temperature before baking. Use parchment paper for easier handling in hot pot. Cooling bread before slicing improves texture.
Nutrition
- Serving Size: 1 slice (about 50 g)
- Calories: 130
- Sodium: 300
- Fat: 1
- Carbohydrates: 25
- Fiber: 1
- Protein: 4
Keywords: no-knead bread, homemade bread, easy bread recipe, soft loaf, crusty bread, no kneading, beginner bread recipe


