Love this? Save it for later!
Share the inspiration with your friends
My niece asked me why I couldn’t just bake the chicken nuggets all at once and freeze them for the week. I started to explain why that wouldn’t work—then stopped. I mean, honestly, I had no good reason. I had just always made them fresh, batch by batch, like some kind of kitchen martyr. She was eight and had just solved my biggest meal prep headache with a single question.
That Tuesday afternoon, I had a bag of chicken breasts thawing, a brand-new air fryer I barely trusted, and a lunchbox schedule that made me want to cry. I was tired of the store-bought nuggets that turned into sad, soggy cardboard by 11 AM. So I grabbed my cutting board, let my niece “help” (which meant she sprinkled paprika everywhere), and we made three full batches. The kitchen looked like a flour bomb had gone off. Worth it.
What came out of that air fryer was honestly better than anything I had ever pulled from a drive-thru or a freezer bag. They stayed crispy in the lunchbox. They reheated perfectly. And my niece—the same kid who once declared my cooking “okay”—asked for them three days in a row. Maybe you have been there, standing in your kitchen wondering if meal prep is actually worth the effort. Let me tell you, this recipe changed my mind completely. It is the kind of thing you make once and suddenly your whole week gets easier.
Why You Will Love This Recipe
I tested this recipe six times before I got it right. The first batch was dry. The second was too salty. The third burned on one side. But by batch number four, I knew I had something special. These air fryer chicken nuggets are not just another lunchbox filler—they are genuinely good. Here is why they work so well:
- Quick and Easy: From start to finish, you are looking at about 25 minutes. That includes cutting, breading, and cooking. No complicated steps, no fancy equipment.
- Simple Ingredients: You probably have everything in your kitchen right now. Chicken, breadcrumbs, eggs, and a few spices. That is it.
- Perfect for Lunchboxes: These nuggets hold up beautifully. They stay crispy, they do not get weird in a thermos, and kids actually eat them without complaining.
- Crowd-Pleaser: I have served these to picky toddlers, hungry teenagers, and adults who swear they do not like chicken nuggets. Every single person went back for seconds.
- Unbelievably Delicious: The secret is a little bit of Parmesan in the breading. It adds this savory, umami kick that makes you wonder why you ever bothered with frozen nuggets.
What makes this recipe different from the dozens of others out there? It is the texture. The air fryer gives you that golden, crunchy exterior without all the oil. And the inside stays juicy, not dry and stringy like some baked versions. I also use a double-dredge method that sounds fancy but is really just dipping the chicken in egg, then breadcrumbs, then egg again, then breadcrumbs again. It creates a coating that actually sticks.
This is comfort food reimagined—healthier, faster, but with the same soul-soothing satisfaction. Perfect for impressing your kids without stress, or turning a simple meal prep session into something you actually look forward to.
What Ingredients You Will Need
This recipe uses simple, wholesome ingredients that come together to create nuggets with serious crunch and flavor. Most of these are pantry staples, which makes this perfect for those weeks when you forgot to meal plan and are scrambling on a Sunday night.
For the Chicken Nuggets
- Boneless, skinless chicken breasts (1.5 pounds or about 680 grams) — Look for even-sized breasts so they cook uniformly. I prefer organic when I can find them on sale.
- Panko breadcrumbs (1 cup) — These give you that ultra-crispy texture. Regular breadcrumbs work too, but panko is the secret to the crunch factor.
- Grated Parmesan cheese (1/4 cup) — Adds saltiness and helps the crust brown beautifully. The kind in the green can works fine, but freshly grated melts better.
- Large eggs (2) — You need these for the dredging station. They help the breading stick to the chicken.
- All-purpose flour (1/2 cup) — This is the first layer of coating. It helps the egg stick to the chicken. You can use almond flour for a gluten-free version.
- Garlic powder (1 teaspoon) — Adds that savory depth. I use McCormick because it is consistent and never clumps.
- Paprika (1 teaspoon) — Gives the nuggets a warm color and a subtle smoky flavor. Smoked paprika works great here too.
- Salt (1/2 teaspoon) — Do not skip this. It brings out all the other flavors.
- Black pepper (1/4 teaspoon) — Freshly ground is better, but pre-ground works in a pinch.
- Cooking spray — I use avocado oil spray because it has a high smoke point and neutral flavor. Olive oil spray works too, but avoid butter spray—it burns in the air fryer.
For Serving (Optional but Recommended)
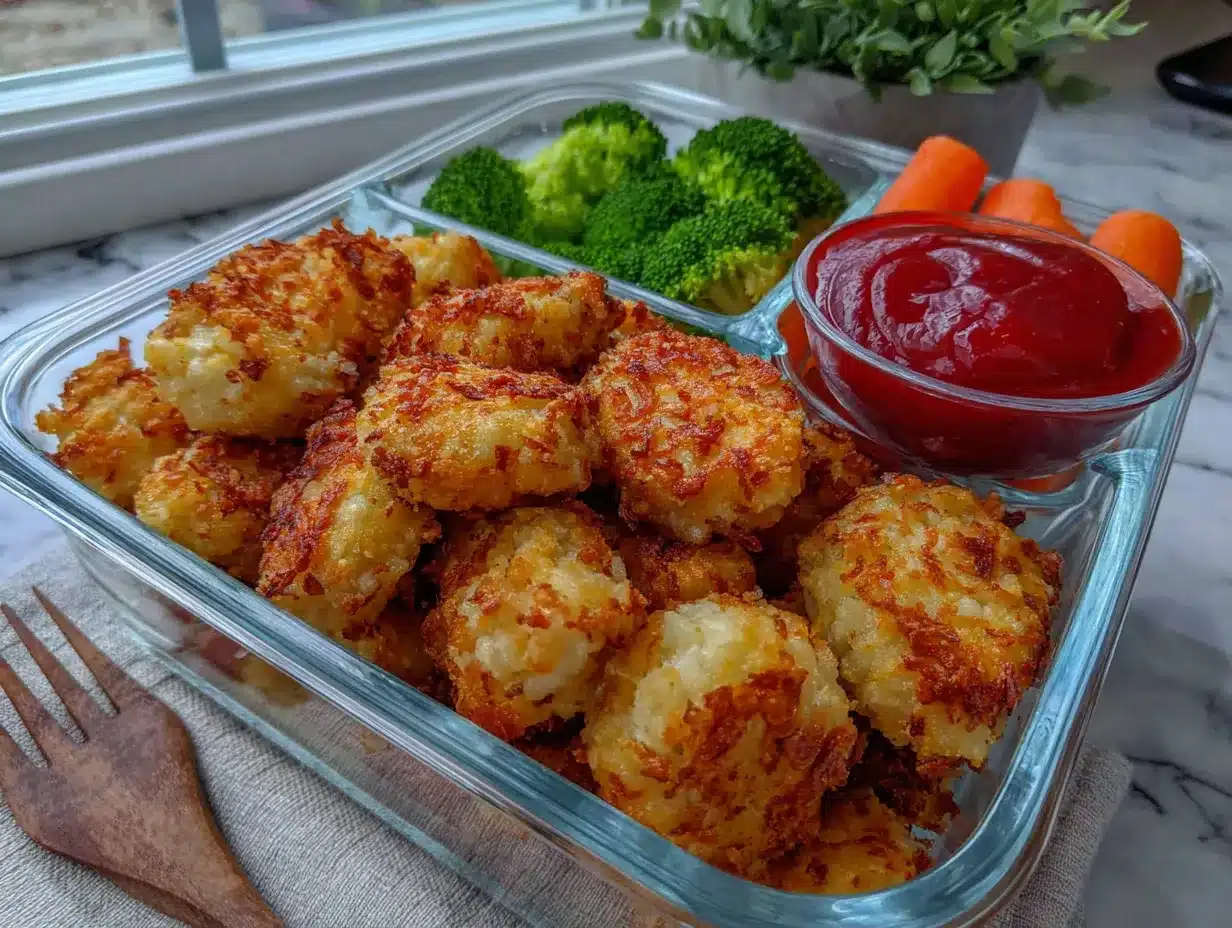
- Honey mustard — My personal favorite dipping sauce.
- Ketchup — For the classic experience.
- BBQ sauce — Adds a tangy, smoky kick.
Ingredient Selection Tips: If you are using frozen chicken breasts, thaw them completely in the refrigerator overnight. Partially frozen chicken will not cut evenly, and the breading will slide right off. Also, pat the chicken dry with paper towels before you start—this helps the flour stick better.
Substitution Guidance: Need a dairy-free option? Skip the Parmesan and add an extra tablespoon of nutritional yeast for that cheesy flavor. For a gluten-free version, use gluten-free panko and almond flour. I have tested both, and they work surprisingly well.
Equipment Needed
You do not need a lot of fancy tools for this recipe, which is part of why I love it. Here is what you will need:
- Air fryer — Any brand works. I use a Cosori 5.8-quart model, and it handles a full batch without overcrowding. If yours is smaller, just cook in batches.
- Cutting board — A large one makes cutting the chicken so much easier. I prefer wood or plastic—glass boards dull your knives.
- Sharp knife — A chef’s knife or a utility knife works great. Dull knives make cutting chicken a frustrating mess.
- Three shallow bowls — For the dredging station. I use pie plates because they are wide and shallow, perfect for dipping.
- Tongs — Helps you move the chicken through the dredging station without getting your hands covered in egg and breadcrumbs.
- Measuring cups and spoons — For accuracy. I have ruined batches by eyeballing the salt.
- Paper towels — For patting the chicken dry and cleaning up messes.
- Baking sheet or large plate — To hold the breaded nuggets before they go into the air fryer.
Budget-Friendly Options: If you do not have an air fryer, you can bake these in a conventional oven at 400°F for 12-15 minutes, flipping halfway. They will not be quite as crispy, but they are still delicious. Also, skip the tongs and use your hands—just wash them between steps.
Maintenance Tip: Clean your air fryer basket immediately after cooking while it is still warm. Soaking it makes the stuck-on bits easier to remove. I learned this the hard way after scrubbing a cold basket for twenty minutes.
Preparation Method
This method is straightforward, but the little details make the difference between okay nuggets and amazing ones. Follow these steps closely, especially the double-dredge part.
- Prep the chicken. Cut the chicken breasts into bite-sized pieces. Aim for about 1.5-inch chunks—big enough to be satisfying, small enough to cook quickly and fit nicely in a lunchbox. Pat them dry with paper towels. This step is non-negotiable; wet chicken makes the flour clump and slide off.
- Set up your dredging station. Grab three shallow bowls. In the first bowl, add the flour, garlic powder, paprika, salt, and pepper. Stir with a fork to combine. In the second bowl, beat the two eggs until they are uniform and slightly frothy. In the third bowl, mix the panko breadcrumbs and grated Parmesan. Give it a good stir so the cheese is evenly distributed.
- Double-dredge the chicken. Take a piece of chicken and coat it in the flour mixture. Shake off the excess. Dip it into the egg, letting any extra drip off. Then coat it in the panko mixture. Here is the double-dredge trick: dip the panko-coated piece back into the egg, then back into the panko. This creates a thick, crunchy crust that stays put. Place the breaded nugget on a baking sheet and repeat with the remaining chicken.
- Preheat the air fryer. Set it to 375°F (190°C) and let it run for 3 minutes. Preheating ensures the nuggets start cooking immediately, which helps the crust get crispy instead of soggy.
- Arrange the nuggets. Lightly spray the air fryer basket with cooking spray. Place the nuggets in a single layer, leaving a little space between each one. Do not overcrowd the basket—if they touch, they steam instead of crisp. I fit about 10-12 nuggets in my 5.8-quart basket per batch.
- Cook the first batch. Spray the tops of the nuggets lightly with cooking spray. Air fry at 375°F for 8 minutes. Flip each nugget with tongs, spray the other side, and cook for another 4-6 minutes. The nuggets should be golden brown and reach an internal temperature of 165°F (74°C). If you do not have a meat thermometer, cut one open—the center should be white, not pink.
- Rest and repeat. Transfer the cooked nuggets to a wire rack (this keeps them crispy—do not put them on a plate where steam will soften the crust). Repeat with the remaining batches. Depending on your air fryer size, you will likely need 2-3 batches.
- Cool completely for meal prep. If you are making these for lunchboxes, let the nuggets cool completely on the wire rack before packing them. Warm nuggets in a sealed container create condensation, which makes them soggy. Patience here pays off.
Troubleshooting Tip: If your breading is falling off, you probably skipped the flour step or did not pat the chicken dry enough. The flour creates a sticky base for the egg to grab onto. Also, if your nuggets are browning too fast on the outside but still raw inside, lower the temperature to 350°F and cook for a few extra minutes.
Cooking Tips & Techniques
I have made this recipe more times than I care to count, and I have made every mistake possible. Here is what I learned the hard way so you do not have to.
Do not skip the double-dredge. I know it seems like extra work, and the first time I tried it I thought, “This is ridiculous.” But that second layer of panko is what gives you the kind of crunch that makes people ask, “Did you fry these?” It also helps the coating survive the lunchbox journey without peeling off.
Spray, do not brush. When I first got my air fryer, I tried brushing oil onto the nuggets with a silicone brush. It was uneven, messy, and some spots burned while others stayed pale. A light spray of cooking oil gives you an even, golden crust every time. Hold the can about six inches away and use a sweeping motion.
Flip halfway, but be gentle. The crust is fragile when it is still cooking. Use tongs and flip each nugget carefully. If you rush, you will tear the breading off. I learned this when I flipped a batch too aggressively and ended up with a basket full of naked chicken pieces and a pile of crumbs.
Batch size matters. Your air fryer needs room for hot air to circulate. If you cram too many nuggets in there, they steam. The result is a sad, soft crust that no amount of dipping sauce can save. Cook in batches, even if it takes a little longer. Your taste buds will thank you.
Let them rest on a wire rack. This is my number one tip for crispy nuggets. If you put them on a plate, the steam trapped underneath softens the bottom crust. A wire rack lets air flow all around, keeping every side crunchy. I use a cooling rack set inside a baking sheet for easy cleanup.
Timing strategy for meal prep: I cut and bread all the chicken first, then cook in batches while the first batch cools. This way, I am not standing around waiting. The whole process takes about 30 minutes from start to finish, including cleanup.
Variations & Adaptations
One of the best things about this recipe is how easy it is to change up. I have tested several variations, and they all turned out great in their own way.
Spicy Buffalo Nuggets: Add 1 tablespoon of buffalo sauce to the beaten eggs and increase the paprika to 2 teaspoons. The sauce adds heat and a tangy kick. My brother-in-law, who eats hot sauce on everything, declared these “the best thing to come out of your kitchen.” Serve with ranch or blue cheese dressing.
Parmesan Herb Nuggets: Mix 1 teaspoon of dried Italian seasoning and 1/2 teaspoon of dried parsley into the panko mixture. The herbs add a subtle earthiness that pairs beautifully with the Parmesan. This version is my go-to when I want something that feels a little more grown-up.
Gluten-Free Nuggets: Swap the all-purpose flour for almond flour and use gluten-free panko. The almond flour adds a slight nuttiness that is actually really good. I tested this for a friend with celiac disease, and she said they were better than the gluten-containing version she used to make. Just note that gluten-free panko tends to brown faster, so check them a minute or two early.
Air Fryer vs. Oven: If you do not have an air fryer, bake these at 400°F for 12-15 minutes, flipping halfway. They will not be as crispy, but they are still delicious. I have also tried pan-frying them in about 1/4 inch of oil, and honestly, the air fryer version is just as good without the mess and grease.
Chicken Thigh Version: Swap chicken breasts for boneless, skinless thighs. The thighs are more forgiving and stay juicier if you accidentally overcook them. Just cut them into similar-sized pieces and follow the same method. The cook time might be 1-2 minutes longer since thighs are slightly denser.
Serving & Storage Suggestions
These nuggets are versatile, and how you serve them can change the whole meal experience.
Serving Temperature: Serve them hot and fresh for dinner, or at room temperature in lunchboxes. They do not need to be piping hot to be delicious. In fact, I think they taste better after resting for a few minutes because the crust settles and becomes even crunchier.
Lunchbox Assembly: For meal prep, I pack 5-6 nuggets per container. I add a small dipping sauce cup (honey mustard is my favorite) and some fruit or veggie sticks on the side. The nuggets stay crispy for hours if you let them cool completely before sealing the container. I learned this after packing warm nuggets once and opening a soggy mess at lunchtime.
Storage Instructions: Store leftover nuggets in an airtight container in the refrigerator for up to 4 days. For longer storage, freeze them on a baking sheet until solid, then transfer to a freezer bag. They keep for up to 3 months. Label the bag with the date so you do not forget.
Reheating Methods: The air fryer is your best friend here. Reheat at 350°F for 3-4 minutes, and they come out almost as crispy as fresh. The microwave works in a pinch, but the nuggets will be soft. If you are reheating from frozen, add 2-3 minutes to the air fryer time. Do not thaw them first—it makes them mushy.
How Flavors Develop: Interestingly, the nuggets taste even better the next day. The garlic and paprika flavors meld together, and the crust absorbs just a hint of the seasoning. I often make a double batch specifically for leftovers because I like them cold, straight from the fridge, as a snack.
Nutritional Information & Benefits
These homemade nuggets are significantly healthier than their fast-food counterparts. You control the ingredients, the salt, and the cooking method. Here is a rough estimate per serving (about 5-6 nuggets):
| Nutrient | Amount Per Serving |
|---|---|
| Calories | 320 |
| Protein | 35g |
| Carbohydrates | 18g |
| Fat | 12g |
| Saturated Fat | 3g |
| Fiber | 2g |
| Sodium | 480mg |
Health Benefits: Chicken breast is a lean protein source that supports muscle repair and keeps you full longer. The air fryer method uses minimal oil compared to deep frying, reducing the overall fat content significantly. Panko breadcrumbs have a lighter texture than traditional breadcrumbs, so you use less coating per nugget. And the Parmesan adds calcium and a boost of flavor without needing extra salt.
Dietary Considerations: This recipe is naturally nut-free and can be made gluten-free and dairy-free with simple substitutions. It is also lower in calories and fat than store-bought frozen nuggets, which often contain fillers and preservatives. I personally love that I know exactly what is in every bite—no mystery ingredients, no artificial flavors.
Potential Allergens: This recipe contains wheat (flour and panko), eggs, and dairy (Parmesan). Adjust the substitutions mentioned earlier if you have allergies.
Conclusion
These air fryer chicken nuggets changed the way I think about meal prep. They are not just a shortcut—they are genuinely better than anything you can buy at the store. The double-dredge gives you that perfect crunch, the Parmesan adds a savory depth you did not know you were missing, and the air fryer makes the whole process almost effortless.
I make these every Sunday now, and my niece still asks if she can help. She sprinkles the paprika, I do the cutting, and we both get to enjoy the results all week long. That is the kind of cooking I love—simple, shared, and rewarding.
I would love to hear how these turn out for you. Did you try a variation? Did your kids actually eat them without complaining? Drop a comment below and let me know. And if you have a friend who swears by frozen nuggets, share this recipe with them. They might just thank you later.
Happy cooking, and remember—sometimes the best recipes come from letting an eight-year-old ask a simple question.
Frequently Asked Questions
Can I use frozen chicken for this recipe?
It is best to thaw the chicken completely first. Frozen chicken releases too much water as it cooks, which makes the breading slide off. Thaw in the refrigerator overnight for best results.
How do I keep the nuggets crispy in a lunchbox?
Let them cool completely on a wire rack before packing. Warm nuggets create steam in a sealed container, which softens the crust. Also, avoid packing them with wet items like cut fruit directly touching the nuggets.
Can I make these nuggets ahead of time and freeze them?
Absolutely. Cook the nuggets, let them cool completely, then freeze them in a single layer on a baking sheet. Once frozen solid, transfer to a freezer bag. They keep for up to 3 months. Reheat directly from frozen in the air fryer at 350°F for 5-6 minutes.
Why is my breading falling off during cooking?
This usually happens for one of three reasons: the chicken was not patted dry before breading, you skipped the flour step, or you overcrowded the air fryer basket. Make sure each piece is dry and well-coated, and leave space between nuggets.
Can I use chicken thighs instead of breasts?
Yes, boneless skinless thighs work great. They are more forgiving and stay juicier. Cut them into similar-sized pieces and follow the same method. You may need to add 1-2 minutes to the cook time since thighs are slightly denser than breasts.
Pin This Recipe!
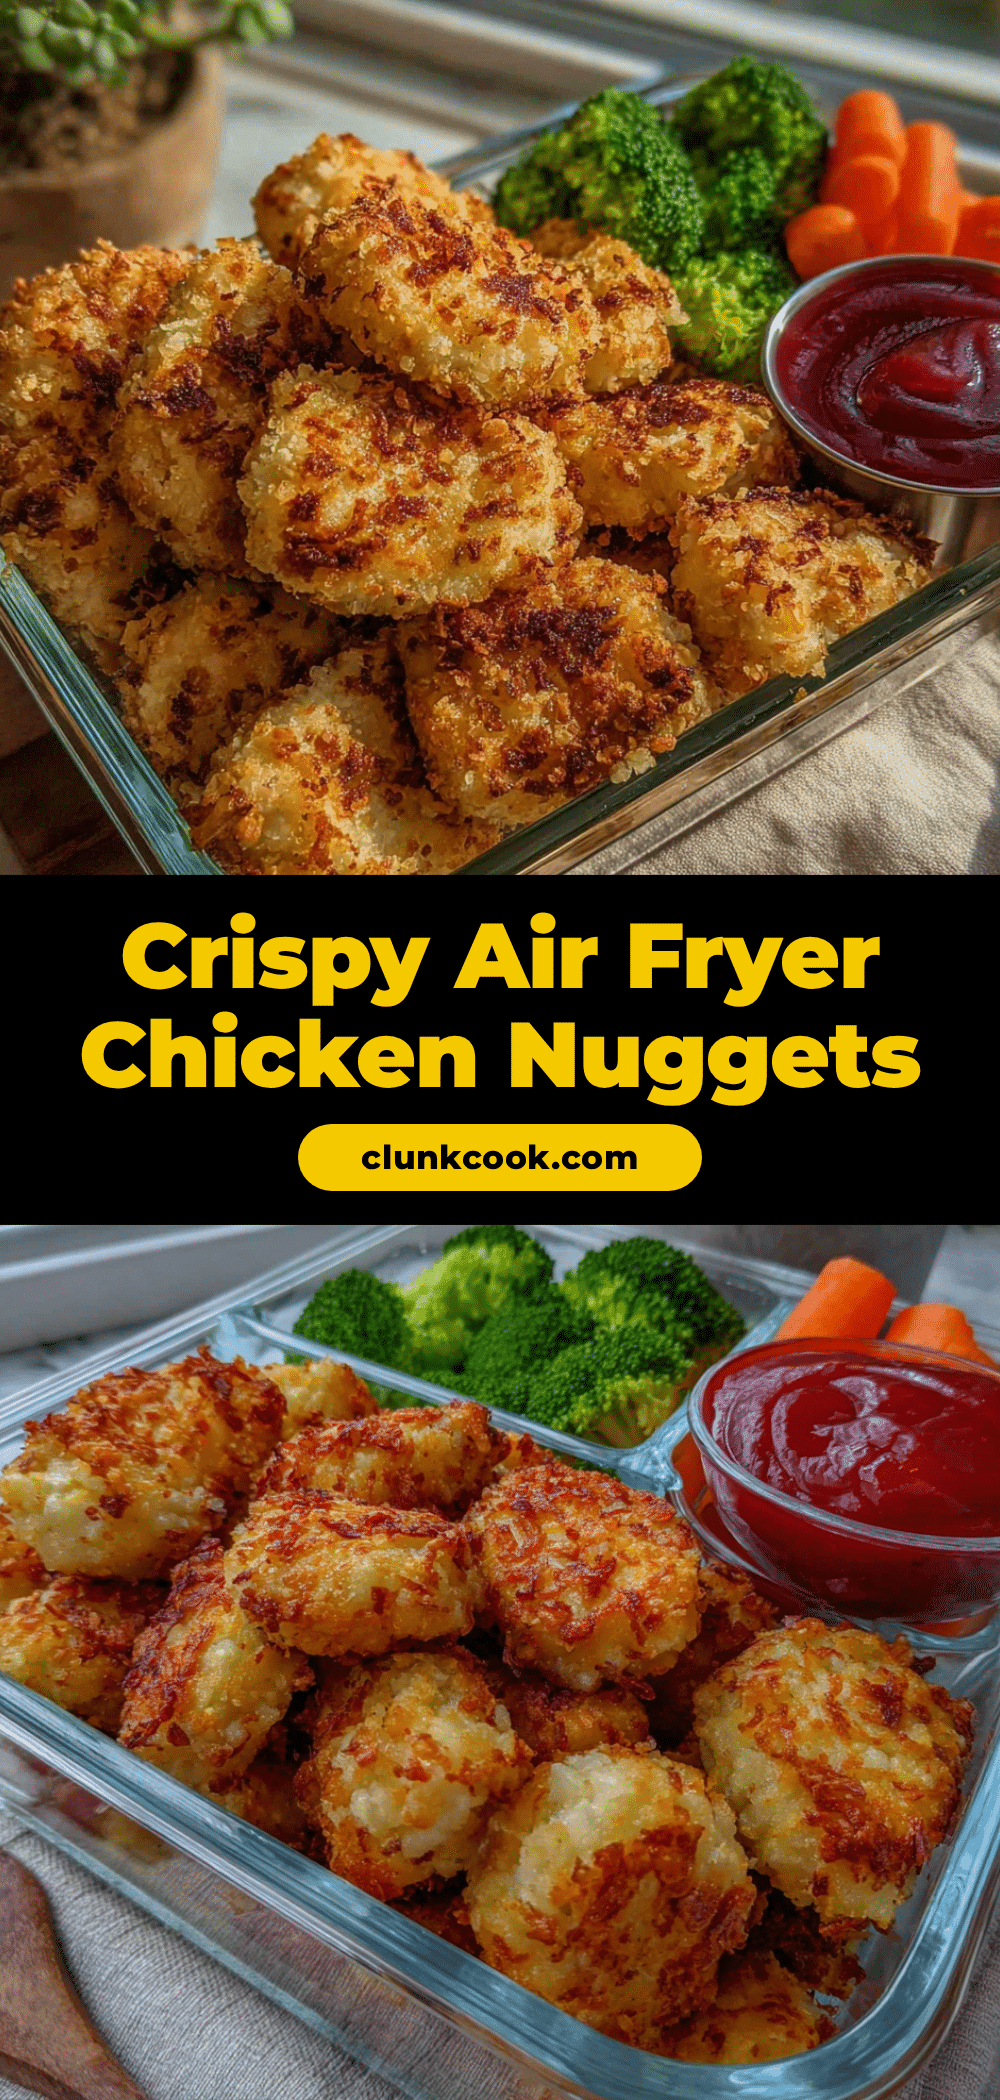
Easy Air Fryer Chicken Nuggets Meal Prep for Perfect Lunchboxes
These air fryer chicken nuggets are quick, easy, and perfect for meal prep. With a crispy double-dredge coating and simple ingredients, they stay crunchy in lunchboxes and are a crowd-pleaser for all ages.
- Prep Time: 15 minutes
- Cook Time: 12-14 minutes per batch
- Total Time: 30 minutes
- Yield: 4 servings 1x
- Category: Main Course
- Cuisine: American
Ingredients
- 1.5 pounds boneless, skinless chicken breasts (about 680 grams)
- 1 cup panko breadcrumbs
- 1/4 cup grated Parmesan cheese
- 2 large eggs
- 1/2 cup all-purpose flour
- 1 teaspoon garlic powder
- 1 teaspoon paprika
- 1/2 teaspoon salt
- 1/4 teaspoon black pepper
- Cooking spray (avocado oil spray recommended)
- Honey mustard, ketchup, or BBQ sauce for serving (optional)
Instructions
- Cut the chicken breasts into bite-sized pieces, about 1.5-inch chunks. Pat them dry with paper towels.
- Set up a dredging station with three shallow bowls. In the first bowl, combine flour, garlic powder, paprika, salt, and pepper. In the second bowl, beat the eggs until frothy. In the third bowl, mix panko breadcrumbs and Parmesan cheese.
- Double-dredge each piece: coat in flour (shake off excess), dip in egg, coat in panko mixture, then dip back in egg and coat again in panko. Place breaded nuggets on a baking sheet.
- Preheat the air fryer to 375°F (190°C) for 3 minutes.
- Lightly spray the air fryer basket with cooking spray. Arrange nuggets in a single layer without overcrowding (about 10-12 per batch). Spray the tops lightly with cooking spray.
- Air fry at 375°F for 8 minutes. Flip each nugget gently with tongs, spray the other side, and cook for another 4-6 minutes until golden brown and internal temperature reaches 165°F (74°C).
- Transfer cooked nuggets to a wire rack to cool. Repeat with remaining batches.
- For meal prep, let nuggets cool completely on the wire rack before packing in airtight containers.
Notes
For extra crispy nuggets, do not skip the double-dredge. Let nuggets cool completely on a wire rack before storing to maintain crispiness. If breading falls off, ensure chicken is patted dry and flour step is not skipped. For gluten-free, use almond flour and gluten-free panko. For dairy-free, omit Parmesan and add 1 tablespoon nutritional yeast.
Nutrition
- Serving Size: 5-6 nuggets
- Calories: 320
- Sodium: 480
- Fat: 12
- Saturated Fat: 3
- Carbohydrates: 18
- Fiber: 2
- Protein: 35
Keywords: air fryer chicken nuggets, meal prep, lunchbox, crispy chicken nuggets, homemade nuggets, easy chicken recipe


