Love this? Save it for later!
Share the inspiration with your friends
There used to be a tiny bakery tucked behind a laundromat on 7th Street in my old neighborhood that made the most incredible s’mores blondies. When they closed—just a handwritten sign on the door one Tuesday saying “Thanks for the memories”—I honestly felt a little lost. That first bite of their blondie was pure magic: chewy, buttery, with pools of melted chocolate and marshmallow that stretched for days. After twelve tries—twelve, let me tell you, including one batch that I accidentally set on fire under the broiler—I finally got it. These brown butter s’mores blondies are that exact taste of nostalgia I’ve been chasing.
The secret, I learned, is all in the butter. Browning it adds this nutty, almost caramel-like depth that regular melted butter just can’t touch. It makes the blondie base richer and more complex, so it holds its own against the chocolate and marshmallow. I mean, I’ve made these for camping trips, backyard bonfires, and random Tuesday nights when I needed a serious comfort-food fix. They always disappear fast.
Maybe you’ve been there—craving that perfect combination of crunchy graham cracker, gooey marshmallow, and rich chocolate but wanting it in an easy, bar-form dessert. These brown butter s’mores blondies are exactly that. They’re the kind of recipe that makes you close your eyes after the first bite, and honestly, that’s why I keep making them. They bring back that bakery memory every single time.
Why You’ll Love This Recipe
These aren’t just any blondies. The brown butter adds a layer of sophistication that makes them feel special, but the process is simple enough for a weeknight baking session. Here is why this recipe has become my go-to for every occasion:
- Quick & Easy: From start to finish, these come together in about 35 minutes. The active prep time is only 15 minutes, making them perfect for sudden cravings or last-minute potluck invites.
- Simple Ingredients: You probably have most of these in your pantry right now. Butter, sugar, eggs, flour, vanilla, and the classic s’mores trio of graham crackers, chocolate bars, and marshmallows. No fancy grocery trips needed.
- Perfect for Gatherings: These bars are a guaranteed crowd-pleaser. I’ve brought them to summer barbecues, holiday parties, and casual game nights, and they always get rave reviews from kids and adults alike.
- Unbelievably Delicious: The combination of nutty brown butter, sweet marshmallow, and rich chocolate is next-level comfort food. The texture is perfectly chewy with crispy edges and a soft, gooey center.
- Foolproof Method: I’ve tested this recipe more times than I care to admit. The brown butter step adds a depth of flavor that you can’t get any other way, and I’ve included all my hard-learned tips to ensure your success.
This isn’t just another blondie recipe—it’s your new favorite. It takes the classic campfire treat and turns it into an easy, oven-baked dessert that delivers all the nostalgia without the smoky clothes. Honestly, it’s the kind of recipe that makes you wonder why you haven’t been browning butter your whole life.
What Ingredients You Will Need
This recipe uses simple, wholesome ingredients to create something truly special. The star is the brown butter, which adds a nutty, toasty flavor that transforms the entire blondie. Here’s everything you need:
For the Brown Butter Blondie Base
- Unsalted butter, 1 cup (2 sticks or 226g) — Browning the butter is the key step here. I recommend using a high-quality butter like Kerrygold for the best flavor, but any unsalted butter works. The browning process removes some water content, concentrating the flavor and adding those nutty notes.
- Light brown sugar, 1 ¼ cups (250g), packed — Brown sugar adds moisture and a subtle molasses flavor that pairs beautifully with the brown butter. Make sure it’s packed firmly into your measuring cup.
- Granulated sugar, ¼ cup (50g) — A little white sugar helps create those crispy, crackly edges that every good blondie needs.
- Large eggs, 2, at room temperature — Room temperature eggs incorporate more easily into the batter, creating a smoother, more uniform texture. If you forget to take them out ahead of time, place them in a bowl of warm water for 5 minutes.
- Vanilla extract, 2 teaspoons — Pure vanilla extract adds warmth and depth. Avoid imitation vanilla if you can—it makes a noticeable difference here.
- All-purpose flour, 1 ½ cups (188g) — Spoon and level your flour for the most accurate measurement. Scooping directly from the bag can pack in too much flour, making the blondies dry.
- Baking powder, 1 teaspoon — This gives the blondies a little lift without making them cakey. We want them dense and chewy.
- Salt, ½ teaspoon — Salt balances the sweetness and enhances the brown butter flavor. I use fine sea salt for baking.
For the S’mores Topping
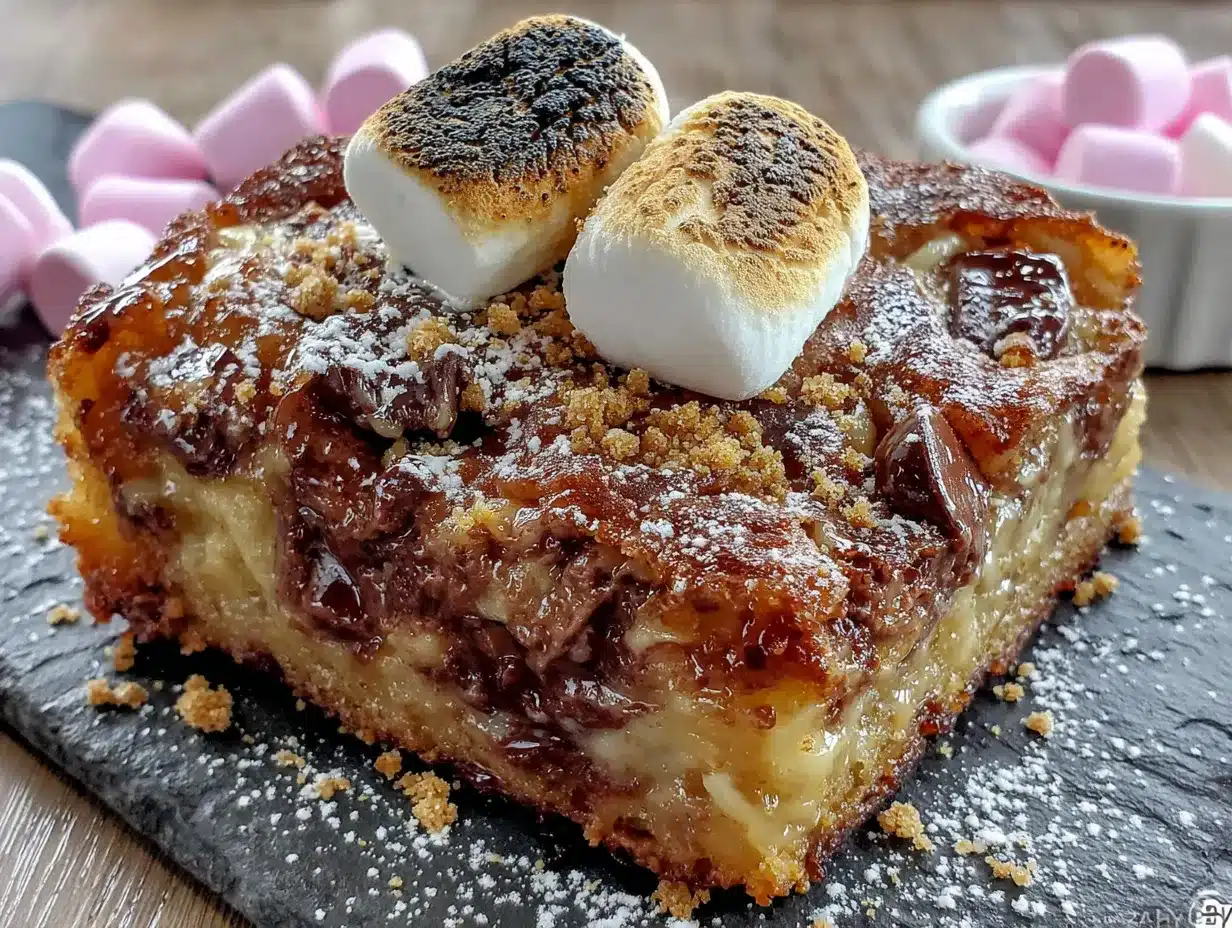
- Graham crackers, 1 ½ cups crushed (about 8 full sheets) — You can crush them by hand in a zip-top bag or pulse them in a food processor. I like leaving some small chunks for texture.
- Semi-sweet chocolate bars, 2 (about 4 oz each), roughly chopped — I prefer using a good-quality chocolate bar like Ghirardelli or Lindt. Avoid chocolate chips here—they contain stabilizers that prevent them from melting into those beautiful pools of chocolate. Chopping a bar gives you irregular pieces that melt perfectly.
- Mini marshmallows, 1 ½ cups — Mini marshmallows distribute more evenly than large ones. For the best results, I use the standard Jet-Puffed brand. Stay away from stale marshmallows—they won’t toast as nicely.
Optional: A flaky sea salt like Maldon for sprinkling on top right after baking. It sounds fancy, but it really does elevate the whole thing.
Equipment Needed
You don’t need any fancy gadgets for these brown butter s’mores blondies. Here’s what you’ll need:
- 9×13-inch baking pan — This is the perfect size for a generous batch. If you only have an 8×8 pan, you can use it, but you’ll need to increase the baking time by about 5-7 minutes and your blondies will be thicker.
- Light-colored saucepan — This is crucial for browning butter. A light-colored pan lets you see the butter change color so you know exactly when it’s done. Dark pans make it nearly impossible to see the browning process.
- Parchment paper — Line your pan with parchment paper, leaving some overhang on two sides. This creates “handles” that let you lift the entire batch out for easy cutting. Trust me, this is a game-changer.
- Large mixing bowl — Any large bowl will work. I use a simple glass bowl.
- Whisk — For combining the wet ingredients.
- Rubber spatula — For folding in the dry ingredients and scraping every last bit of batter into the pan.
- Measuring cups and spoons — Accurate measurements matter in baking, so use proper measuring tools.
- Kitchen scale (optional but recommended) — Weighing your ingredients, especially the flour and brown sugar, gives the most consistent results. I use a simple digital scale.
Preparation Method
Let’s get baking! Follow these steps carefully, and you’ll have perfect brown butter s’mores blondies every time.
- Preheat your oven to 350°F (175°C). Line your 9×13-inch baking pan with parchment paper, leaving a 2-inch overhang on the long sides. This will make lifting the blondies out so much easier later.
- Brown the butter. Place the butter in your light-colored saucepan over medium heat. Stir occasionally with a rubber spatula or wooden spoon. The butter will melt, then foam, then start to crackle and pop. Keep stirring. After about 5-7 minutes, you’ll see golden-brown specks forming at the bottom of the pan. The butter will smell nutty and amazing. As soon as it turns a deep amber color and smells fragrant, remove it from the heat immediately. Pour it into a heatproof bowl to stop the cooking process. Let it cool for 10 minutes. Don’t skip this cooling step, or you’ll end up with scrambled eggs in the next step.
- Combine the sugars and butter. In your large mixing bowl, add the cooled brown butter along with the packed brown sugar and granulated sugar. Whisk vigorously for about 1 minute until the mixture looks like wet sand and is well combined.
- Add the eggs and vanilla. Crack the eggs into the bowl, add the vanilla extract, and whisk until the batter is smooth and glossy. This should take about 30 seconds. The mixture will look lighter in color.
- Add the dry ingredients. Sprinkle the flour, baking powder, and salt over the wet mixture. Use your rubber spatula to fold everything together gently. Mix just until you no longer see streaks of flour. Overmixing will make the blondies tough, so stop as soon as it comes together. The batter will be thick and slightly sticky.
- Layer the base. Spread about two-thirds of the blondie batter evenly into your prepared pan. Use an offset spatula or the back of a spoon to smooth it out. It will be a thin layer—that’s okay.
- Add the s’mores filling. Sprinkle the crushed graham crackers evenly over the batter. Then scatter the chopped chocolate pieces over the graham crackers. Finally, distribute the mini marshmallows on top.
- Add the remaining batter. Drop spoonfuls of the remaining blondie batter over the marshmallow and chocolate layer. Don’t worry about covering everything perfectly—it’s okay if some marshmallows and chocolate peek through. Gently spread the batter as best you can.
- Bake. Place the pan in the preheated oven and bake for 22-25 minutes. The edges should be golden brown and set, but the center might still look slightly underdone. That’s exactly what you want for gooey blondies. A toothpick inserted into the center should come out with a few moist crumbs, not raw batter.
- Cool completely. This is the hardest part! Let the blondies cool in the pan on a wire rack for at least 2 hours. The bars need this time to set properly. If you try to cut them while they’re warm, you’ll end up with a delicious but messy pile of blondie rubble. I learned this the hard way.
- Cut and serve. Once completely cool, use the parchment paper handles to lift the entire blondie block out of the pan. Place it on a cutting board and use a sharp knife to cut into squares. I usually get 16 generous bars or 24 smaller ones.
Cooking Tips & Techniques
I’ve made these brown butter s’mores blondies more times than I can count, and I’ve picked up a few tricks along the way. Here are my best tips for perfect results every time:
- Watch the butter carefully. Browning butter happens fast. Once you see those brown specks form, you have about 30 seconds before it goes from perfect to burnt. Swirl the pan constantly and trust your nose—when it smells nutty and toasty, it’s done.
- Don’t skip cooling the brown butter. I know you’re eager, but hot butter will cook the eggs when you mix them in, leaving you with lumpy, scrambled egg bits in your batter. Let it cool for a full 10 minutes.
- Use room temperature eggs. Cold eggs can seize the brown butter, causing it to harden into small lumps. If your eggs are cold, place them in a bowl of warm water for 5 minutes before using.
- Toast the graham crackers first for extra flavor. Spread the crushed graham crackers on a baking sheet and toast them in the oven for 3-4 minutes while it preheats. This adds a deeper, more caramelized flavor that takes these blondies to another level.
- For extra gooey marshmallows, use the broiler. After the blondies are baked and cooled, you can place them under the broiler for 30-60 seconds to toast the marshmallows on top. Watch them like a hawk—they burn in seconds. I may have set off my smoke detector once or twice doing this.
- Line your pan properly. Don’t skip the parchment paper. Without it, you’ll struggle to get the blondies out cleanly, and you might end up with half the batch stuck in the pan. The overhang handles are a lifesaver.
Variations & Adaptations
One of the best things about this recipe is how easy it is to change up. Here are some of my favorite variations:
- Peanut Butter S’mores Blondies: Swirl ⅓ cup of creamy peanut butter into the batter before adding the toppings. The peanut butter and chocolate combination is absolutely irresistible.
- Dark Chocolate Lover’s Version: Use dark chocolate bars (70% cacao or higher) instead of semi-sweet. The bitterness balances the sweetness of the brown sugar and marshmallows beautifully.
- Gluten-Free Option: Substitute the all-purpose flour with a 1:1 gluten-free baking flour blend. I’ve used Bob’s Red Mill 1-to-1 Baking Flour with great results. Make sure your graham crackers are also gluten-free.
- Add Some Heat: Sprinkle ½ teaspoon of cayenne pepper or cinnamon into the flour mixture for a spicy kick. The warmth pairs surprisingly well with the chocolate and marshmallow.
- Nutty Twist: Fold ½ cup of toasted pecans or walnuts into the batter along with the dry ingredients. The crunch adds a lovely texture contrast.
- Mint Chocolate Version: Use mint-flavored chocolate bars (like Andes or a mint chocolate bar) instead of regular semi-sweet. The cool mint with the toasted marshmallow is a surprisingly good combo.
Serving & Storage Suggestions
These brown butter s’mores blondies are incredibly versatile when it comes to serving. Here’s how to enjoy them at their best:
Serving: These are delicious at room temperature, but I actually prefer them slightly warm. Pop a blondie in the microwave for 10-15 seconds to soften the marshmallow and chocolate. Serve them with a scoop of vanilla ice cream for an extra-decadent dessert. They’re also amazing crumbled over a bowl of vanilla yogurt or used as a topping for brownie sundaes.
Storage: Store leftover blondies in an airtight container at room temperature for up to 3 days. Place a piece of bread in the container to help keep them soft—the bread absorbs excess moisture and prevents the blondies from drying out. Replace the bread every day if you’re storing them longer.
Freezing: These blondies freeze beautifully. Wrap individual bars tightly in plastic wrap, then place them in a freezer-safe bag or container. They’ll keep for up to 3 months. To thaw, simply leave them at room temperature for about 30 minutes, or microwave for 20-30 seconds straight from frozen.
Reheating: For that fresh-from-the-oven experience, reheat a blondie in a 300°F oven for 5-7 minutes. This re-melts the chocolate and marshmallow without drying out the blondie base. Avoid the microwave for reheating multiple bars—it tends to make them rubbery.
Nutritional Information & Benefits
While these are definitely a treat, here’s a rough estimate of what you’re getting per serving (based on 16 bars):
- Calories: Approximately 320 per bar
- Fat: 18g (11g saturated)
- Carbohydrates: 38g (25g sugar)
- Protein: 4g
- Fiber: 1g
The brown butter actually offers a small benefit—browning the butter breaks down some of the milk solids, making them easier to digest for some people. The chocolate provides antioxidants, and the eggs add a bit of protein. That said, these are an indulgence, and that’s perfectly okay. Life is too short to skip dessert, and these blondies are worth every single calorie.
Conclusion
These brown butter s’mores blondies are more than just a dessert—they’re a little piece of nostalgia you can make in your own kitchen. They capture everything we love about s’mores—the crunch, the gooeyness, the chocolatey goodness—but in an easy, shareable bar form that doesn’t require a campfire or a perfectly toasted marshmallow.
I’ve made these for every occasion imaginable, and they never fail to bring smiles. Whether you’re making them for a summer party, a cozy winter night, or just because you need a little comfort, I promise they’ll deliver. The brown butter adds a touch of sophistication, but at their heart, they’re still that simple, joyful campfire treat we all grew up loving.
I’d love to hear how yours turn out! Leave a comment below and let me know if you tried any variations or if these became a new favorite in your household. Don’t forget to share this recipe with a friend who loves s’mores as much as you do. Happy baking!
Frequently Asked Questions
Can I use salted butter instead of unsalted?
Yes, you can. Just reduce the added salt in the recipe to ¼ teaspoon to avoid making the blondies too salty. The browning process works the same way with salted butter.
Why did my blondies turn out dry?
Dry blondies are usually the result of overbaking or overmeasuring the flour. Make sure you spoon and level your flour rather than scooping it directly from the bag. Also, pull the blondies out of the oven when the center still looks slightly underdone—they’ll continue to set as they cool.
Can I make these ahead of time?
Absolutely! These blondies actually taste even better the next day after the flavors have had time to meld. Bake them a day ahead, let them cool completely, and store them in an airtight container at room temperature.
How do I get clean cuts when cutting the blondies?
Use a sharp knife and wipe it clean between each cut. For the cleanest slices, chill the blondies in the refrigerator for 30 minutes before cutting. This firms up the marshmallow and chocolate so they don’t stick to the knife.
Can I use chocolate chips instead of chopped chocolate bars?
You can, but I don’t recommend it. Chocolate chips contain stabilizers that help them hold their shape, so they don’t melt into those beautiful, gooey pools of chocolate like chopped bars do. If you only have chips, use them—they’ll still taste great, but the texture will be different.
Pin This Recipe!
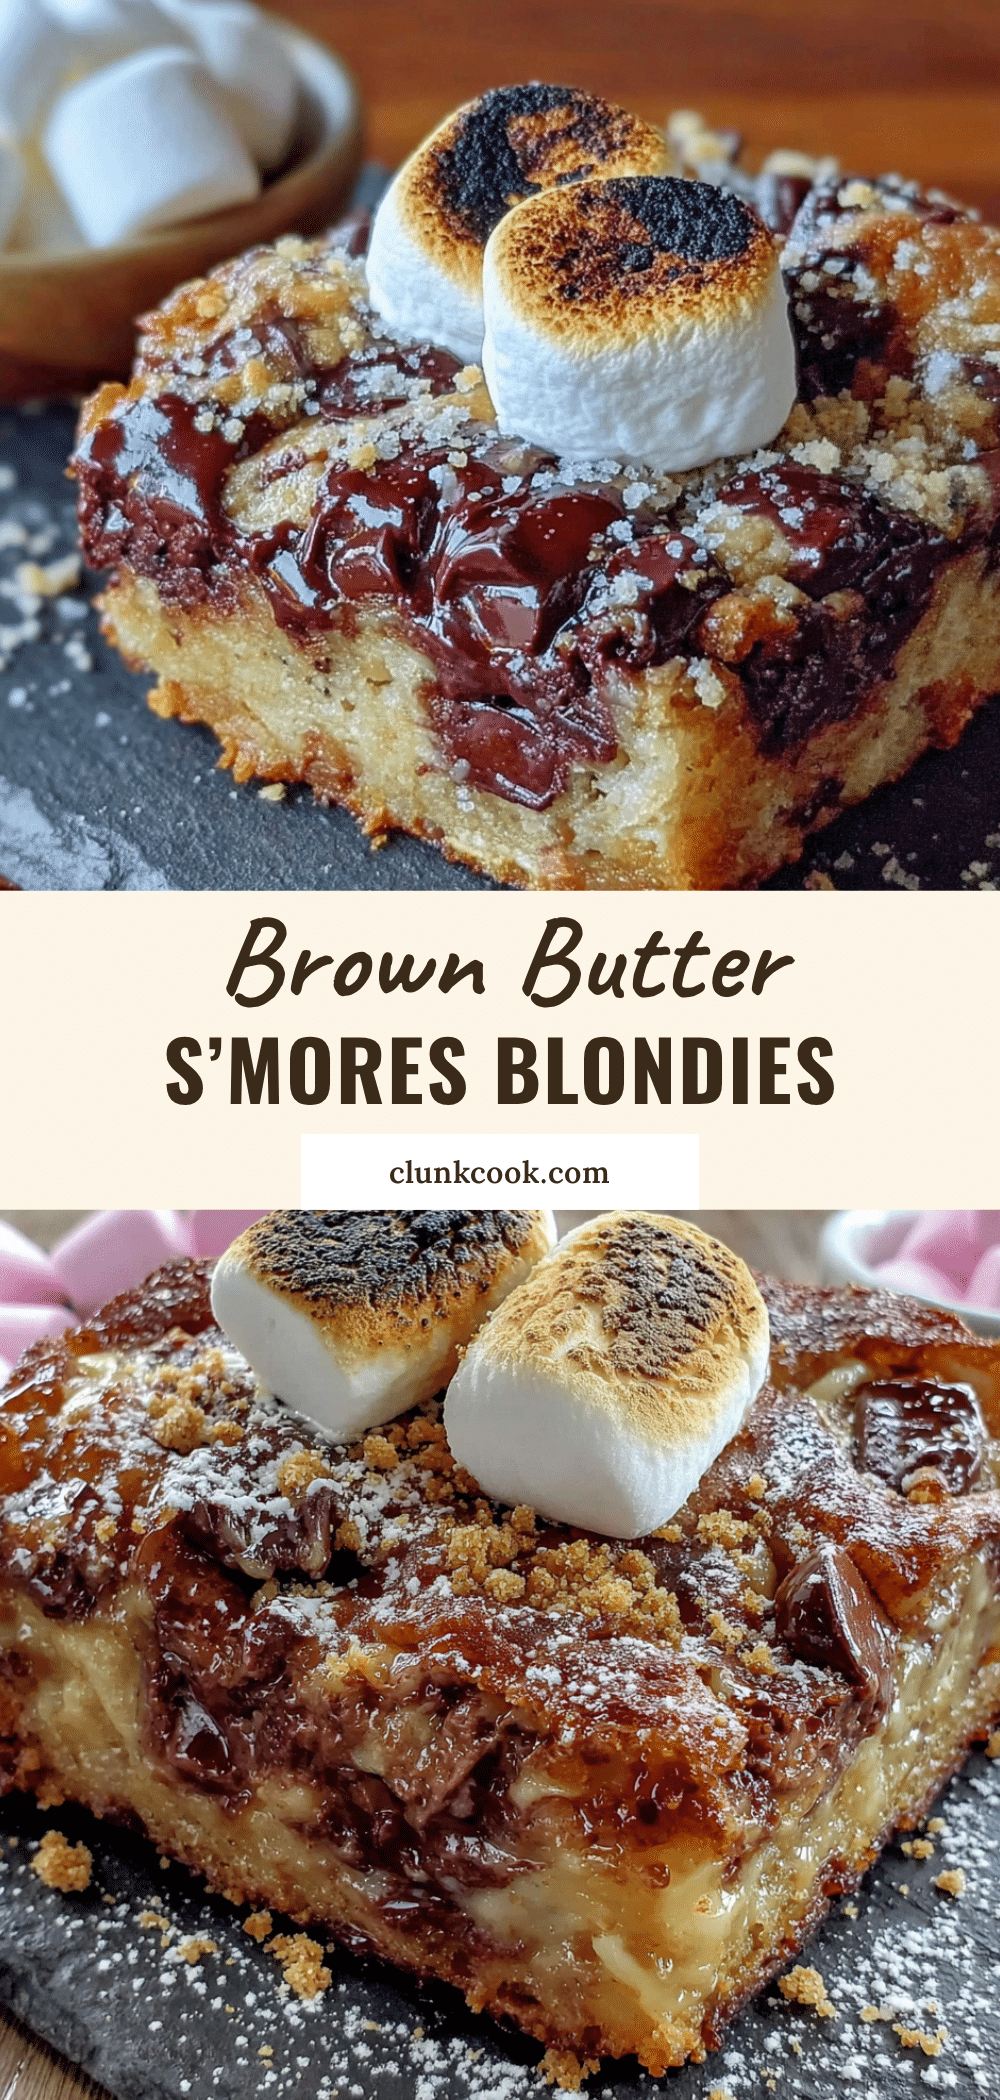
Best Brown Butter Smores Blondies (Easy Recipe)
These brown butter s’mores blondies capture the magic of a campfire treat in an easy, oven-baked bar form. The nutty brown butter adds a sophisticated depth that perfectly complements the gooey marshmallow, rich chocolate, and crunchy graham cracker layers.
- Prep Time: 15 minutes
- Cook Time: 25 minutes
- Total Time: 40 minutes
- Yield: 16 servings 1x
- Category: Dessert
- Cuisine: American
Ingredients
- 1 cup (2 sticks or 226g) unsalted butter
- 1 ¼ cups (250g) light brown sugar, packed
- ¼ cup (50g) granulated sugar
- 2 large eggs, at room temperature
- 2 teaspoons vanilla extract
- 1 ½ cups (188g) all-purpose flour
- 1 teaspoon baking powder
- ½ teaspoon salt
- 1 ½ cups crushed graham crackers (about 8 full sheets)
- 2 semi-sweet chocolate bars (about 4 oz each), roughly chopped
- 1 ½ cups mini marshmallows
- Flaky sea salt (optional, for topping)
Instructions
- Preheat your oven to 350°F (175°C). Line a 9×13-inch baking pan with parchment paper, leaving a 2-inch overhang on the long sides.
- Brown the butter: Place the butter in a light-colored saucepan over medium heat. Stir occasionally until the butter melts, foams, and turns a deep amber color with golden-brown specks, about 5-7 minutes. Remove from heat immediately and pour into a heatproof bowl. Let cool for 10 minutes.
- In a large mixing bowl, combine the cooled brown butter with the packed brown sugar and granulated sugar. Whisk vigorously for about 1 minute until the mixture looks like wet sand.
- Add the eggs and vanilla extract to the bowl. Whisk until the batter is smooth and glossy, about 30 seconds.
- Sprinkle the flour, baking powder, and salt over the wet mixture. Fold gently with a rubber spatula until just combined and no streaks of flour remain. Do not overmix.
- Spread about two-thirds of the batter evenly into the prepared pan.
- Sprinkle the crushed graham crackers evenly over the batter, then scatter the chopped chocolate pieces, and finally distribute the mini marshmallows on top.
- Drop spoonfuls of the remaining batter over the marshmallow and chocolate layer. Gently spread as best you can; it’s okay if some filling peeks through.
- Bake for 22-25 minutes, until the edges are golden brown and set. The center may still look slightly underdone. A toothpick inserted into the center should come out with a few moist crumbs.
- Cool completely in the pan on a wire rack for at least 2 hours. This allows the blondies to set properly.
- Once cool, use the parchment paper handles to lift the blondie block out of the pan. Place on a cutting board and cut into squares with a sharp knife. Wipe the knife clean between cuts for neat edges.
Notes
Watch the butter carefully when browning—it can go from perfect to burnt in seconds. Don’t skip cooling the brown butter to avoid scrambling the eggs. For extra gooey marshmallows, place the cooled blondies under the broiler for 30-60 seconds, watching closely. Store in an airtight container at room temperature for up to 3 days, or freeze for up to 3 months.
Nutrition
- Serving Size: 1 bar
- Calories: 320
- Sugar: 25
- Sodium: 180
- Fat: 18
- Saturated Fat: 11
- Carbohydrates: 38
- Fiber: 1
- Protein: 4
Keywords: brown butter, s'mores, blondies, easy dessert, bar cookies, graham cracker, marshmallow, chocolate


