Love this? Save it for later!
Share the inspiration with your friends
There used to be a tiny coffee shop tucked into a converted garage on a side street in Portland that made the most incredible pumpkin donuts every fall. When they closed suddenly two years ago—just a handwritten sign on the door saying “Thanks for the memories”—I honestly felt a little lost. Those donuts were my whole autumn ritual. After twelve tries—including one batch that came out looking like sad hockey pucks—I finally cracked the code. These baked pumpkin donuts with maple glaze taste exactly like the ones I used to stand in line for, and honestly, they might be even better.
I remember the morning I finally got it right. It was raining, my kitchen was a disaster, and I had pumpkin puree on my glasses. But when I pulled that first tray out of the oven and the whole house smelled like cinnamon and nutmeg and everything good about fall? I actually teared up a little. Maybe you’ve been there—that feeling when a recipe you’ve been chasing finally clicks into place. It’s like welcoming an old friend back into your life.
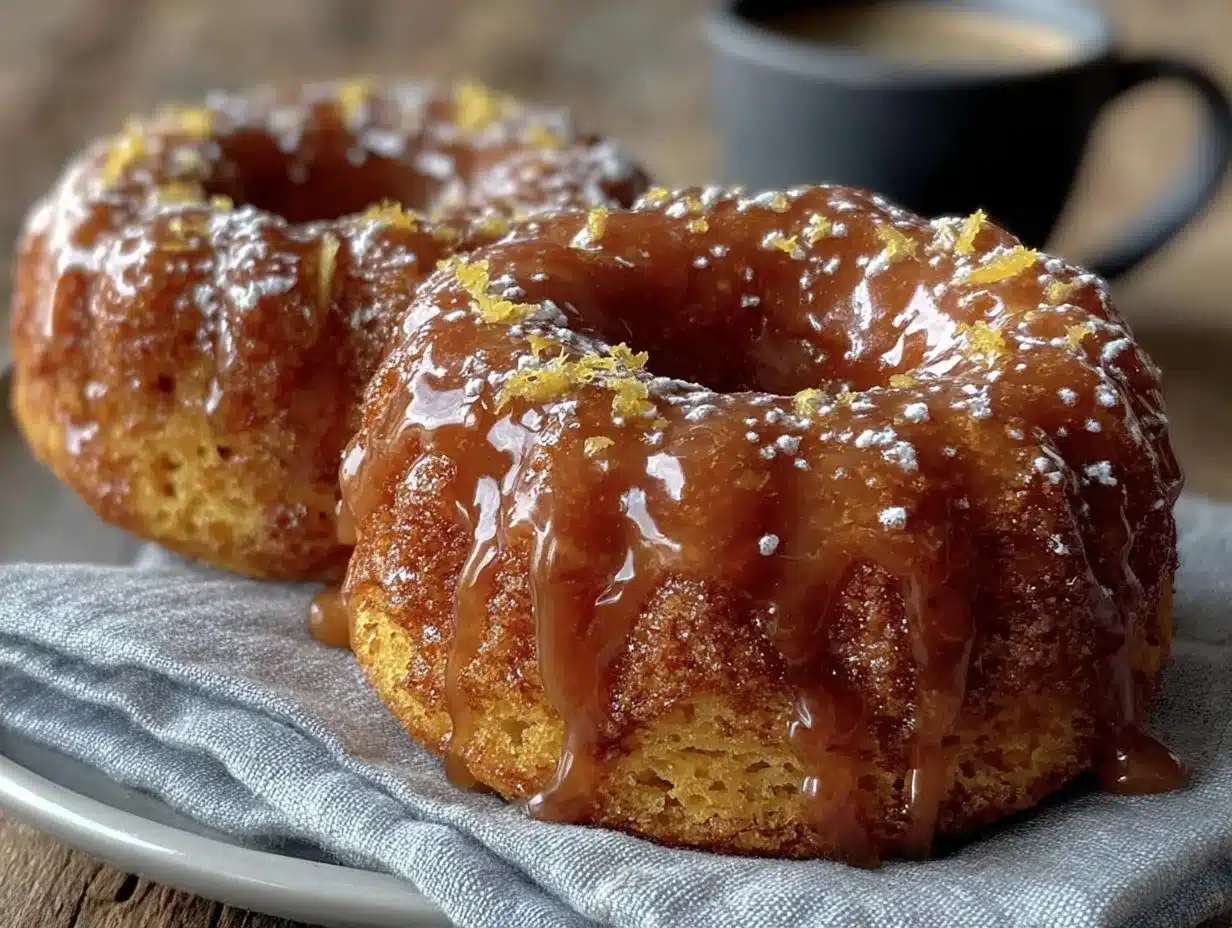
These aren’t your average pumpkin donuts. They’re soft and cakey with that perfect tender crumb, coated in a glossy maple glaze that soaks in just enough to make every bite unforgettable. The secret? A combination of brown sugar and pumpkin that creates this incredible depth of flavor without being overly sweet. I’ve been making them every weekend since that rainy morning, and they’ve become my signature fall treat. Honestly, once you try these, you’ll understand why I couldn’t let that coffee shop memory go.
Why You’ll Love These Baked Pumpkin Donuts
Let me tell you why these baked pumpkin donuts with maple glaze have become my most-requested fall recipe. I’ve tested this recipe more times than I care to admit—my neighbors have become very willing taste testers—and every single batch has disappeared within hours.
- Quick & Easy : These come together in under 30 minutes from start to finish. No yeast, no rising time, no complicated techniques. Perfect for those mornings when you want something special without spending hours in the kitchen.
- Simple Ingredients : You probably already have most of these in your pantry right now. Canned pumpkin, basic baking staples, and maple syrup. No fancy grocery store runs required.
- Perfect for Fall Mornings : Whether it’s a cozy Saturday breakfast, a Thanksgiving brunch, or just a Tuesday that needs a little extra warmth, these donuts deliver that autumn feeling in every bite.
- Crowd-Pleaser : I brought these to a potluck last month and three different people asked for the recipe before I even sat down. Kids love them, adults love them, even my friend who claims she doesn’t like pumpkin devoured three.
- Unbelievably Delicious : The texture is what gets everyone. They’re soft and tender on the inside with that slight crust from the glaze. The pumpkin flavor is present but not overwhelming, and the maple glaze adds this rich sweetness that makes you close your eyes after the first bite.
What makes these different from other pumpkin donut recipes is the technique. Instead of using oil, I use melted butter for richness, and I’ve found that letting the batter rest for just five minutes before baking creates a more tender crumb. Plus, the maple glaze isn’t just a thin drizzle—it’s a generous coating that becomes this slightly crackly shell as it sets. It’s comfort food reimagined, faster and easier but with the same soul-soothing satisfaction.
What Ingredients You Will Need
This recipe uses simple, wholesome ingredients that work together to create that perfect pumpkin donut experience. Most of these are pantry staples, which makes these donuts perfect for spontaneous baking cravings.
For the Pumpkin Donuts
- All-purpose flour, 1 ¾ cups (220g) – Provides structure without making the donuts tough. Spoon and level your flour for best results.
- Granulated sugar, ½ cup (100g) – Adds sweetness and helps create that tender crumb.
- Light brown sugar, ½ cup (100g), packed – This is my secret weapon. The molasses in brown sugar adds depth and keeps the donuts moist. I use Domino brand, but any good brown sugar works.
- Baking powder, 1 ½ teaspoons – The main leavening agent that gives these donuts their rise.
- Baking soda, ½ teaspoon – Works with the acidity in the pumpkin for extra lift.
- Pumpkin pie spice, 2 teaspoons – You can use store-bought or make your own blend. I actually prefer making my own with cinnamon, nutmeg, ginger, and a tiny pinch of cloves.
- Ground cinnamon, 1 teaspoon – Because you can never have too much cinnamon in pumpkin recipes.
- Salt, ½ teaspoon – Balances the sweetness and enhances all the flavors.
- Canned pumpkin puree, 1 cup (240g) – Make sure you’re using 100% pure pumpkin, not pumpkin pie filling. Libby’s is my go-to brand for consistent results.
- Large eggs, 2, at room temperature – Room temperature eggs incorporate more evenly into the batter.
- Unsalted butter, ½ cup (113g), melted and slightly cooled – Adds richness and that melt-in-your-mouth texture.
- Milk, ¼ cup (60ml) – Whole milk works best, but 2% is fine too. For a dairy-free version, use oat milk.
- Vanilla extract, 1 teaspoon – Pure vanilla makes a difference here. Skip the imitation stuff for this recipe.
For the Maple Glaze
- Powdered sugar, 1 ½ cups (180g), sifted – Sifting prevents lumps in your glaze. Trust me on this one.
- Pure maple syrup, 3 tablespoons – Use the real stuff, not pancake syrup. Grade A dark amber gives the best maple flavor. I love the flavor from Maple Grove Farms.
- Milk, 1-2 tablespoons – Just enough to get the right consistency. Start with 1 tablespoon and add more if needed.
- Vanilla extract, ½ teaspoon – A little extra flavor boost.
- Pinch of salt – Sounds weird, but it balances the sweetness beautifully.
Equipment Needed
Here’s what you’ll need to make these baked pumpkin donuts. Don’t worry if you don’t have everything—I’ve included alternatives for the specialized stuff.
- Donut pan (standard 6-cavity size) – This is the only specialized equipment you’ll need. I use a Wilton non-stick pan and it works great. If you don’t have one, you can actually bake these as muffins in a standard muffin tin—just adjust the baking time to about 15-18 minutes.
- Two mixing bowls (one medium, one large) – For combining wet and dry ingredients separately.
- Whisk – For mixing the dry ingredients and the glaze.
- Rubber spatula – For folding the batter together without overmixing.
- Piping bag or zip-top bag – For filling the donut cavities cleanly. A zip-top bag with the corner snipped off works perfectly.
- Cooling rack – Essential for letting the glaze set properly. If you don’t have one, parchment paper works in a pinch.
- Measuring cups and spoons – Accurate measurements matter in baking.
I’ve been using the same donut pan for about five years now, and a little tip: hand wash it instead of putting it in the dishwasher. The non-stick coating lasts much longer that way. If you’re on a budget, the $10 pan from Target works just as well as the expensive ones.
Preparation Method
Let me walk you through making these baked pumpkin donuts step by step. I’ve included all the little details I wish someone had told me when I was first figuring this out.
-
Preheat your oven to 350°F (175°C) and lightly grease your donut pan with non-stick spray. I like to use the baking spray with flour in it for extra insurance. Place the pan on a baking sheet for easier handling.
-
In a medium bowl, whisk together the flour, granulated sugar, brown sugar, baking powder, baking soda, pumpkin pie spice, cinnamon, and salt. Make sure there are no lumps of brown sugar—I use my fingers to break up any clumps. This ensures even distribution of all the dry ingredients.
-
In a large bowl, combine the pumpkin puree, eggs, melted butter, milk, and vanilla extract. Whisk until smooth and well combined. The mixture should look creamy and uniform. If your butter seizes up a bit when it hits the cold pumpkin, don’t panic—just keep whisking and it’ll come together.
-
Pour the dry ingredients into the wet ingredients and fold together with a rubber spatula. Here’s the important part: mix only until you don’t see any more streaks of flour. Overmixing will make your donuts tough. A few tiny lumps are totally fine. The batter will be thick and fluffy—that’s exactly what you want.
-
Let the batter rest for 5 minutes. This is my secret step that I discovered by accident when I got distracted by a phone call. The resting time allows the flour to fully hydrate and the leavening agents to activate, which creates a more tender donut. Trust me on this one.
-
Transfer the batter to a piping bag or a zip-top bag with the corner snipped off. Pipe the batter into the prepared donut cavities, filling each about ¾ full. Don’t overfill—these donuts rise, and you want that classic donut shape with the hole in the middle. If you have extra batter, you can bake a second batch.
-
Bake for 10-12 minutes, or until the donuts spring back when lightly touched and a toothpick inserted into the thickest part comes out clean. The edges should be lightly golden. My oven runs hot, so I start checking at 10 minutes.
-
Let the donuts cool in the pan for 5 minutes, then transfer them to a cooling rack. This short rest in the pan helps them set without sticking. Gently run a knife around the edges if needed.
-
While the donuts cool, make the maple glaze. In a medium bowl, whisk together the sifted powdered sugar, maple syrup, vanilla extract, and salt. Add milk 1 tablespoon at a time until you reach a thick but pourable consistency. The glaze should coat the back of a spoon and slowly drip off. If it’s too thin, add more powdered sugar; if too thick, add more milk.
-
Once the donuts are completely cool (about 10 minutes), dip each one top-side down into the glaze. Let the excess drip off for a few seconds, then place the donut back on the cooling rack, glazed side up. The glaze will set in about 15-20 minutes, forming that beautiful crackly shell.
One thing I learned the hard way: don’t glaze the donuts while they’re still warm. The glaze will just soak in and disappear, leaving you with sad, sticky donuts. Patience pays off here.
Cooking Tips & Techniques
After making these baked pumpkin donuts more times than I can count, I’ve collected some tips that make the process smoother and the results more consistent.
Room temperature ingredients matter. I know, I know, everyone says this. But here’s why it actually matters: cold eggs and milk will seize the melted butter, creating lumps in your batter. Take your eggs and milk out of the fridge about 30 minutes before you start. If you forget (I do all the time), place the eggs in a bowl of warm water for 5 minutes and microwave the milk for 10 seconds.
Don’t skip sifting the powdered sugar. I made this mistake exactly once. Lumpy powdered sugar creates lumpy glaze, and you’ll be picking out little white clumps with a toothpick. Sifting takes 30 seconds and saves you so much frustration.
Use a cookie scoop for even portions. If you don’t have a piping bag, a small cookie scoop works great for filling the donut cavities. It’s less messy and gives you perfectly even portions every time.
Watch your baking time carefully. These donuts go from perfectly done to overbaked very quickly. Overbaked pumpkin donuts become dry and crumbly. Start checking at the 10-minute mark, and remember that they’ll continue cooking slightly in the hot pan after you take them out.
Double the batch if you’re feeding a crowd. These disappear fast. I made a single batch for a small gathering once and they were gone in ten minutes. Now I always make at least 12 donuts.
Let the glaze set completely before stacking. I learned this lesson when I stacked two glazed donuts on top of each other and ended up with a sticky, gluelike mess. Give the glaze a full 20 minutes to set before moving them.
Variations & Adaptations
One of the best things about this recipe is how adaptable it is. Here are some variations I’ve tried and loved.
Gluten-Free Version : Substitute the all-purpose flour with a 1:1 gluten-free baking flour blend. I’ve had great results with Bob’s Red Mill 1:1 Baking Flour. The texture is slightly more delicate, but the flavor is spot-on. Add an extra tablespoon of milk to compensate for the drier gluten-free flour.
Dairy-Free Version : Use melted coconut oil or vegan butter instead of regular butter, and swap the milk for oat milk or almond milk. The coconut oil adds a subtle flavor that actually works really well with the pumpkin and maple. Just make sure your vegan butter is unsalted.
Spice It Up : For a more intense pumpkin spice flavor, add an extra teaspoon of pumpkin pie spice and a pinch of cardamom. I tried this on a whim last fall and it was incredible—the cardamom adds this warm, almost floral note that takes the donuts to another level.
Chocolate Drizzle Version : Instead of the maple glaze, drizzle the cooled donuts with melted dark chocolate and a sprinkle of flaky sea salt. The bittersweet chocolate pairs beautifully with the pumpkin. My husband actually prefers this version.
Mini Donuts : Use a mini donut pan and bake for 6-8 minutes instead of 10-12. These are perfect for parties or for portion control (if that’s your thing). You’ll get about 24 mini donuts from one batch of batter.
Pumpkin Muffins : If you don’t have a donut pan, pour the batter into a greased muffin tin and bake for 15-18 minutes. Dip the tops in the maple glaze just like you would with donuts. They’re not as cute, but they taste just as good.
Serving & Storage Suggestions
These baked pumpkin donuts are best enjoyed the day they’re made, but they still hold up well for a day or two if stored properly.
Serving : Serve these donuts at room temperature or slightly warm. If you want to warm them up, pop them in a 300°F oven for 3-4 minutes—the microwave will make the glaze sticky and weird. They’re perfect with a hot cup of coffee or a chai latte. I also love serving them alongside a bowl of fresh fruit for a more balanced breakfast.
Storage : Store unglazed donuts in an airtight container at room temperature for up to 2 days. Glazed donuts should be stored in a single layer in an airtight container, with parchment paper between layers if you need to stack them. The glaze can get a bit tacky in storage, but they’ll still taste amazing.
Freezing : These donuts freeze beautifully. Freeze unglazed donuts in a single layer on a baking sheet, then transfer to a freezer-safe bag for up to 3 months. When you’re ready to enjoy them, thaw at room temperature and glaze fresh. I always keep a batch in my freezer for surprise guests or lazy Sunday mornings.
Reheating : For the best texture, reheat unglazed donuts in a 350°F oven for 5 minutes. If they’re already glazed, just let them come to room temperature naturally—the heat will melt the glaze.
One thing I’ve noticed: the flavors actually deepen and meld together after a day. The pumpkin and spice become more pronounced, and the maple glaze settles into this perfect sweetness. If you can resist eating them all immediately, they’re even better the next day.
Nutritional Information & Benefits
Here’s the approximate nutritional breakdown for one glazed pumpkin donut (based on 12 donuts per batch). Keep in mind these are estimates and can vary based on specific ingredients and brands used.
Per donut : Approximately 220 calories, 8g fat, 35g carbohydrates, 3g protein, 1g fiber, 18g sugar.
These donuts aren’t health food, but they do have some redeeming qualities. Pumpkin is packed with vitamin A, which supports eye health and immune function. It’s also a good source of fiber and antioxidants. The maple syrup in the glaze contains antioxidants and minerals like zinc and manganese, though let’s be honest—we’re eating these for the taste, not the nutrition.
For a slightly lighter version, you can reduce the sugar in the donut batter by ¼ cup and use a lighter hand with the glaze. I’ve also made these with whole wheat pastry flour, which adds a bit more fiber and a nutty flavor that pairs nicely with the pumpkin.
If you have dietary restrictions, the gluten-free and dairy-free variations above work beautifully. Just note that the nutritional values will change with substitutions.
Conclusion
These baked pumpkin donuts with maple glaze have become my autumn ritual, and I hope they become yours too. They’re warm, spiced, and glazed to perfection—everything you want in a fall treat without the hassle of deep frying or complicated techniques.
What I love most about this recipe is how forgiving it is. Whether you’re an experienced baker or someone who’s never made donuts before, these come together easily and always impress. The smell alone will make your whole house feel like a cozy fall day.
I’d love to hear how these turn out for you! Did you try any of the variations? Did you come up with your own twist? Drop a comment below and let me know—I read every single one and I love seeing your creations. And if you share these on social media, tag me so I can cheer you on.
Happy baking, friends. Here’s to cozy mornings, warm donuts, and the simple joy of a recipe that just works.
Frequently Asked Questions
Can I use fresh pumpkin instead of canned?
Yes, you can use fresh pumpkin puree. Just make sure to drain it well after blending—fresh pumpkin tends to be more watery than canned. You want it to be about the same consistency as canned pumpkin puree. Roast your pumpkin at 400°F until tender, then blend until smooth and strain through a cheesecloth if needed.
Why did my donuts stick to the pan?
This usually happens when the pan isn’t greased well enough. Make sure to use a generous amount of non-stick spray, especially in the detailed areas around the center hole. I also recommend using a baking spray that contains flour. Letting the donuts cool in the pan for exactly 5 minutes before removing them also helps prevent sticking.
Can I make the batter ahead of time?
I don’t recommend making the batter ahead of time. The leavening agents start working as soon as they’re mixed with the wet ingredients, so the batter needs to be baked immediately for the best rise and texture. You can, however, make the dry ingredient mix and the wet ingredient mix separately and combine them right before baking.
How do I know when the donuts are done baking?
The donuts are done when they spring back when lightly pressed with your finger and a toothpick inserted into the thickest part comes out clean or with just a few moist crumbs. The edges should be lightly golden. Start checking at the 10-minute mark, as oven temperatures can vary.
Can I use maple extract instead of real maple syrup?
You can, but I really recommend using real maple syrup for the best flavor. Maple extract can taste artificial and won’t give you the same depth of flavor. If you’re in a pinch, you can use ½ teaspoon of maple extract mixed with 3 tablespoons of milk or water, but the glaze won’t be quite as rich.
Pin This Recipe!
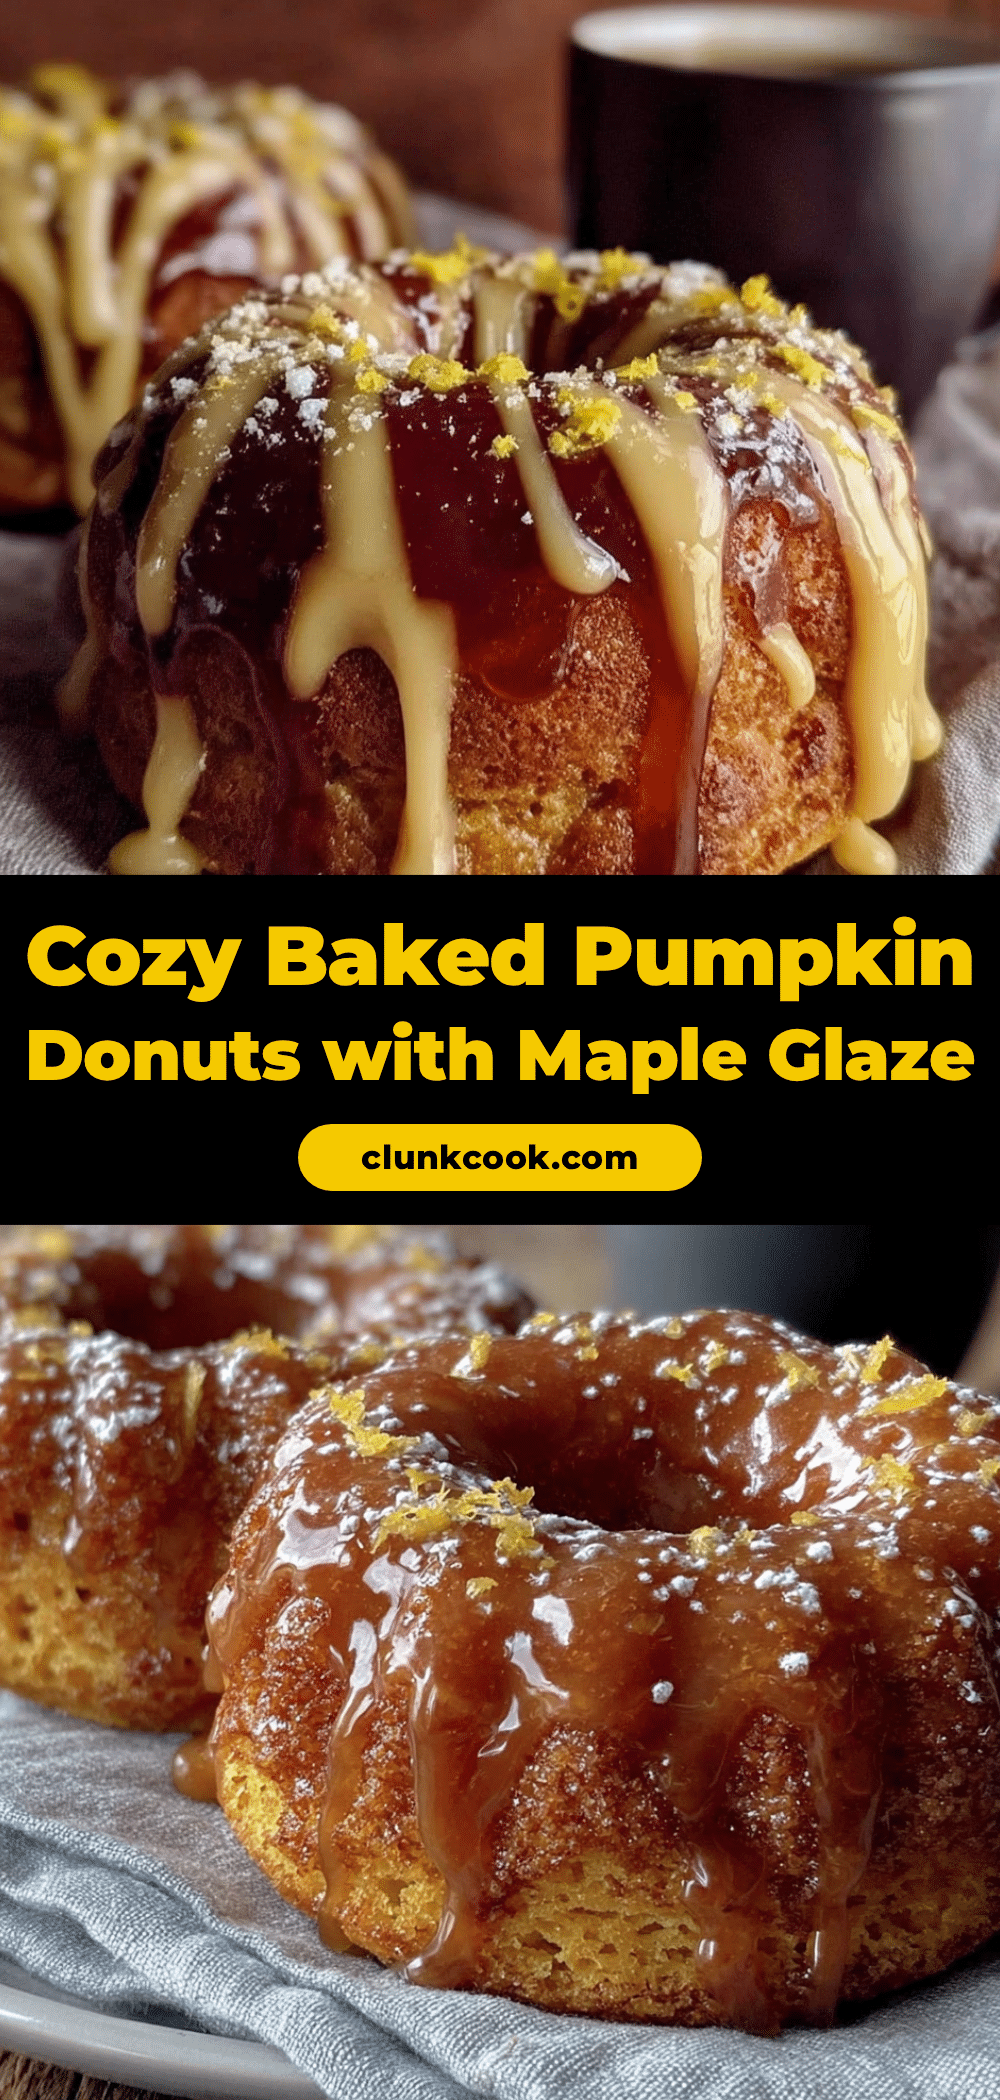
Cozy Baked Pumpkin Donuts with Easy Maple Glaze
Soft and cakey baked pumpkin donuts coated in a glossy maple glaze that soaks in just enough to make every bite unforgettable. These come together in under 30 minutes with simple pantry ingredients, perfect for fall mornings.
- Prep Time: 15 minutes
- Cook Time: 12 minutes
- Total Time: 27 minutes
- Yield: 12 donuts 1x
- Category: Dessert
- Cuisine: American
Ingredients
- 1 ¾ cups (220g) all-purpose flour
- ½ cup (100g) granulated sugar
- ½ cup (100g) light brown sugar, packed
- 1 ½ teaspoons baking powder
- ½ teaspoon baking soda
- 2 teaspoons pumpkin pie spice
- 1 teaspoon ground cinnamon
- ½ teaspoon salt
- 1 cup (240g) canned pumpkin puree (100% pure pumpkin)
- 2 large eggs, at room temperature
- ½ cup (113g) unsalted butter, melted and slightly cooled
- ¼ cup (60ml) milk (whole milk preferred)
- 1 teaspoon vanilla extract
- 1 ½ cups (180g) powdered sugar, sifted
- 3 tablespoons pure maple syrup
- 1–2 tablespoons milk
- ½ teaspoon vanilla extract
- Pinch of salt
Instructions
- Preheat your oven to 350°F (175°C) and lightly grease your donut pan with non-stick spray. Place the pan on a baking sheet for easier handling.
- In a medium bowl, whisk together the flour, granulated sugar, brown sugar, baking powder, baking soda, pumpkin pie spice, cinnamon, and salt. Break up any lumps of brown sugar with your fingers.
- In a large bowl, combine the pumpkin puree, eggs, melted butter, milk, and vanilla extract. Whisk until smooth and well combined.
- Pour the dry ingredients into the wet ingredients and fold together with a rubber spatula. Mix only until no streaks of flour remain. A few tiny lumps are fine. The batter will be thick and fluffy.
- Let the batter rest for 5 minutes.
- Transfer the batter to a piping bag or a zip-top bag with the corner snipped off. Pipe the batter into the prepared donut cavities, filling each about ¾ full.
- Bake for 10-12 minutes, or until the donuts spring back when lightly touched and a toothpick inserted into the thickest part comes out clean. The edges should be lightly golden.
- Let the donuts cool in the pan for 5 minutes, then transfer them to a cooling rack.
- While the donuts cool, make the maple glaze. In a medium bowl, whisk together the sifted powdered sugar, maple syrup, vanilla extract, and salt. Add milk 1 tablespoon at a time until you reach a thick but pourable consistency. The glaze should coat the back of a spoon and slowly drip off.
- Once the donuts are completely cool (about 10 minutes), dip each one top-side down into the glaze. Let the excess drip off for a few seconds, then place the donut back on the cooling rack, glazed side up. The glaze will set in about 15-20 minutes.
Notes
Don’t glaze the donuts while they’re still warm or the glaze will soak in. Room temperature ingredients matter for best texture. Let the batter rest for 5 minutes before baking for a more tender crumb. For gluten-free version, use a 1:1 gluten-free baking flour blend. For dairy-free, use melted coconut oil or vegan butter and oat milk or almond milk.
Nutrition
- Serving Size: 1 donut
- Calories: 220
- Sugar: 18
- Sodium: 180
- Fat: 8
- Saturated Fat: 4.5
- Carbohydrates: 35
- Fiber: 1
- Protein: 3
Keywords: baked pumpkin donuts, maple glaze, fall donuts, pumpkin spice, easy donut recipe, baked donuts, autumn breakfast


