Love this? Save it for later!
Share the inspiration with your friends
I was elbow-deep in packing tape, surrounded by bubble wrap and the general chaos of moving into my first apartment, when my new neighbor—a retired plumber named Sal—knocked on my door. He wasn’t holding a welcome casserole or a bottle of wine. Instead, he was holding a single, very brown banana and a greasy-looking index card. “You look like you need some comfort,” he said, shoving them both into my hands. “And this banana is begging to become bread. My wife’s recipe. Don’t overmix it, kid.” And just like that, the recipe for what I now call my Perfect One-Bowl Banana Walnut Bread entered my life. Honestly, I was skeptical. The card was splattered with what I hoped was vanilla extract, and the handwriting was a scrawl. But Sal was right. I did need comfort, and the last place I expected to find a life-changing recipe was from a plumber on moving day.
I made that banana walnut bread that very night, using a fork I’d managed to unpack and a mixing bowl I’d wrapped in a t-shirt. The kitchen smelled less like cardboard and more like home. That first bite—warm, tender, studded with toasted walnuts—was the first thing that felt right in that new, unfamiliar space. It’s been years since that day, and I’ve tweaked the original card a little, but the soul of the recipe remains. It’s the bread I make when I need to use up those spotty bananas on the counter, the one that disappears fastest at a potluck, and the one that, every single time, takes me right back to that cardboard-box-filled kitchen. Maybe you’ve got a similar story—a recipe that came from the most unexpected person at the perfect time. If not, let this be that recipe for you.
Why You’ll Love This Recipe
This isn’t just another banana bread recipe. After years of testing (and yes, a few dry, crumbly failures), I can confidently say this is the one. It’s the perfect balance of moist, tender crumb and nutty crunch, all made in a single bowl with zero fuss. It’s the kind of recipe you’ll memorize because you’ll make it that often.
- One-Bowl Wonder: No stand mixer, no sifting, no separate bowls for wet and dry ingredients. Just one bowl, a whisk, and a spatula. Less cleanup means more time to actually enjoy your bread.
- Perfectly Moist Every Time: The secret is in using very ripe bananas and melted butter. This combo ensures a dense, almost custard-like texture that stays moist for days—if it lasts that long.
- Simple Pantry Ingredients: You likely have everything you need right now. Flour, sugar, butter, eggs, baking soda, salt, and those sad bananas on your counter. No fancy extracts or hard-to-find flours.
- Foolproof for Beginners: This recipe is forgiving. Overmix it a little? It’ll still be good. Use slightly different sized bananas? It’ll still work. It’s the recipe I give to friends who say they can’t bake.
- Endlessly Customizable: The classic version with walnuts is a winner, but you can swap in chocolate chips, pecans, or even blueberries. I’ve got a whole section on variations below.
This banana walnut bread is the kind that makes you close your eyes after the first bite. It’s not just good—it’s the version you’ll want to make for every brunch, every bake sale, and every quiet Tuesday morning with a cup of coffee.
What Ingredients You Will Need
This recipe uses simple, honest ingredients to create something truly special. The magic is in the quality of your bananas and the technique, not a long list of specialty items.
- Ripe Bananas (3 large, about 1 ½ cups mashed): The browner, the better! Seriously, those spotty, almost-black bananas are what you want. They are sweeter and softer, which gives the bread its incredible moisture and natural sweetness. If your bananas aren’t ripe enough, you can roast them in a 300°F oven for 15-20 minutes until they soften and darken.
- Unsalted Butter (½ cup, 1 stick, melted): I always use unsalted butter so I can control the salt level. Melting the butter is a key step—it’s easier to mix and creates a denser, more tender crumb than creaming softened butter and sugar.
- Granulated Sugar (¾ cup): Standard white sugar provides the perfect sweetness and helps create a soft, tender texture. You can reduce it to ½ cup if your bananas are extremely sweet, but I find ¾ cup gives the best result.
- Large Eggs (2, room temperature): Room temperature eggs incorporate into the batter much more smoothly, creating a better emulsion. If you forget to take them out ahead of time, place them in a bowl of warm water for 5 minutes.
- Vanilla Extract (1 teaspoon): Pure vanilla extract adds a warm, aromatic depth that complements the banana flavor beautifully. I prefer Nielsen-Massey, but any good quality extract works.
- All-Purpose Flour (1 ½ cups): Regular all-purpose flour gives this bread its perfect structure. Spoon it into your measuring cup and level it off with a knife—don’t scoop directly from the bag or you’ll pack in too much flour and get a dry loaf.
- Baking Soda (1 teaspoon): This is our leavening agent. Make sure it’s fresh! To test, drop a little into vinegar—if it fizzes vigorously, it’s good to go.
- Salt (½ teaspoon): Salt is crucial in baking. It enhances all the flavors and balances the sweetness. Don’t skip it.
- Walnuts (¾ cup, chopped): I prefer toasting the walnuts for about 5 minutes in a dry pan before adding them to the batter. It brings out their nutty oils and makes them extra crunchy. You can leave them out for a plain banana bread, or swap them for pecans.
Equipment Needed
You don’t need a fancy bakery setup for this recipe. Here’s what you’ll need:
- Large Mixing Bowl: Any large bowl will do. I use a classic Pyrex glass bowl—it’s sturdy and easy to clean.
- Whisk and Rubber Spatula: A whisk for the wet ingredients and a spatula for folding in the flour and walnuts. A wooden spoon works in a pinch.
- 9×5-inch Loaf Pan: This is the standard size for banana bread. If you use an 8×4-inch pan, your bread will be taller and may need a few extra minutes to bake.
- Parchment Paper: Not strictly necessary, but it makes lifting the bread out of the pan a breeze. I leave an overhang on two sides for easy handles.
- Cooling Rack: Essential for letting the bread cool evenly so the bottom doesn’t get soggy.
- Measuring Cups and Spoons: For accuracy. Baking is a science, after all.
Preparation Method
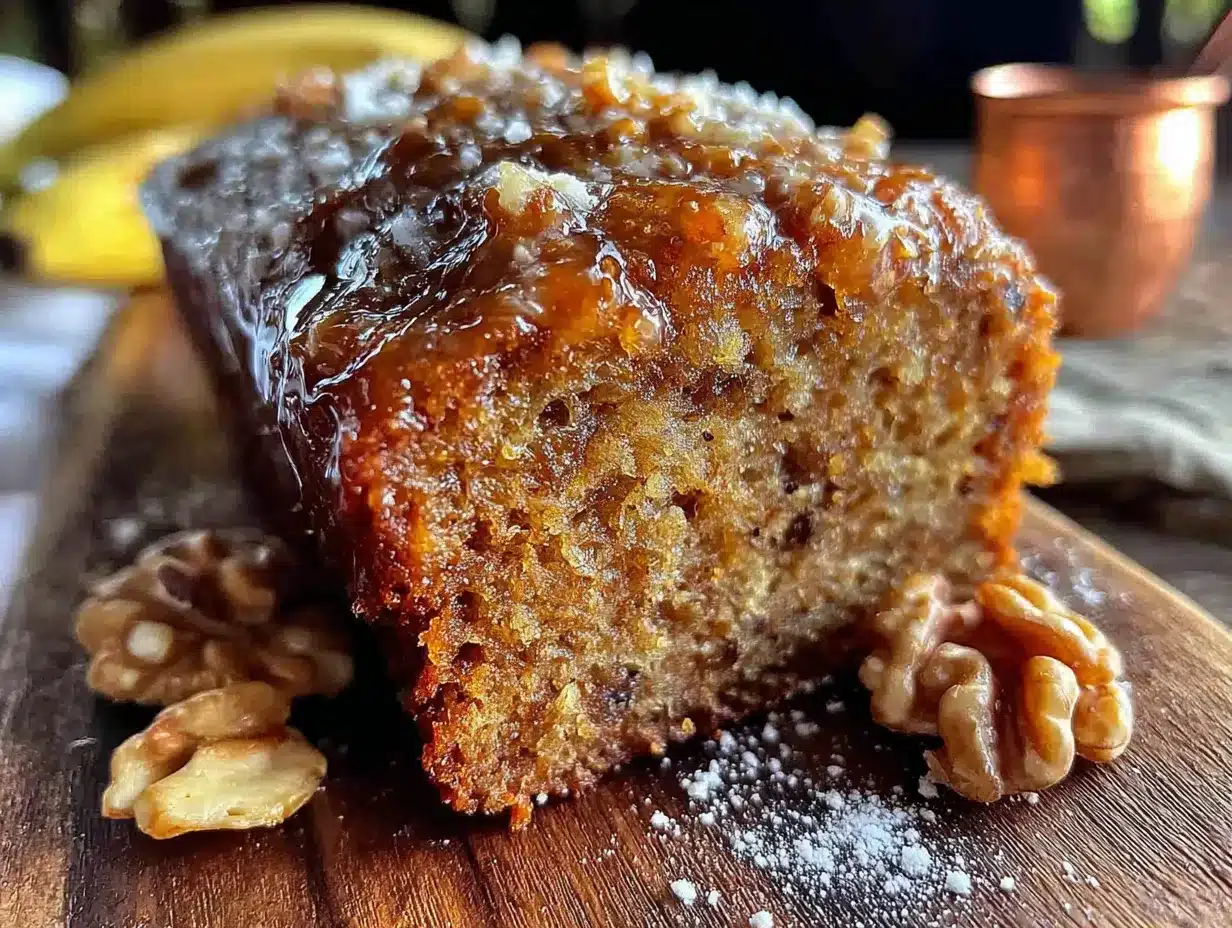
Let’s get baking! This is truly a one-bowl recipe, but we’ll do it in stages for the best results. Preheat your oven to 350°F (175°C) and grease your loaf pan or line it with parchment paper.
- Mash the bananas: In your large mixing bowl, add the three ripe bananas. Using a fork or a potato masher, mash them until they are smooth with just a few small lumps remaining. You want about 1 ½ cups of mashed banana. Don’t over-mash into a liquid—a little texture is good.
- Add the wet ingredients: Pour the melted (and slightly cooled) butter over the mashed bananas. Add the granulated sugar, the two room-temperature eggs, and the vanilla extract. Whisk everything together until it’s smooth and well combined. The mixture will look a little glossy. This takes about 30 seconds of whisking.
- Add the dry ingredients: Sprinkle the all-purpose flour, baking soda, and salt directly over the wet mixture. Do not stir yet. This is the moment to switch from your whisk to your rubber spatula.
- Fold gently: Using your spatula, gently fold the dry ingredients into the wet. The key word here is fold. Scrape the bottom and sides of the bowl, bringing the batter up and over. Stop mixing as soon as you see the last streaks of flour disappear. A few small lumps are totally fine. Overmixing at this stage develops gluten and will make your bread tough and dense. Trust me on this—I’ve made that mistake.
- Fold in the walnuts: Add the chopped, toasted walnuts to the batter. Give it just 2 or 3 gentle folds to distribute them evenly. The batter will be thick and slightly lumpy—that’s exactly what you want.
- Bake: Pour the batter into your prepared loaf pan and spread it into an even layer. Bake for 55-65 minutes. Here’s the tricky part: ovens vary. Start checking at 50 minutes. Your bread is done when a toothpick inserted into the center comes out clean or with just a few moist crumbs attached. The top should be a deep golden brown and cracked beautifully down the center.
- Cool: Let the bread cool in the pan on a wire rack for 15 minutes. Then, using the parchment paper overhang, lift the bread out of the pan and transfer it directly to the cooling rack. Let it cool completely before slicing—about 1 hour. I know it’s hard to wait, but slicing it warm will result in a gummy, crumbly mess.
Cooking Tips & Techniques
After making this banana walnut bread more times than I can count, I’ve picked up a few tricks that make a real difference.
- The Banana Ripeness Rule: Don’t use yellow bananas. Seriously. Green or yellow bananas haven’t developed enough sugar or softness. You want them to be heavily spotted or even mostly black. If you have the patience, let them sit on your counter for a few extra days. The flavor is incomparable.
- Don’t Overmix: This is the number one mistake I see. Once you add the flour, mix with a light hand. Overmixing develops gluten, which makes your bread tough and creates tunnels in the crumb. A lumpy batter makes a perfect loaf.
- Toast Your Nuts: It takes 5 minutes and it changes everything. Toasting walnuts brings out their natural oils and deepens their flavor. Just toss them in a dry skillet over medium heat for 3-5 minutes, shaking the pan frequently, until they are fragrant. Let them cool before adding to the batter.
- Check for Doneness Properly: A toothpick test is great, but also look for the edges of the bread pulling away from the pan. The top should spring back when lightly pressed. If the top is browning too quickly (after about 40 minutes), tent the pan loosely with aluminum foil.
- Room Temperature Matters: Cold eggs can seize the melted butter and create a lumpy batter. Room temperature eggs incorporate seamlessly. It’s a small step with a big payoff.
Variations & Adaptations
This recipe is a fantastic base for experimentation. Here are some of my favorite twists:
- Chocolate Chip Banana Bread: Swap the walnuts for ¾ cup of semi-sweet or dark chocolate chips. The combination of banana and chocolate is a classic for a reason. I’ve also done a mix of both walnuts and chips—delicious.
- Blueberry Banana Bread: Gently fold in 1 cup of fresh or frozen blueberries (don’t thaw them) along with the walnuts. Toss the blueberries in a tablespoon of flour first to prevent them from sinking to the bottom of the loaf.
- Gluten-Free Version: Substitute the all-purpose flour with a good 1:1 gluten-free baking flour blend (I like King Arthur’s Measure for Measure). The texture will be slightly more tender, but it’s still fantastic. Add 1 teaspoon of apple cider vinegar to help activate the baking soda.
- Spiced Banana Bread: Add 1 teaspoon of ground cinnamon, ½ teaspoon of ground nutmeg, and ¼ teaspoon of ground ginger to the flour mixture. This gives the bread a warm, chai-like flavor that’s perfect for fall.
- Vegan Adaptation: Use flax eggs (2 tablespoons ground flaxseed mixed with 6 tablespoons water) and substitute the butter with melted coconut oil or a neutral vegetable oil. The texture will be slightly denser but still very moist.
Serving & Storage Suggestions
This banana walnut bread is incredibly versatile. Here’s how to serve and store it for the best experience.
Serving: This bread is delicious at room temperature, but I love it slightly warm. Pop a slice in the microwave for 10-15 seconds or toast it lightly and spread with a pat of butter. It’s perfect with a cup of morning coffee, as an afternoon snack, or even as a simple dessert. For a special treat, serve it with a dollop of whipped cream or a drizzle of honey.
Storage: Store the completely cooled bread tightly wrapped in plastic wrap or aluminum foil at room temperature for up to 4 days. The moisture actually improves over the first day, so day-old banana bread is often even better. Do not refrigerate it—the cold air will dry it out.
Freezing: This bread freezes beautifully. Wrap the whole loaf (or individual slices) tightly in plastic wrap, then in a layer of aluminum foil, and place in a freezer-safe bag. It will keep for up to 3 months. To thaw, leave it on the counter for a few hours or pop a frozen slice directly into the toaster.
Nutritional Information & Benefits
While this is a treat, it does have some redeeming qualities. Here’s an approximate nutritional breakdown per slice (based on 10 slices):
Estimated per slice: Calories: 285 | Fat: 14g | Carbs: 37g | Fiber: 2g | Sugar: 18g | Protein: 5g
Health Benefits: Bananas are a great source of potassium and vitamin B6, which are important for heart health and energy levels. Walnuts are packed with omega-3 fatty acids and antioxidants, which support brain health. Using whole ingredients and controlling the sugar means this is a better-for-you alternative to many store-bought baked goods. It’s not health food, but it’s real food made with love.
Dietary Considerations: This recipe contains gluten, dairy, eggs, and tree nuts (walnuts). For allergies, please see the variations section for gluten-free, vegan, and nut-free adaptations.
Conclusion
This Perfect One-Bowl Banana Walnut Bread is more than just a recipe—it’s a little piece of comfort that you can create in under an hour. It’s the recipe I turn to when I need to use up those bananas, when I want to make a house smell like home, or when I just need a simple win in the kitchen. It’s forgiving, it’s delicious, and it’s yours to make your own. Whether you follow it exactly or add your own twist with chocolate chips or blueberries, I promise you’ll love the result.
I’d love to hear how it turns out for you! Did you try a variation? Did your bananas finally get brown enough? Let me know in the comments below. And if you loved this recipe, please share it with a friend who needs a little comfort bread in their life. Happy baking!
Frequently Asked Questions
Can I use frozen bananas?
Absolutely! Frozen bananas are perfect for banana bread. Thaw them completely, then drain off any excess liquid before mashing. The thawing process makes them even softer and sweeter.
Why did my banana bread sink in the middle?
This usually happens if the bread is underbaked or if there’s too much leavening (baking soda). Make sure your oven is fully preheated and that you measure your baking soda accurately. Also, don’t open the oven door during the first 40 minutes of baking.
Can I reduce the sugar?
Yes, you can reduce the sugar to ½ cup if your bananas are very ripe and sweet. You can also substitute up to half of the granulated sugar with brown sugar for a deeper, more caramel-like flavor.
How do I know when my bananas are ripe enough?
Look for bananas that are heavily spotted with brown or even mostly black. They should be soft to the touch and smell very sweet. If you’re unsure, it’s better to wait an extra day than to use under-ripe bananas.
Can I make this into muffins?
Yes! This batter works perfectly for muffins. Divide the batter among a greased or lined 12-cup muffin tin and bake at 350°F for 18-22 minutes, or until a toothpick comes out clean. You may get slightly fewer than 12 muffins depending on how full you fill the cups.
Pin This Recipe!
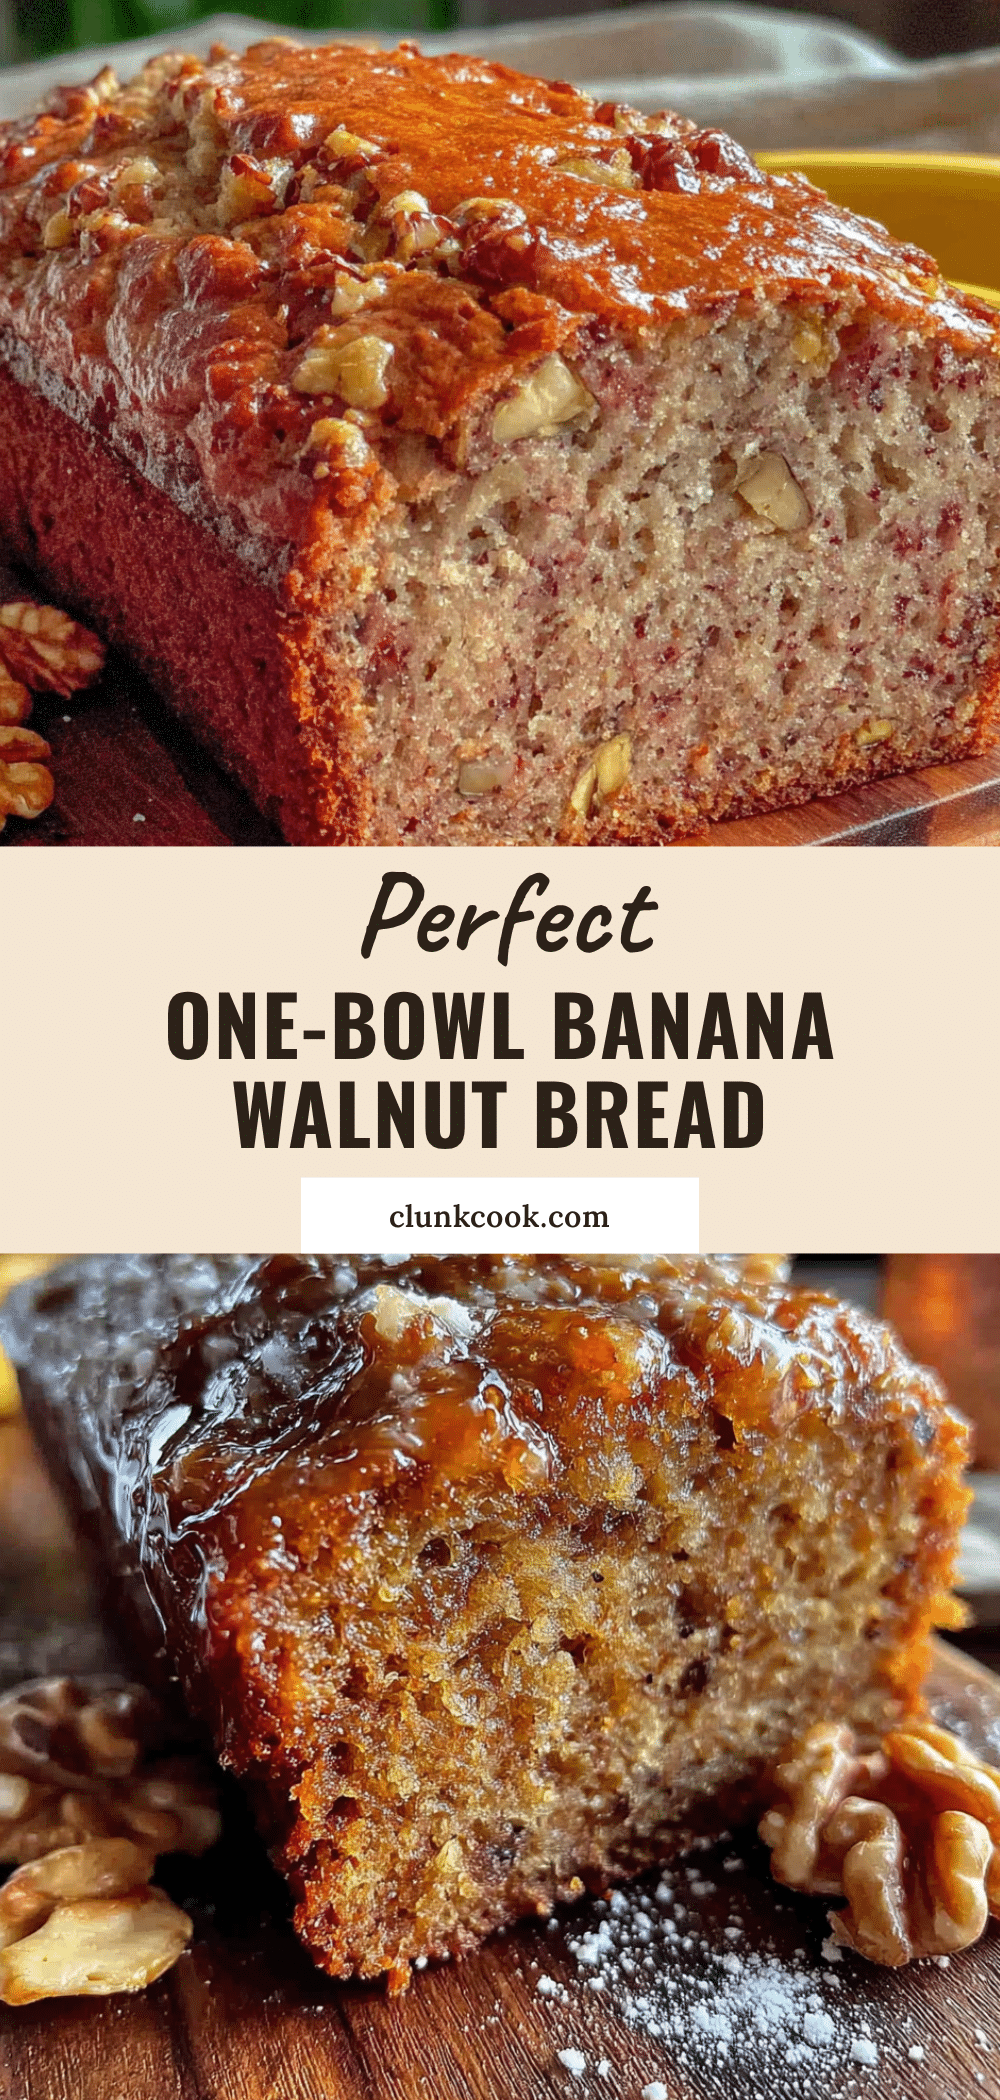
Perfect One-Bowl Banana Walnut Bread: Easy Homemade Recipe
This one-bowl banana walnut bread is incredibly moist, tender, and studded with toasted walnuts. It’s a foolproof recipe that comes together with simple pantry ingredients and is perfect for using up ripe bananas.
- Prep Time: 15 minutes
- Cook Time: 55-65 minutes
- Total Time: 1 hour 20 minutes
- Yield: 10 servings 1x
- Category: Dessert
- Cuisine: American
Ingredients
- 3 large ripe bananas (about 1 ½ cups mashed)
- ½ cup (1 stick) unsalted butter, melted
- ¾ cup granulated sugar
- 2 large eggs, room temperature
- 1 teaspoon vanilla extract
- 1 ½ cups all-purpose flour
- 1 teaspoon baking soda
- ½ teaspoon salt
- ¾ cup walnuts, chopped and toasted
Instructions
- Preheat oven to 350°F (175°C). Grease a 9×5-inch loaf pan or line with parchment paper.
- In a large mixing bowl, mash the bananas with a fork until smooth with a few small lumps.
- Add melted butter, sugar, eggs, and vanilla extract. Whisk until smooth and well combined.
- Sprinkle flour, baking soda, and salt over the wet mixture. Switch to a rubber spatula and gently fold until just combined. Do not overmix; a few lumps are fine.
- Fold in the toasted walnuts with 2-3 gentle strokes.
- Pour batter into prepared loaf pan and spread evenly. Bake for 55-65 minutes, or until a toothpick inserted in the center comes out clean or with a few moist crumbs. If top browns too quickly, tent with foil after 40 minutes.
- Cool in pan on a wire rack for 15 minutes. Then lift bread out of pan and cool completely on rack (about 1 hour) before slicing.
Notes
Use very ripe, spotty bananas for best sweetness and moisture. Do not overmix once flour is added to avoid tough bread. Toasting walnuts enhances their flavor. For a taller loaf, use an 8×4-inch pan and increase baking time slightly. Store at room temperature for up to 4 days; freeze for up to 3 months.
Nutrition
- Serving Size: 1 slice
- Calories: 285
- Sugar: 18
- Sodium: 220
- Fat: 14
- Saturated Fat: 6
- Carbohydrates: 37
- Fiber: 2
- Protein: 5
Keywords: banana bread, walnut bread, one-bowl banana bread, easy banana bread, moist banana bread, homemade banana bread


