Love this? Save it for later!
Share the inspiration with your friends
This was supposed to be a full batch. I had the butter out, the sugars measured, and I was ready to bake a mountain of cookies for a friend’s gathering. But then my neighbor knocked on the door—her kid had a last-minute school project emergency involving poster board and glue. I got distracted, helped her dig through my craft drawer, and by the time I got back to the kitchen, I had completely forgotten how much flour I had already scooped. I stared at the bowl, panicked. Was that one cup or two? I couldn’t tell. I had already added the egg, so I couldn’t just start over. Honestly, I almost dumped the whole thing in the trash.
Instead, I made a choice. I decided to wing it. I halved the butter in my head, added a little less sugar, and threw in a handful of chocolate chips. I figured I’d end up with a sad, flat mess—maybe something I could crumble over ice cream. But I was wrong. What came out of the oven was a perfectly puffed, golden-brown cookie with crisp edges and a gooey center. I stood there holding the baking sheet, completely stunned. No chill time, no planning, no fuss. Just a cookie that tasted like it had been perfected over years, not minutes.
That moment changed how I think about cookie baking. I mean, who knew you could skip the hardest part—the waiting—and still get a result this good? Maybe you’ve been there, staring at a recipe that promises soft cookies but demands hours of refrigeration. Let me tell you, this small-batch version is the answer. It’s the recipe that turned my kitchen disaster into a weekly habit. And honestly? I haven’t chilled cookie dough since.
Why You’ll Love This Recipe
Let me be straight with you—I’ve tested a lot of cookie recipes. Some were too fussy, others needed ingredients I never have on hand, and most required that dreaded chill time. This one is different. It’s the kind of recipe that makes you wonder why you ever bothered with the complicated stuff.
- Quick & Easy: From start to finish, you’re looking at about 20 minutes. No waiting for butter to soften, no chilling the dough. Just mix, scoop, and bake.
- Simple Ingredients: You probably have everything in your pantry right now. Butter, sugar, an egg, flour, baking soda, vanilla, and chocolate chips. That’s it. No fancy extracts or specialty flours.
- Perfect for a Late-Night Craving: This is my go-to when I want something sweet but don’t want to commit to a whole batch. It makes just 6 to 8 cookies—enough to satisfy without tempting you with leftovers for days.
- Crowd-Pleaser: I brought these to a potluck once, and someone actually asked if I had bought them from a bakery. They’re that good. The texture is spot-on—crispy edges, soft centers, and just the right amount of chocolate.
- Unbelievably Delicious: The secret is in the ratio. Because you’re working with a smaller amount of dough, the butter and sugar are perfectly balanced. Every bite tastes intentional, not like a scaled-down afterthought.
What makes this recipe different from the rest? It’s the technique. By using melted butter instead of softened, you get a chewier texture without needing to chill the dough. It’s a small tweak that changes everything. This isn’t just another version of chocolate chip cookies—it’s the version you’ll actually make on a Tuesday night when you need a win.
This recipe is comfort food at its finest. It’s the kind of cookie that makes you close your eyes after the first bite, not because it’s fancy, but because it’s exactly right. Perfect for impressing someone last-minute or just treating yourself after a long day.
What Ingredients You Will Need
This recipe uses simple, wholesome ingredients to deliver bold flavor and satisfying texture without the fuss. Most of these are pantry staples, so you likely won’t need a special trip to the store.
- Unsalted butter (4 tablespoons, melted) — Melted butter is the key here. It gives the cookies a chewier texture and helps them spread just the right amount without needing to chill. I prefer using unsalted so I can control the salt level. If you only have salted butter, just reduce the added salt by a pinch.
- Granulated sugar (¼ cup) — Adds sweetness and helps create those crispy, golden edges. Regular white sugar works best for this small batch.
- Light brown sugar (¼ cup, packed) — This is where the magic happens. Brown sugar adds moisture and a subtle molasses flavor that makes the cookies soft in the middle. Make sure you pack it firmly into the measuring cup.
- Large egg yolk (1) — Using just the yolk instead of the whole egg gives you a richer, more tender cookie. It also prevents the dough from being too wet, which is important since we’re skipping the chill time. Save the egg white for an omelet or freeze it for later.
- Vanilla extract (½ teaspoon) — Pure vanilla extract makes a difference here. Imitation vanilla can taste a bit chemical in a small batch. I like using Nielsen-Massey or Simply Organic for the best flavor.
- All-purpose flour (¾ cup) — Standard AP flour works perfectly. No need for bread flour or pastry flour. Spoon it into your measuring cup and level it off with a knife—don’t scoop directly from the bag or you’ll pack in too much flour.
- Baking soda (½ teaspoon) — Helps the cookies spread and puff up. Make sure your baking soda is fresh—test it by dropping a little into vinegar; if it fizzes, you’re good.
- Salt (¼ teaspoon) — Balances the sweetness and enhances the chocolate flavor. I use fine sea salt for baking because it dissolves evenly.
- Semi-sweet chocolate chips (½ cup) — Semi-sweet is my go-to because it’s not too sweet and not too bitter. You can also chop up a chocolate bar for bigger puddles of chocolate. Guittard or Ghirardelli chips are my favorites for consistent melting.
Substitution Guidance: If you’re out of brown sugar, you can use all granulated sugar (¼ cup total) and add a teaspoon of maple syrup for moisture. For a dairy-free version, use coconut oil or vegan butter in place of the regular butter—just make sure it’s melted and slightly cooled. Gluten-free? Swap the all-purpose flour for a 1:1 gluten-free baking blend. I’ve tried Bob’s Red Mill and it works beautifully.
Equipment Needed
You don’t need a fancy kitchen to make these cookies. Here’s what I use every time.
- Mixing bowls — One medium bowl for the wet ingredients and one small bowl for the dry. I use glass or stainless steel because they’re easy to clean.
- Whisk — For combining the melted butter and sugars. A fork works in a pinch, but a whisk gets everything smooth faster.
- Rubber spatula — For folding in the flour and chocolate chips. It helps you scrape the sides of the bowl and avoid overmixing.
- Baking sheet — A standard half-sheet pan works great. Line it with parchment paper or a silicone baking mat for easy cleanup. I’ve used both, and parchment paper gives slightly crisper bottoms.
- Cookie scoop (1.5 tablespoon size) — This is my favorite tool for consistent cookies. If you don’t have one, use two spoons to scoop and drop the dough. The scoop just makes it faster and neater.
- Cooling rack — Lets the cookies cool evenly so the bottoms don’t get soggy. If you don’t have one, transfer the cookies to a plate after a few minutes on the sheet.
- Measuring cups and spoons — Accurate measurements matter in a small batch. Use dry measuring cups for flour and sugar, and liquid measuring cups for the vanilla (though a teaspoon works fine).
Budget-friendly tip: You don’t need a stand mixer for this recipe. A bowl and a whisk do the job perfectly. I’ve made these cookies with just a fork and a cereal bowl when I was traveling, and they still turned out great.
Preparation Method
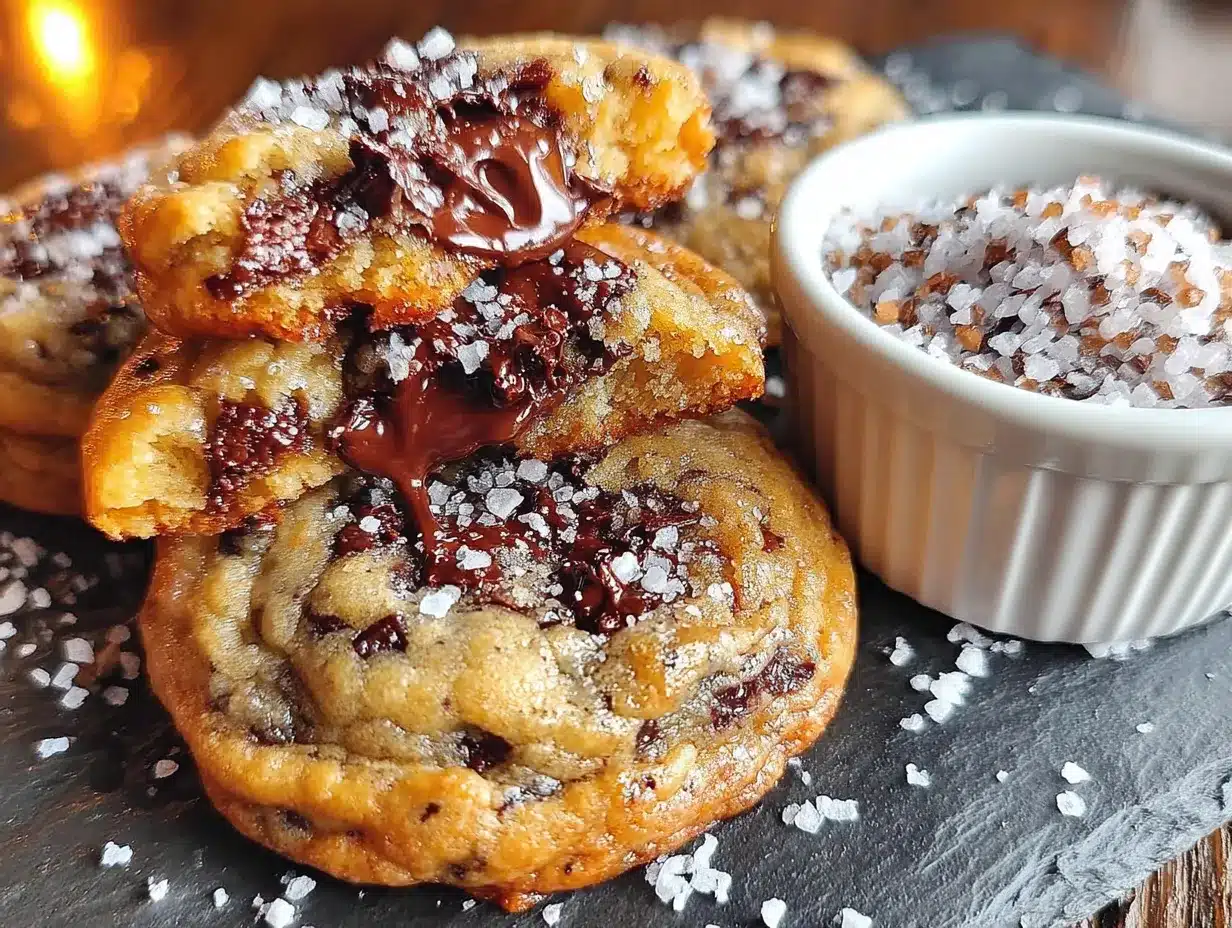
This method is designed to be straightforward, but I’ve included all the little details that make the difference between a good cookie and a great one.
- Preheat your oven to 350°F (175°C). Line a baking sheet with parchment paper. Don’t skip this step—parchment paper prevents sticking and helps the cookies bake evenly. If you use a silicone mat, expect slightly softer bottoms.
- Melt the butter. Place 4 tablespoons of unsalted butter in a microwave-safe bowl and heat in 15-second bursts until fully melted. Let it cool for about 2 minutes. You want it warm, not hot—if it’s too hot, it will melt the sugar and make the cookies spread too much. I learned this the hard way after my first batch turned into flat discs.
- Combine the sugars and butter. In a medium mixing bowl, whisk together the melted butter, ¼ cup granulated sugar, and ¼ cup packed light brown sugar. Whisk vigorously for about 30 seconds until the mixture looks smooth and slightly glossy. This step helps dissolve some of the sugar, which gives the cookies a better texture.
- Add the egg yolk and vanilla. Drop in the egg yolk and ½ teaspoon of vanilla extract. Whisk until fully combined. The mixture will look a bit thicker and creamier. If it looks separated, keep whisking—it will come together.
- Mix the dry ingredients separately. In a small bowl, whisk together ¾ cup all-purpose flour, ½ teaspoon baking soda, and ¼ teaspoon salt. This ensures the baking soda and salt are evenly distributed. I used to skip this step and just dump everything in, and I always ended up with a pocket of salt in one cookie.
- Fold the dry ingredients into the wet. Add the flour mixture to the butter mixture. Use a rubber spatula to fold gently until just combined. Stop as soon as you no longer see streaks of flour. Overmixing at this stage will make the cookies tough.
- Add the chocolate chips. Fold in ½ cup semi-sweet chocolate chips. Make sure they’re evenly distributed. The dough will be thick and slightly sticky—that’s exactly what you want.
- Scoop the dough. Using a 1.5-tablespoon cookie scoop, portion the dough into 6 to 8 balls. Place them on the prepared baking sheet, spacing them about 2 inches apart. They will spread, so give them room. If you want taller cookies, roll the dough balls slightly taller rather than wider.
- Bake for 9 to 11 minutes. Place the baking sheet on the middle rack. Bake until the edges are golden brown and the centers look slightly underdone and puffy. The tops should be set but still soft to the touch. For softer cookies, pull them at 9 minutes. For crispier edges, go to 11 minutes.
- Cool on the baking sheet for 5 minutes. This is crucial. The cookies continue to bake from the residual heat of the pan. If you move them too soon, they’ll fall apart. After 5 minutes, transfer them to a cooling rack to cool completely—or eat one warm, because honestly, that’s the best part.
Sensory cues: When the cookies are done, the kitchen will smell like melted butter and vanilla. The edges should be a deep golden brown, and the centers should look slightly puffy and pale. If you gently touch the top, it should feel set but give a little. That’s your signal that they’re perfect.
Cooking Tips & Techniques
I’ve made this recipe more times than I can count, and I’ve learned a few things along the way. Here are the tips that make the biggest difference.
Don’t overmix the dough. This is the most common mistake. Once you add the flour, mix only until you can’t see any more dry streaks. Overmixing develops gluten, which makes the cookies tough and cakey instead of tender and chewy. I once got distracted and kept stirring while talking on the phone—the cookies came out dense and disappointing.
Use room temperature egg yolk. If your egg is straight from the fridge, the yolk will cool down the melted butter and make the dough clumpy. Let the egg sit on the counter for 15 minutes, or place it in a bowl of warm water for 5 minutes. It makes a noticeable difference in how smoothly everything comes together.
Weigh your flour if you can. I know not everyone has a kitchen scale, but measuring flour by weight (about 90 grams for ¾ cup) is the most accurate method. Scooping directly from the bag can add up to 20% more flour, which dries out the dough and gives you cakey cookies. If you’re using measuring cups, spoon the flour into the cup and level it with a knife.
Chill the dough if you must, but you don’t have to. The whole point of this recipe is no chill, but if you want a slightly thicker cookie, you can pop the scooped dough in the fridge for 15 minutes. It’s not necessary, but it’s an option if you prefer a taller cookie. I usually skip it because I’m impatient.
Bake one test cookie first. If you’re unsure about your oven’s temperature, bake a single cookie on a small pan. This lets you check the spread and doneness without committing the whole batch. I do this whenever I’m baking in a new kitchen or after I’ve replaced my oven.
Let them cool properly. The 5-minute rest on the baking sheet is non-negotiable. The cookies are fragile right out of the oven. Giving them time to set ensures they hold their shape and have that perfect chewy texture. I’ve ruined many cookies by rushing this step.
Variations & Adaptations
One of the best things about this recipe is how easy it is to adapt. Here are some variations I’ve tried and loved.
Double Chocolate Chip: Replace 2 tablespoons of the all-purpose flour with 2 tablespoons of unsweetened cocoa powder. Use white chocolate chips or milk chocolate chips for contrast. The result is a rich, dark cookie that feels indulgent without being too sweet. I made these for a friend who claims she doesn’t like chocolate chip cookies, and she ate three.
Gluten-Free Version: Swap the all-purpose flour for a 1:1 gluten-free baking blend. I’ve tested this with Bob’s Red Mill and King Arthur Measure for Measure, and both work well. Add an extra tablespoon of flour if the dough feels too sticky. The texture is slightly more crumbly, but the flavor is just as good.
Vegan Adaptation: Use melted coconut oil or vegan butter instead of regular butter. Replace the egg yolk with 1 tablespoon of aquafaba (the liquid from a can of chickpeas) or a flax egg (1 tablespoon ground flaxseed mixed with 3 tablespoons water, left to sit for 5 minutes). The cookies will be a bit flatter but still delicious. I prefer coconut oil for a subtle tropical note.
Add-In Swaps: Instead of chocolate chips, try chopped dark chocolate, white chocolate chips, peanut butter chips, or even butterscotch chips. You can also add ¼ cup of chopped nuts—walnuts or pecans work beautifully. For a salty-sweet twist, sprinkle a pinch of flaky sea salt on top of each cookie right before baking.
Spiced Version: Add ½ teaspoon of cinnamon and a pinch of nutmeg to the dry ingredients. This gives the cookies a cozy, fall-inspired flavor. I made these for a Thanksgiving gathering, and they disappeared faster than the pumpkin pie.
Serving & Storage Suggestions
These cookies are best enjoyed warm, but they’re still fantastic at room temperature. Here’s how to serve and store them.
Serving Temperature: Serve the cookies slightly warm for the ultimate experience—the chocolate chips will be melted and gooey, and the edges will be perfectly crisp. If they’ve cooled completely, pop them in a 300°F (150°C) oven for 3 to 5 minutes to revive that fresh-baked texture. Avoid the microwave—it makes the cookies tough.
Presentation Ideas: Arrange the cookies on a rustic wooden board or a simple white plate. For a dessert platter, pair them with fresh berries, a drizzle of caramel sauce, or a scoop of vanilla ice cream. They also make a great addition to a cookie gift box—wrap them in parchment paper and tie with twine.
Complementary Pairings: A cold glass of milk is the classic choice, but these cookies also go beautifully with a hot cup of coffee, a latte, or a mug of chai tea. For an adult pairing, try them with a glass of bourbon or a dark stout beer—the richness of the cookie balances the bitterness.
Storage Instructions: Store the cookies in an airtight container at room temperature for up to 5 days. Place a slice of bread in the container to keep them soft—the cookies will absorb the moisture from the bread. If you prefer crispier cookies, leave the container slightly open.
Freezing Instructions: You can freeze the baked cookies for up to 3 months. Place them in a single layer in a freezer-safe bag or container, separating layers with parchment paper. To thaw, leave them at room temperature for about 30 minutes. You can also freeze the raw dough—scoop it into balls, freeze on a baking sheet, then transfer to a freezer bag. Bake from frozen, adding 2 to 3 minutes to the baking time.
Flavor Development: These cookies actually taste better the next day. The flavors meld together overnight, and the texture becomes even more chewy. I often make them a day ahead when I’m planning to serve them for a gathering.
Nutritional Information & Benefits
While these cookies are definitely a treat, they do offer some nutritional benefits from the ingredients used.
Estimated Nutritional Values (per cookie, based on 8 cookies):
- Calories: 220
- Total Fat: 12g
- Saturated Fat: 7g
- Cholesterol: 45mg
- Sodium: 140mg
- Total Carbohydrates: 28g
- Dietary Fiber: 1g
- Sugars: 18g
- Protein: 3g
Health Benefits: Dark chocolate chips (if you use at least 60% cacao) contain antioxidants called flavonoids, which may support heart health. The butter provides vitamin A, and the egg yolk is a good source of choline, which is important for brain function. Of course, these benefits are modest—these are cookies, after all, and they should be enjoyed in moderation as part of a balanced diet.
Dietary Considerations: This recipe contains gluten, dairy, and eggs. For gluten-free and vegan adaptations, see the Variations & Adaptations section above. The recipe is nut-free as written, but check your chocolate chips for cross-contamination if you have a severe allergy.
Personal Wellness Perspective: I believe in enjoying food without guilt. These cookies are a small-batch recipe, which means you’re less likely to overindulge. Making just 6 to 8 cookies encourages mindful eating—you savor each one rather than mindlessly reaching for another from a full batch. That’s a win in my book.
Conclusion
This small-batch chocolate chip cookie recipe is proof that you don’t need complicated techniques or hours of waiting to bake something incredible. It started as a mistake—a distracted moment in the kitchen—and turned into my most-made recipe. The no-chill dough is a game-changer, and the texture is everything you want in a cookie: crisp edges, soft centers, and plenty of chocolate in every bite.
I hope you give these cookies a try, whether it’s for a late-night craving, a quick dessert for unexpected guests, or just because you deserve something sweet. Don’t be afraid to customize them—swap the chocolate chips for your favorite add-ins, or try the gluten-free version if that’s what you need. The beauty of this recipe is how forgiving it is.
I’d love to hear how they turn out for you. Did you try a variation? Did you manage to wait for them to cool before eating one? Drop a comment below and share your experience. And if you’re looking for more easy dessert ideas, check out my no-bake chocolate oat bars or these lemon blueberry muffins for another quick treat.
Happy baking, friend. You’ve got this.
Frequently Asked Questions
Can I double this recipe?
Absolutely. Simply double all the ingredients. The baking time may increase by 1 to 2 minutes since the oven will have more cookies. Just keep an eye on the edges—they should be golden brown when done.
Why are my cookies flat?
Flat cookies usually mean the butter was too hot, or the dough was overmixed. Make sure to let the melted butter cool for a couple of minutes before adding the sugars. Also, check that your baking soda is fresh—old baking soda won’t give the cookies enough lift.
Can I use margarine instead of butter?
You can, but the texture will be different. Margarine has a higher water content, which can make the cookies spread more and become greasy. Butter gives a better flavor and texture. If you must use margarine, choose a stick-style one with at least 80% fat content.
How do I make the cookies softer?
For softer cookies, bake them for 9 minutes instead of 11. Pull them out when the centers still look slightly underdone and puffy. Also, try using all brown sugar instead of the granulated sugar—brown sugar adds more moisture and results in a softer cookie.
Can I use this dough for cookie bars?
Yes! Press the dough into a greased 8×8-inch baking pan and bake at 350°F (175°C) for 15 to 18 minutes. Let them cool completely before cutting into squares. The edges will be slightly crisp, and the center will be soft and chewy.
Pin This Recipe!
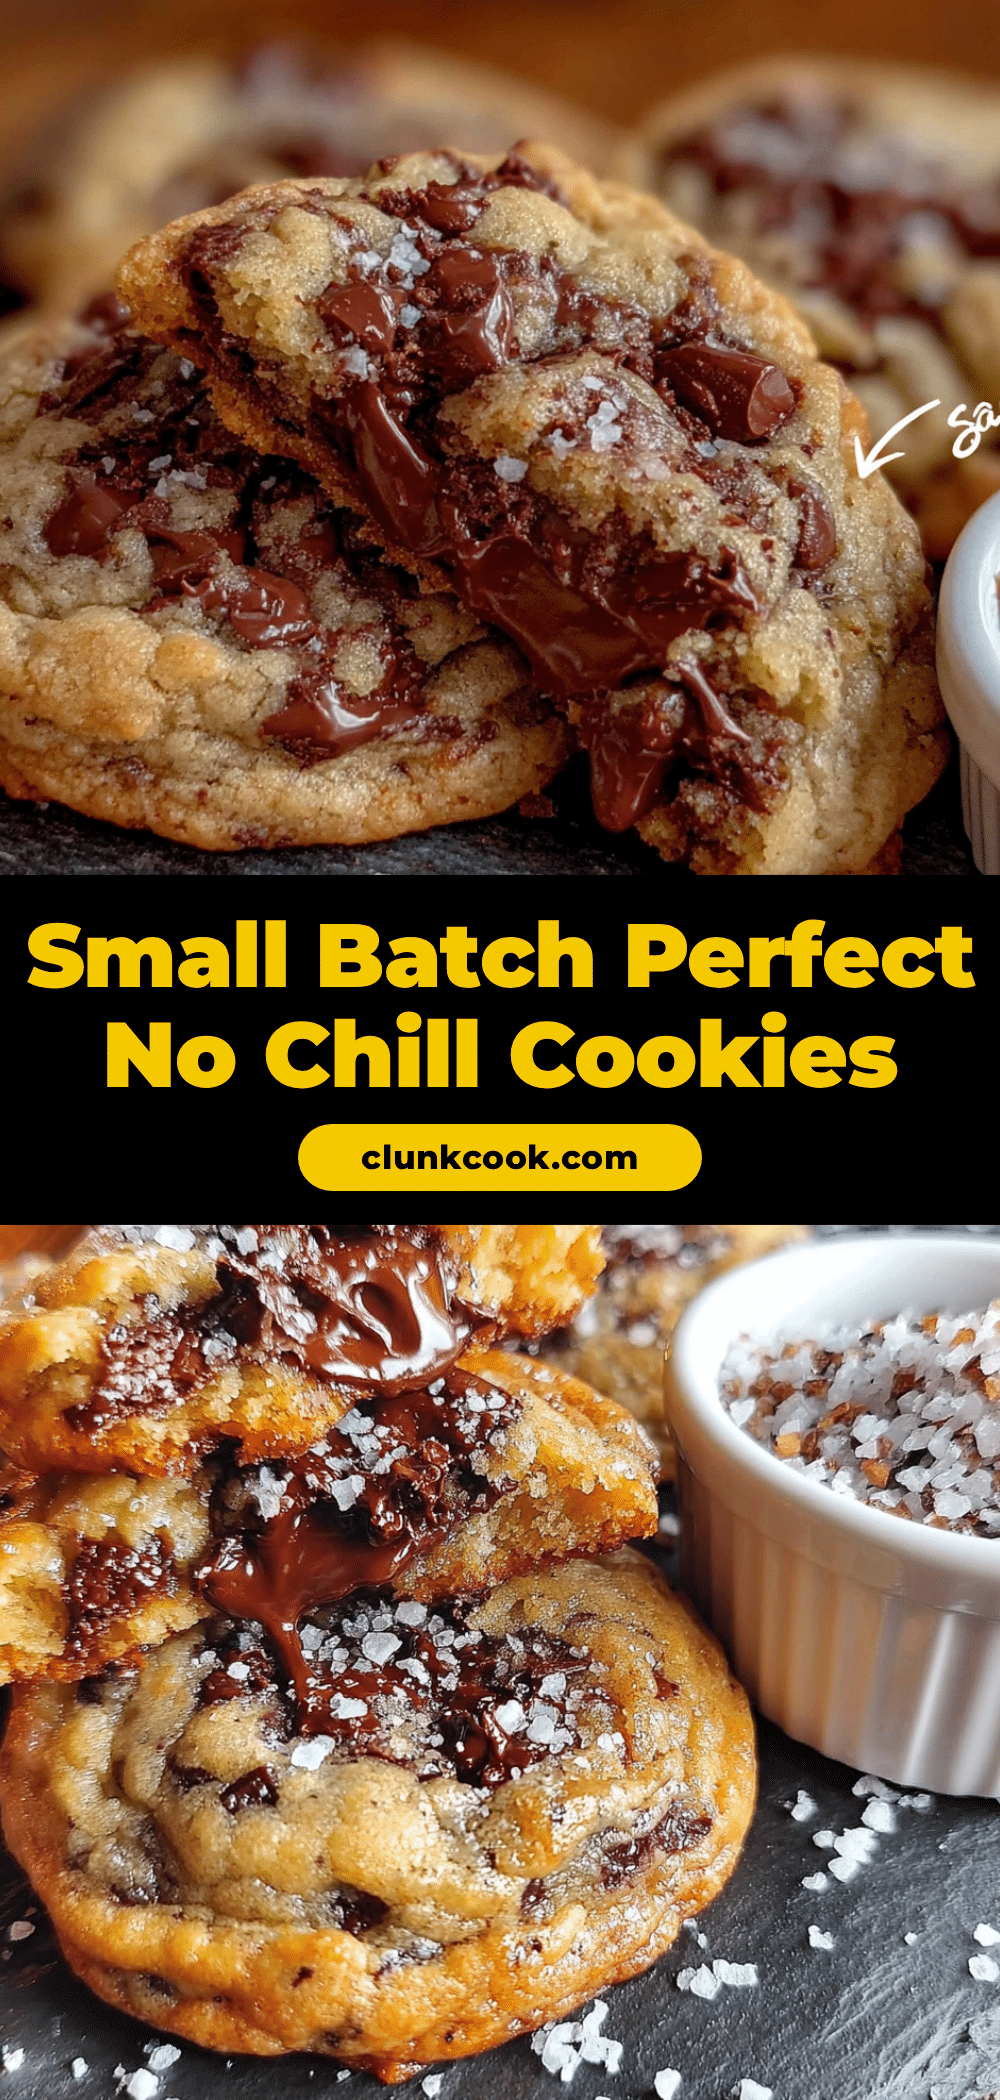
Easy Small-Batch Chocolate Chip Cookies – No Chill & Perfect
These small-batch chocolate chip cookies require no chilling and come together in about 20 minutes. With crisp edges, gooey centers, and simple pantry ingredients, they’re perfect for a quick treat.
- Prep Time: 10 minutes
- Cook Time: 10 minutes
- Total Time: 20 minutes
- Yield: 6 to 8 cookies 1x
- Category: Dessert
- Cuisine: American
Ingredients
- 4 tablespoons unsalted butter, melted
- ¼ cup granulated sugar
- ¼ cup light brown sugar, packed
- 1 large egg yolk
- ½ teaspoon vanilla extract
- ¾ cup all-purpose flour
- ½ teaspoon baking soda
- ¼ teaspoon salt
- ½ cup semi-sweet chocolate chips
Instructions
- Preheat oven to 350°F (175°C). Line a baking sheet with parchment paper.
- Melt butter in a microwave-safe bowl in 15-second bursts. Let cool for 2 minutes.
- In a medium bowl, whisk together melted butter, granulated sugar, and brown sugar until smooth and glossy, about 30 seconds.
- Add egg yolk and vanilla extract; whisk until fully combined and creamy.
- In a small bowl, whisk together flour, baking soda, and salt.
- Add dry ingredients to wet ingredients; fold with a rubber spatula until just combined. Do not overmix.
- Fold in chocolate chips until evenly distributed. Dough will be thick and slightly sticky.
- Using a 1.5-tablespoon cookie scoop, portion dough into 6 to 8 balls. Place on prepared baking sheet, spacing 2 inches apart.
- Bake for 9 to 11 minutes, until edges are golden brown and centers look slightly underdone and puffy.
- Cool on baking sheet for 5 minutes, then transfer to a cooling rack. Serve warm or at room temperature.
Notes
For softer cookies, bake for 9 minutes. For crispier edges, bake for 11 minutes. Let butter cool slightly before mixing to prevent flat cookies. Use room temperature egg yolk for best results.
Nutrition
- Serving Size: 1 cookie
- Calories: 220
- Sugar: 18
- Sodium: 140
- Fat: 12
- Saturated Fat: 7
- Carbohydrates: 28
- Fiber: 1
- Protein: 3
Keywords: small-batch chocolate chip cookies, no chill cookies, easy cookie recipe, quick cookies, chocolate chip cookies


