Love this? Save it for later!
Share the inspiration with your friends
It was a Tuesday afternoon, the kind of gray, drizzly October day that makes you want to cancel all plans and stay in bed. I was standing in the fluorescent-lit aisle of the local grocery store, debating between two different brands of 2% milk, when a sudden, sharp aroma cut through the sterile air. It wasn’t just chocolate. It was the specific, dusty scent of crushed Oreos mixed with rich vanilla cream.
Suddenly, I was seven years old, standing on the cracked linoleum floor of my aunt’s kitchen in Ohio. The power had been out for two hours due to a storm, and we were trying to keep the kids entertained with whatever we had in the pantry. My aunt, a woman who wore aprons like armor, pulled out a bag of Oreo cookies and a tub of cool whip. She didn’t have a recipe. She just had a laugh and a pair of plastic cups she’d saved from a takeout place.
She handed me a spoon and told me to be the “graveyard keeper.” I remember the cold slip of the plastic cup against my palm. I remember the crunch of the cookie crumbs under my fingers. I remember the way the cream looked like fresh soil, dark and rich, waiting to be disturbed. We dug little holes in the dirt with our spoons and stuck mini candy bars in like tombstones. It wasn’t fancy. It wasn’t gourmet. It was perfect.
My aunt passed away five years ago, and I haven’t been able to recreate that exact feeling until I made these Halloween Graveyard Dirt Cups last week. I mean, honestly, I thought I’d forgotten the ratio of cream to cookie, but my hands remembered. The first time I took a bite, I closed my eyes and was back in that kitchen, the storm raging outside, safe and warm inside.
Maybe you’ve been there, chasing a taste that feels like a hug from someone you miss. These cups are my attempt to hold onto that moment. They are simple, spooky, and surprisingly nostalgic. I keep making them because every time I serve them, I hear my aunt’s laugh echoing in the room. It’s not just a dessert; it’s a time machine. And let me tell you, it’s the best way to bring a little magic to your Halloween table.
Why You’ll Love This Halloween Graveyard Dirt Cups Recipe
Let’s be real for a second. Most Halloween desserts feel like they were designed by a committee of marketing executives rather than actual humans who like to eat. They are often overly complicated, require skills you don’t have, or taste like artificial food coloring and regret. This Halloween Graveyard Dirt Cups recipe is different because it respects your time and your taste buds equally.
I have tested this recipe more times than I care to admit. I’ve tried using box pudding mixes, which resulted in a texture that was too gelatinous and sad. I’ve tried using homemade custard, which was delicious but took forever and curdled when I wasn’t looking. This version? It’s the sweet spot. It’s creamy, it’s crunchy, and it comes together in about five minutes.
Here is why this specific recipe stands out from the rest:
- Zero Cooking Required: You don’t need to turn on the oven. This is crucial for Halloween, when your kitchen is already hot from roasting pumpkins or baking cookies. It keeps the house cool and your sanity intact.
- Pantry Staples: You likely have everything you need right now. Oreos, cool whip (or whipped cream), and a few candy bars. No fancy grocery trips needed. This is perfect for those last-minute trick-or-treaters who show up at 4:55 PM.
- Texture Play: The magic here is in the contrast. You get the soft, airy cream against the gritty, crunchy cookie crumbs. It’s a sensory experience that adults find satisfying and kids find fun. It’s not just good; it’s the kind of treat that makes you close your eyes after the first bite.
- Visual Impact: These cups look like they took hours to make, but they take minutes. The “dirt” effect is surprisingly realistic, especially when you use the dark chocolate cookie variety. It’s a crowd-pleaser that always gets rave reviews.
- Customizable Chaos: This recipe isn’t rigid. You can swap the candy tombstones for gummy worms, spiders, or even mini pumpkins. It’s comfort food reimagined—simpler, faster, but with that same soul-soothing satisfaction of a childhood favorite.
Whether you are hosting a Halloween party or just want a spooky snack for your evening movie marathon, these cups deliver. They are easy to make in bulk, easy to transport to potlucks, and easy to clean up. Honestly, the only thing harder than making them is waiting for them to set.
What Ingredients You Will Need
This recipe relies on the power of simplicity. We aren’t doing complex food science here. We are doing the kind of cooking that feels like a hug. The ingredients work together to create a balance of sweet, creamy, and crunchy textures that mimic the experience of eating dirt (in a good way, obviously).
Most of these items are pantry staples, which is a huge win for busy weeknights. If you don’t have them on hand, they are available at almost any grocery store, gas station, or convenience store. Here is what you need to gather:
- Oreo Cookies (or similar chocolate sandwich cookies): You will need about 20-24 cookies. I recommend using the original Oreos for the classic look, but the Double Stuf version adds extra creaminess if you are feeling indulgent. Alternatively, chocolate wafer cookies work in a pinch, though they might be slightly less crunchy. Look for boxes that are sealed tight; stale cookies won’t crush into that nice “dirt” texture.
- Cool Whip or Whipped Cream: You need one 8-ounce tub of thawed Cool Whip for the easiest method. If you prefer from scratch, one cup of heavy cream whipped with two tablespoons of powdered sugar works beautifully. The key here is volume. You want the cream to be fluffy and light, not dense. I personally stick with Cool Whip for the convenience, but homemade whipped cream tastes richer.
- Chocolate Pudding Mix (Optional but Recommended): While you can skip this, adding one box of instant chocolate pudding mix (prepared with milk) adds a layer of depth that plain cream doesn’t have. It makes the “dirt” taste more like rich soil. If you skip it, just double the cream. I recommend Jell-O brand for consistency.
- Mini Candy Bars: These serve as your tombstones. Kit Kats, Twix, Snickers, or Baby Ruths all work well. The rectangular shape of a Kit Kat makes for a surprisingly authentic-looking headstone. Avoid round candies unless you want them to look like rocks.
- Gummy Worms or Spiders: These add the creepy factor. Gummy worms are essential for that “buried in the dirt” look. They are cheap, shelf-stable, and universally loved by kids.
- Clear Plastic Cups: You need small, clear cups so the layers are visible. Shot glass-sized cups are perfect for individual servings. You can buy these in bulk at party stores or even dollar stores.
If you have dietary restrictions, there are easy swaps. Use gluten-free chocolate sandwich cookies for a GF version. Use dairy-free whipped topping and dairy-free chocolate bars for a vegan treat. The structure holds up surprisingly well with substitutions.
Is There a Specific Brand of Cookie I Should Use?
I’ve tried store brands and name brands. The name brands (Oreos) have a distinct crunch that holds up better against the cream. Store brands can sometimes be too soft and turn mushy quickly. If you are making these ahead of time, stick with the name brands for better texture retention.
Equipment Needed
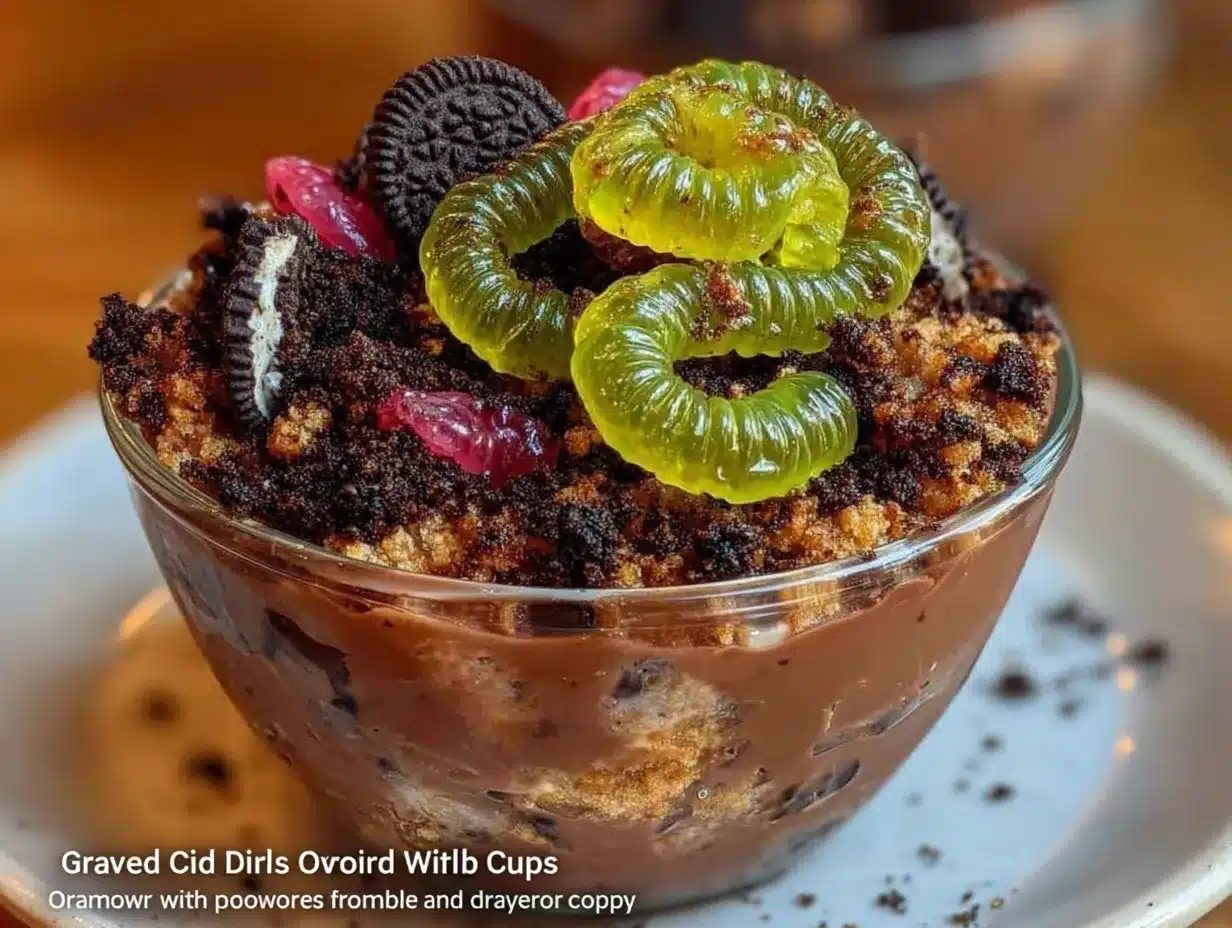
You don’t need a lot of fancy gadgets for this recipe. In fact, keeping the equipment minimal is part of the charm. Here is what you’ll need to get started:
- Ziploc Bags or a Food Processor: To crush the cookies, you have two options. The classic method is putting the cookies in a heavy-duty Ziploc bag and crushing them with a rolling pin or a meat mallet. This is fun for kids to help with. The faster method is using a food processor or blender. Pulse until fine. Be careful not to over-process into powder; you want crumbs.
- Mixing Bowls: You’ll need a medium bowl for mixing the cream and pudding (if using). A large bowl is helpful if you are doubling the recipe. Any standard stainless steel or glass bowl works fine.
- Spoons or Spatulas: A silicone spatula is great for folding in the cookie crumbs without deflating the whipped cream. Regular spoons work for layering and eating.
- Measuring Cups and Spoons: Basic measuring tools are needed for the milk (if using pudding mix) and sugar (if making whipped cream from scratch).
- Serving Cups: As mentioned, clear plastic cups are ideal. You can also use small mason jars or even shot glasses for a more elegant presentation. Just ensure they are clean and dry.
If you don’t have a food processor, don’t worry. The bag method is actually more therapeutic. Just wrap the bag in a towel if you are worried about leaks. And if you don’t have clear cups, regular plastic cups work too, but you lose the visual layering effect.
Preparation Method
Making these Halloween Graveyard Dirt Cups is incredibly straightforward. The process is designed to be foolproof, even if you are tired or distracted. Here is how to bring your spooky dessert to life.
Step 1: Prepare the Cookie Crumbs (5 Minutes)
Start by taking the Oreo cookies out of the box. You don’t need to separate the cream from the wafers. The cream adds richness to the dirt mixture. Place the whole cookies into a large Ziploc bag. Seal the bag tightly, squeezing out as much air as possible.
Now, get to crushing. If you are using a rolling pin, roll over the bag firmly and repeatedly. If you are using a food processor, pulse the cookies until they reach a fine, sandy consistency. You want crumbs, not dust. If you have large chunks, that’s fine—they add texture. Transfer the crumbs to a medium mixing bowl. Set aside.
Step 2: Prepare the Cream Mixture (3 Minutes)
If you are using Cool Whip, simply thaw it according to the package instructions. Usually, this means leaving it in the fridge for a few hours or in the microwave for a minute or two. Stir it gently to ensure it is smooth.
If you are making whipped cream from scratch, pour one cup of cold heavy cream into a large mixing bowl. Add two tablespoons of powdered sugar. Using an electric mixer, beat on medium-high speed until stiff peaks form. This means when you lift the beaters, the cream stands up straight. Do not overbeat, or it will turn into butter.
Step 3: Combine the Dirt (2 Minutes)
Here is the fun part. Take about one-third of your cookie crumbs and mix them into the whipped cream or Cool Whip. Fold it in gently. This creates the “soil” base. It should look like dark, moist earth.
If you are using the chocolate pudding mix, prepare it according to the box instructions (usually with cold milk). Let it set for about two minutes, then fold it into the remaining two-thirds of the cookie crumbs. This creates a richer, pudding-filled layer. You now have two components: the creamy soil and the pudding dirt.
Step 4: Assemble the Cups (5 Minutes)
Take your clear plastic cups. Start by adding a layer of the cookie crumb mixture to the bottom of each cup. About one inch deep. Press it down slightly with the back of a spoon.
Next, add a layer of the cream mixture on top. Fill the cup about halfway. Use a spoon to create little dips and swirls in the cream. This mimics the look of disturbed soil.
If you are using the pudding mixture, you can layer it in here for a marbled effect, or save it for the top layer. For the classic look, I prefer just the cream layer on top.
Step 5: Add the Tombstones and Worms (3 Minutes)
This is where the Halloween magic happens. Take your mini candy bars (Kit Kats, Twix, etc.) and stick them vertically into the cream layer. Angle them slightly for a more realistic, weathered look.
Tuck the gummy worms into the side of the cup so they look like they are emerging from the dirt. Add a few extra cookie crumbs on top for a final dusting of “freshly dug earth.”
Repeat for all your cups. Place them in the fridge for at least 30 minutes to set. This helps the layers hold together and makes the candy tombstones stand up straighter.
Cooking Tips & Techniques
Even though there is no cooking involved, there are techniques that can make or break this recipe. I’ve learned these through trial and error, and some painful kitchen disasters.
- Don’t Skip the Chill Time: I know it’s tempting to eat them immediately. Resist. The chill time allows the cream to firm up and the cookie crumbs to absorb some moisture, creating that authentic dirt texture. If you eat them too soon, they will be loose and messy.
- Crumbs, Not Powder: When crushing the cookies, aim for a coarse crumb. If you use a blender and go too long, you get cookie dust. This turns into a paste when mixed with cream, losing the crunch. Pulse, don’t puree.
- Room Temperature Ingredients: If you are making whipped cream from scratch, make sure your bowl and beaters are cold. This helps the cream whip up faster and hold its shape. If your kitchen is hot, put the bowl in the fridge for 10 minutes before whipping.
- Layering Technique: When layering, don’t press too hard. You want distinct layers that can be seen through the clear cup. If you press too hard, the layers blend into a muddy mess. Gentle is better.
- Candy Selection: Use candy that is not too sticky. Some chocolate bars have a soft center that might melt into the cream. Kit Kats and Twix hold their shape well. If you use Snickers, make sure they are fresh and not old.
I once tried using gummy bears as tombstones, and they just slid to the bottom. Lesson learned. Stick to the rectangular bars for structural integrity.
Variations & Adaptations
This recipe is a canvas. Once you master the base, you can get creative. Here are some variations I’ve tried that work beautifully.
- Griffin’s Graveyard (Pistachio): Swap the chocolate cookies for vanilla wafers. Use pistachio pudding mix and green-tinted whipped cream. Use green M&Ms as the tombstones. It’s a fun, colorful twist that looks like a fairy graveyard.
- Spooky Spiderwebs: Add a drizzle of white chocolate or melted marshmallow fluff on top of the cream before adding the tombstones. Use black licorice strings to create spiderweb patterns. This adds a visual element that is both pretty and creepy.
- Healthy-ish Version: Use Greek yogurt instead of Cool Whip. Sweeten it with honey or maple syrup. Use almond flour cookies or crushed dark chocolate biscotti for the crumbs. It’s lighter but still satisfying. The texture will be different, but the flavor is great.
- Seasonal Swap: For Christmas, use crushed peppermint cookies and red/white whipped cream. Use candy canes as tombstones. It’s a easy way to repurpose this recipe for other holidays.
- Allergy-Friendly: Use gluten-free chocolate sandwich cookies and dairy-free whipped topping. Most mini candy bars are gluten-free, but always check labels. SunButter bars are a great nut-free alternative to peanut butter bars.
I personally love the pistachio version for spring, but the classic chocolate version is the king of Halloween. Don’t be afraid to experiment with colors and textures.
Serving & Storage Suggestions
These cups are best served chilled. The cold temperature enhances the creamy texture and keeps the cookies crunchy.
How to Serve
Place the cups on a platter lined with black paper or a dark cloth to enhance the “dirt” look. You can add extra cookie crumbs around the base of the cups for ambiance. Serve with black plastic forks for an extra spooky touch.
Pair these with a cold glass of milk or a hot cup of coffee. The contrast of temperatures is delightful. If you are serving them at a party, place them on a tiered stand for a dramatic effect.
Storage Instructions
You can store these cups in the refrigerator for up to 3 days. Cover them tightly with plastic wrap or store them in an airtight container. The cream may soften slightly after a day, but the flavor remains strong.
Do not freeze these cups. The cream will separate and become grainy when thawed. The cookies will also lose their crunch. For best results, make them no more than 24 hours in advance.
Reheating
There is no need to reheat these. They are a cold dessert. If they sit out for too long, the cream will melt, so keep them refrigerated until serving time.
Nutritional Information & Benefits
While these are definitely a treat, not a health food, there are some nutritional aspects to consider.
- Calories: Each cup is approximately 250-300 calories, depending on the size of the cup and the candy used.
- Sugar: High in sugar due to the cookies, cream, and candy. Enjoy in moderation.
- Fat: Contains saturated fat from the cream and chocolate.
- Carbohydrates: Primarily from the cookies and sugar.
The benefits are mostly emotional. This recipe brings joy, nostalgia, and a sense of playfulness. It’s a way to celebrate the season and share a moment with loved ones. For those with dietary restrictions, the adaptations mentioned earlier can make this a more inclusive treat.
Conclusion
These Halloween Graveyard Dirt Cups are more than just a dessert. They are a connection to the past, a source of joy in the present, and a simple pleasure for the future. I hope you try this recipe and create your own memories around it.
Don’t be afraid to customize it. Add your favorite candies, change the colors, or make it your own. The beauty of this recipe is its simplicity. It’s accessible to everyone, from novice cooks to seasoned bakers.
Please share your creations with me! Tag me on social media or leave a comment below. I love seeing how you adapt this recipe. And if you try it, let me know what you think. Did the gummy worms survive? Did the tombstones stand tall?
Happy Halloween, and happy eating!
Frequently Asked Questions
Can I make these ahead of time?
Yes, you can make them up to 24 hours in advance. Store them in the refrigerator covered with plastic wrap. They will hold their shape and taste great. Making them ahead is actually recommended so the flavors can meld together.
Can I use homemade whipped cream?
Absolutely. Homemade whipped cream tastes richer and fresher. Just make sure to whip it to stiff peaks so it holds up in the cup. You may need to add a bit more powdered sugar for stability.
What if I don’t have Oreos?
You can use any chocolate sandwich cookies. Chocolate wafers, digestive biscuits, or even chocolate graham crackers work. The texture will be slightly different, but the flavor will still be delicious.
Are these gluten-free?
Not if you use standard Oreos. However, you can make them gluten-free by using gluten-free chocolate sandwich cookies and ensuring your candy bars are gluten-free. Always check labels.
Can I use a different type of candy for the tombstones?
Yes! Any small, rectangular candy bar works. You can also use pretzel rods, chocolate-covered pretzels, or even chocolate-covered espresso beans for a different look. Get creative!
Pin This Recipe!
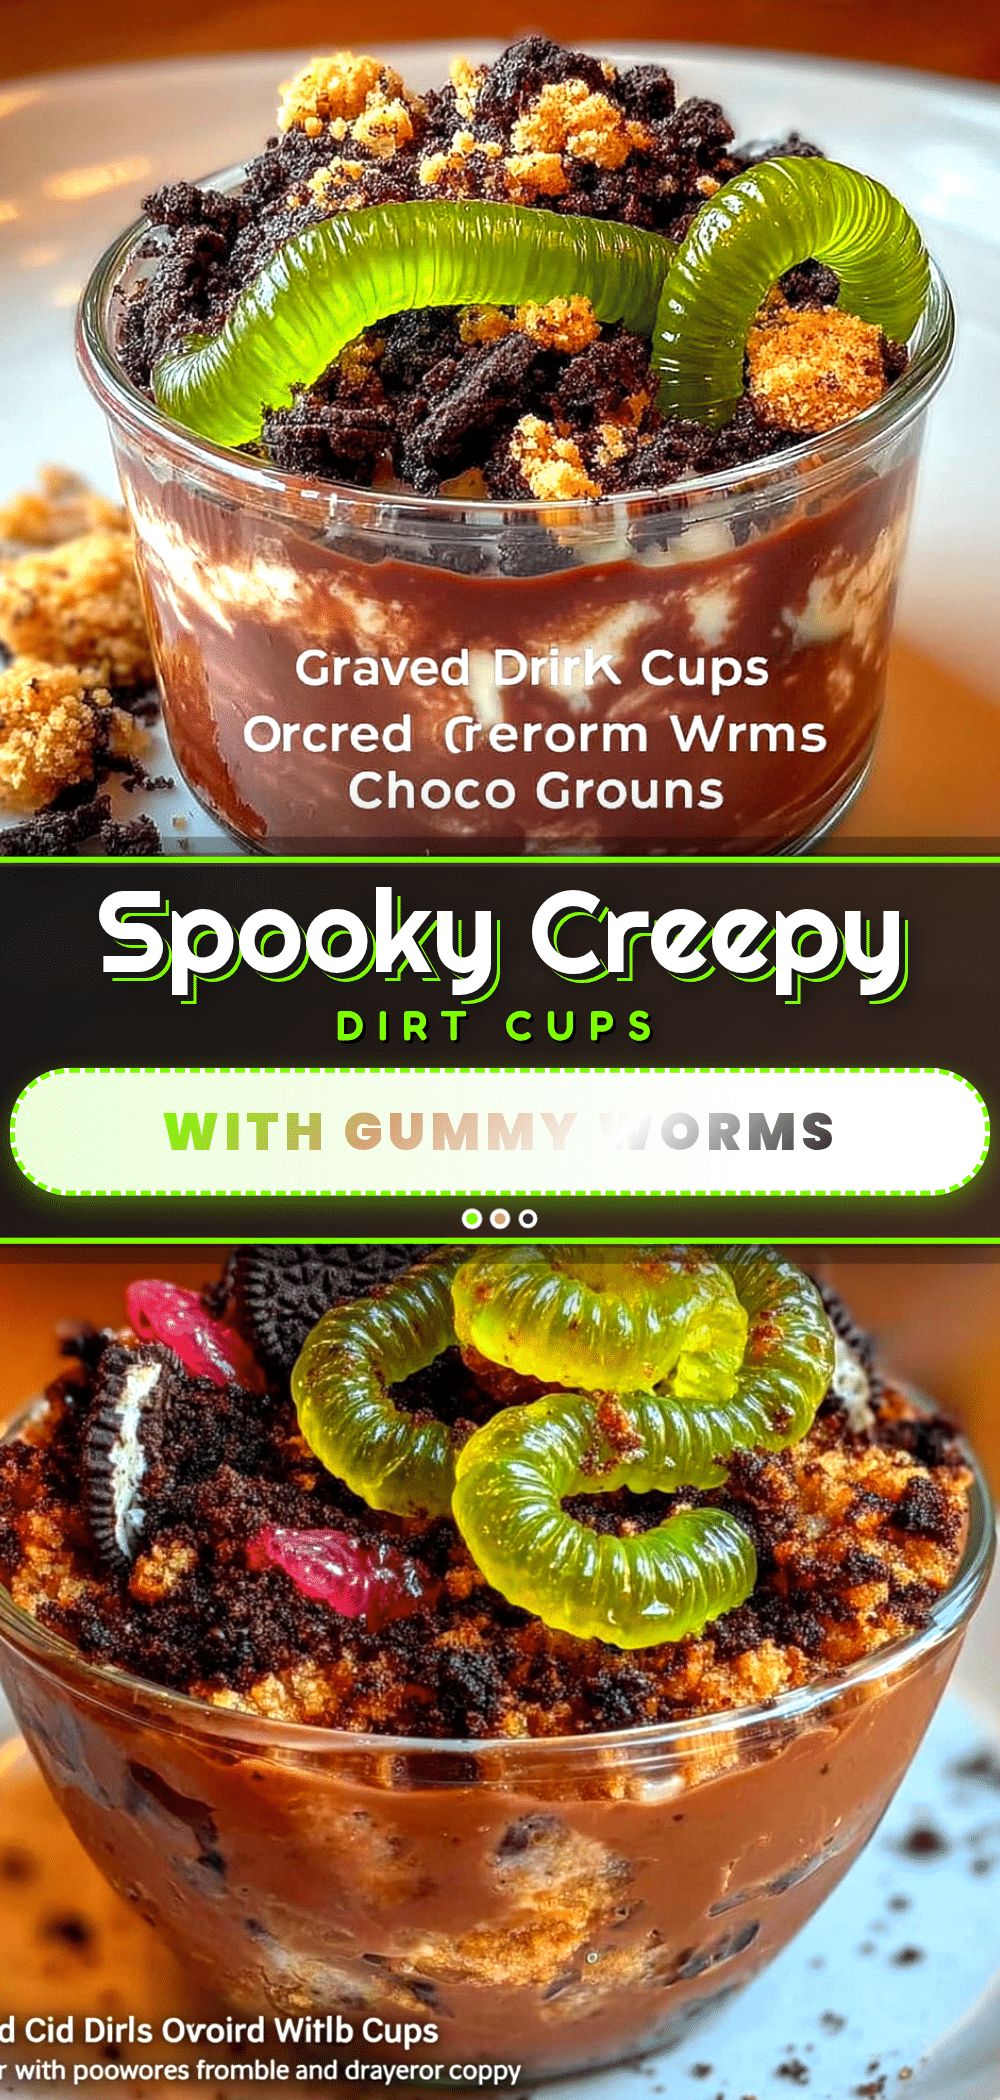
Best Halloween Graveyard Dirt Cups: Easy 5-Min Treat
A nostalgic, no-bake Halloween dessert featuring layers of crushed Oreo ‘dirt’, creamy whipped topping, and candy tombstones. This easy treat comes together in minutes and requires no cooking.
- Prep Time: 15 minutes
- Cook Time: 0 minutes
- Total Time: 45 minutes
- Yield: 8 servings 1x
- Category: Dessert
- Cuisine: American
Ingredients
- 20–24 Oreo cookies (or similar chocolate sandwich cookies)
- 1 tub (8 oz) Cool Whip, thawed (or 1 cup heavy cream + 2 tbsp powdered sugar)
- 1 box instant chocolate pudding mix (optional, prepared with milk)
- Mini candy bars (Kit Kats, Twix, Snickers, or Baby Ruths)
- Gummy worms or spiders
- Clear plastic cups or shot glasses
Instructions
- Place whole Oreo cookies (cream and wafers) into a heavy-duty Ziploc bag. Seal tightly and crush into coarse crumbs using a rolling pin or food processor. Transfer crumbs to a medium bowl.
- If using Cool Whip, stir until smooth. If making homemade whipped cream, beat cold heavy cream and powdered sugar until stiff peaks form.
- Mix one-third of the cookie crumbs into the whipped cream/Cool Whip to create the ‘soil’ base. If using pudding, prepare it and fold it into the remaining two-thirds of the crumbs.
- In clear cups, add a 1-inch layer of the plain cookie crumb mixture at the bottom and press down slightly.
- Add a layer of the cream mixture on top, filling the cup halfway. Create dips and swirls with a spoon to mimic disturbed soil.
- Stick mini candy bars vertically into the cream layer to look like tombstones. Tuck gummy worms into the sides.
- Dust with extra cookie crumbs and refrigerate for at least 30 minutes to set before serving.
Notes
Do not freeze as the cream will separate. Best served chilled. For a gluten-free version, use GF chocolate sandwich cookies and verify candy labels. For a vegan version, use dairy-free whipped topping and chocolate bars.
Nutrition
- Serving Size: 1 cup
- Calories: 275
- Sugar: 28
- Sodium: 180
- Fat: 14
- Saturated Fat: 7
- Carbohydrates: 38
- Fiber: 2
- Protein: 3
Keywords: Halloween dessert, no bake, dirt cups, Oreo cookies, easy treats, spooky snacks, kid-friendly, party food


