Love this? Save it for later!
Share the inspiration with your friends
Introduction
My sister-in-law, Jen, wasn’t trying to impress anyone. It was a random Tuesday afternoon in October, and I’d stopped by to drop off a Halloween costume I’d borrowed. The smell hit me before I even got through the mudroom — warm cinnamon, sweet banana, and something earthy and cozy I couldn’t quite place. She was standing at the counter in her old sweatpants, holding a wooden spoon in one hand and a toddler on her hip, completely nonchalant about the fact that her kitchen smelled like a bakery.
“Oh, that’s just something I threw together,” she said when I asked. “The kids were cranky, and I had a sad banana and half a can of pumpkin.” She gestured toward the mixing bowl with her chin — one bowl, sitting there on the counter, already dirty. No stand mixer, no sifter, no separate bowls for dry and wet ingredients. Just one bowl and a spoon. I mean, honestly, I was a little offended on behalf of my own complicated baking routine.
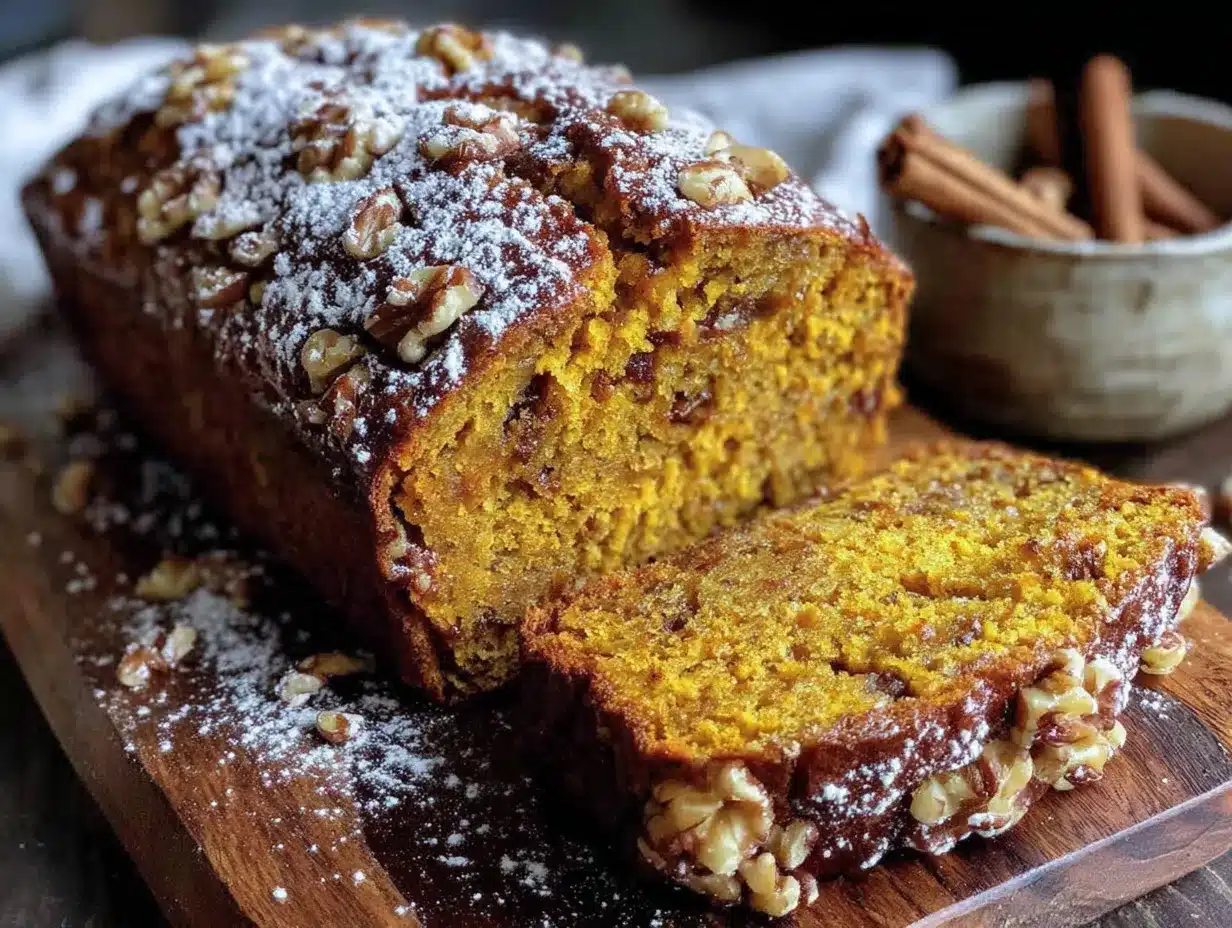
She sliced me a piece while it was still warm, and that first bite had this unexpected softness — tender and moist, with little pockets of crunch from the walnuts and a sweetness that felt just right, not cloying. The kids were hovering around her legs like little ducks, waiting for their own slices. And Jen just kept talking about the school fundraiser like she hadn’t just made the best quick bread I’d had in years.
Maybe you’ve been there — watching someone make something extraordinary look like absolutely nothing. That’s this recipe. It’s the kind of bread you make when you’re tired, when the counter is messy, when you need something good to happen in your kitchen without a big production. I’ve made it at least a dozen times since that Tuesday, and it works every single time.
Why You’ll Love This Recipe
Let me tell you why this pumpkin banana bread has become a permanent resident in my recipe rotation. First, it is genuinely one-bowl — no separating wet and dry ingredients, no sifting, no multiple dishes to wash. On a busy school night, that alone is worth its weight in gold. Second, it uses ingredients you probably already have, especially during fall when canned pumpkin is practically a pantry staple.
Here are the standout benefits that keep me coming back:
- Quick & Easy: From start to oven in under 15 minutes. No stand mixer required, just a bowl and a wooden spoon.
- Simple Ingredients: Canned pumpkin, overripe bananas, basic pantry staples. No trips to specialty stores.
- Perfect for Family Meals: Great for breakfast, snack time, lunchboxes, or after-school treats. It pleases everyone without complaint.
- Crowd-Pleaser: My picky five-year-old devours this, and so does my husband who “doesn’t like pumpkin stuff.” The banana balances the pumpkin flavor beautifully.
- Unbelievably Delicious: The texture is incredibly moist and tender, thanks to the combination of pumpkin and banana. The walnuts add a satisfying crunch that makes every bite interesting.
What makes this recipe different from the rest? It’s the ratio, honestly. I’ve tested versions with more pumpkin and less banana, and they come out too dense. This one hits that sweet spot where the banana keeps it soft and the pumpkin keeps it from being too wet. Plus, the walnuts are folded in at just the right moment so they stay crunchy instead of sinking to the bottom. It’s comfort food reimagined — simpler, faster, but with the same soul-soothing satisfaction.
This recipe isn’t just good — it’s the kind that makes you close your eyes after the first bite. Perfect for impressing your family without stressing yourself out.
What Ingredients You Will Need
This recipe uses simple, wholesome ingredients to deliver bold flavor and satisfying texture without the fuss. Most of these are pantry staples, especially if you keep canned pumpkin on hand during the fall.
- All-purpose flour, 1 ¾ cups (220g) — spoon and level for accuracy; don’t scoop directly from the bag
- Baking soda, 1 teaspoon — make sure it’s fresh for proper rise
- Baking powder, ½ teaspoon — double-acting works best
- Ground cinnamon, 1 ½ teaspoons — I prefer McCormick or Simply Organic for consistent flavor
- Ground nutmeg, ½ teaspoon — freshly grated if you have it, but pre-ground works fine
- Ground ginger, ¼ teaspoon — adds warmth without being spicy
- Salt, ½ teaspoon — fine sea salt or table salt
- Ripe bananas, 3 medium (about 1 cup mashed) — the spottier, the better; brown bananas are sweeter and easier to mash
- Canned pumpkin puree, 1 cup (240g) — not pumpkin pie filling; look for 100% pure pumpkin
- Granulated sugar, ½ cup (100g) — adds sweetness and helps with moisture
- Light brown sugar, ½ cup (100g), packed — adds depth and keeps the bread tender
- Large eggs, 2, at room temperature — cold eggs can seize the batter; let them sit out for 15 minutes
- Vegetable oil, ⅓ cup (80ml) — or melted coconut oil for a subtle coconut note; I use canola or avocado oil
- Vanilla extract, 1 teaspoon — pure vanilla extract tastes best, but imitation works in a pinch
- Chopped walnuts, ½ cup (60g) — toasted lightly for extra flavor, but raw works too
Substitution Guidance: For a nut-free version, swap walnuts with chocolate chips or pepitas. For a gluten-free option, use a 1:1 gluten-free flour blend (I like King Arthur Measure for Measure). If you don’t have brown sugar, use all granulated sugar — the bread will be slightly less moist but still delicious. For a dairy-free version, this recipe is already dairy-free as written, since it uses oil instead of butter.
Equipment Needed
You don’t need fancy equipment for this one, and that’s the whole point. Here’s what you’ll need:
- Large mixing bowl — a standard 4-quart bowl works perfectly
- Wooden spoon or sturdy spatula — for mashing and mixing; a potato masher works for the bananas too
- Measuring cups and spoons — dry measuring cups for flour and sugar, liquid measuring cup for oil
- 9×5-inch loaf pan — glass, ceramic, or metal all work; metal gives the crispiest edges
- Parchment paper — for easy removal; I cut a strip long enough to hang over the sides like handles
- Cooling rack — essential for even cooling so the bottom doesn’t get soggy
If you don’t have a 9×5-inch pan, an 8×4-inch pan works too — just increase the baking time by 5-10 minutes and check for doneness with a toothpick. I’ve also made this as muffins (about 18-20 minutes at 350°F) and it’s fantastic. No stand mixer needed, no sifter, no separate bowls. One bowl, one spoon, one pan. That’s it.
Preparation Method
Preheat your oven to 350°F (175°C). Grease a 9×5-inch loaf pan or line it with parchment paper, leaving some overhang on the long sides for easy lifting. Set it aside while you make the batter.
- Mash the bananas. In your large mixing bowl, add the three ripe bananas. Mash them thoroughly with a fork or wooden spoon until they’re mostly smooth with just a few small lumps. You want about 1 cup of mashed banana. The lumps will disappear during baking, so don’t stress over perfection.
- Add the wet ingredients. To the mashed bananas, add the pumpkin puree, granulated sugar, brown sugar, eggs, vegetable oil, and vanilla extract. Stir everything together until well combined. The mixture will look a little loose and glossy — that’s normal. Don’t overmix; just stir until the sugars are mostly dissolved and the eggs are incorporated.
- Mix the dry ingredients. Directly on top of the wet mixture, add the flour, baking soda, baking powder, cinnamon, nutmeg, ginger, and salt. Yes, right on top — no separate bowl needed. Stir gently with your wooden spoon until just combined. A few streaks of flour are okay; overmixing will make the bread tough. The batter should be thick but scoopable, like a thick muffin batter.
- Fold in the walnuts. Add the chopped walnuts and fold them in with just a few strokes. Try not to stir more than necessary. If the batter seems too thick, that’s fine — the moisture from the pumpkin and banana will keep it tender.
- Transfer to the pan. Pour the batter into your prepared loaf pan and spread it evenly with the back of your spoon. The pan should be about two-thirds full. Tap the pan gently on the counter a few times to release any air bubbles.
- Bake. Place the pan in the preheated oven and bake for 55-65 minutes. Start checking at 50 minutes by inserting a toothpick into the center. If it comes out clean or with just a few moist crumbs, it’s done. If the top is browning too quickly but the center isn’t done, tent loosely with aluminum foil for the last 10-15 minutes.
- Cool. Let the bread cool in the pan on a wire rack for 15 minutes. Then lift it out using the parchment paper and let it cool completely on the rack. This step is important — cutting it while warm will make it crumble. I know it’s tempting, but patience pays off here.
Sensory cues: The batter should smell warmly spiced and sweet. During baking, your kitchen will fill with the cozy aroma of cinnamon and banana. The bread is done when the top is golden brown and cracked, and a toothpick comes out clean or with a few moist crumbs. The edges will pull slightly away from the pan.
Cooking Tips & Techniques
I’ve learned a few things the hard way so you don’t have to. First, the banana situation is critical. If your bananas aren’t spotty and soft, the bread won’t be as sweet or moist. I’ve made this with barely ripe bananas and regretted it — the bread was dense and not nearly as flavorful. If your bananas are stubbornly yellow, pop them in a 300°F oven for 10-15 minutes until the skins blacken. They’ll soften right up.
Second, don’t overmix the batter. I know it’s tempting to keep stirring until everything looks perfectly smooth, but that develops the gluten and makes the bread tough. Stop as soon as the flour disappears. A few lumps are your friend here. I learned this lesson after making a loaf that could have doubled as a doorstop.
Third, check your oven temperature. I’ve had ovens that run hot and ovens that run cold, and it makes a big difference. If your bread is browning too fast on top but still raw in the middle, your oven is too hot. Tent it with foil and reduce the temperature by 25°F. If it’s taking forever to bake, your oven might be running cool. An oven thermometer is a cheap investment that pays off.
For timing and multitasking, here’s what works for me: mash the bananas first, then measure everything else while the oven preheats. I set a timer for 55 minutes and start checking at that point. If I’m making this for a school morning, I bake it the night before and let it cool overnight — the flavors actually develop more by the next day.
Variations & Adaptations
This recipe is wonderfully flexible. Here are some variations I’ve tried and loved:
- Chocolate Chip Pumpkin Banana Bread: Swap the walnuts for ½ cup of semi-sweet chocolate chips. My kids prefer this version, and honestly, I do too sometimes. The chocolate adds richness without overwhelming the pumpkin and banana.
- Gluten-Free Version: Use a 1:1 gluten-free flour blend. I’ve tested this with King Arthur Measure for Measure and it works beautifully. The texture is slightly more tender, so let it cool completely before slicing.
- Vegan Adaptation: Replace the eggs with two flax eggs (2 tablespoons ground flaxseed mixed with 6 tablespoons water, let sit for 5 minutes). The bread will be a bit denser but still delicious. Use maple syrup instead of honey if you’re strict vegan.
- Spice It Up: Add ¼ teaspoon of ground cloves or allspice for a warmer, more complex spice profile. This is great for holiday baking.
- Nut-Free School Snack: Replace walnuts with pepitas (pumpkin seeds) or dried cranberries. Both add texture without the allergen concern.
I once made a version with crystallized ginger folded in, and it added these little bursts of spicy sweetness that were incredible. Just reduce the sugar by a tablespoon to balance it out. Experiment and make it your own — that’s half the fun.
Serving & Storage Suggestions
This bread is best served slightly warm or at room temperature. I like to slice it thick and spread a little salted butter on top while it’s still warm — the butter melts into the crumb and it’s absolutely heavenly. For a breakfast treat, toast a slice and drizzle with honey or maple syrup.
For storage, wrap the cooled loaf tightly in plastic wrap or aluminum foil. It will keep at room temperature for up to 3 days. The flavors actually improve after the first day as the spices meld together. If you’re not going to eat it within 3 days, slice it and freeze the slices individually. Wrap each slice in plastic wrap, then place them in a freezer bag. They’ll keep for up to 3 months.
To reheat, pop a frozen slice in the toaster or microwave for 15-20 seconds. The texture comes back beautifully — almost like fresh-baked. I often make two loaves at once, freeze one, and have it ready for unexpected guests or busy mornings.
This bread also makes a great base for a simple dessert. Top a slice with a scoop of vanilla ice cream and a drizzle of caramel sauce. It’s fancy enough for company but easy enough for a Tuesday night.
Nutritional Information & Benefits
Here’s an approximate nutritional breakdown per slice (based on 10 slices):
- Calories: 285
- Fat: 11g
- Carbohydrates: 42g
- Fiber: 3g
- Sugar: 22g
- Protein: 5g
This bread offers some real nutritional perks. Pumpkin is packed with vitamin A and fiber, which supports eye health and digestion. Bananas provide potassium and natural sweetness, reducing the need for added sugar. Walnuts are rich in omega-3 fatty acids, which are great for brain health — a nice bonus for growing kids. This recipe is also naturally dairy-free, which makes it accessible for many families with dietary restrictions.
For a slightly lighter version, you can reduce the sugar to ¾ cup total (using ¼ cup each of granulated and brown sugar) and swap the oil for unsweetened applesauce. The texture will be a bit more cake-like, but it’s still delicious.
Conclusion
This one-bowl pumpkin banana bread has become my go-to for so many reasons. It’s simple enough for a tired weeknight, special enough for a holiday brunch, and forgiving enough for beginner bakers. The combination of pumpkin and banana creates a moist, tender crumb that’s perfectly spiced and studded with crunchy walnuts. Every time I make it, I think about that Tuesday afternoon in Jen’s kitchen and how something so simple can be so good.
I’d love for you to try this recipe and make it your own. Maybe add chocolate chips for the kids, or extra walnuts for crunch. Maybe skip the nuts entirely and add dried cranberries. Whatever you do, let me know how it turns out in the comments below. Share your photos, your variations, your happy kitchen moments. This recipe is meant to be shared, just like Jen shared it with me.
Happy baking, friends. Your kitchen is about to smell amazing.
Frequently Asked Questions
Can I use fresh pumpkin instead of canned?
Yes, you can use fresh pumpkin puree. Just make sure to drain it well after cooking and mashing, as fresh pumpkin tends to be more watery than canned. You might need to reduce the oil slightly to compensate.
Why did my bread sink in the middle?
This usually happens if the bread is underbaked or if the oven door was opened too early. Make sure to bake until a toothpick inserted in the center comes out clean. Also, avoid opening the oven during the first 40 minutes of baking.
Can I make this into muffins instead of a loaf?
Absolutely! Grease a 12-cup muffin tin and fill each cup about two-thirds full. Bake at 350°F for 18-22 minutes, or until a toothpick inserted in the center comes out clean. This is great for lunchboxes or grab-and-go breakfasts.
How do I know when the bananas are ripe enough?
Look for bananas with lots of brown spots on the peel. They should feel soft to the touch and smell sweet. If your bananas are still yellow, you can speed up the ripening process by placing them in a paper bag with an apple overnight.
Can I freeze this bread?
Yes, this bread freezes beautifully. Let it cool completely, then wrap it tightly in plastic wrap and aluminum foil. Freeze for up to 3 months. Thaw overnight in the refrigerator or at room temperature for a few hours. Slices can be toasted directly from frozen.
Pin This Recipe!
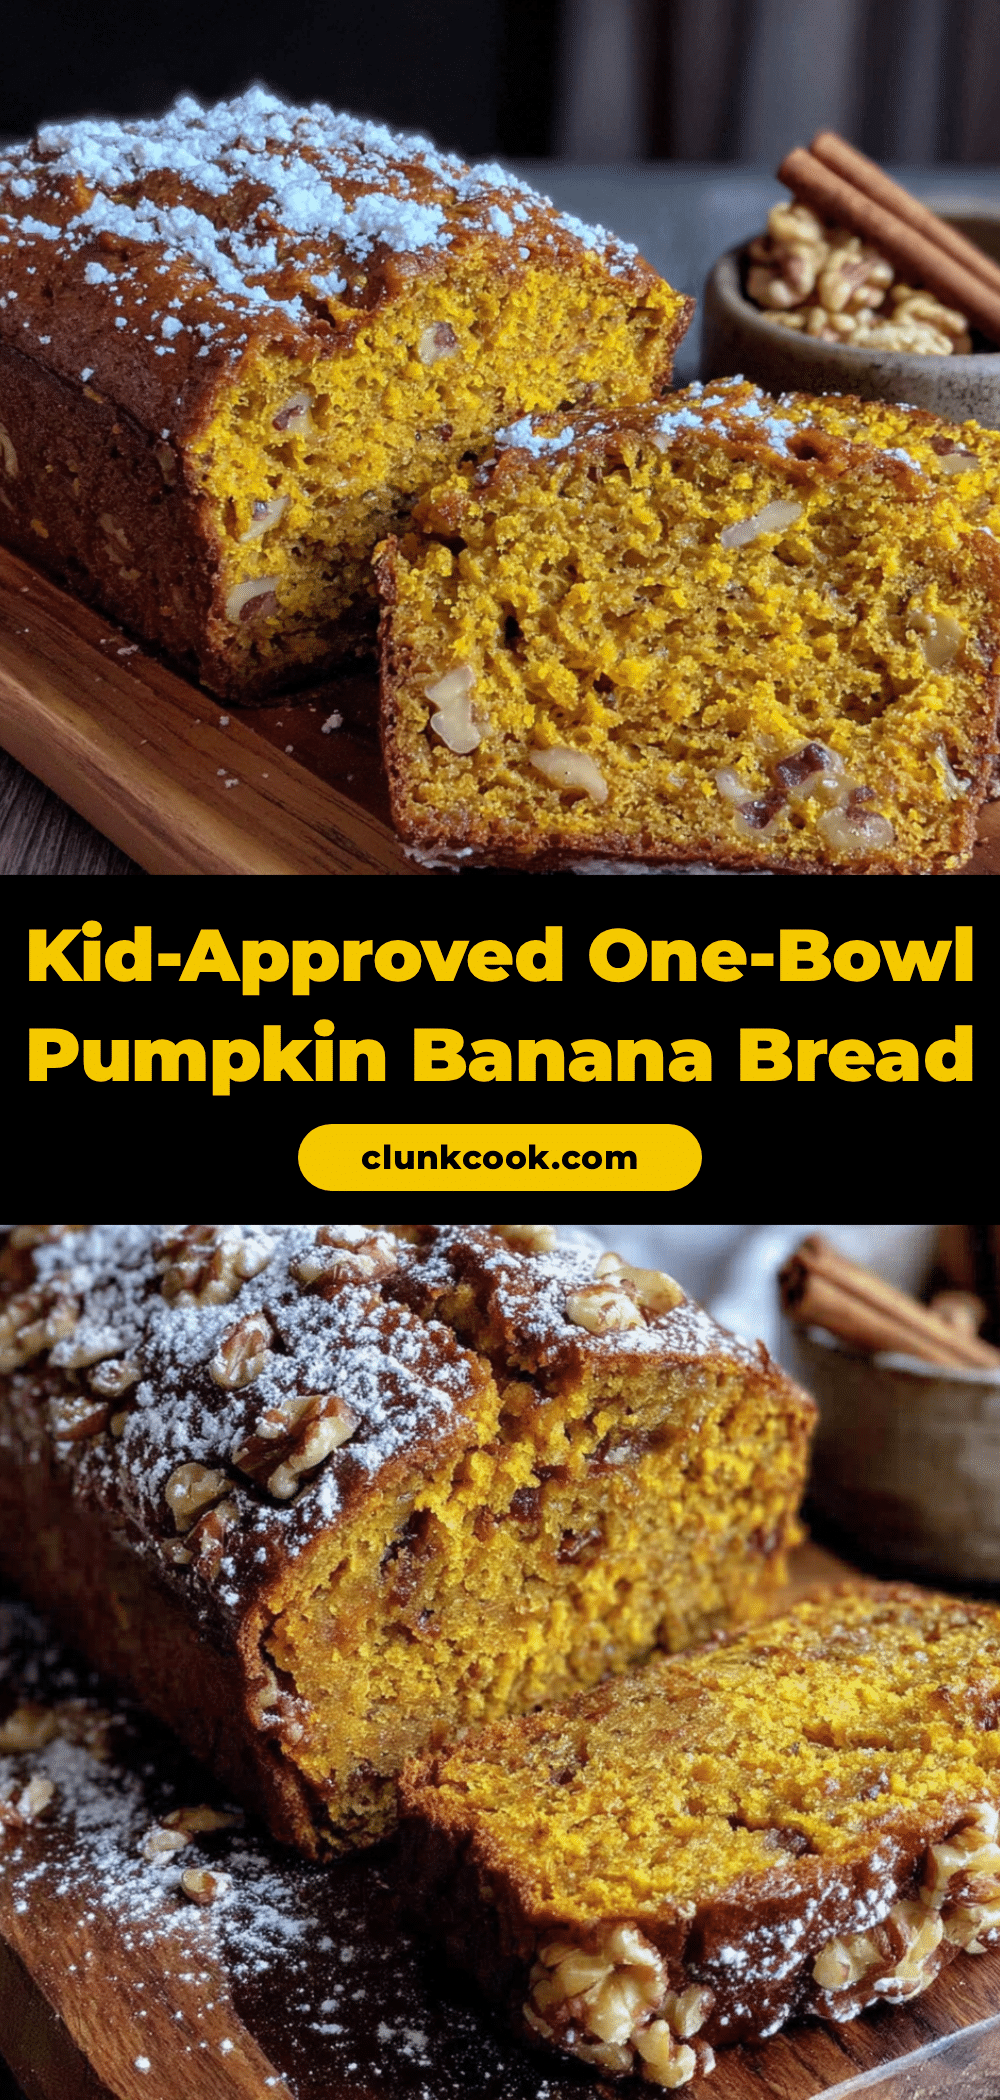
Best One-Bowl Pumpkin Banana Bread Recipe (Kid-Approved)
This one-bowl pumpkin banana bread is incredibly moist and tender, with warm spices and crunchy walnuts. It’s quick, easy, and perfect for busy weeknights or holiday brunches.
- Prep Time: 15 minutes
- Cook Time: 55 minutes
- Total Time: 1 hour 10 minutes
- Yield: 10 servings 1x
- Category: Dessert
- Cuisine: American
Ingredients
- 1 ¾ cups (220g) all-purpose flour
- 1 teaspoon baking soda
- ½ teaspoon baking powder
- 1 ½ teaspoons ground cinnamon
- ½ teaspoon ground nutmeg
- ¼ teaspoon ground ginger
- ½ teaspoon salt
- 3 medium ripe bananas (about 1 cup mashed)
- 1 cup (240g) canned pumpkin puree (not pumpkin pie filling)
- ½ cup (100g) granulated sugar
- ½ cup (100g) light brown sugar, packed
- 2 large eggs, at room temperature
- ⅓ cup (80ml) vegetable oil (or melted coconut oil)
- 1 teaspoon vanilla extract
- ½ cup (60g) chopped walnuts
Instructions
- Preheat oven to 350°F (175°C). Grease a 9×5-inch loaf pan or line with parchment paper, leaving overhang on long sides.
- In a large mixing bowl, mash the bananas thoroughly with a fork or wooden spoon until mostly smooth with a few small lumps (about 1 cup).
- Add pumpkin puree, granulated sugar, brown sugar, eggs, vegetable oil, and vanilla extract to the mashed bananas. Stir until well combined and sugars are mostly dissolved.
- Add flour, baking soda, baking powder, cinnamon, nutmeg, ginger, and salt directly on top of the wet mixture. Stir gently until just combined; a few streaks of flour are okay.
- Fold in the chopped walnuts with a few strokes.
- Pour batter into prepared loaf pan and spread evenly. Tap pan gently on counter to release air bubbles.
- Bake for 55-65 minutes, checking at 50 minutes. Bread is done when a toothpick inserted in center comes out clean or with a few moist crumbs. If top browns too quickly, tent with foil for last 10-15 minutes.
- Cool in pan on a wire rack for 15 minutes, then lift out using parchment paper and cool completely on rack.
Notes
For nut-free version, swap walnuts with chocolate chips or pepitas. For gluten-free, use a 1:1 gluten-free flour blend. If bananas aren’t ripe, bake them at 300°F for 10-15 minutes until skins blacken. Do not overmix batter. Bread can be frozen for up to 3 months.
Nutrition
- Serving Size: 1 slice
- Calories: 285
- Sugar: 22
- Sodium: 280
- Fat: 11
- Saturated Fat: 1.5
- Carbohydrates: 42
- Fiber: 3
- Protein: 5
Keywords: pumpkin banana bread, one-bowl recipe, quick bread, fall baking, kid-friendly, easy banana bread, pumpkin bread


