Love this? Save it for later!
Share the inspiration with your friends
My brother-in-law, Mark, had claimed to hate dessert for a solid decade. No, really. He’d wave off birthday cake, push away pie, and even turn down a scoop of premium ice cream. It was a point of family pride, this weird stance of his. Then, last spring, I caught him. I was testing a batch of these Spring Chocolate Dirt Cups with Gummy Worms for an Easter brunch, and I walked into the kitchen to find him standing at the counter, a spoon in one hand and a half-eaten dirt cup in the other. He didn’t even try to hide it. He just looked at me, shrugged, and said, “These are different.” And that’s the thing—they really are. Maybe you know someone like that, a dessert-skeptic who needs the right kind of convincing. For Mark, it was the creamy texture and the playful crunch of the “dirt” that did it. This recipe has a way of turning even the most stubborn non-sweet-toothers into believers, one spoonful at a time.
Why You’ll Love This Spring Chocolate Dirt Cups with Gummy Worms
After testing this recipe a dozen times (and yes, making a glorious mess of my kitchen), I can tell you exactly why this version stands out. It’s not just about throwing pudding and crushed cookies in a cup. There’s a method to the madness that makes these Spring Chocolate Dirt Cups with Gummy Worms absolutely irresistible.
- Quick & Easy: You can have these assembled in under 15 minutes. Seriously. No baking, no complicated steps—just a few simple moves and you’re done. Perfect for when you need a last-minute treat for a spring gathering.
- Simple Ingredients: Everything on the list is probably in your pantry or local grocery store right now. No fancy extracts or hard-to-find chocolate. Just real, reliable staples.
- Perfect for Spring Celebrations: Whether it’s Easter brunch, a spring birthday party, or just a sunny afternoon snack, these little cups fit right in. They’re fun, festive, and totally on-theme for the season.
- Crowd-Pleaser: I’ve served these to kids, adults, and even my skeptical brother-in-law. They disappear every single time. The combination of creamy pudding and crunchy cookie crumble is universally loved.
- Unbelievably Delicious: The texture here is next-level. The pudding is silky and rich, the crushed cookies mimic real dirt perfectly, and the gummy worms add a chewy, fruity surprise. It’s comfort food in a cup.
What makes these Spring Chocolate Dirt Cups different from every other recipe? It’s the layering technique. I don’t just dump everything in. I build the “dirt” in stages, which keeps the cookies crunchy and prevents the pudding from turning everything into a soggy mess. Plus, using instant pudding mix that’s been chilled properly makes a world of difference. This isn’t just another dessert—it’s the kind that makes you close your eyes after the first bite, feeling like a kid again on a warm spring day.
What Ingredients You Will Need
This recipe uses simple, wholesome ingredients to deliver that perfect balance of creamy, crunchy, and sweet. You don’t need a special trip to a gourmet store—everything here is a pantry staple or easy to find at your local market.
- 1 (3.9 oz) box instant chocolate pudding mix (I prefer Jell-O brand for its consistent texture, but any brand works)
- 2 cups cold whole milk (for the richest, creamiest pudding; you can use 2% or oat milk, but the texture will be slightly thinner)
- 1 (14.3 oz) package chocolate sandwich cookies (like Oreos—you’ll need about 20 cookies for the “dirt”)
- 1 (8 oz) container frozen whipped topping, thawed (like Cool Whip; adds lightness and a mousse-like texture)
- 1/4 cup unsalted butter, melted (optional, but it helps the cookie crumb hold together and adds richness)
- 1 package gummy worms (about 20-24 worms, depending on how many you want per cup)
- Optional for garnish: green-tinted shredded coconut for “grass” or edible flowers for a spring touch
Here’s a quick tip I learned the hard way: don’t skimp on the chilling time. The pudding needs at least 15 minutes to set properly before you start layering. If you rush it, you’ll end up with a soupy mess. Trust me, I’ve been there. Also, when you crush the cookies, aim for a mix of fine crumbs and small pebbles. It looks more like real dirt that way. For the gummy worms, I like to use a mix of colors—red, green, yellow, and purple—to make the cups pop visually.
Equipment Needed
You don’t need a fancy kitchen to make these Spring Chocolate Dirt Cups with Gummy Worms. Here’s what you’ll need:
- 6-8 small clear cups or glasses (clear plastic or glass cups work best so you can see the layers)
- Medium mixing bowl (for the pudding)
- Whisk (for mixing the pudding)
- Food processor or zip-top bag and rolling pin (for crushing the cookies)
- Small bowl (for the melted butter and cookie crumbs)
- Spoon or small spatula (for layering)
- Measuring cups and spoons
If you don’t have a food processor, don’t stress. I’ve crushed cookies with a rolling pin over a zip-top bag more times than I can count. It actually gives you more control over the texture. Just make sure the bag is sealed tight—I learned that lesson when crumbs went flying across my kitchen. For the cups, I like using small mason jars or clear plastic cups from the party store. They’re cheap and make the layers look beautiful.
Preparation Method
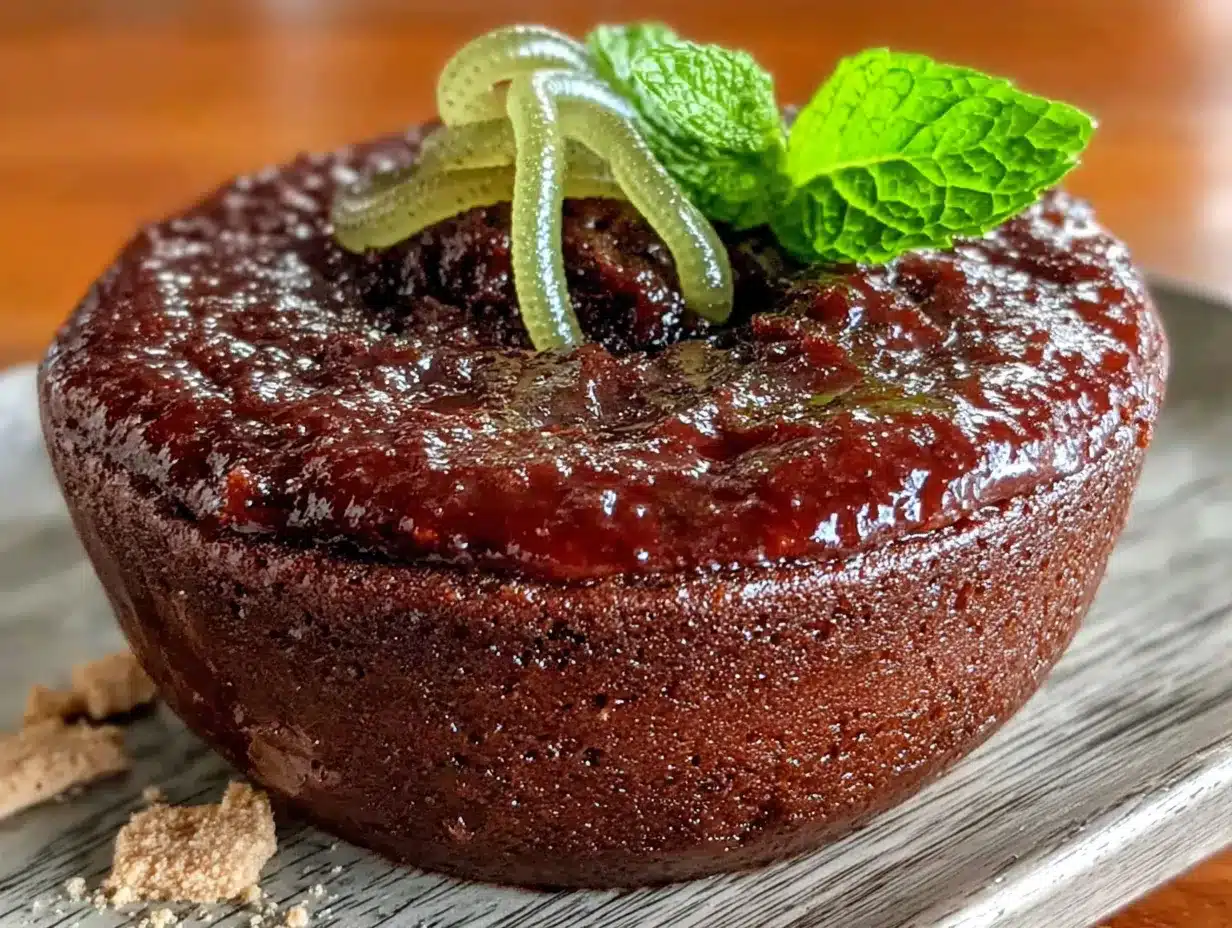
Let me walk you through this step by step. I’ve included all the little details that make these Spring Chocolate Dirt Cups with Gummy Worms turn out perfectly every time.
- Make the pudding: In a medium bowl, whisk together the instant chocolate pudding mix and 2 cups of cold whole milk. Whisk for about 2 minutes until it starts to thicken. You’ll feel it get heavier. Let it sit for 5 minutes to set up. (Don’t skip this rest—it’s crucial for the right texture.)
- Fold in the whipped topping: Gently fold the thawed whipped topping into the pudding using a spatula. Do this slowly, in a figure-eight motion, until it’s fully incorporated. This gives the pudding a lighter, mousse-like texture that’s less dense than regular pudding. Set it aside.
- Crush the cookies: Place the chocolate sandwich cookies in a food processor and pulse until you have a mix of fine crumbs and small chunks. Alternatively, put them in a zip-top bag and crush them with a rolling pin. You want about 2 cups of crumbs total. (I like to leave a few larger pieces for texture.)
- Mix the dirt: In a small bowl, combine the cookie crumbs with the melted butter. Stir with a fork until the crumbs are evenly moistened. This step is optional, but it helps the “dirt” clump together slightly, mimicking real soil. If you’re skipping the butter, just use the crumbs as is.
- Layer the cups: Start with a spoonful of the chocolate pudding mixture at the bottom of each cup—about 2 tablespoons. Spread it evenly. Then add a layer of cookie crumbs—about 1 to 2 tablespoons. Repeat the layers until you reach the top of the cup, ending with a generous layer of cookie crumbs on top. You should get about 3 layers of pudding and 3 layers of crumbs per cup.
- Add the worms: Gently poke 2 to 3 gummy worms into the top layer of “dirt” so they look like they’re crawling out. You can also tuck a few into the middle layers for a fun surprise when someone eats their way down.
- Chill before serving: Place the cups in the refrigerator for at least 30 minutes before serving. This allows the layers to set and the flavors to meld. The longer they chill, the better they taste—I’ve found they’re perfect after 2 hours.
A quick note: if you’re making these for a party, you can assemble them the night before. Just wait to add the gummy worms until right before serving so they stay bright and chewy. The pudding will actually get creamier overnight, which is a good thing.
Cooking Tips & Techniques
I’ve made these Spring Chocolate Dirt Cups with Gummy Worms more times than I can count, and I’ve definitely made my share of mistakes. Here’s what I’ve learned so you don’t have to repeat my errors.
Don’t overmix the pudding. I once whisked it for five minutes straight because I was distracted, and it turned into a thick, gluey mess. Two minutes of whisking is plenty—you want it to be smooth and slightly thickened, not stiff.
Use cold milk. This is non-negotiable. Warm milk won’t activate the instant pudding properly, and you’ll end up with a soupy disaster. I keep my milk in the fridge until the last second.
Crush the cookies unevenly. I know it sounds weird, but a mix of fine crumbs and small chunks looks more like real dirt. If all the crumbs are too fine, it looks like sand. If they’re too chunky, it looks like gravel. Aim for a natural, soil-like texture.
Watch your timing. If you’re making these for a specific event, plan your chilling time carefully. They need at least 30 minutes in the fridge, but they’re even better after 2 hours. I usually make them in the morning for an afternoon party.
One mistake I’ll never repeat: I once added the gummy worms too early, and they started to bleed their color into the pudding. It looked like a messy rainbow. Now I always add them right before serving. Keep the worms in a separate bag until the last minute.
Variations & Adaptations
This recipe is surprisingly flexible. Here are some ways I’ve adapted these Spring Chocolate Dirt Cups with Gummy Worms to fit different needs and tastes.
Gluten-Free Version: Use gluten-free chocolate sandwich cookies (there are several good brands now) and make sure your pudding mix is certified gluten-free. Everything else is naturally gluten-free.
Dairy-Free Version: Swap the whole milk for unsweetened almond milk or oat milk, and use a dairy-free whipped topping. I’ve tried this with coconut cream whipped topping, and it works beautifully—just make sure it’s thawed properly.
Seasonal Twist: For fall, swap the gummy worms for candy corn or small pumpkin candies. You can also tint the whipped topping orange with a drop of food coloring for a Halloween version.
Flavor Variations: Try using white chocolate or butterscotch pudding mix instead of chocolate. The “dirt” stays the same, but the flavor profile changes completely. I made a batch with pistachio pudding once, and it was surprisingly good—earthy and sweet.
Extra Crunch: Add a layer of crushed pretzels or chopped nuts between the pudding and cookie crumbs. It adds a salty-sweet contrast that’s absolutely addictive. Just be careful if you’re serving to people with nut allergies.
My personal favorite variation? I add a thin layer of fresh raspberries or sliced strawberries between the pudding layers during spring. The tart fruit cuts through the sweetness perfectly and adds a pop of color. It’s a small tweak that makes a big difference.
Serving & Storage Suggestions
These Spring Chocolate Dirt Cups with Gummy Worms are best served cold, straight from the fridge. The contrast between the chilled, creamy pudding and the crunchy cookie dirt is what makes them so satisfying.
For presentation, I like to serve them in clear cups so everyone can see the layers. You can also add a small sprig of mint or a few edible flowers on top for a spring garden vibe. If you’re feeling extra festive, tint some shredded coconut green with a drop of food coloring and sprinkle it on top to look like grass.
These pair beautifully with a cup of coffee or a glass of cold milk. For a spring brunch, I serve them alongside fresh fruit salad and maybe some mini quiches for balance. They’re also perfect as a standalone dessert at a kid’s birthday party.
Storage: Keep the cups covered in the refrigerator for up to 3 days. The pudding will stay creamy, but the cookie crumbs will soften over time. If you want to keep them crunchy, store the cookie crumbs separately and assemble them just before serving. I don’t recommend freezing these—the texture of the pudding and whipped topping will change when thawed.
For reheating (if you can even call it that), just let them sit at room temperature for 5 minutes before serving. They’re meant to be eaten cold, so no microwave needed. The flavors actually develop more after a day in the fridge, so leftovers are a good thing.
Nutritional Information & Benefits
Here’s the honest truth: these Spring Chocolate Dirt Cups with Gummy Worms are a treat, not a health food. But that doesn’t mean they can’t fit into a balanced lifestyle. One serving (one cup) contains approximately:
- Calories: 320-380 (depending on the exact ingredients and portion size)
- Fat: 16g
- Carbohydrates: 45g
- Protein: 5g
- Sugar: 30g
The good news? The milk and whipped topping provide some calcium and protein, and the dark chocolate in the cookies offers a small amount of antioxidants. The gummy worms? They’re pure fun—and sometimes that’s exactly what you need.
If you’re watching your sugar intake, you can use sugar-free pudding mix and light whipped topping to cut the sugar by about half. I’ve tried this version, and while it’s not quite as rich, it’s still pretty satisfying. For anyone with dietary restrictions, this recipe is naturally nut-free (check your cookie brand) and can be made gluten-free or dairy-free with the substitutions I mentioned earlier.
My personal take? Life is about balance. I serve these for special occasions and enjoy every single bite without guilt. The joy they bring—especially seeing kids’ faces light up—is worth it.
Conclusion
These Spring Chocolate Dirt Cups with Gummy Worms are more than just a dessert—they’re a little moment of joy in a cup. They’re easy enough for a weekday treat but special enough for a spring celebration. The creamy pudding, the crunchy cookie dirt, and the playful gummy worms come together to create something that feels both nostalgic and fresh.
I love that this recipe is forgiving. You can tweak it, swap ingredients, and make it your own. That’s the beauty of simple cooking—it leaves room for your personality to shine through. Whether you’re making these for an Easter brunch, a spring picnic, or just a fun afternoon with the kids, I promise they’ll be a hit.
So go ahead—grab your ingredients, crush some cookies, and have fun with it. And when you make your own batch, I’d love to hear about it. Leave a comment below and share your twists, your successes, or even your happy accidents. Let’s make this spring a little sweeter, one dirt cup at a time.
Frequently Asked Questions
Can I make these Spring Chocolate Dirt Cups ahead of time?
Yes, absolutely. You can assemble them up to 24 hours in advance. Just wait to add the gummy worms until right before serving so they don’t bleed their color into the pudding. Keep them covered in the refrigerator.
Can I use homemade pudding instead of instant?
You can, but the texture will be different. Homemade pudding is usually thinner and won’t set up as firmly. If you prefer homemade, cook it until it’s very thick and let it cool completely before layering. The instant version is more reliable for this recipe.
What if I don’t have clear cups?
No problem at all. You can use any small bowls, ramekins, or even a large trifle dish for a family-style version. The layers won’t be visible, but they’ll taste just as good. I’ve made them in small mason jars, and they look adorable.
How do I keep the cookie crumbs crunchy?
The key is to add the cookie crumbs in layers and not mix them into the pudding. Also, chilling the cups for at least 30 minutes helps the crumbs stay separate. If you want extra crunch, you can toast the crumbs in a dry pan for 2-3 minutes before using them.
Can I use different types of gummy candies?
Definitely. Gummy frogs, bears, or even sour worms work great. Just make sure they’re soft and chewy, not hard candies. I’ve used gummy butterflies for a spring garden theme, and they were a huge hit with the kids.
Pin This Recipe!
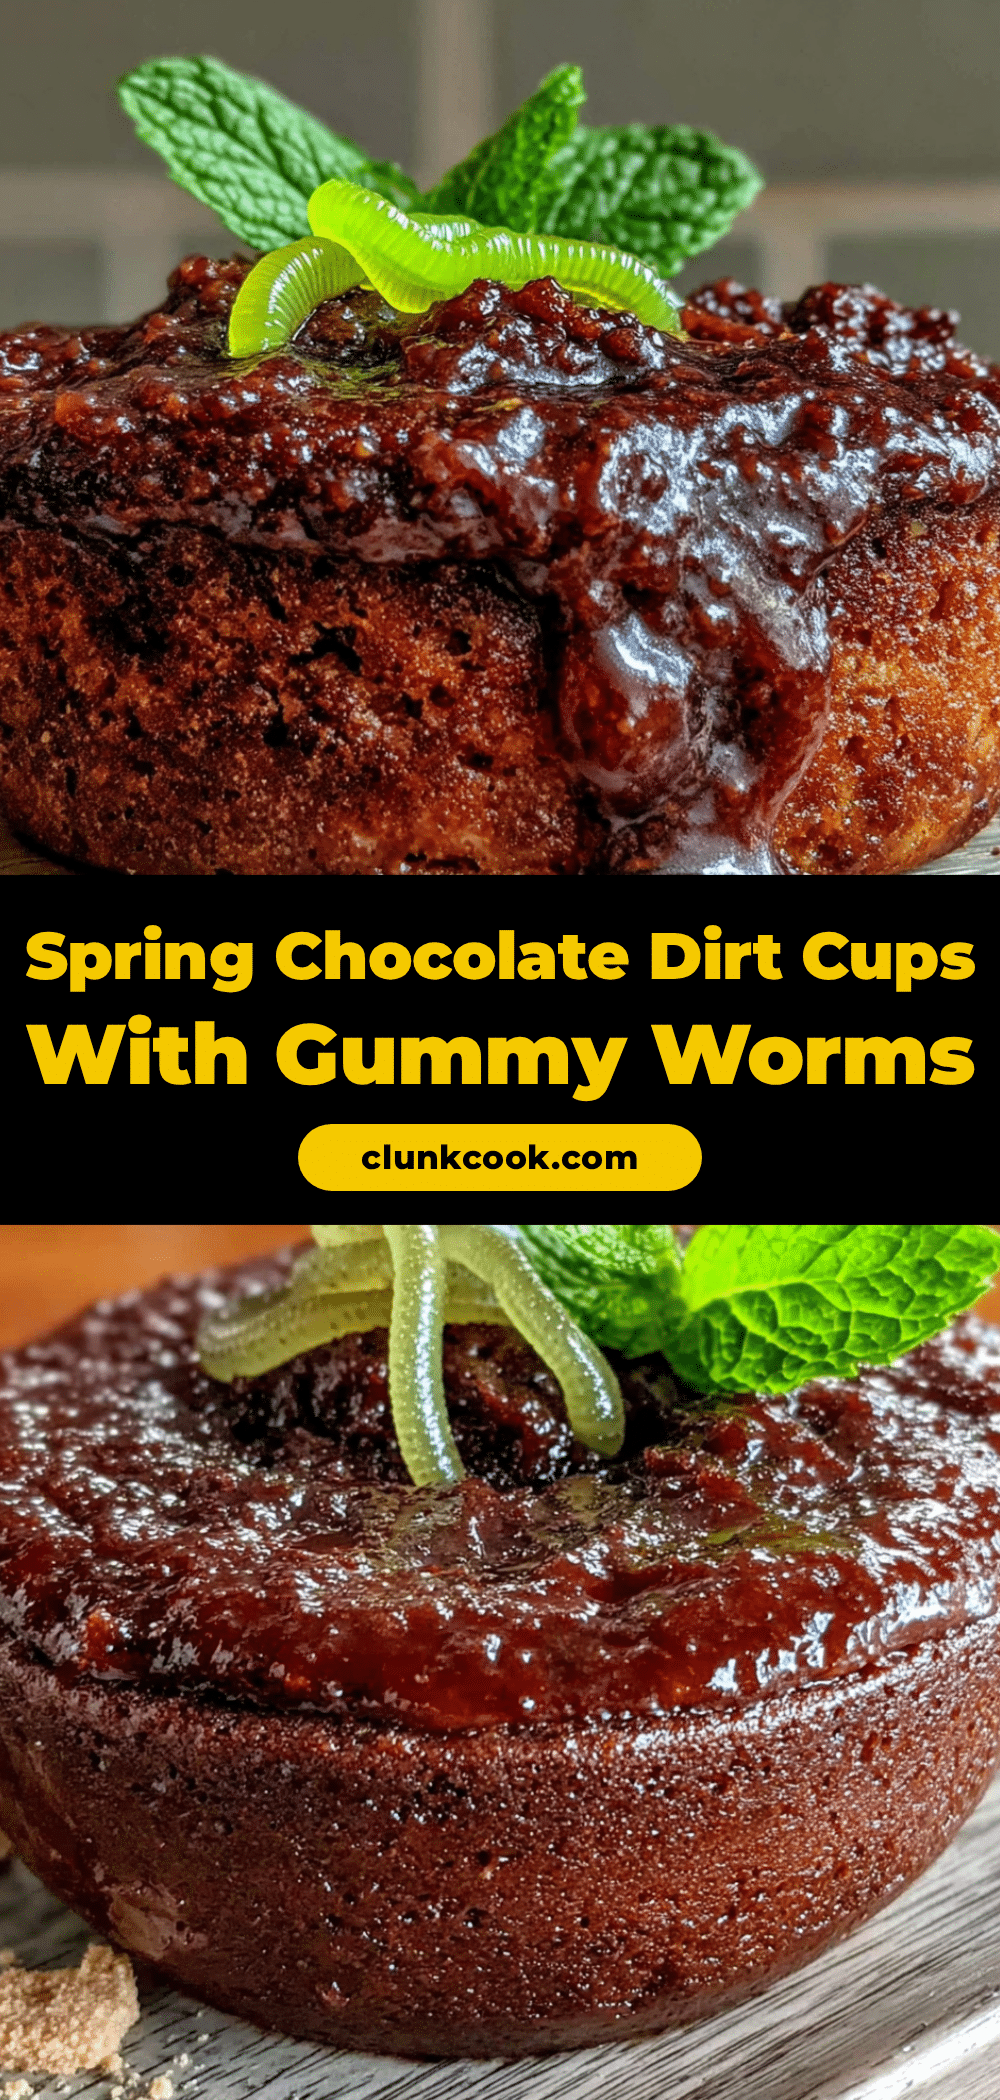
Easy Spring Chocolate Dirt Cups with Gummy Worms

These no-bake chocolate dirt cups feature creamy pudding, crunchy cookie crumble, and playful gummy worms. Perfect for spring celebrations, they come together in under 15 minutes and are a guaranteed crowd-pleaser.
- Prep Time: 15 minutes
- Cook Time: 0 minutes
- Total Time: 45 minutes (includes chilling)
- Yield: 6-8 servings 1x
- Category: Dessert
- Cuisine: American
Ingredients
- 1 (3.9 oz) box instant chocolate pudding mix
- 2 cups cold whole milk
- 1 (14.3 oz) package chocolate sandwich cookies (about 20 cookies)
- 1 (8 oz) container frozen whipped topping, thawed
- 1/4 cup unsalted butter, melted (optional)
- 1 package gummy worms (about 20–24 worms)
- Optional: green-tinted shredded coconut or edible flowers for garnish
Instructions
- In a medium bowl, whisk together the instant chocolate pudding mix and 2 cups of cold whole milk for about 2 minutes until it starts to thicken. Let it sit for 5 minutes to set up.
- Gently fold the thawed whipped topping into the pudding using a spatula in a figure-eight motion until fully incorporated. Set aside.
- Crush the chocolate sandwich cookies in a food processor or in a zip-top bag with a rolling pin until you have a mix of fine crumbs and small chunks (about 2 cups total).
- In a small bowl, combine the cookie crumbs with the melted butter (if using) and stir with a fork until evenly moistened.
- Layer the cups: Start with about 2 tablespoons of the chocolate pudding mixture at the bottom of each cup. Add about 1 to 2 tablespoons of cookie crumbs. Repeat layers until the cup is full, ending with a generous layer of cookie crumbs on top. You should get about 3 layers of pudding and 3 layers of crumbs per cup.
- Gently poke 2 to 3 gummy worms into the top layer of ‘dirt’ so they look like they’re crawling out. Optionally, tuck a few into the middle layers.
- Refrigerate the cups for at least 30 minutes before serving. For best results, chill for 2 hours or overnight (add gummy worms just before serving if making ahead).
Notes
For best results, use cold milk and do not overmix the pudding. Crush cookies unevenly for a more natural ‘dirt’ texture. Add gummy worms just before serving to prevent color bleeding. The cups can be assembled up to 24 hours in advance (without worms). Store covered in the refrigerator for up to 3 days.
Nutrition
- Serving Size: 1 cup
- Calories: 350
- Sugar: 30
- Sodium: 320
- Fat: 16
- Saturated Fat: 8
- Carbohydrates: 45
- Fiber: 1
- Protein: 5
Keywords: chocolate dirt cups, gummy worms, spring dessert, no-bake, Easter dessert, kids dessert, pudding cups


