Love this? Save it for later!
Share the inspiration with your friends
My neighbor, a retired baker named Frank, once asked me why I couldn’t just dump all the dry ingredients into a bowl without sifting them first. I started to explain the science of aerating flour and the importance of even distribution—then stopped. Honestly, I was tired. It was a Tuesday, and the kids were running circles around the kitchen island. I told him, “Fine, Frank. Let’s see what happens.” I dumped everything—flour, sugar, spices, baking powder—straight into the bowl and gave it a vigorous whisk. And you know what? Those were the best pumpkin scones I had ever made. The texture was perfect, flaky and tender, and I felt a little sheepish for insisting on the fussy method for so many years. That moment taught me something: sometimes the shortcut is the secret. These easy pumpkin scones with brown butter glaze are proof. They come together without a mixer, without sifting, and without any special equipment. They are the kind of recipe you can make on a school morning or a Sunday afternoon when the house smells like fall and everyone is hungry. Maybe you have been there—standing in your kitchen, wondering if you really need to dirty another bowl. The answer is no. These scones are forgiving, budget-friendly, and absolutely delicious. That is why I keep making them, and why Frank still asks for the recipe every October.
Why You’ll Love This Recipe
This isn’t just another pumpkin scone recipe—it is the one you will come back to week after week. I have tested this version more times than I can count, and it has earned its spot as a family favorite. Here is why it works so well:
- Budget-Friendly Ingredients: You probably already have most of these in your pantry. No expensive extracts or hard-to-find spices here.
- Quick & Easy: From start to finish, these scones are ready in under 30 minutes. The hardest part is waiting for the glaze to set.
- Crowd-Pleaser: My kids devour these, and so do the adults at the table. The brown butter glaze adds a nutty richness that feels fancy without the effort.
- Perfect for Fall Mornings: Whether it is a cozy weekend breakfast or a quick treat after school, these scones hit the spot every time.
- Leftovers Reheat Beautifully: Pop one in the microwave for 10 seconds, and it tastes fresh out of the oven. That is a win for busy families.
What makes this recipe different from the rest is the brown butter glaze. Most pumpkin scones are topped with a plain powdered sugar drizzle, but browning the butter first adds a deep, toasty flavor that pairs perfectly with the warm pumpkin spices. It is a small step that makes a huge difference. Honestly, this recipe is the kind that makes you close your eyes after the first bite—comfort food reimagined, faster and simpler, but with the same soul-soothing satisfaction.
What Ingredients You Will Need
This recipe uses simple, wholesome ingredients to deliver bold flavor and satisfying texture without the fuss. Most of these are pantry staples, so you can whip up a batch anytime the craving hits.
For the Scones
- All-purpose flour, 2 cups (250g) – No need for bread flour or pastry flour here; standard all-purpose works perfectly.
- Granulated sugar, 1/3 cup (65g) – Just enough sweetness to balance the pumpkin and spices.
- Baking powder, 1 tablespoon – Make sure it is fresh for the best rise.
- Pumpkin pie spice, 1 teaspoon – You can use store-bought or make your own with cinnamon, nutmeg, ginger, and cloves.
- Ground cinnamon, 1/2 teaspoon – Adds warmth and depth.
- Salt, 1/4 teaspoon – Enhances all the flavors.
- Cold unsalted butter, 6 tablespoons (85g), cubed – This is key for flaky scones. Keep it cold until the last minute.
- Pumpkin puree, 1/2 cup (120g) – Not pumpkin pie filling. Just plain canned pumpkin. I prefer Libby’s brand for consistent texture.
- Heavy cream, 1/4 cup (60ml) plus extra for brushing – Adds richness and helps the scones brown.
- Vanilla extract, 1 teaspoon – Pure vanilla is best, but imitation works in a pinch.
For the Brown Butter Glaze
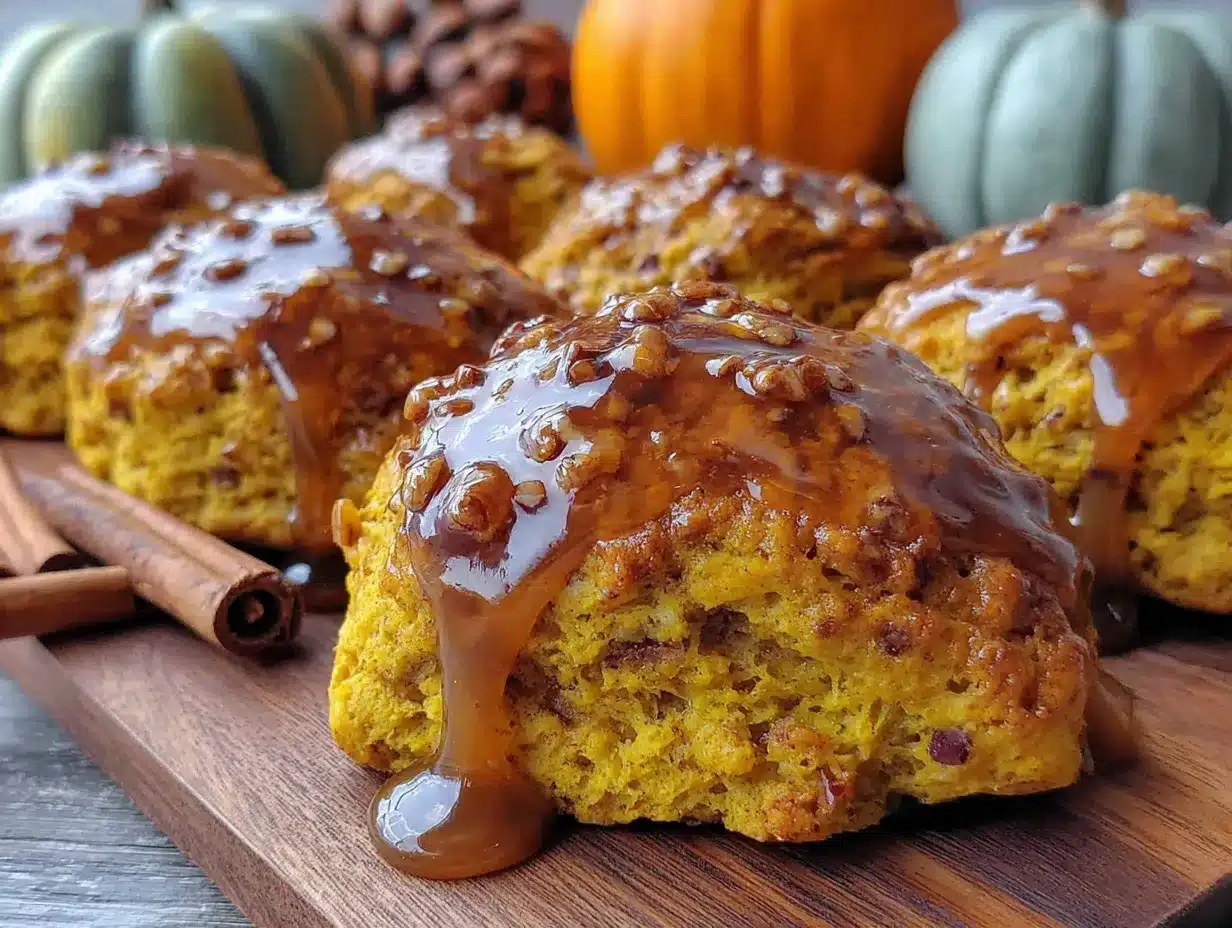
- Unsalted butter, 3 tablespoons (42g) – You will brown this first, so keep an eye on it.
- Powdered sugar, 1 cup (120g) – Sifted if you want a super smooth glaze, but honestly, I skip sifting and it is fine.
- Vanilla extract, 1/2 teaspoon
- Milk, 2–3 tablespoons (30–45ml) – Whole milk gives the richest glaze, but 2% or even oat milk works.
If you are out of heavy cream, you can substitute with whole milk mixed with a tablespoon of melted butter. For a dairy-free version, use cold coconut oil instead of butter and a plant-based cream. The texture will be slightly different, but still delicious. Also, look for firm pumpkin puree—if it looks watery, pat it dry with a paper towel before using. That extra step prevents soggy scones.
Equipment Needed
You do not need a fancy kitchen to make these scones. Here is what you will need:
- Large mixing bowl – Any bowl will do, but a wide one makes mixing easier.
- Pastry cutter or two forks – To cut the butter into the flour. I have used both, and honestly, a fork works fine if you are patient.
- Baking sheet – Line it with parchment paper for easy cleanup.
- Small saucepan – For browning the butter. A light-colored pan helps you see the color change.
- Whisk – For the glaze and for mixing dry ingredients.
- Sharp knife or bench scraper – To cut the scones into wedges without smashing the dough.
- Pastry brush – For brushing cream on top. A silicone brush is my favorite—it does not shed bristles.
If you do not have a pastry cutter, you can use your fingertips to rub the butter into the flour. Just work quickly so the butter stays cold. I have also used a food processor in a pinch—just pulse a few times until the mixture looks like coarse crumbs.
Preparation Method
Follow these steps closely, and you will have perfect scones every time. I have included sensory cues so you know exactly what to look for.
- Preheat your oven to 400°F (200°C). Line a baking sheet with parchment paper. This ensures the bottoms do not burn.
- Mix the dry ingredients. In a large bowl, whisk together the flour, sugar, baking powder, pumpkin pie spice, cinnamon, and salt. You want everything evenly distributed—no clumps of baking powder hiding in there.
- Cut in the cold butter. Add the cubed butter to the flour mixture. Use a pastry cutter or two forks to cut it in until the mixture looks like coarse meal with pea-sized butter pieces. Some larger bits are fine; they create flaky layers. Work quickly—warm butter is the enemy of flaky scones.
- Combine the wet ingredients. In a small bowl or measuring cup, whisk together the pumpkin puree, heavy cream, and vanilla extract until smooth. It should look like a thick, orange-hued paste.
- Bring it together. Pour the wet mixture into the dry ingredients. Stir with a fork or spatula until just combined. The dough will look shaggy and a little dry—that is exactly what you want. Do not overmix, or the scones will be tough.
- Shape the dough. Turn the dough out onto a lightly floured surface. Gently bring it together with your hands, patting it into a circle about 3/4-inch thick. It should feel soft but not sticky. If it is too sticky, sprinkle a little more flour on top.
- Cut into wedges. Use a sharp knife or bench scraper to cut the circle into 8 equal wedges. Transfer them to the prepared baking sheet, spacing them about 2 inches apart. They will spread slightly, so give them room.
- Brush with cream. Brush the tops of the scones with a little extra heavy cream. This helps them turn golden brown in the oven. Sprinkle a pinch of coarse sugar on top if you want a crunchy crust—my kids love this.
- Bake. Bake for 14–16 minutes, until the scones are golden brown on the edges and firm to the touch. The tops should look dry but not dark. Let them cool on the baking sheet for 5 minutes, then transfer to a wire rack.
- Make the brown butter glaze. While the scones cool, melt the 3 tablespoons of butter in a small saucepan over medium heat. Swirl the pan occasionally. The butter will foam, then turn a nutty golden brown with dark specks at the bottom. This takes about 3–4 minutes. Watch closely—it can go from browned to burnt in seconds. Remove from heat immediately.
- Finish the glaze. Pour the browned butter into a small bowl, including all the dark bits (that is where the flavor is). Add the powdered sugar, vanilla extract, and 2 tablespoons of milk. Whisk until smooth. If it is too thick, add another tablespoon of milk. If it is too thin, add a little more powdered sugar. The glaze should be thick enough to coat the back of a spoon but still pourable.
- Glaze the scones. Drizzle the brown butter glaze over the cooled scones. Let it set for 5–10 minutes before serving. The glaze will harden slightly, creating a lovely crackly top.
Cooking Tips & Techniques
I have made these scones more times than I can count, and I have learned a few things along the way. Here are my best tips:
- Keep everything cold. Cold butter is non-negotiable. If your kitchen is warm, pop the cubed butter in the freezer for 10 minutes before cutting it in. I once made the mistake of using room-temperature butter, and the scones came out flat and greasy. Never again.
- Do not overwork the dough. The more you handle it, the tougher the scones will be. Mix until it just comes together, then pat it into shape gently. A few dry patches are okay.
- Watch the butter closely. Browning butter is a quick process. As soon as it turns amber and smells nutty, pull it off the heat. I have burned it more than once while distracted by the kids—trust me, you want to pay attention.
- Use a light-colored pan for browning. Dark pans make it hard to see the color change. If you only have a dark pan, reduce the heat slightly and watch like a hawk.
- Let the scones cool before glazing. If you pour the glaze on warm scones, it will melt right off and pool on the sheet. Patience pays off here.
- Multitask wisely. While the scones are baking, make the brown butter glaze. That way, everything is ready at the same time, and you are not rushing at the end.
Variations & Adaptations
This recipe is flexible, so feel free to make it your own. Here are some variations I have tried and loved:
- Gluten-Free Version: Substitute the all-purpose flour with a 1:1 gluten-free baking flour blend. I have used Bob’s Red Mill with great results. The texture is slightly crumblier but still delicious.
- Dairy-Free Version: Use cold coconut oil instead of butter, and swap the heavy cream with full-fat coconut milk. For the glaze, use a plant-based butter and oat milk. It works beautifully.
- Add Mix-Ins: Fold in 1/2 cup of dried cranberries, chopped pecans, or chocolate chips before shaping the dough. My family loves the cranberry version for Thanksgiving morning.
- Spice It Up: Add a pinch of cardamom or ginger for a more complex flavor profile. I once added a teaspoon of orange zest, and it was incredible.
- Savory Twist: Reduce the sugar to 2 tablespoons, omit the pumpkin pie spice, and add 1/2 cup of shredded cheddar cheese and a pinch of black pepper. These make a great side for soup.
One of my favorite variations is adding a handful of toasted pepitas on top of the glaze. The crunch contrasts beautifully with the soft scone. Give it a try!
Serving & Storage Suggestions
These scones are best served slightly warm, with the glaze still soft and sticky. I like to pair them with a hot cup of coffee or spiced chai tea. For a more indulgent breakfast, serve them alongside scrambled eggs and fresh fruit.
To store leftovers, place them in an airtight container at room temperature for up to 3 days. The glaze may soften slightly, but they will still taste great. If you want to keep them longer, freeze the unglazed scones for up to 3 months. Wrap each scone individually in plastic wrap, then place them in a freezer bag. When you are ready to enjoy, thaw at room temperature, then reheat in a 300°F (150°C) oven for 5 minutes. Make the glaze fresh for the best texture.
I have also found that the flavors deepen overnight. The pumpkin and spices meld together beautifully, making day-old scones almost better than fresh. Just warm them up for 10 seconds in the microwave, and they taste like you just baked them.
Nutritional Information & Benefits
Here is the approximate nutritional breakdown per scone (with glaze):
- Calories: 320
- Fat: 16g
- Carbohydrates: 42g
- Protein: 4g
- Fiber: 2g
- Sugar: 22g
Pumpkin is packed with vitamin A and fiber, which supports eye health and digestion. The brown butter adds a small amount of healthy fats, and the heavy cream provides calcium. While these scones are a treat, they are made with real ingredients you can feel good about. If you are watching your sugar intake, you can reduce the glaze amount or skip it entirely—the scones are still delicious on their own.
This recipe is vegetarian and can easily be made gluten-free or dairy-free with the substitutions mentioned above. It contains wheat, dairy, and possibly nuts if you add mix-ins.
Conclusion
These easy pumpkin scones with brown butter glaze have become a staple in my kitchen, and I have a feeling they will become one in yours too. They are simple, affordable, and packed with the cozy flavors of fall. Whether you are making them for a busy weekday breakfast or a lazy Sunday treat, they never disappoint. I love that this recipe proves you do not need fancy techniques or expensive ingredients to create something truly special. It is just good food, made with love and a little bit of patience.
I would love to hear how these turn out for you! Did you add any mix-ins? Did your family love them as much as mine does? Drop a comment below and share your version. And if you have a friend who thinks baking is too hard, send them this recipe—it might just change their mind. Happy baking, friends!
Frequently Asked Questions
Can I use fresh pumpkin instead of canned?
Yes, you can! Just make sure to roast and puree the pumpkin first, then drain any excess liquid using a cheesecloth or paper towels. Fresh pumpkin has more water than canned, so patting it dry is crucial to avoid soggy scones.
Why did my scones turn out dry?
Dry scones usually come from overmixing the dough or overbaking them. Mix until just combined, and pull them out of the oven as soon as the edges are golden. Also, make sure your pumpkin puree is not too thick—if it is, add a splash of cream to the wet ingredients.
Can I make the dough ahead of time?
Absolutely! Shape the scones, place them on a parchment-lined baking sheet, and refrigerate for up to 24 hours. Bake directly from the fridge, adding 2–3 minutes to the baking time. You can also freeze the shaped dough for up to 3 months—just bake from frozen, adding 5 minutes.
How do I reheat leftover scones?
The best way is to pop them in a 300°F (150°C) oven for 5 minutes. If you are in a hurry, microwave them for 10–15 seconds. The glaze might get a little sticky in the microwave, but they will still taste amazing.
Can I skip the brown butter glaze?
Of course! The scones are delicious on their own, or you can top them with a simple dusting of powdered sugar. If you want a quicker glaze, just whisk together powdered sugar and milk without browning the butter. It will be sweeter and less nutty, but still tasty.
Pin This Recipe!
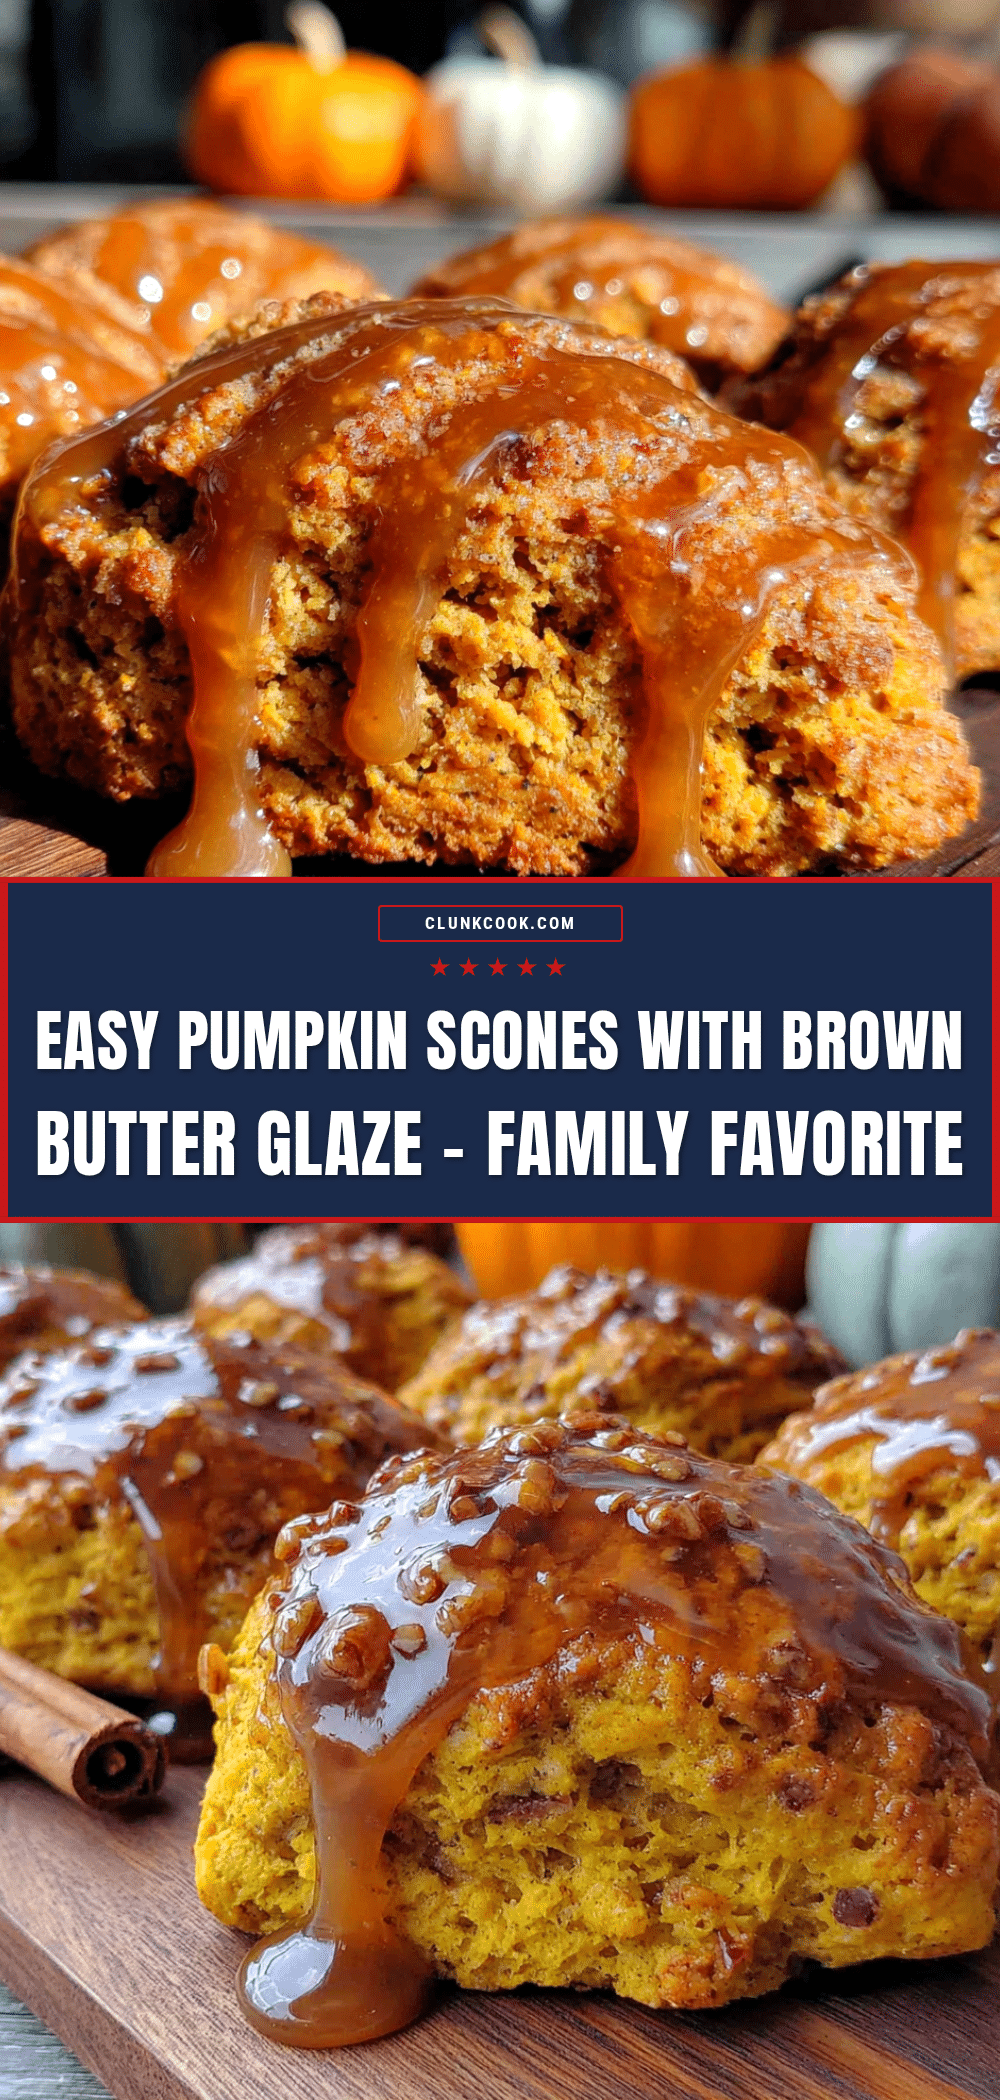
Easy Pumpkin Scones with Brown Butter Glaze
These easy pumpkin scones with brown butter glaze come together without a mixer, without sifting, and without any special equipment. They are forgiving, budget-friendly, and absolutely delicious, perfect for fall mornings or a quick treat.
- Prep Time: 15 minutes
- Cook Time: 16 minutes
- Total Time: 31 minutes
- Yield: 8 servings 1x
- Category: Breakfast
- Cuisine: American
Ingredients
- 2 cups (250g) all-purpose flour
- 1/3 cup (65g) granulated sugar
- 1 tablespoon baking powder
- 1 teaspoon pumpkin pie spice
- 1/2 teaspoon ground cinnamon
- 1/4 teaspoon salt
- 6 tablespoons (85g) cold unsalted butter, cubed
- 1/2 cup (120g) pumpkin puree
- 1/4 cup (60ml) heavy cream, plus extra for brushing
- 1 teaspoon vanilla extract
- 3 tablespoons (42g) unsalted butter (for glaze)
- 1 cup (120g) powdered sugar
- 1/2 teaspoon vanilla extract (for glaze)
- 2–3 tablespoons (30–45ml) milk (for glaze)
Instructions
- Preheat your oven to 400°F (200°C). Line a baking sheet with parchment paper.
- In a large bowl, whisk together the flour, sugar, baking powder, pumpkin pie spice, cinnamon, and salt.
- Add the cubed butter to the flour mixture. Use a pastry cutter or two forks to cut it in until the mixture looks like coarse meal with pea-sized butter pieces.
- In a small bowl, whisk together the pumpkin puree, heavy cream, and vanilla extract until smooth.
- Pour the wet mixture into the dry ingredients. Stir with a fork or spatula until just combined. The dough will look shaggy and a little dry.
- Turn the dough out onto a lightly floured surface. Gently bring it together with your hands, patting it into a circle about 3/4-inch thick.
- Use a sharp knife or bench scraper to cut the circle into 8 equal wedges. Transfer them to the prepared baking sheet, spacing them about 2 inches apart.
- Brush the tops of the scones with a little extra heavy cream.
- Bake for 14–16 minutes, until the scones are golden brown on the edges and firm to the touch. Let them cool on the baking sheet for 5 minutes, then transfer to a wire rack.
- While the scones cool, melt the 3 tablespoons of butter in a small saucepan over medium heat. Swirl the pan occasionally until the butter turns a nutty golden brown with dark specks at the bottom (about 3–4 minutes). Remove from heat immediately.
- Pour the browned butter into a small bowl. Add the powdered sugar, vanilla extract, and 2 tablespoons of milk. Whisk until smooth. If too thick, add another tablespoon of milk.
- Drizzle the brown butter glaze over the cooled scones. Let it set for 5–10 minutes before serving.
Notes
Keep everything cold for flaky scones. Do not overwork the dough. Watch the butter closely when browning. Let scones cool before glazing. Scones can be stored in an airtight container at room temperature for up to 3 days. Freeze unglazed scones for up to 3 months.
Nutrition
- Serving Size: 1 scone
- Calories: 320
- Sugar: 22
- Sodium: 280
- Fat: 16
- Saturated Fat: 10
- Carbohydrates: 42
- Fiber: 2
- Protein: 4
Keywords: pumpkin scones, brown butter glaze, easy scones, fall breakfast, pumpkin recipe


