Love this? Save it for later!
Share the inspiration with your friends
Miriam wasn’t trying to impress anyone. I’d stopped by to drop off a casserole dish she’d lent me—the good one with the blue flowers—and the smell hit me before I even got through the screen door. Cinnamon, nutmeg, something warm and almost caramel-like. She was standing at the counter in her faded apron, flour on her cheek, rolling something up like it was the most ordinary thing in the world.
“Oh, that’s just the pumpkin roll,” she said when I asked. “My mother-in-law’s recipe. It’s nothing fancy.”
But it was fancy. It was the kind of fancy that doesn’t try to be. The kind where someone has made a thing so many times they don’t even think about it anymore—their hands just know what to do. I watched her spread that cream cheese filling with an old spatula, the same one she’d probably used for twenty years, and I knew I was watching something special.
Honestly, I’ve made a lot of pumpkin things in my life. Pumpkin bread, pumpkin muffins, pumpkin soup. But nothing—and I mean nothing—has ever gotten the reaction that this pumpkin roll gets. You know that feeling when you bring a dessert to a gathering and people start hovering around it before you’ve even set it down? That’s this recipe.
Let me tell you, the first time I made it myself, I was convinced I’d mess it up. The rolling part seemed like some kind of kitchen magic I’d never master. But here’s the thing—it’s not magic at all. It’s just a little patience, a clean kitchen towel, and a recipe that actually works. And after maybe a dozen attempts (and a few cracked cakes), I’ve figured out exactly what makes this one work every single time.
Maybe you’ve been there too—standing over a rolled cake, praying it doesn’t crack, wondering if the filling will ooze out the sides. I’ve got you. This is the pumpkin roll that finally made me stop looking for a better recipe.
Why You’ll Love This Recipe
I’ve tested this pumpkin roll more times than I care to count. I’ve made it for Thanksgiving, for random Tuesday nights, for book club meetings where people were too polite to tell me if it was terrible. Spoiler alert—it wasn’t terrible. It was gone before the discussion started.
Here’s what makes this one different from the dozens of other pumpkin roll recipes floating around out there:
- Perfectly spiced, never overpowering. The pumpkin shines through without being buried under a mountain of cinnamon. It’s balanced, the way a good fall dessert should be.
- The creamiest filling you’ll ever make. No gritty cream cheese, no runny mess. It’s thick enough to hold its shape but light enough to melt in your mouth.
- No cracks (seriously). I’ll show you exactly how to roll it while it’s warm so the cake stays flexible. This is the trick that changed everything for me.
- Simple ingredients you already have. No trips to specialty stores. No weird extracts or hard-to-find spices. Everything is probably in your pantry right now.
- Perfect for hosting. You can make it a day ahead, and it actually gets better overnight. That’s the kind of dessert you need when you’re trying to impress people without losing your mind.
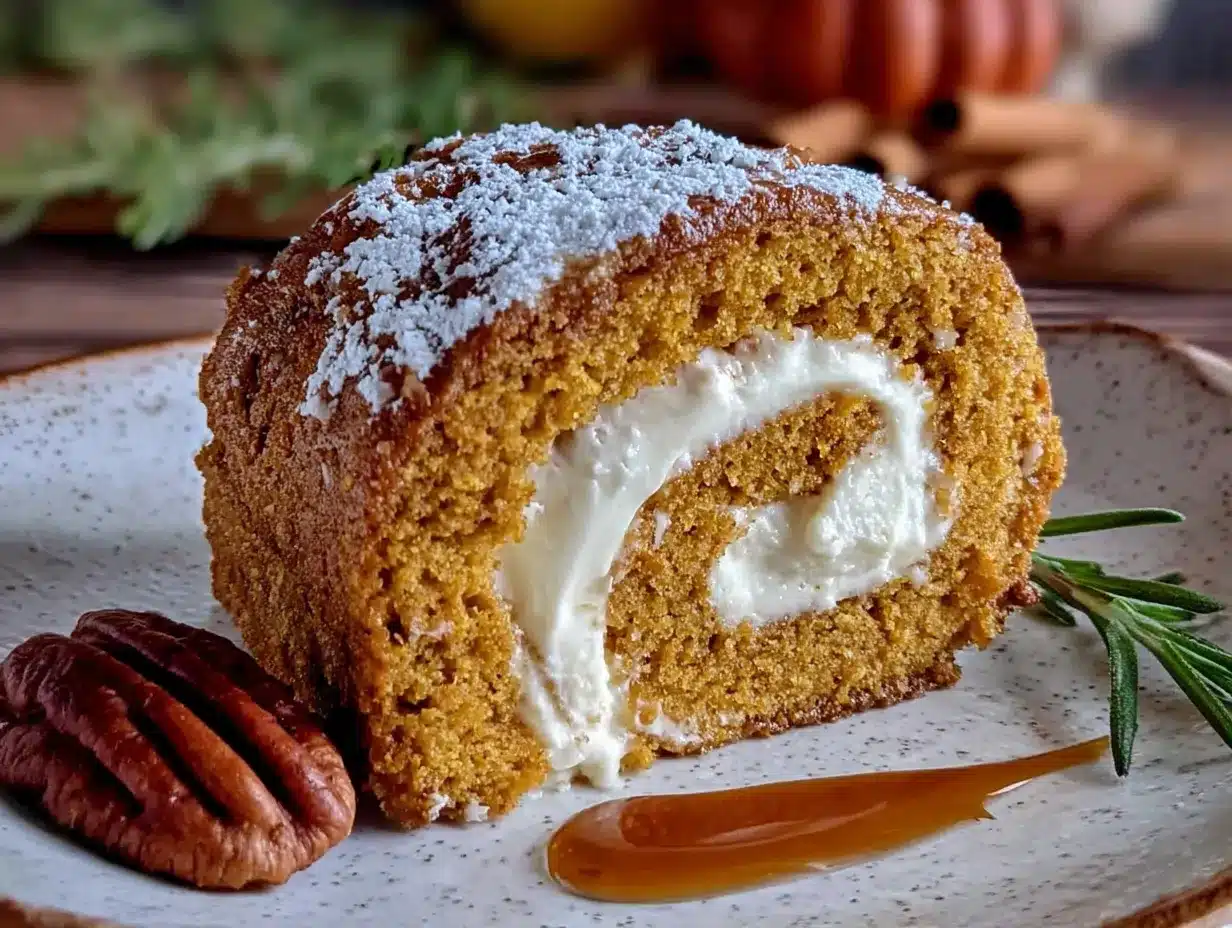
- Always gets the “wow” reaction. The spiral of cream cheese against the orange cake is genuinely beautiful. People think you spent hours on it. Let them think that.
This isn’t just another internet recipe. It’s the one I’ve brought to every gathering for the last three years. The one my neighbor Miriam finally wrote down for me on a stained index card. The one that makes people close their eyes after the first bite and say “mmm” in that way that tells you everything you need to know.
What Ingredients You Will Need
This recipe uses simple, wholesome ingredients that come together to create something that tastes way more complicated than it actually is. Most of these are pantry staples, which is part of why I love it so much.
For the Cake
- 3/4 cup all-purpose flour (I use King Arthur, but any brand works fine—just spoon and level it)
- 1 teaspoon baking powder (make sure it’s fresh; stale baking powder ruins the texture)
- 1/2 teaspoon baking soda
- 1/2 teaspoon salt
- 2 teaspoons pumpkin pie spice (or make your own with 1 teaspoon cinnamon, 1/2 teaspoon ginger, 1/4 teaspoon nutmeg, 1/4 teaspoon cloves)
- 3 large eggs (room temperature is important here—cold eggs can make the batter stiff)
- 1 cup granulated sugar
- 2/3 cup pumpkin puree (NOT pumpkin pie filling—make sure you grab the plain stuff in the can)
- 1 teaspoon vanilla extract
- Powdered sugar (for dusting the towel—you’ll need about 1/4 cup)
For the Cream Cheese Filling
- 8 ounces cream cheese (full-fat, softened to room temperature—low-fat makes the filling runny)
- 1/4 cup unsalted butter (softened)
- 1 cup powdered sugar (sifted if it’s lumpy)
- 1 teaspoon vanilla extract
A quick note on the pumpkin puree—I’ve tried a few brands, and Libby’s is my go-to. It’s consistently thick and not watery, which matters for this recipe. If your puree looks a little wet, pat it dry with a paper towel before using it. That extra moisture can make your cake too soft to roll properly.
For the cream cheese, Philadelphia is the obvious choice, but store brands work too as long as they’re full-fat. Just let it sit out on the counter for at least an hour before you start. Cold cream cheese makes lumpy filling, and nobody wants lumpy filling.
If you’re dairy-free, I’ve had decent luck with Kite Hill’s cream cheese alternative, though the texture is slightly softer. You might need to chill the filled roll a little longer before slicing.
Equipment Needed
You don’t need a lot of fancy equipment for this recipe, which is part of why I love it. Here’s what you’ll need:
- 15×10-inch jelly roll pan (also called a half-sheet pan—if you don’t have one, a rimmed baking sheet close to that size works)
- Parchment paper (don’t skip this—it’s what makes the cake release cleanly)
- Clean kitchen towel (a thin cotton one works best—no terry cloth, the texture will stick to the cake)
- Electric mixer (hand mixer or stand mixer both work; I’ve made it with both)
- Large mixing bowls (at least two)
- Rubber spatula
- Sifter or fine-mesh strainer (for dusting powdered sugar)
- Wire cooling rack
- Sharp knife or serrated knife (for clean slices)
I’ll be honest—I made my first few pumpkin rolls without a jelly roll pan. I used a 9×13 baking dish, and it worked okay, but the cake was a little thicker and harder to roll. If you’re going to make this more than once, the proper pan is worth the investment. They’re usually under $15 at any kitchen store.
One tip about the kitchen towel—use one you don’t mind getting powdered sugar all over. It’ll wash out, but it looks dramatic while you’re working. I keep a specific towel just for rolling cakes now. It’s become my “fancy baking towel” and honestly, it makes me feel like I know what I’m doing.
Preparation Method
Alright, let’s get to it. I’m going to walk you through this step by step, including all the little things I wish someone had told me the first time.
- Preheat your oven to 350°F (175°C). Line your jelly roll pan with parchment paper, leaving a little overhang on the long sides. Lightly spray the parchment with non-stick cooking spray.
- Whisk the dry ingredients together. In a medium bowl, combine the flour, baking powder, baking soda, salt, and pumpkin pie spice. Whisk until evenly distributed. Set aside.
- Beat the eggs and sugar. In a large bowl, beat the eggs and granulated sugar together on medium-high speed for about 3-4 minutes. It should look thick, pale, and slightly ribbon-like when you lift the beaters. This is important—don’t rush it. The air you’re beating in is what gives the cake its light texture.
- Add the pumpkin and vanilla. Beat in the pumpkin puree and vanilla extract on low speed until just combined. Don’t overmix here—you just want it incorporated.
- Fold in the dry ingredients. Add the flour mixture to the wet ingredients and fold gently with a rubber spatula. Use a light hand. Stop as soon as you don’t see any more streaks of flour. Overmixing will make the cake tough.
- Spread the batter in the pan. Pour the batter into the prepared pan and spread it evenly with your spatula. It will be a thin layer—that’s exactly what you want. Get it into the corners and make sure the thickness is as uniform as possible.
- Bake for 12-15 minutes. The cake is done when the top springs back when lightly touched and the edges are just starting to pull away from the pan. Don’t overbake—a dry cake will crack when you roll it. I start checking at 12 minutes.
- Prepare your rolling station while the cake bakes. Lay your clean kitchen towel flat on the counter and dust it generously with powdered sugar. Use a sifter or fine-mesh strainer to get an even layer. This prevents the cake from sticking to the towel.
- Roll the cake immediately. As soon as the cake comes out of the oven, run a knife around the edges to loosen it. Invert the cake onto the prepared towel. Carefully peel off the parchment paper. Starting at one of the short ends, roll the cake and towel together into a tight log. Don’t press too hard—just roll it gently.
- Let it cool completely. Place the rolled cake (still wrapped in the towel) on a wire rack and let it cool completely. This takes about 1 hour. Don’t rush this step—rolling a warm cake is flexible, but trying to fill a warm cake will melt your cream cheese filling into a puddle.
- Make the filling. While the cake cools, beat the softened cream cheese and butter together until smooth and creamy. Add the powdered sugar and vanilla extract, then beat on medium speed until light and fluffy, about 2 minutes. Scrape down the sides as needed.
- Unroll and fill. Once the cake is completely cool, gently unroll it. Spread the cream cheese filling evenly over the cake, leaving about a 1/2-inch border on all sides. Don’t spread it all the way to the edges—it will push out as you roll.
- Roll it back up. Re-roll the cake, this time without the towel. Use the towel to help guide it if needed, but try to get a tight, even roll. Wrap the finished roll in plastic wrap and refrigerate for at least 2 hours before serving. Overnight is even better.
A word about step 9—this is where most people panic. I did too, the first time. But here’s the thing: the cake is hot and pliable right out of the oven. That’s when it’s easiest to roll without cracking. If you wait even 10 minutes, it starts to stiffen up. So work quickly, but don’t stress. Even if you get a small crack, the filling will hide it.
Cooking Tips & Techniques
I’ve made this pumpkin roll probably thirty times now. Maybe more. And I’ve learned a few things the hard way so you don’t have to.
Don’t overbake the cake. This is the number one mistake. A dry cake is a cracked cake. Pull it out when it’s still slightly soft to the touch. It will continue cooking from residual heat for another minute or two on the counter. I’ve left a cake in for 16 minutes before and regretted it deeply.
Use a thin towel. My first attempt, I used a thick terry cloth towel because it was the only clean one I had. The cake stuck to it, I panicked, and I ended up with pumpkin crumbs all over my kitchen floor. A thin cotton towel (like a flour sack towel) works perfectly. The powdered sugar helps too.
Let the cream cheese really soften. I know I’ve said this already, but it’s worth repeating. If your cream cheese is even slightly cold, you’ll end up with lumps in your filling. And once those lumps form, it’s really hard to get them out. Leave the cream cheese on the counter for at least an hour. Two hours is better.
Chill before slicing. I know you’ll want to cut into it immediately. Don’t. The filling needs time to set so you get those beautiful clean slices. I once served a barely-chilled pumpkin roll at a dinner party, and the filling squished out the sides like a toothpaste tube. Still tasted good, but it wasn’t pretty.
Use a serrated knife for slicing. A sharp serrated knife cuts through the cake cleanly without squishing the filling. Run it under hot water and wipe it dry between slices for the cleanest cuts. It makes a difference, I promise.
Variations & Adaptations
One of the best things about this recipe is how flexible it is. Here are a few ways I’ve changed it up over the years:
Gluten-free version: I’ve made this with a 1:1 gluten-free flour blend (Bob’s Red Mill works great) and it came out surprisingly well. The texture is slightly more delicate, so be extra gentle when rolling. Let it cool a few extra minutes before attempting the roll.
Add some crunch: Sprinkle 1/4 cup of finely chopped pecans or walnuts over the filling before rolling. The texture contrast is lovely. I did this for a Thanksgiving potluck once and someone asked if they could take the leftovers home. (They could not.)
Spice it up: If you like a stronger spice profile, add an extra 1/2 teaspoon of cinnamon and a pinch of cardamom to the cake batter. Cardamom and pumpkin are a match made in heaven, and it gives the roll a slightly more sophisticated flavor.
Chocolate twist: Swap 2 tablespoons of the flour for unsweetened cocoa powder. You get a chocolate-pumpkin roll that tastes like a fancy bakery item. My kids went absolutely wild for this version.
Dairy-free option: Use dairy-free cream cheese and butter alternatives. I’ve done this for friends with dairy allergies, and while the texture is slightly softer, the flavor is still fantastic. Just make sure to chill it thoroughly before serving.
Serving & Storage Suggestions
This pumpkin roll is at its best when it’s well-chilled. I like to take it out of the refrigerator about 15 minutes before serving so it softens just slightly, but it should still be cold in the center.
For presentation, dust the top with a light sprinkle of powdered sugar just before serving. It makes the spiral stand out beautifully. You can also add a dollop of whipped cream on the side, but honestly, it’s rich enough on its own.
This dessert pairs wonderfully with a hot cup of coffee or a spiced chai latte. If you’re serving it after a big meal, keep the portions modest—it’s decadent. I usually get about 10-12 slices from one roll.
Storage: Keep the pumpkin roll wrapped tightly in plastic wrap in the refrigerator. It will stay fresh for up to 5 days. The flavors actually meld together and improve after the first day, so don’t be afraid to make it ahead.
Freezing: This freezes beautifully. Wrap the finished roll (un-sliced) in plastic wrap, then in a layer of aluminum foil. Freeze for up to 3 months. To serve, thaw overnight in the refrigerator. Don’t thaw it on the counter—the filling can get weepy.
One thing I’ve noticed—if you’re making this for a gathering, make it the day before. Not only does it taste better, but it also takes so much pressure off your hosting schedule. You can focus on the main dishes and just pull this beauty out of the fridge when it’s time for dessert.
Nutritional Information & Benefits
Let’s be real—this is a dessert, and it’s meant to be enjoyed. But there are a few redeeming qualities worth mentioning.
Pumpkin is packed with vitamin A (from beta-carotene), fiber, and antioxidants. It’s also relatively low in calories compared to other dessert bases. The eggs provide protein, and the cream cheese offers some calcium.
Here are the approximate nutritional values per slice (based on 12 slices):
- Calories: 285
- Total Fat: 14g
- Saturated Fat: 8g
- Cholesterol: 85mg
- Sodium: 280mg
- Total Carbohydrates: 36g
- Dietary Fiber: 1g
- Sugars: 26g
- Protein: 5g
If you’re watching your sugar intake, you can reduce the granulated sugar in the cake to 3/4 cup and use a sugar substitute in the filling. I’ve tried it with allulose in the filling and it worked fine, though the texture was slightly less creamy.
This recipe contains gluten, dairy, and eggs. For allergen-friendly versions, check the variations section above.
Conclusion
Look, I’m not going to tell you this is the easiest dessert you’ll ever make. It takes a little patience and a little practice. But I will tell you this—the first time you unroll that perfect spiral at a dinner party and hear people actually gasp, you’ll understand why it’s worth it.
This pumpkin roll has become my signature fall dessert. It’s the thing people ask me to bring. It’s the recipe I’ve texted to more friends than I can count. And it all started with a neighbor who wasn’t trying to impress anyone—she was just making her mother-in-law’s recipe on a random Tuesday afternoon.
That’s the kind of recipe this is. It’s not showy. It’s not complicated. It’s just really, really good. And I think you’re going to love it.
If you make this pumpkin roll—and I really hope you do—come back and let me know how it turned out. Did it crack? Did your family fight over the last slice? Did you add your own twist? I want to hear about it. Leave a comment below or tag me in your photos. Happy baking, friends.
Frequently Asked Questions
Why did my pumpkin roll crack when I tried to roll it?
The most common reason is overbaking. If the cake bakes too long, it loses moisture and becomes brittle. Make sure to pull it out at the 12-15 minute mark when it’s still springy. Rolling it immediately while it’s hot also helps prevent cracks.
Can I use pumpkin pie filling instead of pumpkin puree?
No, please don’t. Pumpkin pie filling has added sugar and spices, which will throw off the texture and sweetness of the cake. Stick with 100% pure pumpkin puree. They’re usually right next to each other in the store, so double-check the label.
How far in advance can I make this pumpkin roll?
You can make it up to 2 days ahead and keep it wrapped in the refrigerator. It actually tastes better on day two because the flavors have time to meld. You can also freeze it for up to 3 months—just thaw overnight in the fridge before serving.
Do I have to use a jelly roll pan?
It’s strongly recommended. The thin, even layer of batter is what makes the cake flexible enough to roll. A 9×13 pan will work in a pinch, but the cake will be thicker and harder to roll without cracking. If you plan to make this more than once, the proper pan is worth the investment.
Can I make this without an electric mixer?
You can, but it takes some elbow grease. The eggs and sugar need to be beaten until thick and pale, which is much easier with a mixer. If you’re going by hand, expect to whisk vigorously for about 5-6 minutes. The filling can definitely be made by hand with a wooden spoon.
Pin This Recipe!
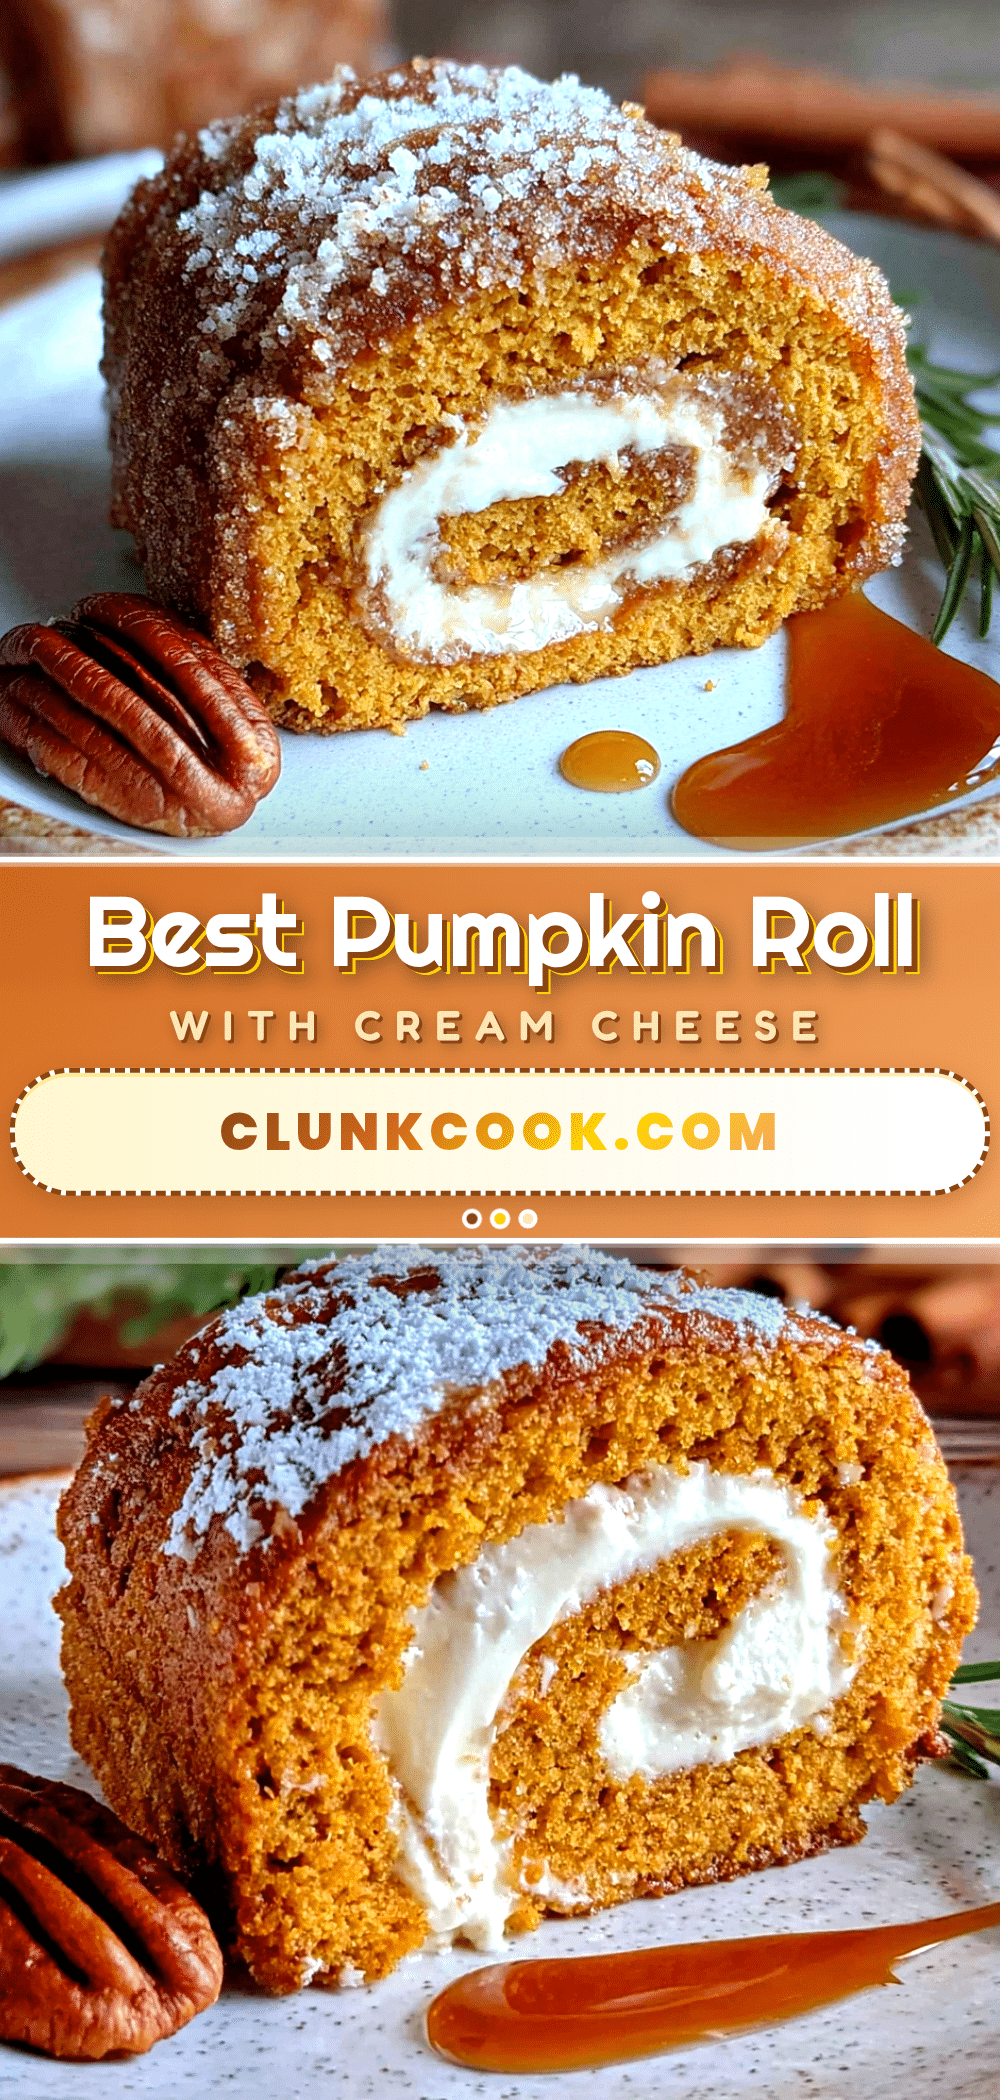
Best Pumpkin Roll Recipe with Cream Cheese Filling
A perfectly spiced pumpkin cake rolled with a creamy, luscious cream cheese filling. This foolproof recipe delivers a beautiful, crack-free roll that’s ideal for fall gatherings and holiday entertaining.
- Prep Time: 20 minutes
- Cook Time: 15 minutes
- Total Time: 3 hours 35 minutes (includes cooling and chilling)
- Yield: 12 servings 1x
- Category: Dessert
- Cuisine: American
Ingredients
- 3/4 cup all-purpose flour
- 1 teaspoon baking powder
- 1/2 teaspoon baking soda
- 1/2 teaspoon salt
- 2 teaspoons pumpkin pie spice
- 3 large eggs, room temperature
- 1 cup granulated sugar
- 2/3 cup pumpkin puree (not pumpkin pie filling)
- 1 teaspoon vanilla extract
- 1/4 cup powdered sugar (for dusting towel)
- 8 ounces cream cheese, softened
- 1/4 cup unsalted butter, softened
- 1 cup powdered sugar
- 1 teaspoon vanilla extract
Instructions
- Preheat oven to 350°F (175°C). Line a 15×10-inch jelly roll pan with parchment paper, leaving overhang on long sides. Lightly spray parchment with non-stick cooking spray.
- In a medium bowl, whisk together flour, baking powder, baking soda, salt, and pumpkin pie spice.
- In a large bowl, beat eggs and granulated sugar on medium-high speed for 3-4 minutes until thick, pale, and ribbon-like.
- Beat in pumpkin puree and vanilla extract on low speed until just combined.
- Fold in flour mixture with a rubber spatula until no streaks remain. Do not overmix.
- Spread batter evenly in prepared pan. Bake for 12-15 minutes until top springs back when lightly touched and edges pull away from pan.
- While cake bakes, lay a clean kitchen towel flat and dust generously with powdered sugar.
- Immediately after baking, run a knife around edges to loosen. Invert cake onto prepared towel. Carefully peel off parchment paper.
- Starting at a short end, roll cake and towel together into a tight log. Place on a wire rack to cool completely, about 1 hour.
- For filling: Beat softened cream cheese and butter until smooth. Add powdered sugar and vanilla, beat on medium speed until light and fluffy, about 2 minutes.
- Once cake is completely cool, gently unroll. Spread filling evenly over cake, leaving a 1/2-inch border on all sides.
- Re-roll cake without towel, using towel to guide if needed. Wrap in plastic wrap and refrigerate at least 2 hours before serving. Overnight is best.
Notes
Don’t overbake the cake—a dry cake will crack. Roll the cake immediately while hot. Use full-fat cream cheese for best texture. Chill thoroughly before slicing for clean cuts. Can be made 2 days ahead or frozen for up to 3 months.
Nutrition
- Serving Size: 1 slice
- Calories: 285
- Sugar: 26
- Sodium: 280
- Fat: 14
- Saturated Fat: 8
- Carbohydrates: 36
- Fiber: 1
- Protein: 5
Keywords: pumpkin roll, pumpkin dessert, cream cheese filling, fall dessert, Thanksgiving dessert, pumpkin cake roll


