Love this? Save it for later!
Share the inspiration with your friends
I was at the hardware store last October, of all places, hunting for a specific faucet washer that apparently no longer exists. The man helping me—let’s call him Frank, because that was his name—had the kind of no-nonsense energy you’d expect from someone who spends his days surrounded by pipe fittings and power tools. As he squinted at my rusty washer, he said, almost offhandedly, “You know what my wife makes every Sunday? Little pumpkin oatmeal cups. She pops them in the microwave for thirty seconds and she’s out the door.” I wasn’t expecting breakfast advice from a plumbing expert, but there I was, standing in aisle seven, listening to Frank describe exactly how to make baked pumpkin oatmeal cups. He didn’t have a recipe written down, of course. He just knew they involved “that can of pumpkin, some oats, and a little maple syrup.”
I went home, washer-less but oddly inspired, and started experimenting. The first batch was too dry. The second was too sweet. But the third? That was the one. You know that feeling when something just clicks? It was a Tuesday night, the kitchen was a mess, and I took a bite of one of these warm, spiced oatmeal cups and honestly, I felt like I’d won the weeknight dinner (and breakfast) lottery. I scribbled the final measurements on the back of an envelope that’s still tucked in my cookbook, stained with pumpkin puree and a little bit of joy.
These quick baked pumpkin oatmeal cups are the kind of recipe that makes you feel like you’ve got your life together, even when you don’t. They’re perfect for meal prep—make a batch on Sunday, and you’ve got breakfast sorted for the whole week. No more standing over a stove, no more sad, cold cereal. Just grab one, heat it up, and go. Honestly, Frank changed my mornings, and I think he might change yours too.
Why You’ll Love This Recipe
Let me tell you why these pumpkin oatmeal cups have become a staple in my kitchen. I’ve tested this recipe more times than I care to admit, and I can confidently say it’s a winner. It’s not just another oatmeal recipe—it’s the one that makes your mornings feel manageable.
- Quick & Easy: These come together in about 30 minutes, from bowl to oven. That’s less time than it takes to decide what to eat for breakfast.
- Simple Ingredients: You probably have most of these in your pantry right now. No trips to specialty stores, no hunting for obscure spices.
- Perfect for Meal Prep: Make a batch on Sunday, and you’ve got breakfast for the entire week. They’re portable, too—grab one on your way out the door.
- Crowd-Pleaser: My kids devour these, and I’ve had friends text me for the recipe after trying them at a playdate. They’re that good.
- Unbelievably Delicious: The texture is soft and tender, with just the right amount of sweetness. The pumpkin keeps them moist without being mushy, and the spices? Pure fall comfort.
What makes this recipe different from the rest is the technique. Instead of just mixing everything together and hoping for the best, I’ve found that letting the oats sit for a few minutes after mixing allows them to absorb the liquid, resulting in a much better texture. It’s a small step, but it makes a huge difference. This isn’t just another version of baked oatmeal—it’s the best version I’ve ever made.
Honestly, these cups are the kind of breakfast that makes you close your eyes after the first bite. They’re comfort food reimagined—healthier, faster, but with the same soul-soothing satisfaction. Perfect for impressing house guests without any stress, or turning a chaotic weekday morning into something a little more peaceful.
What Ingredients You Will Need
This recipe uses simple, wholesome ingredients to deliver big flavor without any fuss. Most of these are pantry staples, especially if you keep your baking supplies stocked during the fall season.
- Rolled oats: 2 cups (180g). Use old-fashioned rolled oats for the best texture. Quick oats will work in a pinch, but they’ll make the cups softer and less chewy. I prefer Bob’s Red Mill or Quaker.
- Pumpkin puree: 1 cup (245g). Make sure you grab 100% pure pumpkin puree, not pumpkin pie filling. The filling has added sugar and spices that will throw off the balance. Libby’s is my go-to brand.
- Milk: 1 cup (240ml). Any milk works here—dairy, almond, oat, or soy. I usually use 2% cow’s milk, but oat milk makes them extra creamy.
- Eggs: 2 large eggs, room temperature. The eggs help bind everything together. For a vegan option, you can use two flax eggs (2 tablespoons ground flaxseed mixed with 6 tablespoons water).
- Maple syrup: 1/3 cup (80ml). Pure maple syrup adds a lovely, deep sweetness. You can substitute honey or agave if that’s what you have on hand.
- Coconut oil: 2 tablespoons (30ml), melted. Or any neutral oil like avocado or canola. Butter works too, just melt it first.
- Pumpkin pie spice: 2 teaspoons. You can buy it pre-mixed, or make your own with 1 teaspoon cinnamon, 1/2 teaspoon ginger, 1/4 teaspoon nutmeg, and 1/4 teaspoon cloves.
- Baking powder: 1 teaspoon. This helps the cups rise just a little and keeps them light.
- Salt: 1/4 teaspoon. Just a pinch to balance the sweetness and bring out the flavors.
- Vanilla extract: 1 teaspoon. Pure vanilla is best, but imitation will do in a pinch.
- Optional mix-ins: 1/2 cup (60g) chopped pecans or walnuts, 1/4 cup (40g) chocolate chips, or 1/4 cup (30g) dried cranberries. These add texture and flavor, but the cups are delicious on their own.
For the best results, make sure your eggs and milk are at room temperature. Cold ingredients can make the coconut oil seize up if you’re using it. And if you’re watching your sugar intake, you can reduce the maple syrup to 1/4 cup—the cups will be less sweet, but still tasty.
Equipment Needed
You don’t need a fancy kitchen to make these. Here’s what you’ll need:
- Muffin tin: A standard 12-cup muffin tin. If you have a non-stick one, great. If not, just make sure to grease it well or use liners.
- Mixing bowls: One large bowl for the wet ingredients and one medium bowl for the dry ingredients.
- Whisk: For mixing the wet ingredients. A fork works in a pinch, but a whisk gets the eggs incorporated better.
- Spatula: A rubber spatula for folding everything together and scraping the bowl clean.
- Measuring cups and spoons: For accurate measurements. I cannot stress this enough—baking is a science, and eyeballing it can lead to dry or soggy cups.
- Ice cream scoop or large spoon: For evenly portioning the batter into the muffin cups. An ice cream scoop makes it so much easier and gives you uniform cups.
If you don’t have a muffin tin, you can bake this in an 8×8 inch baking dish. Just spread the mixture evenly and bake for about 25-30 minutes. The texture will be slightly different, but it’ll still taste amazing. I’ve done this when my muffin tin was in the dishwasher, and it worked like a charm.
One tip: invest in a good muffin tin if you make these often. I’ve had cheap ones that rusted after a few uses, but a sturdy aluminum or non-stick one will last for years. Wilton and USA Pan make reliable options that won’t break the bank.
Preparation Method
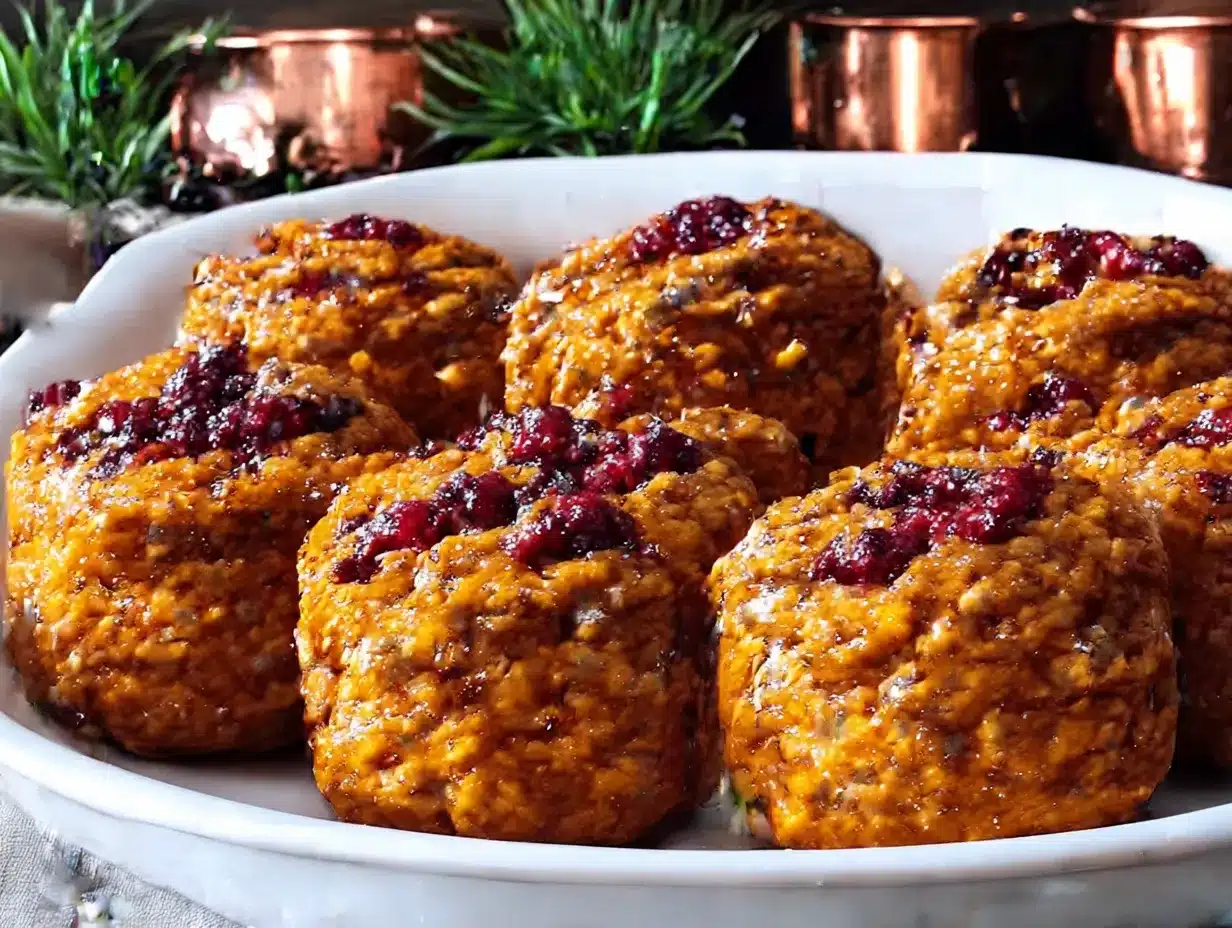
Let’s get cooking. This recipe is straightforward, but I’ll walk you through each step so you get perfect results every time.
- Preheat your oven to 375°F (190°C). While it’s heating up, grease your muffin tin with a little oil or butter, or line it with paper liners. I prefer greasing the pan directly because the cups tend to stick to paper liners less. If you use liners, give them a quick spray of non-stick spray.
- Mix the dry ingredients. In a medium bowl, whisk together the rolled oats, pumpkin pie spice, baking powder, and salt. Make sure the baking powder is evenly distributed—nobody wants a bite that tastes like baking powder.
- Mix the wet ingredients. In a large bowl, whisk together the pumpkin puree, milk, eggs, maple syrup, melted coconut oil, and vanilla extract. Whisk until everything is smooth and well combined. The mixture should look like a thick, creamy orange liquid.
- Combine wet and dry. Pour the dry ingredients into the wet ingredients and stir with a spatula until just combined. Don’t overmix—a few streaks of flour are okay. If you’re adding any mix-ins like nuts or chocolate chips, fold them in now.
- Let the batter rest. Here’s the secret step: let the batter sit for 5-10 minutes. This allows the oats to absorb some of the liquid, which makes the cups softer and more cohesive. I usually set a timer and wash a few dishes while I wait.
- Fill the muffin cups. Use an ice cream scoop or a large spoon to divide the batter evenly among the 12 muffin cups. Each cup should be about 3/4 full. The batter won’t rise much, so don’t worry about overflow.
- Bake. Place the muffin tin in the preheated oven and bake for 18-22 minutes. The cups are done when the tops are set and a toothpick inserted into the center comes out clean. They should be lightly golden on top and spring back when gently pressed.
- Cool in the pan. Let the cups cool in the muffin tin for 5 minutes. This helps them set and makes them easier to remove. Then transfer them to a wire rack to cool completely.
A few things to watch out for. If your cups are browning too quickly on top but are still raw in the middle, tent the pan loosely with aluminum foil for the last 5 minutes of baking. And if you’re using a dark non-stick pan, check them at the 15-minute mark—dark pans absorb more heat and can cause the bottoms to burn.
Honestly, the first time I made these, I forgot to let the batter rest and they turned out a bit crumbly. They still tasted good, but they fell apart when I tried to eat them. That resting step? It’s non-negotiable. Learn from my mistake.
Cooking Tips & Techniques
After making these pumpkin oatmeal cups more times than I can count, I’ve picked up a few tricks that make the process smoother and the results more consistent.
Don’t skip the resting step. I know I mentioned this above, but it’s worth repeating. The oats need time to absorb the liquid. If you skip this, the cups will be drier and more likely to crumble. I once rushed through this step because I was running late, and I regretted it. The cups were edible, but they weren’t the tender, cohesive bites I was hoping for.
Use a cookie scoop for even portions. This is one of those small tools that makes a big difference. A #20 or #24 cookie scoop (about 3 tablespoons) gives you perfectly uniform cups that bake evenly. If you just eyeball it, some cups will be undercooked while others are overdone. Trust me on this one.
Watch your oven temperature. Ovens can be finicky. I’ve had ovens that run hot and ovens that run cold. If you’re unsure about yours, invest in an oven thermometer. It’s a cheap tool that saves you from a lot of baking frustration. If your cups are browning too fast, lower the temperature to 350°F (175°C) and bake for a few extra minutes.
Let them cool completely before storing. If you pack them away while they’re still warm, the steam will make them soggy. I learned this the hard way when I stored a batch too early and ended up with mushy oatmeal cups. Let them cool on a wire rack for at least 30 minutes before transferring to a container.
Double the batch for the freezer. These freeze beautifully, so I always make a double batch. I bake one batch for the week and freeze the other for later. It’s a great way to have breakfast ready for weeks at a time. Just make sure to cool them completely before freezing, and wrap them individually in plastic wrap or parchment paper.
Variations & Adaptations
One of the best things about this recipe is how flexible it is. You can tweak it to suit your taste, dietary needs, or whatever you have in your pantry.
Vegan version: Replace the eggs with two flax eggs (2 tablespoons ground flaxseed mixed with 6 tablespoons water, let sit for 5 minutes). Use a plant-based milk like almond or oat milk, and swap the maple syrup for agave or another liquid sweetener. The texture will be slightly denser, but still delicious.
Gluten-free option: Use certified gluten-free rolled oats. That’s it. Oats are naturally gluten-free, but they’re often processed in facilities that handle wheat, so look for the certified label if you’re sensitive. The recipe works exactly the same way.
Lower sugar version: Reduce the maple syrup to 1/4 cup (60ml). The cups will be less sweet, but the pumpkin and spices still give them plenty of flavor. You can also add a mashed banana for natural sweetness—just reduce the milk slightly to compensate for the extra moisture.
Seasonal variations: In the summer, swap the pumpkin puree for mashed ripe bananas or unsweetened applesauce. The banana version tastes like banana bread in oatmeal cup form. In the fall, add a tablespoon of molasses for a deeper, more complex sweetness.
Flavor twists: Try adding 1/2 teaspoon of cardamom or a pinch of black pepper for a more complex spice profile. Or fold in 1/4 cup of shredded coconut and 1/4 cup of chopped dark chocolate for a tropical twist. I once made a batch with dried cherries and white chocolate chips, and they were gone in two days.
Serving & Storage Suggestions
These pumpkin oatmeal cups are incredibly versatile when it comes to serving and storing. Here’s how to get the most out of them.
Serving temperature: I love these warm, straight from the microwave. Pop one in for 20-30 seconds, and it comes out soft and fragrant. They’re also good at room temperature, especially if you’re eating them on the go. Cold? Not my favorite, but they’re still edible straight from the fridge if you’re in a hurry.
What to serve with them: A dollop of Greek yogurt or a drizzle of maple syrup on top takes these to the next level. For a more substantial breakfast, serve them with a side of scrambled eggs or a piece of fruit. They’re also great crumbled over a bowl of yogurt and fresh berries for a quick parfait.
Storage instructions: Store the cooled oatmeal cups in an airtight container in the refrigerator for up to 5 days. Place a piece of parchment paper between layers to prevent them from sticking together. If you’re storing them for the week, I recommend keeping them in a single layer if possible.
Freezing instructions: These freeze like a dream. Wrap each cup individually in plastic wrap, then place them in a freezer-safe bag or container. They’ll keep for up to 3 months. To thaw, just transfer one to the fridge overnight, or microwave it directly from frozen for about 45-60 seconds.
Reheating tips: The microwave is your best friend here. 20-30 seconds for a refrigerated cup, 45-60 seconds for a frozen one. If you’re reheating multiple cups, you can pop them in a 350°F (175°C) oven for 5-7 minutes. I’ve also tried reheating them in an air fryer at 300°F (150°C) for 3-4 minutes, and they come out with a slightly crisper edge—pretty good if you’re into that.
One thing to note: the flavors actually develop over time. The second day, the spices seem to meld together more, and the texture evens out. So don’t be disappointed if they taste even better on Wednesday than they did on Sunday.
Nutritional Information & Benefits
These pumpkin oatmeal cups are not just delicious—they’re packed with good-for-you ingredients that make you feel great about eating them.
Per cup (based on 12 servings, without optional mix-ins):
- Calories: 145
- Fat: 5g
- Carbohydrates: 22g
- Fiber: 3g
- Sugar: 8g
- Protein: 5g
Health benefits: Pumpkin is a powerhouse of vitamins, especially Vitamin A, which is great for your eyes and immune system. Oats are rich in soluble fiber, which helps lower cholesterol and keeps you feeling full longer. The eggs add high-quality protein, and the coconut oil provides healthy fats that support brain function.
Dietary considerations: This recipe is naturally dairy-free if you use a plant-based milk and coconut oil. It can easily be made vegan and gluten-free with the substitutions listed above. It’s also relatively low in added sugar compared to most breakfast pastries, making it a great option for anyone watching their sugar intake.
Potential allergens: This recipe contains eggs and oats (which are often processed with wheat). If you have celiac disease or a gluten sensitivity, make sure to use certified gluten-free oats. The optional nut add-ins are, of course, a concern for those with nut allergies.
Honestly, I love that I can eat these for breakfast and feel energized without that heavy, sluggish feeling you get from a lot of baked goods. They’re a smart choice for busy mornings when you need something that will keep you going until lunch.
Conclusion
These quick baked pumpkin oatmeal cups have honestly changed my mornings. They’re proof that meal prep doesn’t have to be complicated or boring. With just a few simple ingredients and about 30 minutes of your time, you can have a week’s worth of delicious, satisfying breakfasts ready to go.
I love how customizable they are—you can tweak the sweetness, add your favorite mix-ins, or adapt them for different dietary needs. They’re forgiving enough for beginners but satisfying enough for experienced cooks who just need something quick and reliable. And the best part? They taste like fall in every single bite.
I’d love to hear how yours turn out. Did you add chocolate chips? Try them with a different spice blend? Share your creations in the comments below—I read every single one and I’m always looking for new ideas. And if you loved this recipe, don’t forget to pin it for later or share it with a friend who needs a little breakfast inspiration.
Go ahead, give these a try. Your future self—standing in the kitchen at 7 AM on a Tuesday—will thank you.
Frequently Asked Questions
Can I use steel-cut oats instead of rolled oats?
I wouldn’t recommend it. Steel-cut oats are much harder and need a lot more liquid and cooking time to soften. They won’t absorb enough liquid in this recipe, and you’ll end up with crunchy, undercooked cups. Stick with rolled oats for the best texture.
Why did my oatmeal cups turn out dry?
This usually happens for one of two reasons: you overbaked them, or you didn’t let the batter rest. Overbaking dries out the oats, while skipping the rest step means the oats don’t absorb enough liquid. Check your oven temperature with a thermometer and make sure to let the batter sit for at least 5 minutes before baking.
Can I make these without eggs?
Absolutely. Use two flax eggs (2 tablespoons ground flaxseed mixed with 6 tablespoons water, let sit for 5 minutes) or a commercial egg replacer. The texture will be a bit denser, but they’ll still be delicious. I’ve made them with flax eggs several times and they always turn out well.
How do I keep the cups from sticking to the liners?
Paper liners can be tricky with these cups because they’re moist. I recommend greasing the muffin tin directly with oil or butter instead of using liners. If you prefer liners, give them a quick spray with non-stick cooking spray before filling them. Silicone liners work great too—they’re reusable and nothing sticks to them.
Can I add protein powder to these?
You can, but you’ll need to adjust the liquid. Start by replacing 1/4 cup of the oats with 1/4 cup of protein powder. You may also need to add an extra 2-3 tablespoons of milk, as protein powder absorbs a lot of moisture. I’ve tried this with vanilla protein powder and it worked well, but the texture was a bit more cake-like than the original.
Pin This Recipe!
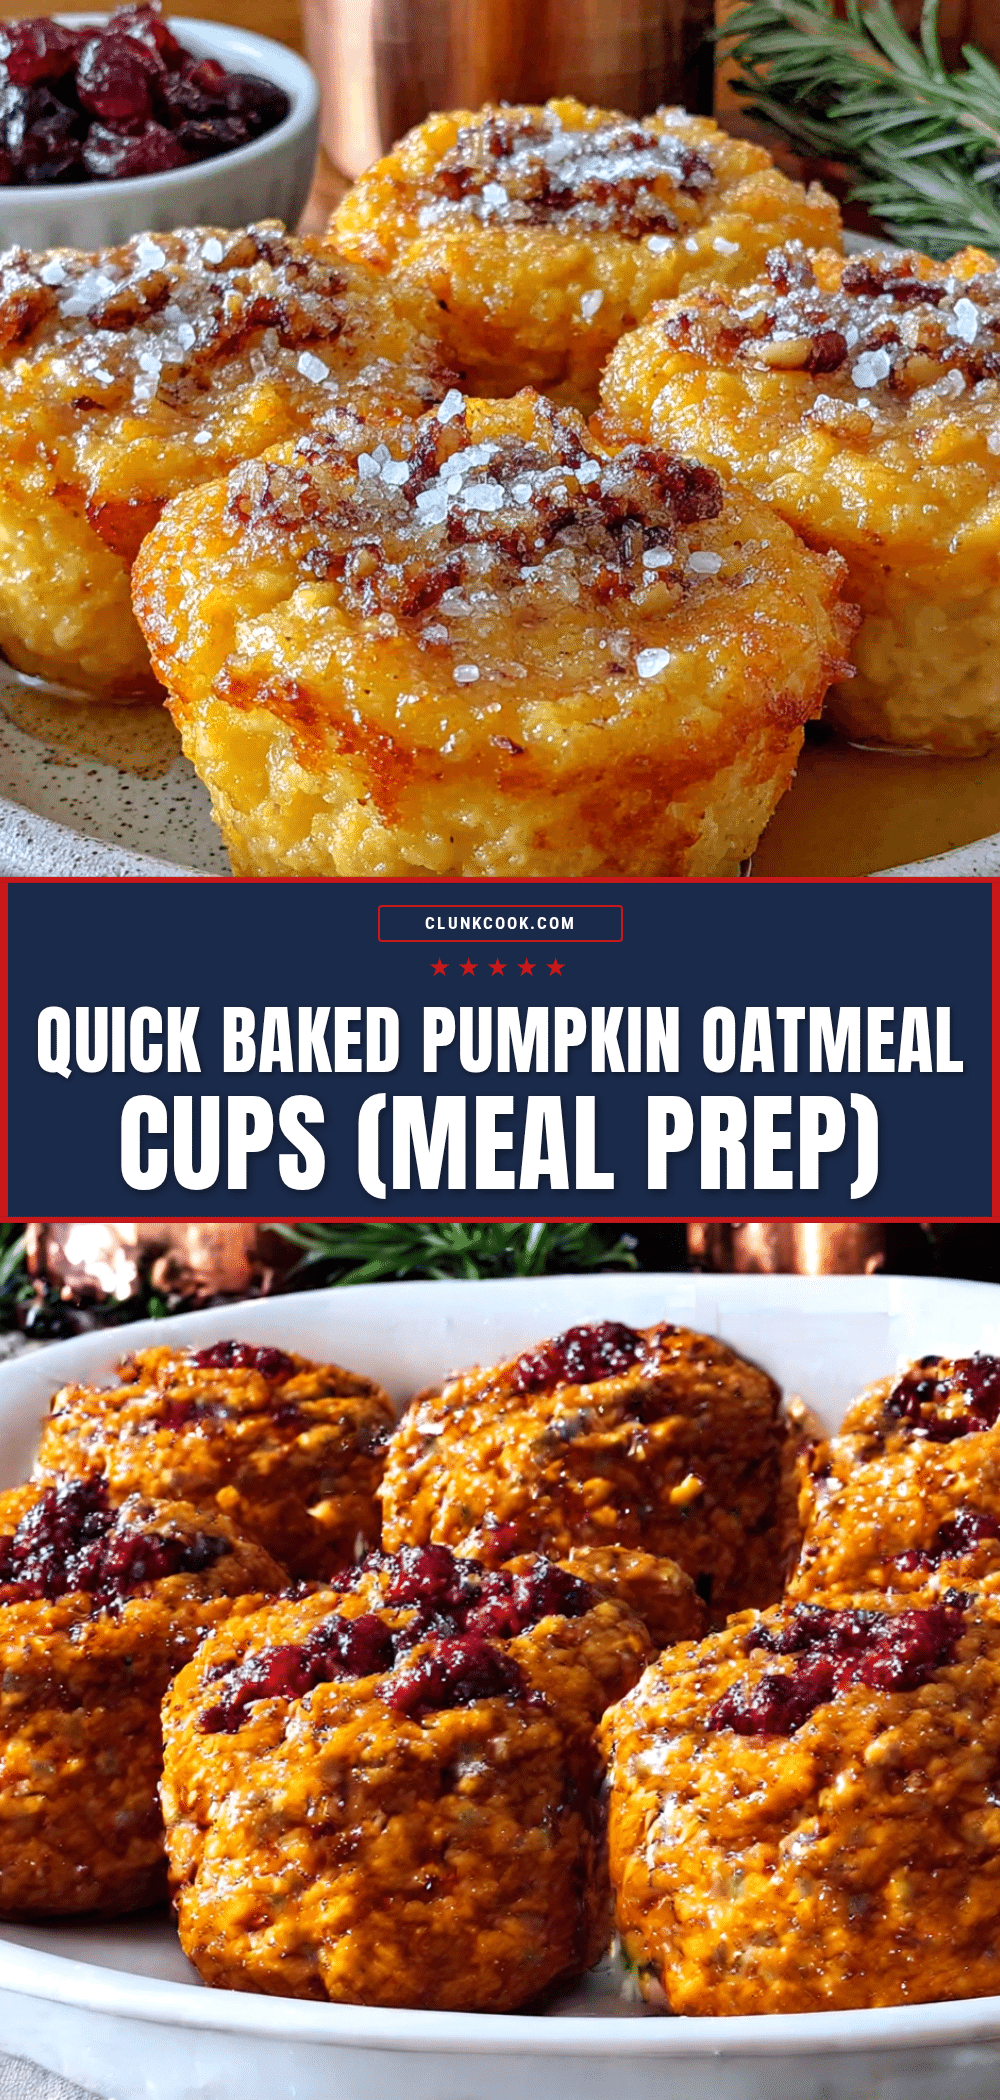
Easy Baked Pumpkin Oatmeal Cups (Perfect Meal Prep)

These quick baked pumpkin oatmeal cups are the perfect meal prep breakfast. Made with simple ingredients like rolled oats, pumpkin puree, and warm spices, they come together in about 30 minutes for a week’s worth of delicious, portable breakfasts.
- Prep Time: 10 minutes
- Cook Time: 20 minutes
- Total Time: 30 minutes
- Yield: 12 servings 1x
- Category: Breakfast
- Cuisine: American
Ingredients
- 2 cups (180g) rolled oats
- 1 cup (245g) pumpkin puree (100% pure, not pumpkin pie filling)
- 1 cup (240ml) milk (dairy, almond, oat, or soy)
- 2 large eggs, room temperature
- 1/3 cup (80ml) pure maple syrup
- 2 tablespoons (30ml) coconut oil, melted (or neutral oil)
- 2 teaspoons pumpkin pie spice
- 1 teaspoon baking powder
- 1/4 teaspoon salt
- 1 teaspoon vanilla extract
- 1/2 cup (60g) chopped pecans or walnuts (optional)
- 1/4 cup (40g) chocolate chips (optional)
- 1/4 cup (30g) dried cranberries (optional)
Instructions
- Preheat your oven to 375°F (190°C). Grease a 12-cup muffin tin with oil or butter, or line with paper liners (spray liners with non-stick spray).
- In a medium bowl, whisk together the rolled oats, pumpkin pie spice, baking powder, and salt.
- In a large bowl, whisk together the pumpkin puree, milk, eggs, maple syrup, melted coconut oil, and vanilla extract until smooth.
- Pour the dry ingredients into the wet ingredients and stir with a spatula until just combined. Fold in any optional mix-ins (nuts, chocolate chips, or dried cranberries) if using.
- Let the batter rest for 5-10 minutes to allow the oats to absorb the liquid.
- Use an ice cream scoop or large spoon to divide the batter evenly among the 12 muffin cups, filling each about 3/4 full.
- Bake for 18-22 minutes, until the tops are set and a toothpick inserted into the center comes out clean.
- Let the cups cool in the muffin tin for 5 minutes, then transfer to a wire rack to cool completely.
Notes
Letting the batter rest for 5-10 minutes is crucial for the best texture—it allows the oats to absorb liquid, preventing dry or crumbly cups. For vegan version, use two flax eggs (2 tbsp ground flaxseed mixed with 6 tbsp water, let sit 5 minutes). Store in an airtight container in the refrigerator for up to 5 days, or freeze individually wrapped for up to 3 months. Reheat in microwave for 20-30 seconds (refrigerated) or 45-60 seconds (frozen).
Nutrition
- Serving Size: 1 oatmeal cup
- Calories: 145
- Sugar: 8
- Sodium: 95
- Fat: 5
- Saturated Fat: 3
- Carbohydrates: 22
- Fiber: 3
- Protein: 5
Keywords: pumpkin oatmeal cups, baked oatmeal, meal prep breakfast, pumpkin breakfast, healthy breakfast, fall breakfast


