Love this? Save it for later!
Share the inspiration with your friends
Introduction
“I wasn’t expecting to become a snack station queen,” I admitted to myself one hectic Wednesday afternoon while juggling homework, phone calls, and the endless chorus of “I’m hungry!” from the kids. See, it all started last fall when my neighbor, Mrs. Jenkins, stopped by with a tray of neatly labeled snack containers. She casually mentioned how setting up a snack station saved her sanity on busy school days. Honestly, I was skeptical—how much difference could a few prepped snacks make?
But that very evening, while rummaging through my chaotic pantry, I realized I’d forgotten to pick up anything for after-school munchies. The kids were circling with those puppy-dog eyes, ready to raid the fridge. That’s when I decided to give Mrs. Jenkins’ idea a shot. I whipped up a quick snack station using whatever I had: cut veggies, cheese cubes, and some homemade granola bars. It wasn’t perfect—I forgot to label a few containers and spilled hummus on the counter (classic me)—but it worked wonders.
Since then, this easy after-school snack station has become my go-to magic trick for those busy afternoons. I mean, maybe you’ve been there, too—the clock’s ticking, the kids are starving, and you just want a little breathing room. This simple setup not only saves time but has turned snack-time battles into happy, independent munching moments. I keep making it because it frees me up to actually breathe (and sip my coffee) while the kids happily snack away.
Why You’ll Love This Recipe
After testing countless snack combos and setups over months, I can confidently say this easy after-school snack station prep is a lifesaver for busy moms like you. Here’s why it’s become a staple in my kitchen:
- Quick & Easy: Takes about 15-20 minutes to prep for the whole week, perfect for busy afternoons.
- Simple Ingredients: Uses pantry staples and fresh produce you probably already have on hand.
- Perfect for Busy Weekdays: No last-minute scrambling when hunger strikes after school.
- Crowd-Pleaser: Kids love the variety and independence of choosing their own snacks.
- Unbelievably Convenient: Reduces mess and stress, letting you focus on other tasks or just relax.
This isn’t just a random snack prep—it’s thoughtfully designed to balance nutrition, ease, and kid-friendliness. I experimented with different portion sizes and packaging methods to find what works best for my little ones (and trust me, that took some trial and error!). The beauty lies in its flexibility: whether you’re working with fresh fruits or shelf-stable items, you can customize the station to suit your family’s tastes and dietary needs.
Honestly, this snack station doesn’t just feed hungry kids; it gives you a moment of calm in the chaos. If you’ve ever wished for a smoother after-school routine, this is the recipe you didn’t know you needed.
What Ingredients You Will Need
This easy after-school snack station uses simple, wholesome ingredients to offer variety and nutrition without a lot of fuss. Most items are pantry staples or fresh produce that’s easy to swap out depending on what’s in season or your family’s preferences.
- Fresh Fruits: Apple slices (tossed in lemon juice to prevent browning), seedless grapes, berries (strawberries, blueberries), or banana chunks
- Fresh Vegetables: Baby carrots, cucumber rounds, cherry tomatoes, snap peas
- Cheese: Cubed cheddar, string cheese sticks, or mozzarella balls (I prefer Sargento for consistent quality)
- Protein Snacks: Hard-boiled eggs, roasted chickpeas (store-bought or homemade), turkey or ham roll-ups
- Grains & Crunch: Whole grain crackers, pretzel sticks, or homemade granola bars (recipe linked below)
- Dips & Spreads: Hummus, guacamole, or Greek yogurt-based ranch dip (I recommend Baba’s hummus for smooth texture)
- Sweet Treats (Optional): Dark chocolate chips, dried fruit pieces (like apricots or raisins), or small homemade cookies
Ingredient Tips: Feel free to swap items based on dietary needs—use dairy-free cheese or plant-based dips if needed. In summer, fresh berries and stone fruits like peaches or plums make delightful seasonal additions. For gluten-free options, almond crackers or rice cakes work great as crunchy elements.
Equipment Needed
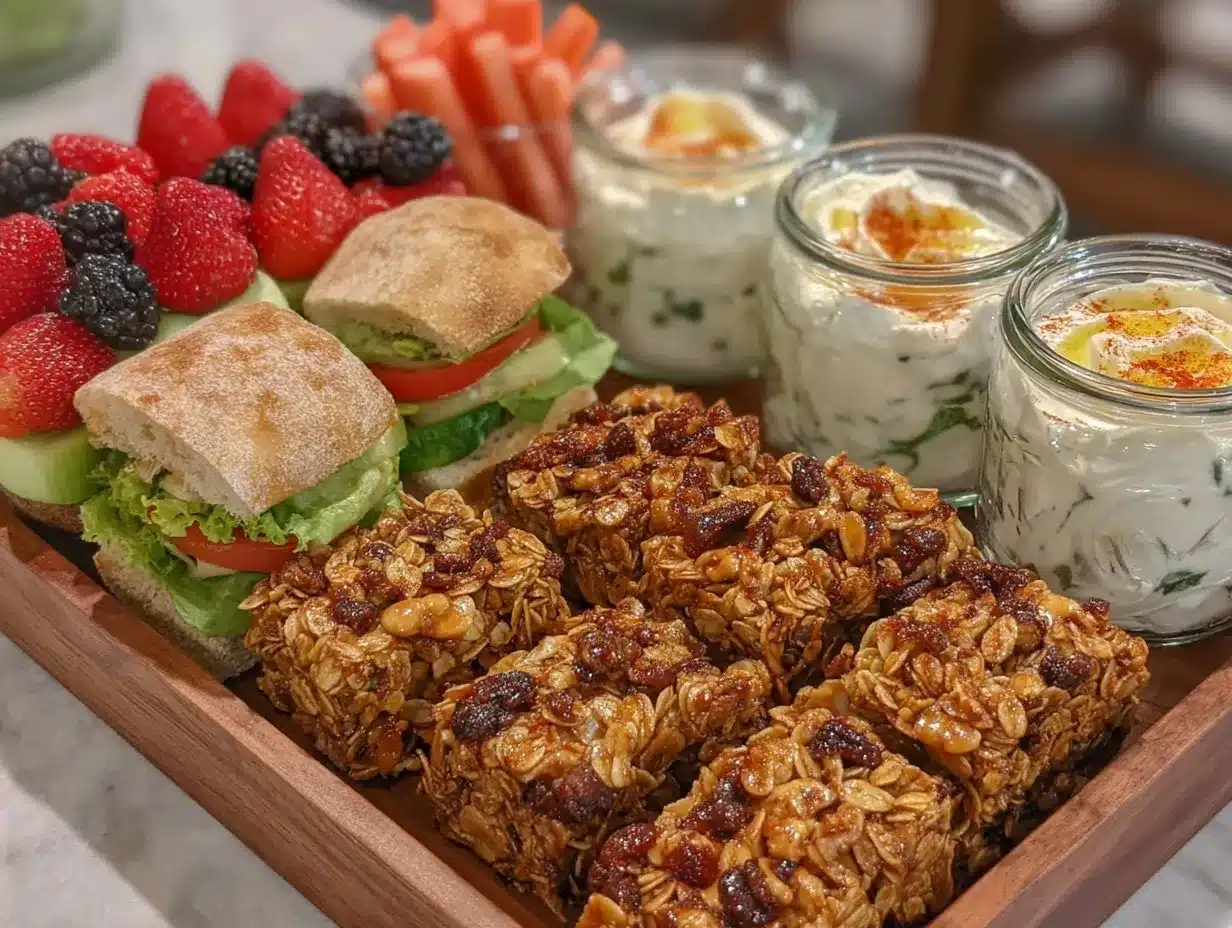
Setting up an after-school snack station doesn’t require fancy kitchen gadgets, but a few handy tools make the process smoother and more organized.
- Storage Containers: A mix of clear, stackable containers with lids (I personally love the OXO Good Grips line for durability and size variety)
- Snack Trays or Bins: Shallow trays or plastic bins to corral different snack types (easy to pull out and refill)
- Cutting Board and Sharp Knife: For prepping fresh produce quickly
- Measuring Cups and Spoons: Helpful for portion control, especially with homemade granola bars or roasted chickpeas
- Labels or Masking Tape and Marker: To mark snack types or expiration dates (handwriting labels adds a personal touch!)
If you don’t have specialized snack trays, a few shallow baking dishes or even muffin tins can work as fun, sectioned snack holders. Investing in BPA-free, dishwasher-safe containers makes clean-up a breeze—which honestly, is half the battle.
Preparation Method
- Gather Your Ingredients: Pull out fresh fruits, veggies, proteins, and grains from your fridge and pantry. This step takes about 5 minutes.
- Prep Fresh Produce: Wash and dry all fruits and vegetables thoroughly. Slice apples and cucumbers into bite-sized pieces, halve grapes if small kids are involved, and snap carrots if needed. This usually takes 10-15 minutes.
- Cook and Cool Proteins: If using hard-boiled eggs or roasted chickpeas, prepare them in advance (or pick up pre-cooked options). Allow them to cool before packing.
- Portion Snacks: Using your containers, portion out each snack type into kid-friendly servings. For example, about 1/2 cup of cut fruit, 1/4 cup of cheese cubes, or 5-6 crackers per container. This step helps control portions and reduces waste.
- Label Containers: Use masking tape or labels to mark contents and dates, so you and the kids know what’s what. This also helps with rotating snacks before they spoil.
- Arrange the Snack Station: Organize containers in your designated snack area—whether it’s a low fridge shelf, pantry bin, or kitchen counter tray. Make sure it’s accessible to kids to encourage independence.
- Maintain and Refill: Each evening or weekend, check your snack station, toss any expired items, and refill with fresh snacks. This 10-minute routine keeps things running smoothly.
Pro Tip: Keep a small trash bowl or wipes nearby during prep to catch messes. I once had a rogue cherry tomato roll off the counter mid-prep—lesson learned! Also, prepping snacks in the evening can save serious time during those hectic afternoons.
Cooking Tips & Techniques
Setting up an effective after-school snack station is all about balance and ease. Here are some tips I’ve picked up along the way:
- Mix Textures: Combining crunchy, creamy, and chewy snacks keeps kids interested. For example, pair crisp apple slices with creamy cheese and crunchy crackers.
- Watch Portions: Pre-portioning snacks avoids overeating and reduces food waste. Use small containers that fit little hands comfortably.
- Rotate Ingredients: Switch up fruits and veggies weekly to prevent boredom and introduce new flavors.
- Prep Ahead: Hard-boil eggs or roast chickpeas in batches on weekends. It saves valuable weekday minutes.
- Label Clearly: Helps kids make their own choices, which encourages independence and reduces “What can I eat?” questions.
One mistake I made early on was prepping too many perishable snacks without considering shelf life. Now, I keep the station stocked mostly with items that last a few days or store well in the fridge. Also, I learned to avoid overly sticky or messy dips unless it’s a special treat day!
Variations & Adaptations
One size definitely doesn’t fit all when it comes to snack stations. Here are a few ways to tailor this recipe to fit your family’s needs and preferences:
- Gluten-Free: Use rice crackers or gluten-free pretzel sticks instead of wheat-based options.
- Vegan: Swap cheese cubes for nut-based cheese alternatives or extra roasted chickpeas, and opt for plant-based dips like guacamole or bean spreads.
- Seasonal Flavors: In fall, add roasted pumpkin seeds or apple cinnamon granola bars; in summer, include fresh berries and melon slices.
- On-the-Go Prep: Portion snacks into small mason jars or reusable snack bags for easy grabbing before activities.
- Kid-Approved Customization: Let kids pick and prep their favorite snacks during the weekend to get them involved and excited.
I once tried adding mini peanut butter sandwiches to the station, but they got soggy quickly, so I reserve those for fresh packing. Still, it was a fun experiment and taught me to keep things simple and fresh.
Serving & Storage Suggestions
This snack station is best served chilled or at room temperature, depending on the snack. Fresh fruits and veggies taste great cold, while some crackers and dips come alive at room temp.
For presentation, arranging snacks in colorful, clear containers helps entice kids visually. Adding fun toothpicks or mini forks can make the experience even more enjoyable.
Store prepped snacks in the fridge for up to 3-4 days. Most fresh fruits and veggies hold up well if kept dry and covered. Dips should be stored separately to prevent sogginess.
To reheat any warm snacks (like roasted chickpeas), a quick 1-2 minute zap in the microwave works fine, but most items are best served cold.
Flavors often mellow and blend nicely overnight, so prepping snacks the night before can sometimes improve taste and texture.
Nutritional Information & Benefits
This snack station offers a balanced mix of macronutrients and micronutrients essential for growing kids. Fresh fruits provide natural vitamins and fiber, veggies add antioxidants, and proteins like cheese and eggs support muscle development.
Most ingredients are low in added sugars and free from artificial preservatives, making this a wholesome choice. You can easily adjust for dietary needs such as gluten-free or dairy-free by swapping ingredients.
Personally, I appreciate how this setup encourages mindful eating and independence, which is a bonus beyond just nutrition. After all, healthy habits formed early stick around!
Conclusion
If you’re a busy mom looking for a way to tame the after-school snack chaos, this easy snack station prep is a total game-changer. It’s simple, practical, and adaptable to whatever your family loves. I keep returning to it because it saves time, reduces stress, and keeps the kids happily munching without constant supervision.
Feel free to tweak the ingredients or setup to fit your home’s rhythm. Trust me, once you have this station ready to go, you’ll wonder how you ever managed without it! I’d love to hear how your snack station turns out or any fun twists you add—drop a comment below and share your experience.
Here’s to peaceful afternoons and satisfied little snackers!
FAQs
What is the best way to store prepped snacks for freshness?
Use airtight containers and store most snacks in the fridge. Keep dips separate to avoid sogginess, and consume fresh fruits and veggies within 3-4 days for optimal freshness.
How can I make the snack station allergy-friendly?
Swap out common allergens like dairy or gluten with plant-based cheeses, gluten-free crackers, and allergen-free dips. Always check labels and tailor snacks to your child’s specific needs.
Can I prepare the snack station for the whole week?
It’s best to prep for 3-4 days at a time to keep snacks fresh. Some items like roasted chickpeas or granola bars last longer, but fresh produce is best replenished midweek.
How do I encourage kids to use the snack station independently?
Make the station accessible and clearly labeled, and involve kids in the prep process so they feel ownership. Using fun containers and utensils also sparks interest.
Are homemade granola bars a good addition to the snack station?
Absolutely! Homemade granola bars add a wholesome, sweet element and can be customized with nuts, seeds, and dried fruits. Just store them in sealed containers to keep them fresh.
Pin This Recipe!
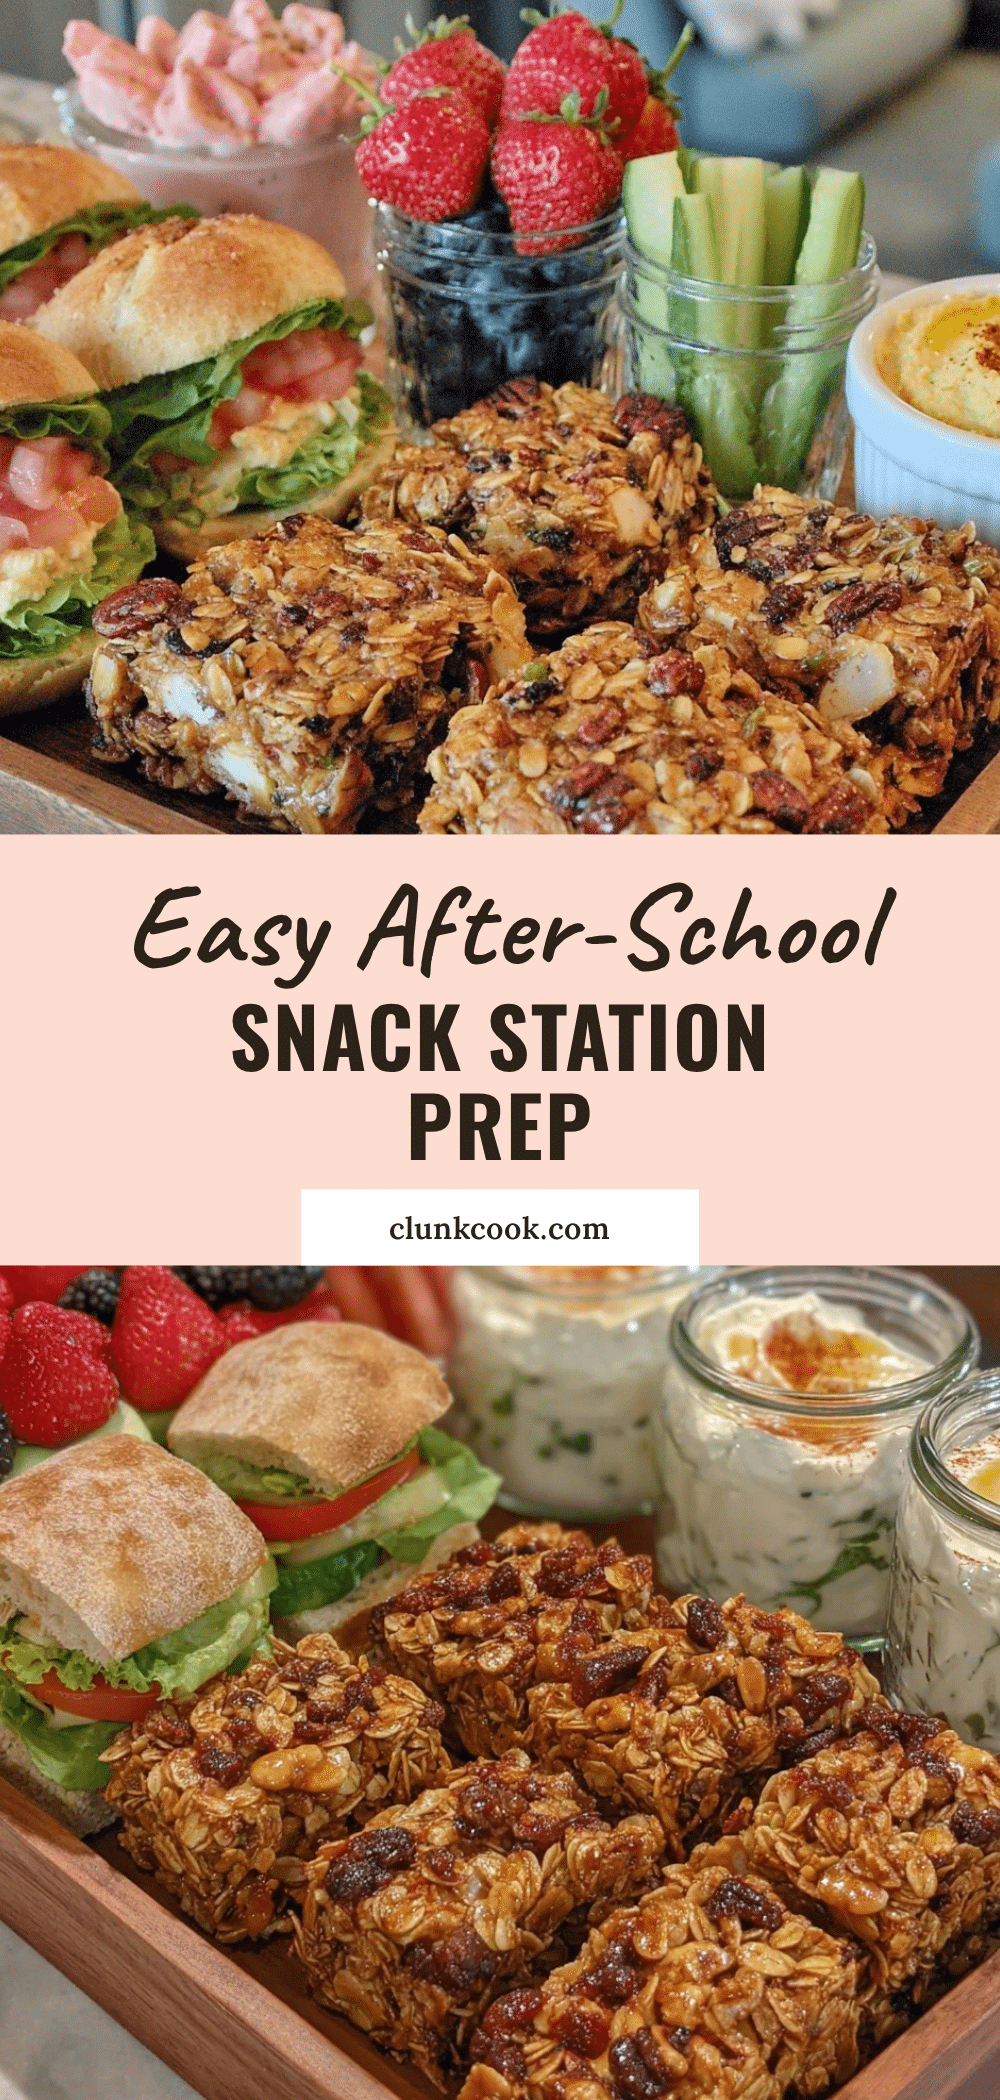
Easy After-School Snack Station Prep Ideas for Busy Moms to Save Time
A simple and flexible snack station setup that saves time and reduces stress for busy moms, offering kids a variety of healthy, pre-portioned snacks to enjoy independently after school.
- Prep Time: 15-20 minutes
- Cook Time: Varies (if cooking proteins like hard-boiled eggs or roasted chickpeas in advance)
- Total Time: 15-20 minutes (excluding protein cooking time)
- Yield: Varies depending on portioning; suitable for multiple children/snack servings
- Category: Snack
- Cuisine: American
Ingredients
- Fresh fruits: apple slices (tossed in lemon juice), seedless grapes, strawberries, blueberries, banana chunks
- Fresh vegetables: baby carrots, cucumber rounds, cherry tomatoes, snap peas
- Cheese: cubed cheddar, string cheese sticks, mozzarella balls
- Protein snacks: hard-boiled eggs, roasted chickpeas, turkey or ham roll-ups
- Grains & crunch: whole grain crackers, pretzel sticks, homemade granola bars
- Dips & spreads: hummus, guacamole, Greek yogurt-based ranch dip
- Sweet treats (optional): dark chocolate chips, dried fruit pieces (apricots, raisins), small homemade cookies
Instructions
- Gather your ingredients from fridge and pantry (about 5 minutes).
- Wash and dry all fruits and vegetables thoroughly. Slice apples and cucumbers into bite-sized pieces, halve grapes if needed, and snap carrots as desired (10-15 minutes).
- Cook and cool proteins if preparing hard-boiled eggs or roasted chickpeas in advance.
- Portion snacks into kid-friendly servings using containers (e.g., 1/2 cup cut fruit, 1/4 cup cheese cubes, 5-6 crackers).
- Label containers with masking tape or labels to mark contents and dates.
- Arrange containers in an accessible snack station area for kids to choose independently.
- Maintain and refill the snack station daily or weekly by checking for expired items and replenishing fresh snacks.
Notes
Pre-portion snacks to control portions and reduce waste. Rotate fruits and veggies weekly to prevent boredom. Store dips separately to avoid sogginess. Prep snacks in the evening to save time during busy afternoons. Use BPA-free, dishwasher-safe containers for easy cleanup. Adjust ingredients for dietary needs such as gluten-free or vegan options.
Nutrition
- Serving Size: Portion sizes vary;
- Calories: 15020
- Sugar: 812
- Sodium: 150300
- Fat: 610
- Saturated Fat: 24
- Carbohydrates: 1525
- Fiber: 35
- Protein: 58
Keywords: after-school snack, snack station, easy snacks, healthy snacks, kids snacks, busy moms, snack prep, quick snacks