Love this? Save it for later!
Share the inspiration with your friends
“You won’t believe what saved my last-minute party,” my friend Lisa confessed over coffee last weekend. I could almost hear the chaos behind her words—the frantic calls, the empty fridge, the clock ticking closer to guests arriving. She had just whipped up these vibrant rainbow jello cups alongside a massive tray of sheet pan nachos, and honestly, it was a game changer. I’ve had my fair share of party disasters, like that time I forgot to thaw the main dish (yes, the freezer betrayal is real). But Lisa’s story reminded me that sometimes the simplest, most colorful recipes become the life of the party.
The rainbow jello cups, with their layers of translucent, jewel-toned colors, instantly brighten any gathering. And those sheet pan nachos? Crispy, cheesy, and loaded with flavor, they’re the kind of crowd-pleaser that has people sneaking back for seconds before the first round of drinks even cools down. I mean, maybe you’ve been there too—scrambling to put together something tasty that looks like you planned it for hours. That’s exactly why these recipes stuck with me.
Lisa’s story isn’t just about convenience; it’s about turning a potential party flop into a memory. The rainbow jello cups bring that playful pop of color that kids adore, while the sheet pan nachos satisfy hungry adults craving something hearty. Together, they’re the perfect duo for any celebration, from casual game nights to festive birthday bashes. Let me tell you, once you try these, you’ll understand why they’re staples in my recipe box—and I’m betting they’ll become yours too.
Why You’ll Love This Recipe
Honestly, these vibrant rainbow jello cups and sheet pan nachos have been tested and approved by every type of party guest I know—from picky eaters to self-proclaimed foodies. Here’s why they’re bound to become your go-to easy party recipes:
- Quick & Easy: Both recipes come together in under 45 minutes, perfect when you’re short on time but want to impress.
- Simple Ingredients: No need for exotic groceries—just staples you probably already have in your pantry and fridge.
- Perfect for Parties: Whether it’s a backyard barbecue, a kid’s birthday, or a casual get-together, these dishes fit right in.
- Crowd-Pleaser: The colorful jello cups delight the eyes and the taste buds, while the sheet pan nachos satisfy every craving for something crunchy, cheesy, and spicy.
- Unbelievably Delicious: The contrast of cool, wobbly jello layers and hot, savory nachos creates a party spread that’s both fun and flavorful.
What sets these recipes apart? For the jello cups, it’s the layering technique that makes each cup look like a miniature rainbow, plus a secret tip for perfectly clear layers without the cloudiness. As for the sheet pan nachos, the trick lies in balancing the toppings so every bite has the right crunch and gooey cheese, without sogginess. I’ve made these over and over—once even with a cracked baking sheet (don’t ask)—and each time they bring smiles all around.
This combo isn’t just food; it’s a vibe. It’s the kind of snack table that makes people linger longer, chat louder, and maybe even dance a little. You’re going to love making these for your next party, trust me.
What Ingredients You Will Need
These recipes rely on straightforward, friendly ingredients that come together to create big flavor and eye-catching presentation. No fancy or hard-to-find items, just good old kitchen staples and a few fresh touches.
For the Vibrant Rainbow Jello Cups:
- Assorted flavored gelatin packets (5-6 colors/flavors, such as strawberry, lime, lemon, orange, blueberry, grape)
- Boiling water (for dissolving gelatin)
- Cold water (for setting the gelatin layers)
- Sweetened condensed milk (for creamy white layers to separate colors; optional but recommended)
- Clear plastic cups (for serving and layering)
Tip: I prefer Jell-O brand for vibrant colors and consistent setting. If you want to keep it dairy-free, you can swap sweetened condensed milk for coconut milk sweetened with a little honey or sugar.
For the Sheet Pan Nachos:
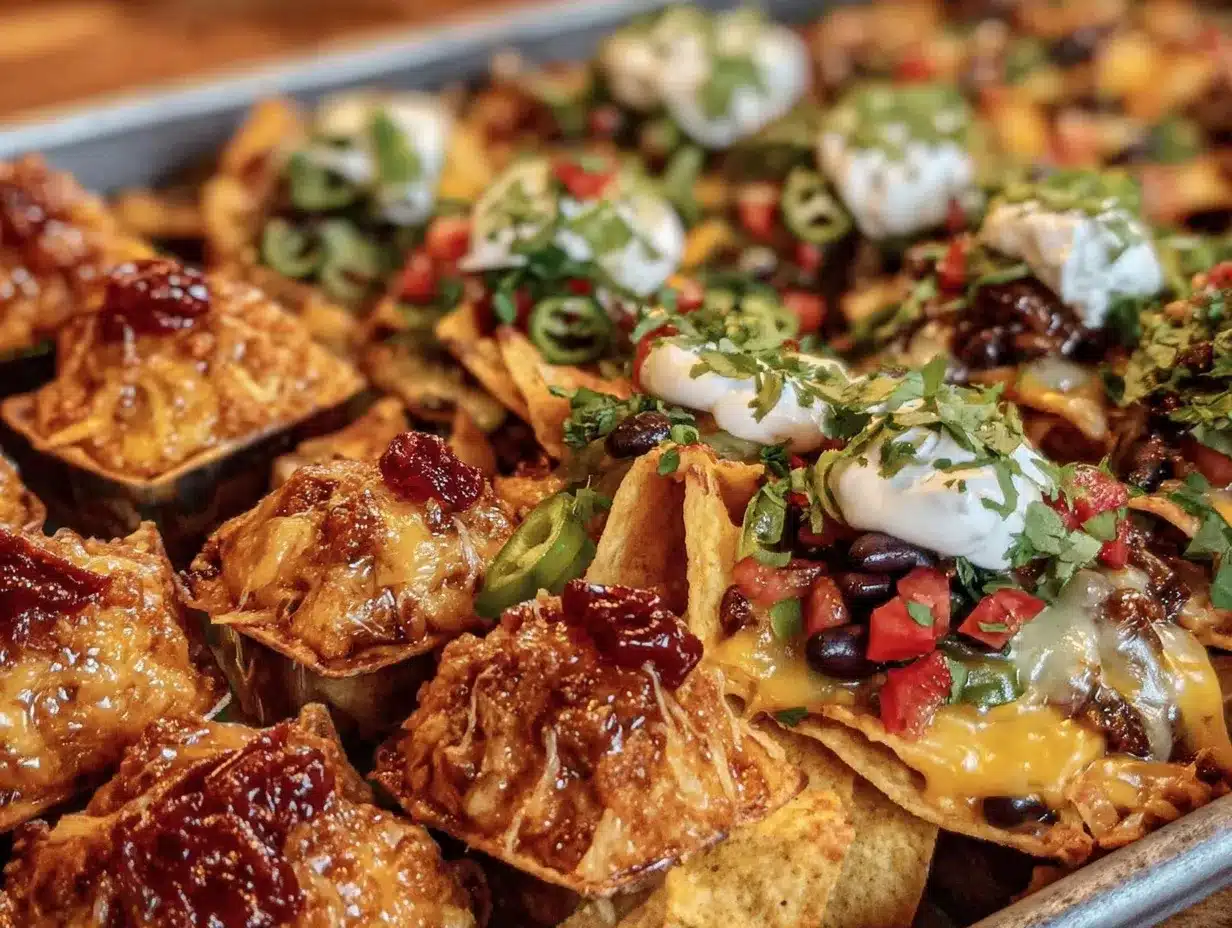
- Large bag of sturdy tortilla chips (thick-cut for best crunch)
- Shredded cheese blend (cheddar, Monterey Jack, or a pre-shredded Mexican blend)
- Cooked and seasoned ground beef or shredded chicken (optional, but adds protein and flavor)
- Black beans or pinto beans, rinsed and drained
- Jalapeño slices (fresh or pickled, adjust to your heat tolerance)
- Diced tomatoes or fresh pico de gallo
- Sliced black olives
- Green onions, chopped
- Sour cream and guacamole for serving
- Olive oil spray or drizzle (to crisp the chips slightly before baking)
- Taco seasoning (for meat or beans, optional)
Note: For the meat, I recommend using grass-fed beef or organic shredded chicken for better flavor and nutrition. For vegetarian options, just load up on beans and veggies. Frozen corn kernels can also be a nice addition for sweetness and color.
Equipment Needed
- Large baking sheet or sheet pan (rimmed to catch toppings)
- Mixing bowls (medium-sized for gelatin preparation)
- Measuring cups and spoons (to keep layers consistent)
- Whisk or spoon (for dissolving gelatin)
- Plastic cups (clear, about 8 oz / 240 ml size, for jello cups)
- Oven or toaster oven (for baking the nachos)
- Sharp knife and cutting board (for chopping toppings)
- Spray bottle or mister for olive oil (optional, but helps crisp chips evenly)
If you don’t have a spray bottle, a light drizzle of olive oil with a brush or your fingers works fine. I’ve used disposable aluminum trays for the nachos when I’m traveling or hosting outdoors—just makes cleanup easier. Also, a silicone spatula is handy for stirring gelatin without scratching bowls.
Preparation Method
- Prepare the Rainbow Jello Cups:
Dissolve one packet of gelatin in 1 cup (240 ml) boiling water, stirring until fully dissolved (about 2 minutes). Add 1 cup (240 ml) cold water and stir.
Pour about 2 tablespoons (30 ml) of this mixture into each plastic cup.
Refrigerate for about 15-20 minutes until the layer is firm but not fully set.
For creamy white layers, mix 1/2 cup (120 ml) sweetened condensed milk with 1/2 cup (120 ml) boiling water until smooth, then add 1/2 cup (120 ml) cold water.
Alternate colored gelatin layers with the creamy white layers, refrigerating about 15-20 minutes between each pour to let layers set without mixing.
Repeat until cups are filled, ending with a colorful layer.
Chill the cups for at least 2 hours before serving for the best texture.
Pro tip: Use a spoon to gently pour gelatin layers to avoid mixing colors. - Make the Sheet Pan Nachos:
Preheat oven to 400°F (200°C).
Spread tortilla chips evenly on the baking sheet.
If using meat, cook and season ground beef or chicken with taco seasoning.
Sprinkle beans evenly over the chips.
Add cooked meat (if using).
Generously layer shredded cheese over the entire pan.
Add jalapeño slices, diced tomatoes, black olives, and any other toppings you like.
Lightly spray or drizzle olive oil over the top to help crisp the chips.
Bake in the oven for 10-15 minutes, until cheese is melted and bubbly.
Remove from oven and garnish with green onions.
Serve immediately with sides of sour cream and guacamole.
Watch closely: Chips can burn quickly near the edges—rotate pan halfway through baking if needed.
Both recipes are forgiving and flexible. If you’re pressed for time, the jello cups can be made a day ahead, and the nachos come together in a snap right before guests arrive. I remember one party when I forgot to chill the jello layers properly—ended up with a colorful but messy mix that kids loved anyway! Sometimes imperfections make the best memories.
Cooking Tips & Techniques
For the rainbow jello cups, patience is your best friend. Pour each layer slowly and allow it to set just enough to hold the next layer without blending colors. If you rush, you get a muddy mess (been there!). Using sweetened condensed milk for the creamy layers gives you a beautiful opaque contrast, but you can omit it if you want all-clear layers.
With the sheet pan nachos, the key is layering. Start with chips, then scatter toppings evenly so every bite has cheese, beans, and jalapeños, not just chips. Spraying olive oil on top before baking helps keep chips crispy—otherwise, they might get soggy under the cheese. Also, don’t overload the pan; too much weight means uneven cooking.
Another tip: warm the serving plates or trays for the nachos. It keeps everything hot longer, especially if the party runs late. And if you want to multitask, prep the jello cups the day before so you can focus on the nachos right before guests arrive.
Variations & Adaptations
- Rainbow Jello Cups: Use fresh fruit pieces (like diced strawberries or kiwi) between layers for texture and natural sweetness.
- Sheet Pan Nachos: Swap ground beef for spicy chorizo or shredded BBQ jackfruit for a vegetarian twist.
- Try dairy-free cheese and coconut milk-based creamy layers to make both recipes vegan-friendly.
- For a kid-friendly version, omit jalapeños and serve with mild salsa or ketchup on the side.
- I once added a splash of lime juice to the jello layers—gave a subtle tang that guests raved about.
Serving & Storage Suggestions
Serve the rainbow jello cups chilled straight from the fridge. They’re perfect as handheld treats and add a pop of color to any dessert table. If you’re transporting them, keep them upright in a snug container to avoid spills.
Sheet pan nachos are best served hot and fresh out of the oven to keep that crisp-cheese combo intact. If you have leftovers, store them in an airtight container in the fridge for up to 2 days. Reheat in the oven at 350°F (175°C) for about 8-10 minutes to bring back the crunch. Microwaving works but might make chips soggy.
Both recipes are great for making ahead—jello cups especially—and they tend to taste better as flavors meld in the fridge overnight. Just remember to add fresh toppings like green onions or salsa right before serving.
Nutritional Information & Benefits
These recipes balance fun and flavor with simple nutrition. The rainbow jello cups are low in calories and a playful way to sneak in some hydration, especially if you use sugar-free gelatin options. Sweetened condensed milk adds richness but can be swapped out to reduce sugar.
Sheet pan nachos provide protein and fiber when beans and lean meats are included. Using sturdy chips and moderate cheese keeps calories reasonable without sacrificing taste. Plus, jalapeños add a little metabolism boost and vitamin C.
Both recipes offer flexibility to suit gluten-free, vegetarian, or dairy-free diets with slight ingredient tweaks. I personally love how these dishes bring people together without the usual fuss or heavy prep.
Conclusion
So, whether you’re scrambling to put together an easy party spread or want to impress without the stress, these vibrant rainbow jello cups and sheet pan nachos deliver. They’re colorful, tasty, and downright fun to make—and that’s no small feat when feeding a crowd. I keep coming back to these recipes because they strike the perfect balance of simple prep and wow factor. Plus, they invite everyone to relax, dig in, and enjoy the good vibes.
Give them a try and feel free to tweak the layers or toppings to match your style. I’d love to hear how you make these recipes your own—drop a comment or share your favorite twist. Here’s to many happy, flavorful parties ahead!
FAQs
Can I make the rainbow jello cups ahead of time?
Absolutely! They can be made a day or two in advance. Just keep them refrigerated and cover with plastic wrap to prevent drying out.
What if I don’t have all the jello flavors?
Use whatever flavors you have on hand. The key is layering contrasting colors for the rainbow effect, so mix and match creatively.
How do I keep nachos from getting soggy?
Use thick, sturdy chips and spray a light coat of olive oil before baking. Avoid piling too many wet toppings before baking; add fresh items like tomatoes or green onions after baking.
Can I make these recipes gluten-free?
Yes! Just choose gluten-free tortilla chips and check that your seasonings and toppings don’t contain gluten.
What’s the best way to reheat leftover sheet pan nachos?
Reheat in a preheated oven at 350°F (175°C) for 8-10 minutes. This helps restore crispiness better than microwaving.
Pin This Recipe!
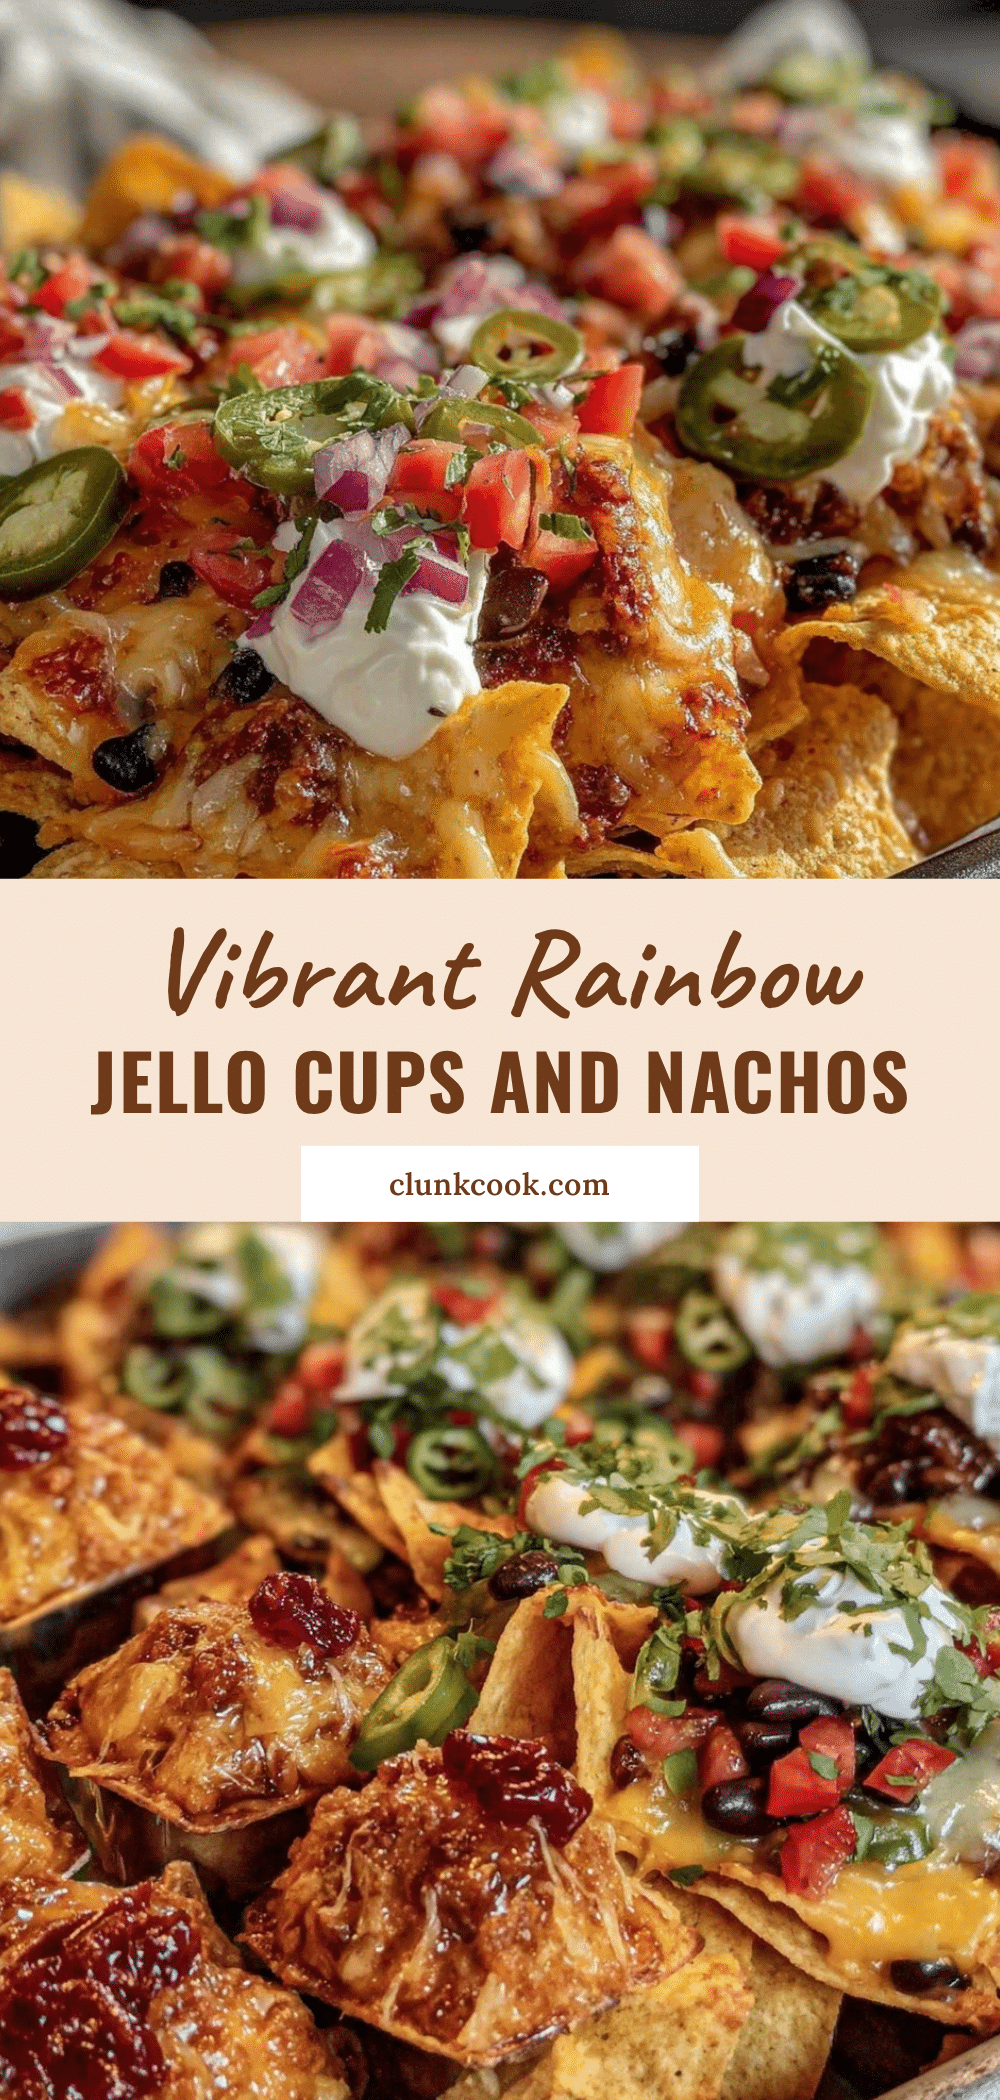
Vibrant Rainbow Jello Cups and Sheet Pan Nachos

Colorful layered jello cups paired with crispy, cheesy sheet pan nachos make an easy and crowd-pleasing party recipe duo.
- Prep Time: 20 minutes
- Cook Time: 15 minutes
- Total Time: 45 minutes
- Yield: 8 servings
- Category: Party Snacks
- Cuisine: American
Ingredients
- Assorted flavored gelatin packets (5-6 colors/flavors, such as strawberry, lime, lemon, orange, blueberry, grape)
- Boiling water (for dissolving gelatin)
- Cold water (for setting the gelatin layers)
- Sweetened condensed milk (for creamy white layers to separate colors; optional but recommended)
- Clear plastic cups (for serving and layering)
- Large bag of sturdy tortilla chips (thick-cut for best crunch)
- Shredded cheese blend (cheddar, Monterey Jack, or a pre-shredded Mexican blend)
- Cooked and seasoned ground beef or shredded chicken (optional)
- Black beans or pinto beans, rinsed and drained
- Jalapeño slices (fresh or pickled, adjust to heat tolerance)
- Diced tomatoes or fresh pico de gallo
- Sliced black olives
- Green onions, chopped
- Sour cream and guacamole for serving
- Olive oil spray or drizzle (to crisp the chips slightly before baking)
- Taco seasoning (for meat or beans, optional)
Instructions
- Prepare the Rainbow Jello Cups: Dissolve one packet of gelatin in 1 cup boiling water, stirring until fully dissolved (about 2 minutes). Add 1 cup cold water and stir.
- Pour about 2 tablespoons of this mixture into each plastic cup.
- Refrigerate for about 15-20 minutes until the layer is firm but not fully set.
- For creamy white layers, mix 1/2 cup sweetened condensed milk with 1/2 cup boiling water until smooth, then add 1/2 cup cold water.
- Alternate colored gelatin layers with the creamy white layers, refrigerating about 15-20 minutes between each pour to let layers set without mixing.
- Repeat until cups are filled, ending with a colorful layer.
- Chill the cups for at least 2 hours before serving for the best texture.
- Make the Sheet Pan Nachos: Preheat oven to 400°F (200°C).
- Spread tortilla chips evenly on the baking sheet.
- If using meat, cook and season ground beef or chicken with taco seasoning.
- Sprinkle beans evenly over the chips.
- Add cooked meat if using.
- Generously layer shredded cheese over the entire pan.
- Add jalapeño slices, diced tomatoes, black olives, and any other toppings you like.
- Lightly spray or drizzle olive oil over the top to help crisp the chips.
- Bake in the oven for 10-15 minutes, until cheese is melted and bubbly.
- Remove from oven and garnish with green onions.
- Serve immediately with sides of sour cream and guacamole.
Notes
Pour gelatin layers slowly and allow each to set to avoid mixing colors. Use thick, sturdy chips and lightly spray olive oil before baking to keep nachos crispy. Jello cups can be made a day ahead and kept refrigerated. Nachos are best served fresh but can be reheated in the oven at 350°F for 8-10 minutes.
Nutrition
- Serving Size: 1 jello cup and a po
- Calories: 0.35
- Sugar: 12
- Sodium: 450
- Fat: 18
- Saturated Fat: 7
- Carbohydrates: 35
- Fiber: 5
- Protein: 12
Keywords: rainbow jello cups, sheet pan nachos, party recipes, easy snacks, colorful desserts, crowd-pleaser, layered gelatin, cheesy nachos


