Love this? Save it for later!
Share the inspiration with your friends
“It was 11 PM on a Thursday, and all I could think about was those classic creamy old-fashioned deviled eggs my grandma used to make,” I confessed to myself while rummaging through the fridge. Honestly, I didn’t have half the fancy ingredients some recipes call for—just the basics. But you know that feeling when a craving hits so hard, it’s like your kitchen turns into a late-night diner? Well, I ended up mixing together what I had on hand and, somehow, it turned out better than I expected. That cracked bowl and the slightly messy counter? Totally worth it.
Maybe you’ve been there—wanting something nostalgic, comforting, and simple, but without the fuss. This classic creamy old-fashioned deviled eggs recipe came from that exact moment, the one where hunger meets memory, and a bit of improvisation leads to a timeless snack. It’s funny how such a humble dish can carry so much warmth and history, isn’t it? But honestly, once you try this easy homemade 5-ingredient tutorial, you’ll see why I keep making it over and over, whether it’s for potlucks, holiday spreads, or just a quiet night in.
Why You’ll Love This Recipe
Let me tell you why this classic creamy old-fashioned deviled eggs recipe is a must-have in your kitchen arsenal. Over the years of testing and tweaking, I’ve nailed the perfect balance of creamy texture and tangy flavor that stands out from all the other deviled eggs you’ve tried. Here’s what makes it special:
- Quick & Easy: Whips up in under 20 minutes, perfect when you need a last-minute appetizer or snack.
- Simple Ingredients: You likely have all 5 ingredients on hand—no surprise grocery runs required.
- Perfect for Gatherings: Whether for potlucks, brunch, or holiday dinners, this recipe always impresses without stress.
- Crowd-Pleaser: Kids and adults alike can’t get enough of its smooth, rich filling with just the right zing.
- Unbelievably Delicious: The creamy filling with a hint of mustard and a touch of paprika makes it comfort food at its finest.
This isn’t just your average deviled eggs recipe. The secret? Using real mayonnaise blended with a touch of yellow mustard and a sprinkle of vinegar creates that silky, classic texture everyone remembers. From my experience, skipping fancy add-ins keeps the flavors honest and satisfying. Honestly, it’s the kind of recipe that makes you close your eyes after the very first bite—pure nostalgic goodness. And trust me, once you master this, you’ll find yourself coming back to it, again and again.
What Ingredients You Will Need
This recipe uses straightforward, pantry-friendly ingredients that come together to create the creamy old-fashioned deviled egg filling you love. Each component plays a key role—egg yolks provide richness, mayonnaise adds the smooth creaminess, and mustard brings a subtle tang that brightens the flavor. Here’s the rundown:
- Large Eggs (6): Hard-boiled and peeled. Fresh eggs work best, but slightly older eggs peel easier.
- Mayonnaise (3 tablespoons): I recommend Hellmann’s or Duke’s for their classic creaminess and flavor.
- Yellow Mustard (1 teaspoon): Adds that signature tang; Dijon works too if you want a bit more depth.
- White Vinegar (1 teaspoon): Balances the richness and brightens the filling.
- Salt (¼ teaspoon): Enhances all the flavors without overpowering.
- Ground Black Pepper (a pinch): Freshly ground preferred for a gentle kick.
- Paprika (for garnish): Smoked or sweet, sprinkled on top for color and mild flavor.
That’s it—just five main ingredients, plus the paprika for that classic look. If you want to tweak it, feel free to swap the yellow mustard for spicy brown if you like a little heat or use a dairy-free mayo for dietary needs. But honestly, the simplicity here is the charm. No need for fancy extras.
Equipment Needed
- Medium saucepan for boiling eggs — A heavy-bottomed pan helps prevent cracking.
- Slotted spoon — For easy removal of eggs from hot water without damage.
- Bowl of ice water — To shock eggs after boiling, making peeling easier.
- Mixing bowl — For mashing yolks and mixing the filling.
- Fork or potato masher — To mash the yolks smoothly.
- Small spoon or piping bag — For filling the egg whites neatly (I personally like using a piping bag for that professional touch, but a spoon works just fine!).
- Paper towels — To dry eggs after peeling.
If you don’t have a piping bag, a plastic sandwich bag with the corner snipped off works well in a pinch. And honestly, peeling eggs can be tricky—using older eggs and an ice bath really helps keep the shells from sticking. I’ve learned that the hard way more times than I want to admit!
Preparation Method
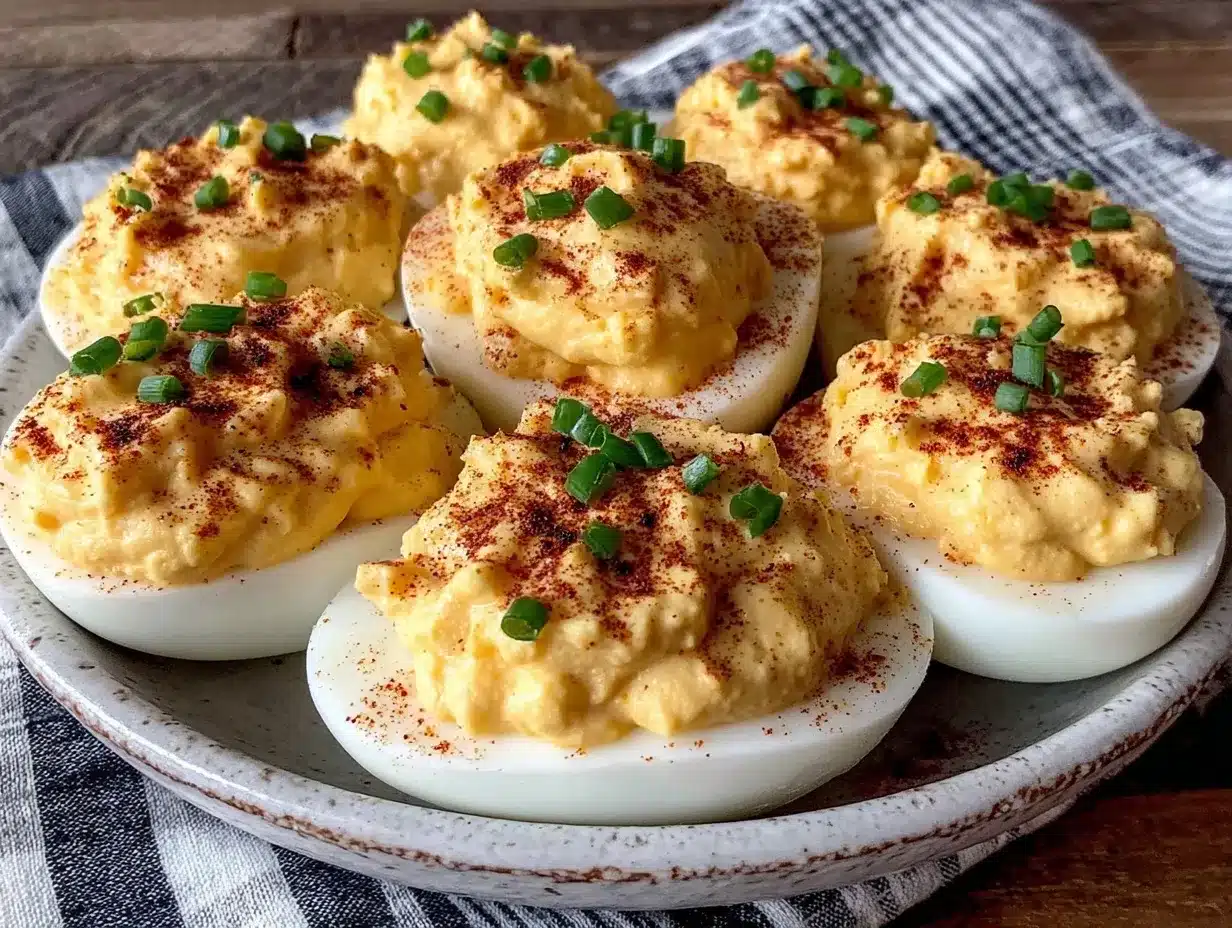
- Boil the Eggs (12-14 minutes): Place 6 large eggs in a single layer in your saucepan. Cover with cold water about an inch above the eggs. Bring to a rolling boil over medium-high heat. Once boiling, cover the pan, remove from heat, and let sit for 12 minutes. This gentle steaming method avoids overcooking and green rings around yolks.
- Shock in Ice Water (5 minutes): Immediately transfer eggs to a bowl of ice water to stop cooking. Let them cool completely—this makes peeling way easier and keeps the whites firm.
- Peel the Eggs: Gently tap eggs on a hard surface to crack shells, then peel under running water to wash away small shell bits. Pat dry with paper towels.
- Slice and Remove Yolks: Slice eggs in half lengthwise using a sharp knife. Carefully scoop out the yolks into your mixing bowl. Arrange the whites on a serving plate, ready for filling.
- Make the Filling (5 minutes): Mash the yolks with a fork or potato masher until crumbly. Add 3 tablespoons mayonnaise, 1 teaspoon yellow mustard, 1 teaspoon white vinegar, ¼ teaspoon salt, and a pinch of black pepper. Mix until smooth and creamy. Taste and adjust seasoning if needed.
- Fill the Egg Whites: Spoon or pipe the creamy yolk mixture back into the egg white halves. For a neat presentation, a piping bag with a star tip works wonders; otherwise, a small spoon is totally fine.
- Garnish and Chill: Lightly sprinkle paprika over the filled eggs for that classic look and a subtle smoky kick. Cover and refrigerate for at least 30 minutes to let flavors meld and serve chilled.
Pro tip: If your filling feels too thick, add a tiny splash of milk or extra mayo to loosen it up. And don’t skip chilling—it really helps the flavors settle. Oh, and if you forget to set a timer like I did once, just keep an eye out for that perfect texture: firm whites with creamy, smooth yolks.
Cooking Tips & Techniques
Making classic creamy old-fashioned deviled eggs look effortless is all about a few little tricks I’ve picked up over time. First, when boiling eggs, starting with cold water and then letting them sit covered after boiling prevents cracked shells and that dreaded greenish-gray yolk rim. Trust me, no one wants that!
Peeling can be a pain, so always use eggs that are at least a week old. Fresh eggs stick to their shells more stubbornly. Shocking them in ice water right after boiling? Game changer. It stops the cooking immediately and loosens the membrane.
For the filling, don’t rush the mashing process—getting the yolks super smooth before adding mayo and mustard makes a huge difference. I like to use a fork and really work the mixture until it’s silky. If you want a fancier look, piping the filling not only looks beautiful but controls portion size perfectly.
One common mistake is overloading the filling with too many extras, which can mask the classic flavor. Less is more here. Also, taste as you go. You might find you want a touch more vinegar or mustard depending on your mayo’s tanginess.
When serving, keep the eggs chilled until just before guests arrive. They hold up well in the fridge for a day or two but don’t leave them out too long. And multitasking tip? Boil your eggs while prepping other dishes for your party. Efficient and satisfying.
Variations & Adaptations
While this recipe is beautifully classic, I’ve tried a few variations that might suit your taste or dietary needs. For a little smoky twist, adding a bit of finely chopped crispy bacon into the filling is a personal favorite. It adds crunch and a savory punch.
If you prefer a lighter version, swapping half the mayonnaise for Greek yogurt gives you creaminess with less fat and a nice tang. For a dairy-free option, use a plant-based mayo like Vegenaise.
Want to spice things up? Try mixing in a dash of hot sauce or cayenne pepper to the filling. It wakes up the flavors without overpowering the classic profile.
Seasonal adaptation: In spring, I sometimes add finely chopped fresh herbs like dill or chives to brighten the filling. It feels fresh and slightly different while keeping the creamy texture intact.
Lastly, for a deviled egg “salad” twist, chop the eggs after filling and serve on crackers or toast with a sprinkle of paprika. One of my friends suggested this once, and it became a quick party hit!
Serving & Storage Suggestions
Serve these classic creamy old-fashioned deviled eggs chilled, straight from the fridge, for the best texture and flavor. They look great arranged on a decorative platter with a sprinkle of paprika or fresh herbs on top. Pair them with crisp celery sticks, pickles, or a light salad to balance the richness.
They’re perfect as finger food for brunch, potlucks, or holiday spreads. I often serve them alongside dishes like crispy garlic chicken, which complements their mild creaminess nicely.
Store leftover deviled eggs in an airtight container in the refrigerator for up to 48 hours. Avoid freezing, as the texture of the egg whites and filling changes unpleasantly. When reheating is needed (though I recommend eating chilled), let them sit at room temperature for about 10 minutes; microwaving isn’t ideal here.
Interestingly, the flavors actually deepen if you prepare the filling a few hours ahead and fill the eggs just before serving. Patience pays off!
Nutritional Information & Benefits
Each serving of classic creamy old-fashioned deviled eggs (about 2 halves) contains approximately:
| Calories | 140 |
|---|---|
| Protein | 6g |
| Fat | 12g |
| Carbohydrates | 1g |
Eggs are a fantastic source of high-quality protein and essential nutrients like vitamin B12 and choline, which are great for brain health. The mayonnaise adds a dose of healthy fats, especially if you choose olive oil-based mayo. This recipe is naturally gluten-free and low in carbs, making it suitable for many eating plans.
From a wellness perspective, I appreciate how this recipe balances indulgence with simplicity. It’s satisfying without being heavy, and the portion size helps keep things in check. Just be mindful of salt content if you’re watching sodium intake.
Conclusion
Classic creamy old-fashioned deviled eggs are one of those recipes you can always count on to bring smiles to the table. They’re easy, reliable, and have that nostalgic charm that never gets old. Whether you’re new to making deviled eggs or a seasoned pro, this 5-ingredient tutorial keeps things simple and delicious.
Feel free to customize the filling to suit your taste, but don’t stray too far—sometimes the classics are classics for a reason. I love this recipe because it reminds me of quiet nights, family gatherings, and those unexpected moments when simple food feels like a warm hug.
If you try it out, please share your thoughts or any twists you discover—I’m always excited to hear how others make this recipe their own! Happy cooking and enjoy every creamy bite.
Frequently Asked Questions About Classic Creamy Old-Fashioned Deviled Eggs
How do I peel hard-boiled eggs easily for deviled eggs?
Use eggs that are at least a week old and shock them in ice water right after boiling. This helps loosen the shell and membrane, making peeling smoother.
Can I prepare deviled eggs a day in advance?
Yes! Prepare the filling ahead and fill the egg whites just before serving, or fill them and store covered in the fridge for up to 24 hours.
What if I don’t have a piping bag to fill the eggs?
No worries! Use a small spoon to dollop the filling or a plastic sandwich bag with a tiny corner cut off for a simple DIY piping bag.
Can I make deviled eggs without mayonnaise?
Yes, you can substitute mayonnaise with Greek yogurt or dairy-free mayo for different flavor profiles or dietary needs.
Why do my deviled egg yolks sometimes taste chalky?
This usually happens if the eggs are overcooked. Use the gentle steaming method described to avoid overcooking and get a creamy, smooth yolk texture.
Pin This Recipe!
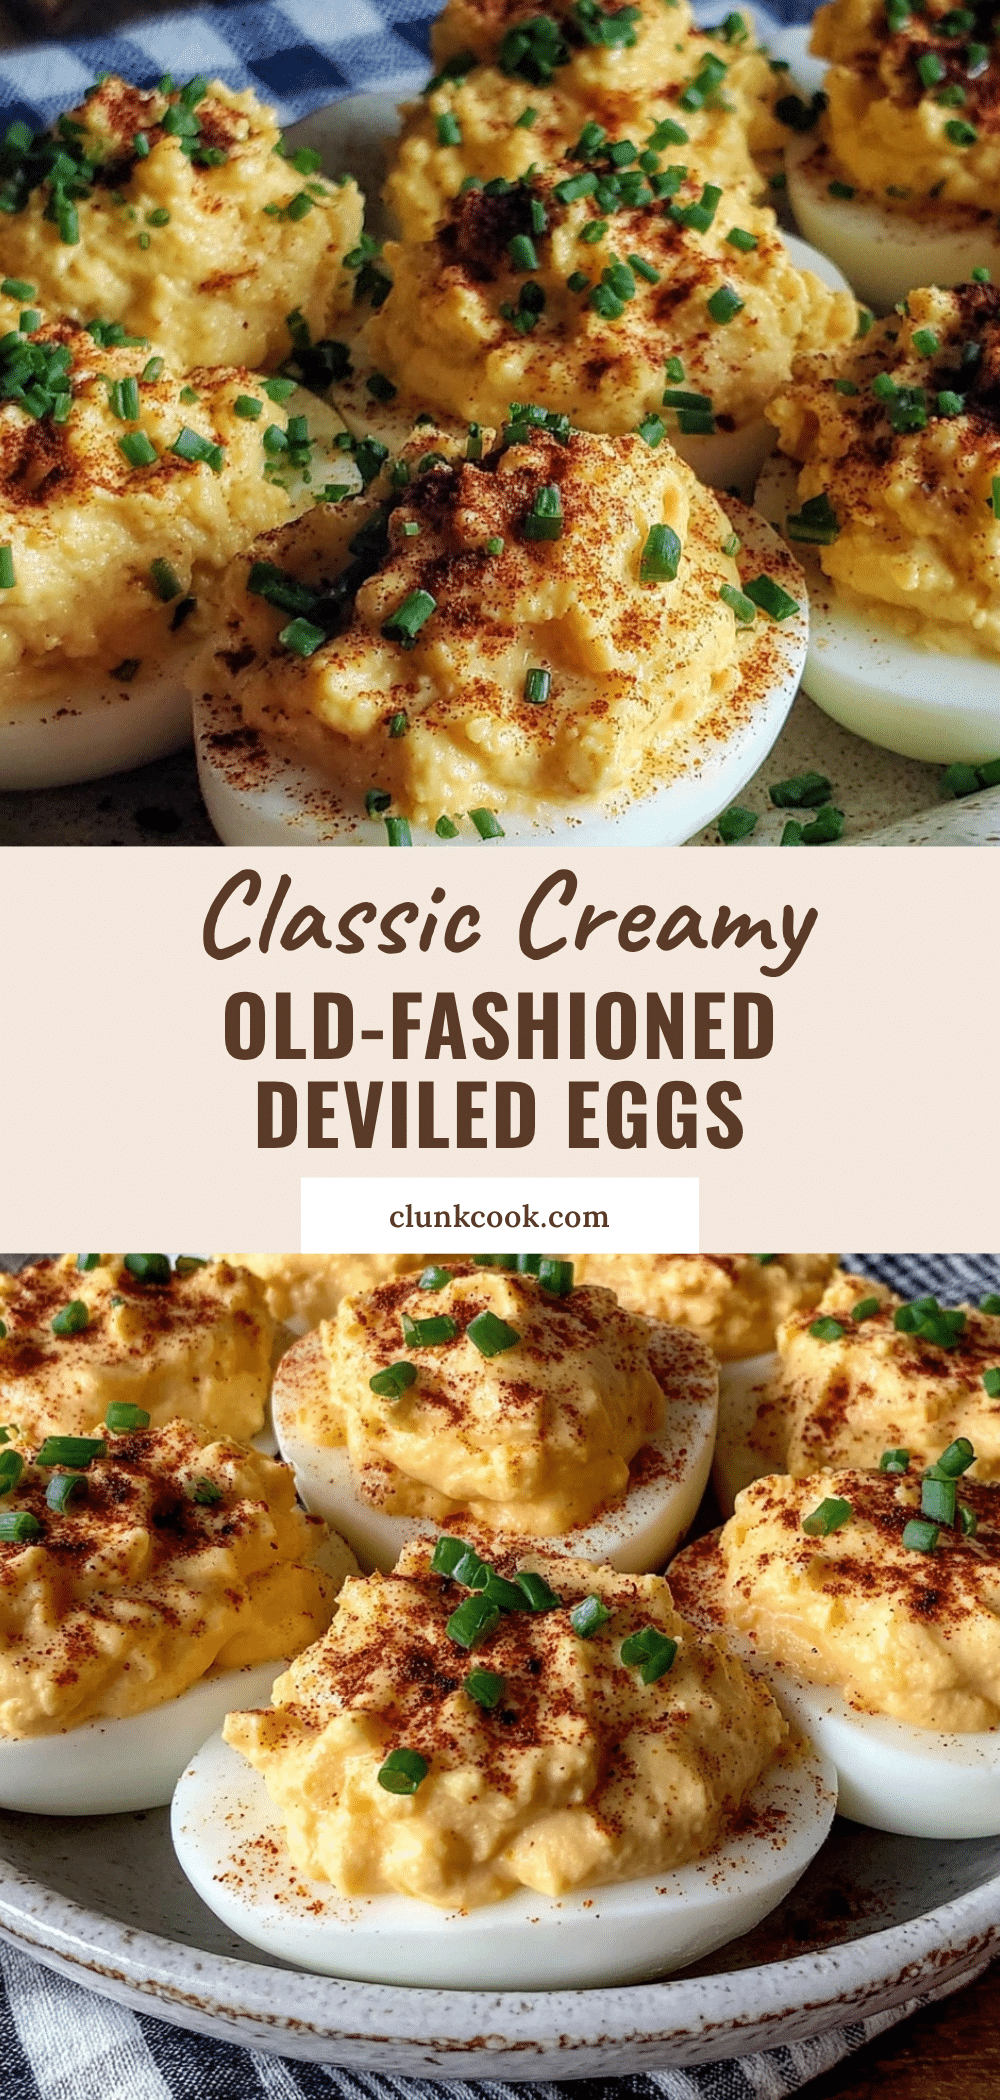
Classic Creamy Old-Fashioned Deviled Eggs

A nostalgic and simple recipe for creamy old-fashioned deviled eggs made with just five basic ingredients, perfect for potlucks, holiday spreads, or a quick snack.
- Prep Time: 10 minutes
- Cook Time: 14 minutes
- Total Time: 34 minutes
- Yield: 12 deviled egg halves (6 eggs) 1x
- Category: Appetizer
- Cuisine: American
Ingredients
- 6 large eggs, hard-boiled and peeled
- 3 tablespoons mayonnaise (Hellmann’s or Duke’s recommended)
- 1 teaspoon yellow mustard (Dijon optional)
- 1 teaspoon white vinegar
- ¼ teaspoon salt
- Pinch of freshly ground black pepper
- Paprika for garnish (smoked or sweet)
Instructions
- Place 6 large eggs in a single layer in a medium saucepan. Cover with cold water about 1 inch above the eggs.
- Bring to a rolling boil over medium-high heat. Once boiling, cover the pan, remove from heat, and let sit for 12 minutes.
- Immediately transfer eggs to a bowl of ice water and let cool completely for about 5 minutes.
- Gently tap eggs on a hard surface to crack shells, then peel under running water. Pat dry with paper towels.
- Slice eggs in half lengthwise and carefully scoop out yolks into a mixing bowl. Arrange whites on a serving plate.
- Mash yolks with a fork or potato masher until crumbly. Add mayonnaise, yellow mustard, white vinegar, salt, and black pepper. Mix until smooth and creamy. Adjust seasoning if needed.
- Spoon or pipe the yolk mixture back into the egg white halves.
- Lightly sprinkle paprika over the filled eggs. Cover and refrigerate for at least 30 minutes before serving chilled.
Notes
Use eggs that are at least a week old for easier peeling. Shock eggs in ice water immediately after boiling to stop cooking and loosen shells. If filling is too thick, add a splash of milk or extra mayo. Chill filled eggs for at least 30 minutes to let flavors meld. Avoid overcooking eggs to prevent chalky yolks. Piping bag is optional but gives a professional look.
Nutrition
- Serving Size: 2 deviled egg halves
- Calories: 140
- Sodium: 150
- Fat: 12
- Saturated Fat: 2
- Carbohydrates: 1
- Protein: 6
Keywords: deviled eggs, classic deviled eggs, creamy deviled eggs, old-fashioned deviled eggs, easy appetizer, 5-ingredient recipe


