Love this? Save it for later!
Share the inspiration with your friends
Introduction
“You know, it was a sweltering July afternoon when I stumbled upon this recipe in the back of an old church cookbook, stained and dog-eared like it had stories to tell. Honestly, I wasn’t expecting much, just a simple dessert to beat the heat. But as I layered those crisp graham crackers with whipped cream and chocolate, something about the process felt like a little trip back in time. My kitchen quickly filled with that nostalgic, sweet aroma that reminded me of summer days where the biggest worry was whether the ice cream truck was still around.”
That cracked ceramic bowl I used wasn’t even mine—I borrowed it from my neighbor, Mrs. Jenkins, who swears this icebox cake has been the star of every potluck since the ’60s. Maybe you’ve been there: searching for a dessert that’s easy, fuss-free, but still brings that warm fuzzy feeling. This Classic Retro Icebox Cake is exactly that. The kind of treat that keeps you coming back for seconds, or thirds, while sitting on the back porch watching the sun dip below the trees.
Let me tell you, this recipe has saved many a last-minute summer gathering for me. It’s so forgiving — even the time I forgot to whip the cream enough, it still turned out delightfully creamy and indulgent. I think that’s why this retro dessert stays with you; it’s simple, comforting, and honestly, a little bit magical.
Why You’ll Love This Recipe
- Quick & Easy: Comes together in under 20 minutes, perfect for those busy summer days or surprise guests.
- Simple Ingredients: Pantry staples like graham crackers, heavy cream, and chocolate create a nostalgic flavor without the hassle.
- Perfect for Summer: Chilled in the fridge, it’s a refreshing cool-down treat for backyard barbecues or lazy afternoons.
- Crowd-Pleaser: Kids and adults alike rave about the creamy layers and chocolatey goodness.
- Unbelievably Delicious: The texture combo of crunchy crackers softened by whipped cream is pure comfort food.
This isn’t just another icebox cake. What sets this one apart is the balance — I use just the right amount of whipped cream, not too much, so the graham crackers don’t get soggy messes but stay delightfully tender. Plus, a sprinkle of quality dark chocolate shavings adds that perfect bittersweet touch. I swear by the rich sweetness of Ghirardelli chocolate chips for the best texture and flavor.
Honestly, this recipe has a way of making you pause and savor that first bite — that moment when creamy meets crumbly, cold meets sweet. It’s like a little celebration of summer, no matter how hot it gets outside.
What Ingredients You Will Need
This recipe calls for straightforward, wholesome ingredients that come together beautifully without any fuss. Most are pantry staples you probably have on hand, which means fewer trips to the store and more time enjoying this nostalgic dessert.
- Graham Crackers: About 2 sleeves (around 8 ounces or 225 grams). I prefer the honey-flavored ones for that classic retro vibe.
- Heavy Whipping Cream: 2 cups (480 ml), chilled – this is key for fluffy, stable whipped cream.
- Powdered Sugar: 1/2 cup (60 grams), sifted – to sweeten the whipped cream without graininess.
- Vanilla Extract: 1 teaspoon, pure – adds depth to the cream’s flavor.
- Dark Chocolate: 4 ounces (115 grams), finely chopped or shaved. I recommend Ghirardelli or Lindt for a smooth, rich finish.
- Optional: A pinch of salt in the whipped cream to enhance flavor balance.
If you want a lighter version, you can swap the heavy cream with full-fat coconut cream or a mix of Greek yogurt and cream cheese, but I’ll admit, it won’t be quite as classic. For gluten-free options, there are gluten-free graham crackers available that work just as well.
Equipment Needed
- Mixing Bowl: A large, chilled bowl is best for whipping cream; metal bowls work great to keep the cream cold.
- Electric Mixer or Stand Mixer: Whipping cream by hand is doable but takes a while. An electric mixer is a game-changer.
- Spatula: For folding ingredients and layering the cake without deflating the cream.
- Baking Dish or Loaf Pan: About 9×5 inches (23×13 cm) works well for layering the cake.
- Grater or Vegetable Peeler: For shaving the chocolate if you want those pretty curls on top.
If you don’t have a stand mixer, a handheld one works fine. I once made this cake using a whisk during a power outage (not recommended but hey, it can be done!). For budget-conscious cooks, a simple glass loaf pan and a sturdy balloon whisk will do just fine.
Preparation Method
- Chill Your Equipment: Place your mixing bowl and beaters in the fridge for about 15 minutes before starting. Cold equipment helps the cream whip faster and hold its shape.
- Whip the Cream: Pour 2 cups (480 ml) of heavy cream into the chilled bowl. Beat on medium-high speed until it begins to thicken (about 2 minutes), then add 1/2 cup (60 grams) powdered sugar, 1 teaspoon vanilla extract, and a pinch of salt. Continue whipping until soft peaks form – you want it to hold shape but still be smooth (roughly 3-4 minutes total). Be careful not to overbeat or it will become grainy and start turning into butter.
- Prepare the Chocolate: Using a grater or vegetable peeler, shave or finely chop 4 ounces (115 grams) of dark chocolate. Set aside a small handful for garnish.
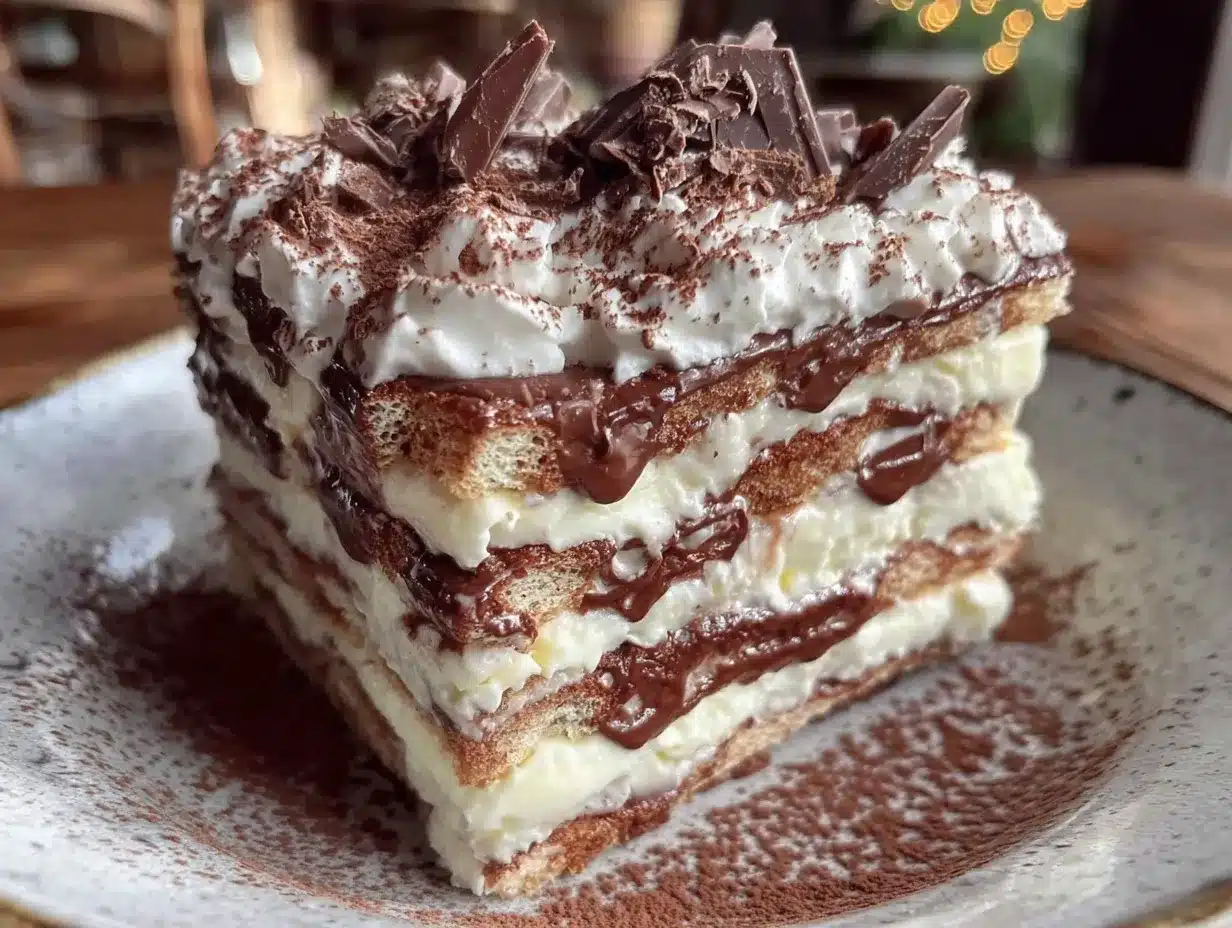
- Layer the Cake: In your 9×5-inch (23×13 cm) pan, spread a thin layer of whipped cream on the bottom. Arrange a single layer of graham crackers (about 6-8 crackers depending on size) over the cream, breaking to fit as needed. Spread a generous layer of whipped cream over the crackers (about 1/3 of the total cream), then sprinkle some chocolate shavings evenly on top. Repeat layering twice more, finishing with a final layer of whipped cream and the remaining chocolate on top.
- Chill Overnight: Cover the dish with plastic wrap and refrigerate for at least 8 hours, preferably overnight. This rest time lets the graham crackers soften to cake-like perfection as they absorb moisture from the whipped cream.
A quick tip: If your graham crackers are too large, gently break them into smaller pieces so they fit snugly in the pan. Also, resist the urge to dig in early — the chilling step is what really makes this dessert sing.
Cooking Tips & Techniques
Whipping cream sounds simple, but there are a few tricks to getting it just right. First, always start with cold cream and cold equipment. It whips faster and holds better. When adding powdered sugar, sift it beforehand to avoid lumps.
Don’t overbeat the cream! Stop whipping as soon as soft peaks form. You want it light and smooth, not grainy or butter-like. If that happens, you can sometimes rescue it by adding a little more fresh cream and gently folding it in.
Layering is key here. Spread the cream evenly but not too thin. If it’s too thin, the graham crackers won’t soften properly; too thick and you’ll end up with a mushy dessert. A nice balance gives you that classic texture contrast.
Another thing I learned the hard way: don’t skip the chilling time. It’s tempting to cut into it right away, but the overnight rest is where the magic happens. The crackers absorb moisture, turning soft without losing their shape.
When shaving chocolate, use a fresh bar and a sharp peeler. Dull tools can crush the chocolate instead of creating pretty curls. And if you’re short on time, dark chocolate chips can be sprinkled on top as a quick alternative.
Variations & Adaptations
- Berry Layered Icebox Cake: Add a layer of fresh sliced strawberries or raspberries between the cream and crackers for a fruity twist that brightens the dessert.
- Peanut Butter Chocolate: Swirl a couple of tablespoons of creamy peanut butter into the whipped cream before layering for a rich, nutty variation.
- Vegan Version: Use coconut whipped cream and gluten-free graham crackers to make this dessert friendly for plant-based diets.
For a different twist, I’ve tried swapping the graham crackers with thin ladyfingers — it’s less crunchy but offers a delicate texture reminiscent of tiramisu. Also, if you don’t have time to chill overnight, at least 4 hours will soften the layers nicely, though patience always pays off.
Serving & Storage Suggestions
This icebox cake is best served chilled straight from the refrigerator. Slice it with a sharp knife dipped in hot water for clean edges. It pairs wonderfully with a cup of strong coffee or a glass of cold milk on a warm afternoon.
Leftovers can be stored covered in the refrigerator for up to 3 days. The flavors deepen over time, but the texture may become softer. Avoid freezing as the whipped cream can separate and become watery when thawed.
If you want to prep in advance for a gathering, assemble the cake the day before. The next day, add a few fresh chocolate shavings or berries on top before serving for a fresh look.
Nutritional Information & Benefits
Per serving (assuming 8 servings): approximately 320 calories, 22g fat, 25g carbs, 4g protein. This dessert is indulgent but made with real ingredients—no artificial preservatives or additives.
Heavy cream provides a good source of vitamin A and calcium. Using dark chocolate adds antioxidants, which are a nice bonus. For those watching carbs, swapping graham crackers for almond flour crackers can reduce the carb load.
While this isn’t a low-calorie dessert, it’s a satisfying occasional treat that brings smiles and memories, which, let’s face it, counts for something in the wellness department.
Conclusion
If you’re after a dessert that’s simple, satisfying, and full of nostalgic charm, this Classic Retro Icebox Cake is your answer. It’s the kind of recipe you’ll want to make again and again, whether it’s a weekday craving or a weekend celebration.
Feel free to tweak it with your favorite add-ins or adapt it for dietary needs—this cake is forgiving and welcoming like an old friend. I keep coming back to it because it reminds me of slower summer days and the joy of sharing something sweet without fuss.
Go ahead, give it a try, and let me know how your version turned out. I’d love to hear your stories and any creative spins you put on this timeless classic!
FAQs
Can I use a different type of cookie instead of graham crackers?
Yes! Ladyfingers, digestive biscuits, or gluten-free crackers can work well. Just keep in mind the texture and sweetness may vary.
How long can I store the icebox cake in the fridge?
It stays fresh for up to 3 days when covered tightly. The texture softens over time but remains delicious.
Is it possible to make this cake ahead of time?
Absolutely. In fact, chilling it overnight is recommended for the best texture and flavor melding.
Can I freeze the icebox cake?
Freezing isn’t ideal as the whipped cream can separate and become watery once thawed.
What can I use if I don’t have heavy cream?
You can try full-fat coconut cream for a dairy-free alternative, though the texture and flavor will be slightly different.
If you liked this nostalgic treat, you might enjoy the rich and crispy delight of crispy garlic chicken for your next savory meal or the refreshing twist of a lemon mint iced tea to pair with your summer desserts.
Pin This Recipe!
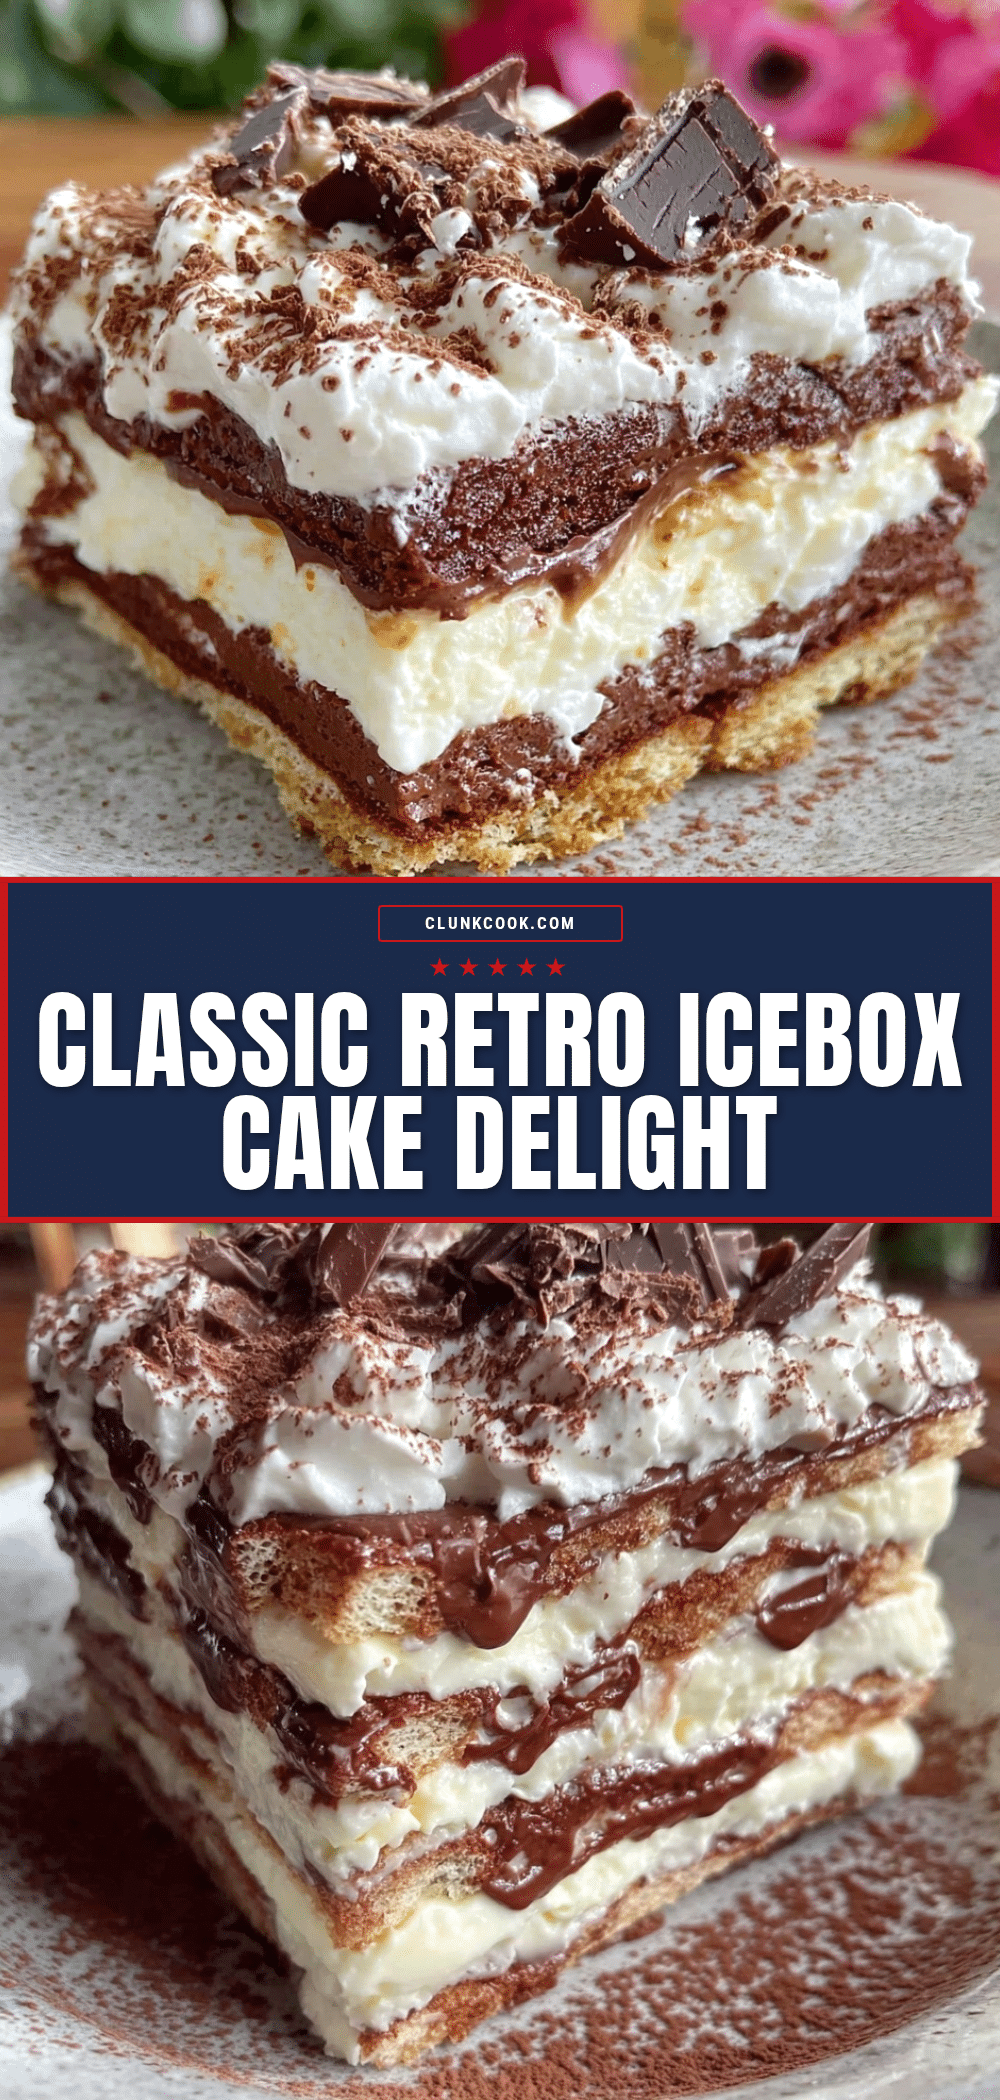
Classic Retro Icebox Cake
A nostalgic, easy-to-make summer dessert featuring layers of graham crackers, whipped cream, and dark chocolate that softens overnight into a creamy, cake-like treat.
- Prep Time: 15 minutes
- Cook Time: 0 minutes
- Total Time: 8 hours 15 minutes
- Yield: 8 servings 1x
- Category: Dessert
- Cuisine: American
Ingredients
- 2 sleeves (about 8 ounces or 225 grams) graham crackers, preferably honey-flavored
- 2 cups (480 ml) heavy whipping cream, chilled
- 1/2 cup (60 grams) powdered sugar, sifted
- 1 teaspoon pure vanilla extract
- 4 ounces (115 grams) dark chocolate, finely chopped or shaved (Ghirardelli or Lindt recommended)
- Pinch of salt (optional)
Instructions
- Chill your mixing bowl and beaters in the refrigerator for about 15 minutes before starting.
- Pour 2 cups of heavy cream into the chilled bowl. Beat on medium-high speed until it begins to thicken (about 2 minutes).
- Add 1/2 cup powdered sugar, 1 teaspoon vanilla extract, and a pinch of salt. Continue whipping until soft peaks form, about 3-4 minutes total. Avoid overbeating.
- Using a grater or vegetable peeler, shave or finely chop 4 ounces of dark chocolate. Set aside a small handful for garnish.
- In a 9×5-inch (23×13 cm) pan, spread a thin layer of whipped cream on the bottom.
- Arrange a single layer of graham crackers (about 6-8 crackers depending on size) over the cream, breaking to fit as needed.
- Spread a generous layer of whipped cream (about one-third of the total cream) over the crackers, then sprinkle some chocolate shavings evenly on top.
- Repeat layering twice more, finishing with a final layer of whipped cream and the remaining chocolate on top.
- Cover the dish with plastic wrap and refrigerate for at least 8 hours, preferably overnight, to allow the graham crackers to soften.
Notes
Use cold cream and chilled equipment for best whipping results. Do not overbeat the cream to avoid turning it into butter. Break graham crackers gently to fit the pan snugly. Chill overnight for best texture. Use dark chocolate chips as a quick alternative to shaved chocolate. For gluten-free, use gluten-free graham crackers. For a lighter or vegan version, substitute heavy cream with coconut cream or a mix of Greek yogurt and cream cheese.
Nutrition
- Serving Size: 1 slice (1/8 of cake
- Calories: 320
- Sugar: 15
- Sodium: 150
- Fat: 22
- Saturated Fat: 14
- Carbohydrates: 25
- Fiber: 2
- Protein: 4
Keywords: icebox cake, retro dessert, graham crackers, whipped cream, chocolate, summer dessert, easy dessert, no bake


