Love this? Save it for later!
Share the inspiration with your friends
Introduction
My neighbor watched me wrestle with my old ice cream maker on a sweltering Saturday afternoon and didn’t say anything at first. Then, between gentle sips of her iced tea, she casually mentioned how she’d just roast strawberries to bring out their sweetness before mixing them into whipped cream. Honestly, I wasn’t sure how roasting berries and skipping the whole churning process could lead to anything close to real ice cream, but I was intrigued. The next day, I found myself pulling a cracked ceramic bowl from my cabinet and pulling out a tray of fresh strawberries from the market, thinking, “Why not?” You know that feeling when you’re halfway through a recipe and realize you forgot the sugar? Yeah, that happened, and yet the creamy no-churn roasted strawberry ice cream still came together beautifully.
That recipe, shared without fuss or fanfare, became part of my summer ritual. It’s not fancy or complicated, but that warm, slightly caramelized strawberry flavor swirled through the luscious cream is unforgettable. I keep coming back to it because it feels like a quiet celebration of simple moments—like chatting over a kitchen counter or savoring the first taste of summer fruit in a cool, dreamy dessert. Maybe you’ve been there too—searching for an easy homemade dessert that feels special but doesn’t require half your day in the kitchen. This creamy no-churn roasted strawberry ice cream recipe is exactly that, and I’m glad to share it with you.
Why You’ll Love This Recipe
This creamy no-churn roasted strawberry ice cream recipe quickly became a favorite for many reasons. After testing it through several summers, I can confidently say it’s a dessert that delivers on both ease and flavor. Here’s why it stands out:
- Quick & Easy: You can have this delicious ice cream ready in under 4 hours, mostly hands-off, perfect for last-minute entertaining or a spontaneous treat.
- Simple Ingredients: No need for fancy or hard-to-find items—just strawberries, cream, condensed milk, and a touch of vanilla. I usually recommend organic strawberries from local farmers markets when possible, but store-bought works fine too.
- Perfect for Summer Evenings: Whether it’s a casual backyard barbecue or a quiet night after work, this ice cream fits right in—cool, refreshing, and indulgent without being overly sweet.
- Crowd-Pleaser: Kids love it, adults ask for seconds, and it’s a guaranteed winner at potlucks or family dinners.
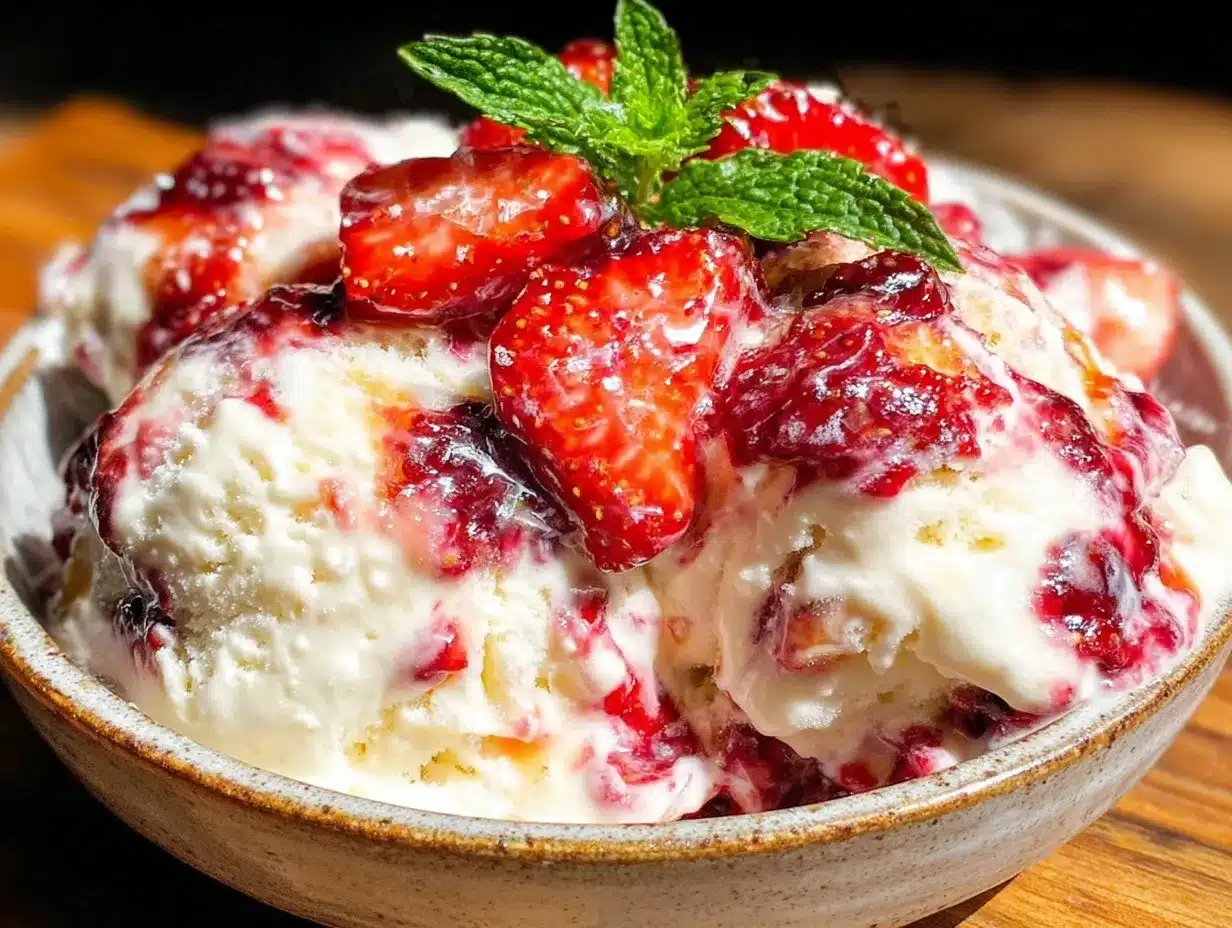
- Unbelievably Delicious: Roasting the strawberries brings out a deep, jammy flavor that blends beautifully with the creamy texture—this isn’t your average strawberry ice cream.
What makes this recipe different? Well, the magic is in roasting the strawberries first. This simple step caramelizes their natural sugars and adds a subtle smoky depth that balances the creaminess. Plus, skipping the ice cream maker means you don’t have to fuss with complicated equipment or wait forever for the mix to freeze. Honestly, it’s the kind of recipe that makes you close your eyes after the first bite and smile. I keep coming back to it because it’s comfort food in a bowl—simple, nostalgic, and just a little bit special.
What Ingredients You Will Need
This recipe uses straightforward, wholesome ingredients that work together to create bold flavor and a satisfyingly creamy texture without any fuss. Most of these are pantry staples or easy to find during strawberry season.
- For the Roasted Strawberries:
- Fresh strawberries, hulled and halved (about 1 ½ pounds / 680 grams) – ripe but firm, ideally from your local market
- Granulated sugar (2 tablespoons / 25 grams) – helps caramelize and sweeten the berries
- Fresh lemon juice (1 tablespoon / 15 ml) – brightens the flavor and balances sweetness
- For the Ice Cream Base:
- Heavy whipping cream (2 cups / 480 ml) – chilled, for that rich creaminess (I like using Organic Valley for the best texture)
- Sweetened condensed milk (1 can, 14 oz / 396 grams) – adds sweetness and a luscious smoothness
- Pure vanilla extract (1 teaspoon / 5 ml) – for warmth and depth
If you want to switch things up, feel free to substitute coconut cream for heavy cream for a dairy-free version, or use a sugar substitute in the roasted strawberries for a lower-sugar twist. Just remember, the roasting process really brings out the flavor, so don’t skip it!
Equipment Needed
- Baking sheet – for roasting the strawberries; a rimmed one works best to catch any juices.
- Mixing bowls – large enough to whip the cream and combine ingredients comfortably. Glass or metal bowls chill better.
- Electric mixer or hand whisk – whipping the cream gets much easier with an electric mixer, but a strong arm works too!
- Spatula – for folding the roasted strawberries into the cream base gently.
- Freezer-safe container – a loaf pan or plastic container with a lid works great for freezing the ice cream evenly.
If you don’t have an electric mixer, a chilled metal bowl and some muscle can still do the trick. Also, using a silicone spatula helps scrape the sides cleanly without losing any of that precious strawberry cream.
Preparation Method
- Preheat your oven to 400°F (200°C). Line a baking sheet with parchment paper to prevent sticking and easy cleanup. This step takes about 5 minutes.
- Prepare the strawberries: Toss the hulled and halved strawberries with granulated sugar and fresh lemon juice. Spread them evenly on the baking sheet so they roast uniformly. Roasting takes around 20–25 minutes; you want the berries to soften and start caramelizing without turning mushy.
- Remove the strawberries from the oven: Let them cool completely in the pan because adding hot berries to the cream would melt it and ruin the texture. This cooling step usually takes 30 minutes; if you’re impatient like me, a quick chill in the fridge speeds things up.
- While the strawberries cool, whip the cream: Pour the chilled heavy cream into a large bowl and whip on medium-high speed until medium-stiff peaks form—about 3-5 minutes. Don’t overwhip, or it will turn into butter. You’ll know it’s ready when the cream holds soft peaks that gently fold over.
- Fold in the sweetened condensed milk and vanilla: Gently combine the whipped cream with the condensed milk and vanilla extract using a spatula. Fold carefully to keep the mixture light and airy.
- Add the cooled roasted strawberries: Spoon the berries and their juices into the cream mixture, folding gently but thoroughly so the roasted strawberry flavor is marbled throughout the ice cream base.
- Transfer to a freezer-safe container: Spread the mixture evenly and press a piece of parchment paper directly on the surface to prevent ice crystals. Cover with a lid or plastic wrap.
- Freeze: Place in the freezer for at least 4 hours, ideally overnight, until firm but scoopable. If the ice cream becomes too hard, let it sit at room temperature for 5-10 minutes before serving.
Tip: If you find the strawberries release too much juice during roasting, drain a bit before folding them in to avoid a watery texture. Also, stirring the ice cream once or twice during freezing (if you remember!) creates a creamier texture, but it’s not necessary.
Cooking Tips & Techniques
The key to this creamy no-churn roasted strawberry ice cream recipe is patience and gentle handling. Roasting the strawberries slowly caramelizes their sugars, developing a flavor that fresh berries just can’t match. Don’t rush this step—oven temperature and timing matter a lot here.
Whipping the cream is another critical step. I once whipped too long and ended up with butter—not ideal! Stop whipping as soon as you see soft peaks that hold but still fold easily. Folding in the condensed milk and strawberries gently keeps the texture light, so no vigorous stirring.
Also, freezing this ice cream uncovered can cause ice crystals to form. Pressing parchment paper on the surface before covering helps avoid that pesky freezer burn. If you want to get fancy, stirring the ice cream once an hour during the first 2-3 hours of freezing can make it extra smooth, but honestly, the recipe works well without it.
Lastly, timing your prep so the roasted strawberries have enough time to cool is crucial—adding warm berries will melt the whipped cream and ruin texture. Maybe you’ve been there, rushing through steps and ending up with a sad, soupy mess. Trust me, letting things cool and fold gently is worth it!
Variations & Adaptations
This recipe is pretty forgiving and lends itself well to some tasty tweaks. Here are a few ways I’ve played with it:
- Dairy-Free Version: Substitute coconut cream for the heavy cream and use sweetened condensed coconut milk. Roasted strawberries stay the same, and you get a rich, tropical twist.
- Flavor Boost: Add a tablespoon of balsamic vinegar to the strawberries before roasting for a tangy depth that surprises everyone.
- Chocolate Swirl: Fold in some melted dark chocolate or chocolate chips with the strawberries for a delightful contrast.
- Seasonal Swap: In fall, swap roasted strawberries with roasted peaches or plums for a cozy twist.
- Less Sweet: Use unsweetened condensed milk and add honey or maple syrup to taste for a more natural sweetness.
One of my favorite tweaks was blending half the roasted strawberries into a puree before folding, creating a beautiful pink swirl with chunks of berries for texture. It felt fancy but was honestly super easy.
Serving & Storage Suggestions
This ice cream is best served straight from the freezer after sitting at room temperature for about 5 minutes to soften slightly. Scoop into pretty bowls or cones for that homemade charm. The roasted strawberry flavor pairs wonderfully with fresh mint leaves or a drizzle of balsamic glaze if you’re feeling adventurous.
For a full dessert experience, try serving alongside a warm brownie or a slice of pound cake, like I do sometimes when friends drop by unexpectedly. It’s a combo that somehow feels both indulgent and refreshing.
Store leftovers in an airtight container in the freezer for up to 7 days. The flavor actually deepens after a day or two, but aim to eat it sooner for best texture. When reheating or softening, avoid microwaving—just let it thaw naturally at room temperature for a few minutes.
Nutritional Information & Benefits
This creamy no-churn roasted strawberry ice cream recipe offers a delightful treat with some nutritional perks. Strawberries bring vitamin C, antioxidants, and fiber, while the cream provides calcium and healthy fats that keep you full and satisfied.
Per serving (about ½ cup / 125 ml), expect approximately 250-300 calories, with moderate sugar content mostly from natural and condensed milk sugars. It’s gluten-free and can be adapted for dairy-free diets as mentioned.
Honestly, it feels great to enjoy a dessert that’s homemade and free of artificial additives. I like to think of this recipe as a way to treat myself while still keeping things real and simple.
Conclusion
This creamy no-churn roasted strawberry ice cream recipe is proof that the best desserts don’t have to be complicated or time-consuming. It’s a little bit of magic—roasting the strawberries, folding in the cream, and waiting patiently for the freezer to do its work—that turns simple ingredients into something memorable. I love how adaptable it is, and how it always brings a smile to the table, whether it’s a quiet night or a lively gathering.
Feel free to make it your own, whether that’s adding your favorite mix-ins or swapping ingredients to suit your dietary needs. And please, if you try this recipe, I’d love to hear how you made it yours! Leave a comment or share your favorite twist—I’m always curious.
Here’s to many sweet, creamy moments ahead. Enjoy every spoonful!
FAQs
Can I use frozen strawberries for this recipe?
Yes, but thaw and drain them well before roasting to avoid excess moisture that can make the ice cream icy.
How long can I store this no-churn ice cream?
Store it in an airtight container in the freezer for up to a week. For best texture and flavor, eat within this time frame.
Is there a way to make this recipe with less sugar?
Absolutely! Use unsweetened condensed milk and sweeten the roasted strawberries with honey or a sugar substitute to taste.
Can I prepare the roasted strawberries in advance?
Yes, you can roast the strawberries a day ahead and keep them refrigerated. Just bring them to room temperature before folding into the cream.
What if I don’t have sweetened condensed milk?
You can make a quick homemade version by simmering milk and sugar until thickened, or use a mixture of cream and sugar, but the texture may vary a bit.
For more easy homemade dessert ideas, you might enjoy trying my no-churn mango ice cream recipe or the simple vanilla pudding that pairs beautifully with fresh fruit.
Pin This Recipe!
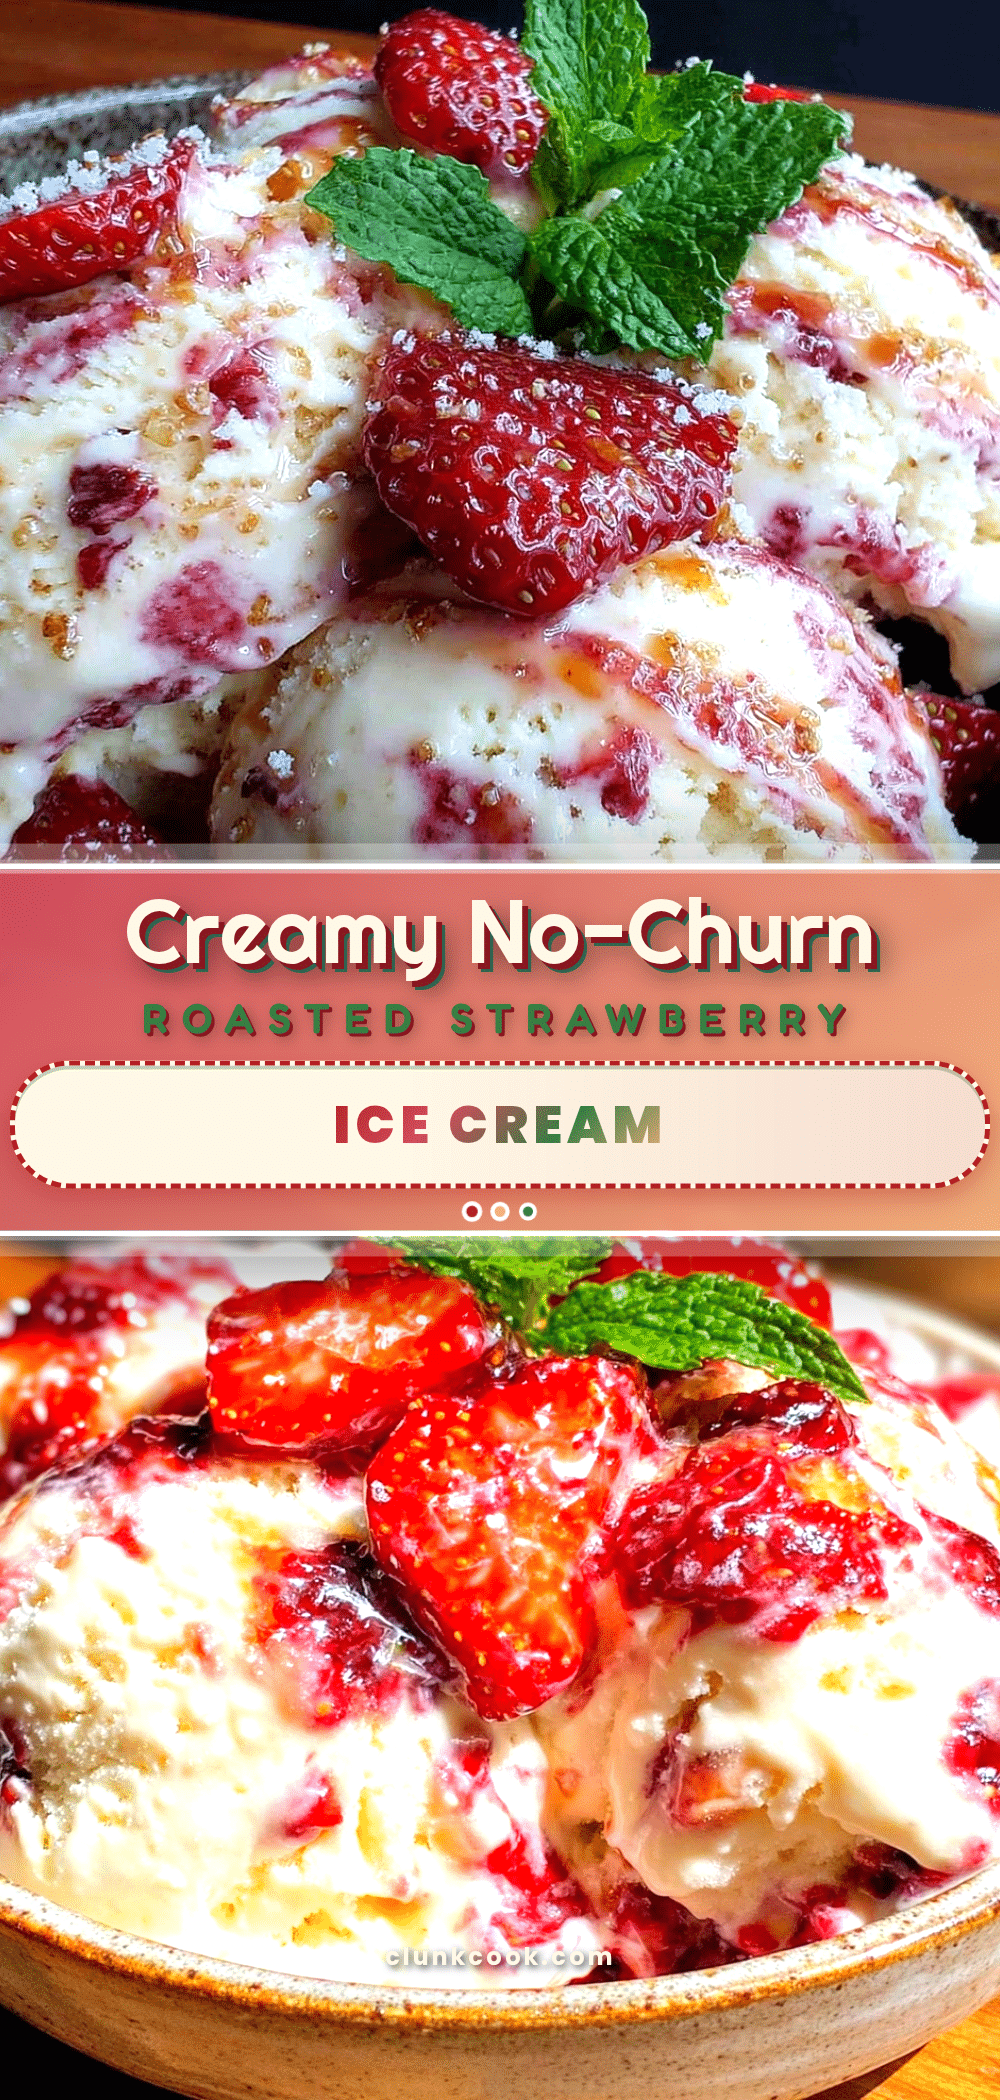
Creamy No-Churn Roasted Strawberry Ice Cream

A simple and delicious no-churn ice cream recipe featuring roasted strawberries that bring out a deep, caramelized flavor, combined with whipped cream and sweetened condensed milk for a creamy homemade dessert.
- Prep Time: 10 minutes
- Cook Time: 25 minutes
- Total Time: 4 hours 35 minutes
- Yield: 6 servings 1x
- Category: Dessert
- Cuisine: American
Ingredients
- 1 ½ pounds fresh strawberries, hulled and halved
- 2 tablespoons granulated sugar
- 1 tablespoon fresh lemon juice
- 2 cups heavy whipping cream, chilled
- 1 can (14 oz) sweetened condensed milk
- 1 teaspoon pure vanilla extract
Instructions
- Preheat your oven to 400°F (200°C). Line a baking sheet with parchment paper.
- Toss the hulled and halved strawberries with granulated sugar and fresh lemon juice. Spread evenly on the baking sheet.
- Roast the strawberries for 20–25 minutes until softened and caramelized but not mushy.
- Remove from oven and let the strawberries cool completely in the pan (about 30 minutes).
- While the strawberries cool, whip the chilled heavy cream on medium-high speed until medium-stiff peaks form (3-5 minutes).
- Gently fold the sweetened condensed milk and vanilla extract into the whipped cream.
- Fold in the cooled roasted strawberries and their juices gently but thoroughly.
- Transfer the mixture to a freezer-safe container, spread evenly, and press parchment paper on the surface to prevent ice crystals. Cover with lid or plastic wrap.
- Freeze for at least 4 hours or overnight until firm but scoopable. Let sit at room temperature for 5-10 minutes before serving if too hard.
Notes
If strawberries release too much juice during roasting, drain some before folding in to avoid watery texture. Press parchment paper on the surface before freezing to prevent ice crystals. Stirring the ice cream once or twice during freezing can create a creamier texture but is optional. Let roasted strawberries cool completely before folding into cream to avoid melting it.
Nutrition
- Serving Size: About ½ cup (125 ml)
- Calories: 275
- Sugar: 24
- Sodium: 55
- Fat: 18
- Saturated Fat: 11
- Carbohydrates: 27
- Fiber: 2
- Protein: 3
Keywords: no-churn ice cream, roasted strawberry ice cream, easy homemade dessert, summer dessert, no ice cream maker, creamy strawberry ice cream


