Love this? Save it for later!
Share the inspiration with your friends
Introduction
There used to be a tiny corner deli tucked just off the bustling streets of Portland’s Alberta neighborhood that made the most unforgettable fresh garlic dill refrigerator pickles. When they shuttered their doors one chilly November evening, it felt like a little piece of my summer lunches went missing too. I mean, I wasn’t just mourning a place—I was mourning those perfectly crisp, garlicky, dill-infused pickles that could turn any sandwich into a masterpiece. After about a dozen attempts, some batch disasters, and a few jars that tasted more like salty sadness than crunchy delight, I finally got it right.
The secret wasn’t just in the garlic or the dill, but the way they combined with just the right splash of vinegar and a pinch of sugar, all soaking gently in the fridge until the flavors sang. Maybe you’ve been there—searching for that exact pickle bite that makes your taste buds do a happy dance. I’m sharing how I recreated those very pickles at home, so you don’t have to hunt for that deli anymore. Honestly, it’s the kind of recipe that sticks with you, the kind that makes you reach for the jar just one more time before dinner, every time.
Why You’ll Love This Recipe
Having tested this fresh garlic dill refrigerator pickles recipe over and over, here’s why it stands out and why it’s become a staple in my kitchen:
- Quick & Easy: Ready in under 24 hours, no canning required, perfect for last-minute pickle cravings.
- Simple Ingredients: Uses straightforward pantry staples plus fresh garlic and dill—you probably already have everything on hand.
- Perfect for Summer Gatherings: Adds a refreshing crunch to barbecues, picnics, and casual dinners.
- Crowd-Pleaser: The balance of tangy, garlicky, and herby notes gets rave reviews from pickle newbies and aficionados alike.
- Unbelievably Delicious: The crispness of the cucumbers paired with fresh dill and garlic creates a flavor combo that’s both nostalgic and exciting.
This recipe isn’t just another pickle jar on your shelf. It’s about that perfect bite where the garlic punches through gently, the dill adds its fragrant charm, and the crunch stays satisfying no matter how long it chills. Plus, it’s fridge-friendly, so you can keep the goodness coming without fuss or fancy equipment. Whether you’re impressing guests at a casual lunch or just jazzing up your sandwich game, these pickles hit the spot every time.
What Ingredients You Will Need
This fresh garlic dill refrigerator pickles recipe relies on a few simple, fresh ingredients that come together to create bold, bright flavors with a satisfying crunch. Most are pantry staples, and the fresh herbs and garlic give it that unmistakable homemade charm.
- Fresh cucumbers (about 2 pounds / 900g) – Kirby or pickling cucumbers work best for their firmness and crunch.
- Fresh dill sprigs (4–5 sprigs) – the star herb, providing that signature flavor.
- Garlic cloves (4–5 cloves, smashed) – adds pungent, aromatic depth.
- White distilled vinegar (1 cup / 240ml) – the acid that pickles and preserves.
- Water (1 cup / 240ml) – balances the vinegar for a mellow tang.
- Pickling salt (1 tablespoon) – or kosher salt without iodine, essential for crispness and flavor.
- Granulated sugar (1 teaspoon) – just a touch to round out the acidity.
- Black peppercorns (1 teaspoon) – for subtle spice.
- Red pepper flakes (optional, 1/4 teaspoon) – if you like a slight kick.
If you want to switch things up, you can swap the white vinegar for apple cider vinegar for a fruitier note, or use sea salt if pickling salt isn’t available (just reduce by a pinch). For a dairy-free, vegan-friendly option, this recipe is naturally compliant since it contains no animal products.
Equipment Needed
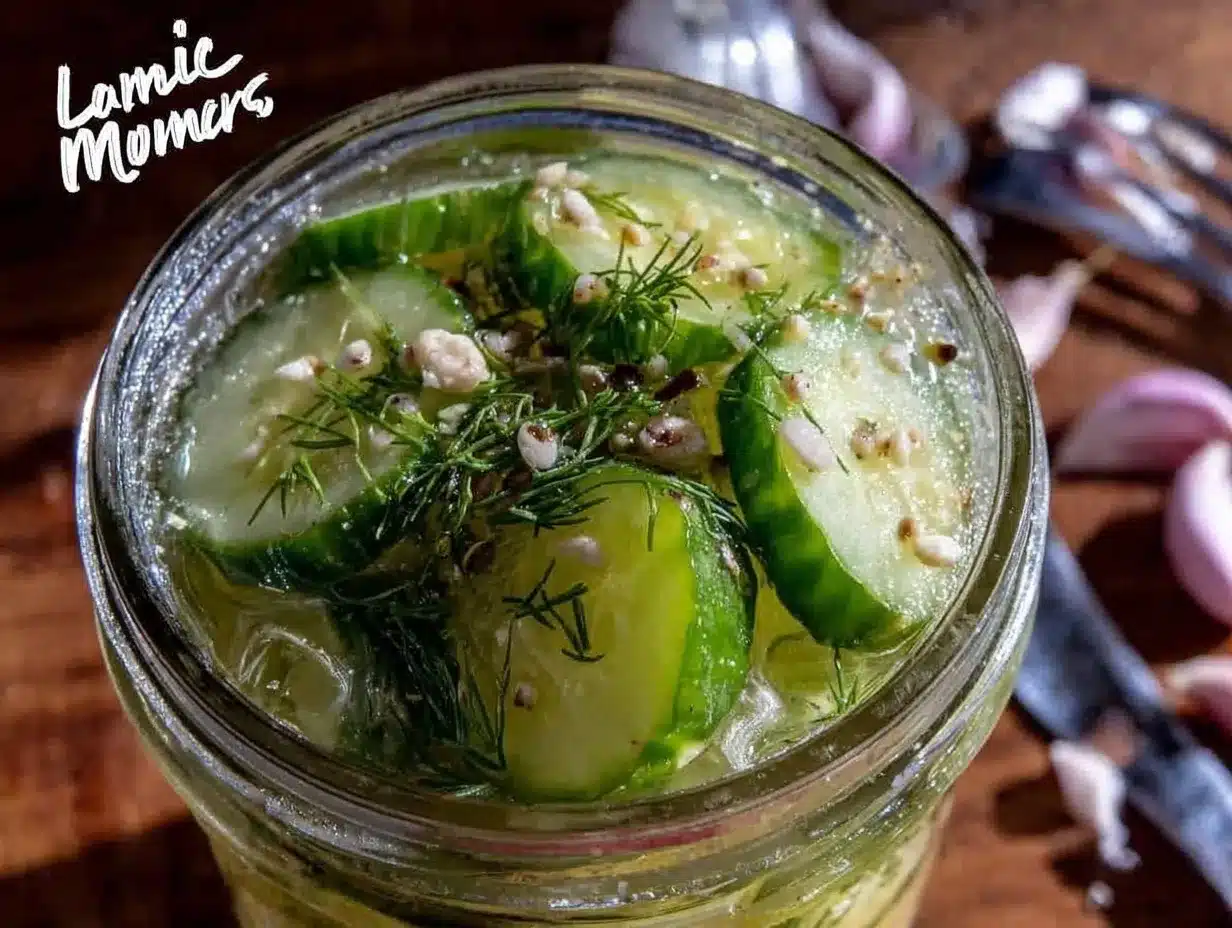
To whip up these fresh garlic dill refrigerator pickles, you don’t need much beyond the basics:
- Sharp knife – to slice cucumbers evenly. I find a serrated knife works nicely for cucumber rounds, but a chef’s knife is fine too.
- Cutting board – sturdy and clean, the foundation of your prep.
- Measuring cups and spoons – for precise vinegar, water, salt, and sugar measurements.
- Large mixing bowl – to toss cucumbers with salt if you want to draw out some moisture before pickling.
- Glass jars or airtight containers (2 pint-sized / 1-liter jars) – glass is best to avoid unwanted flavors and for easy monitoring. Mason jars are perfect and budget-friendly.
- Small saucepan – to warm the vinegar brine, helping the salt and sugar dissolve quickly.
I’ve tried plastic containers before, but glass jars keep the flavor truest and look nicer chilling in the fridge. If you’re on a budget, thrift stores often have clean mason jars in abundance. Just make sure the lids seal well to keep your pickles fresh.
Preparation Method
- Wash and slice cucumbers: Rinse about 2 pounds (900 g) of Kirby or pickling cucumbers under cold water. Trim off the ends, then slice into 1/4-inch (6 mm) thick rounds or spears depending on your preference. Aim for uniform slices so they pickle evenly. This step should take about 10 minutes.
- Prepare the brine: In a small saucepan, combine 1 cup (240 ml) white distilled vinegar, 1 cup (240 ml) water, 1 tablespoon pickling salt, and 1 teaspoon granulated sugar. Warm over medium heat, stirring occasionally until salt and sugar fully dissolve (about 3-5 minutes). Remove from heat and let it cool slightly while you prep the jars.
- Pack the jars: Place 4-5 sprigs of fresh dill, 4-5 smashed garlic cloves, 1 teaspoon black peppercorns, and optional 1/4 teaspoon red pepper flakes into each clean glass jar. Then tightly pack the sliced cucumbers inside, leaving about 1/2 inch (1.3 cm) headspace.
- Pour the brine: Carefully ladle the warm brine over the cucumbers, covering them completely. Use a clean utensil to gently press the cucumbers down if needed so they’re submerged. Seal the jars with lids.
- Refrigerate: Place jars in the fridge. Let the pickles sit for at least 24 hours before tasting, though they get better after 2-3 days. The cool temperature helps keep cucumbers crisp and the flavors meld beautifully.
- Enjoy: Your fresh garlic dill refrigerator pickles are ready to snack on! They should stay fresh for up to 2 weeks refrigerated.
Pro tip: If you want crisper pickles, try salting the cucumber slices lightly and letting them drain in a colander for 30 minutes before packing the jars. Just pat them dry before brining. Also, don’t forget to label your jars with the date—a habit I learned the hard way after a few mysterious pickle jars lingered too long in the back of my fridge.
Cooking Tips & Techniques
Let me share some tips from my pickle-making adventures that helped me get these fresh garlic dill refrigerator pickles just right:
- Use fresh, firm cucumbers: Soft or old cucumbers won’t stay crisp. Kirby cucumbers are ideal, but pickling cucumbers work well too.
- Don’t skip the pickling salt: Regular table salt contains additives that can cloud your brine and affect flavor. Pickling or kosher salt keeps the brine clear and your pickles tasty.
- Warm the brine: Dissolving salt and sugar in warm vinegar ensures even flavor throughout the jar.
- Pack jars tightly: It helps keep cucumbers submerged and evenly pickled.
- Be patient: The pickles taste best after sitting 2-3 days in the fridge. Resist the urge to snack immediately—though I know it’s tempting!
- Keep everything clean: Sterilize jars and lids to avoid any unwanted bacteria that could spoil your pickles.
Once, I forgot to smash the garlic cloves and just tossed them whole in the jar—honestly, the garlic flavor was too mild for my taste. Smashing releases the essential oils and amps up that delicious punch. Also, don’t leave cucumbers out too long after slicing; they start to lose that precious crunch quickly.
Variations & Adaptations
This fresh garlic dill refrigerator pickles recipe is wonderfully flexible. Here are a few ways I’ve tweaked it to suit different moods and dietary needs:
- Spicy Pickles: Add more red pepper flakes or a sliced jalapeño for an extra kick.
- Low-Sodium Version: Use less salt in the brine and increase the vinegar slightly to keep flavor balance.
- Herb Variations: Swap dill for fresh tarragon or add mustard seeds for a different aromatic profile.
- Garlic-Free Pickles: For those sensitive to garlic, add sliced onions or shallots to maintain depth without the garlic bite.
- Quick Pickles: Slice cucumbers thinner for faster pickling, though I still recommend a minimum 12-hour chill.
Personally, I tried this recipe with both fresh dill and dill seed, and while dill seed adds a nice earthy undertone, nothing beats the bright, fresh flavor of sprigs straight from the garden or farmers market.
Serving & Storage Suggestions
These fresh garlic dill refrigerator pickles are best enjoyed chilled straight from the fridge. Serve them as a crunchy side for crispy garlic chicken or alongside a hearty sandwich for that perfect tangy crunch. They also make a fantastic topping on burgers or grilled cheese sandwiches, adding a fresh burst of flavor.
Store your pickles in airtight glass jars in the refrigerator where they’ll keep at their best for up to two weeks. Over time, the flavors deepen and meld, so if you can hold off, they taste even better after a few days. To reheat pickles isn’t really recommended—they’re a cold treat—but you can add the brine to salad dressings or marinades for that signature garlicky dill punch.
Nutritional Information & Benefits
These fresh garlic dill refrigerator pickles are low in calories and carbs, making them a guilt-free snack or condiment. One serving (about 3 slices) typically contains around 10-15 calories, with minimal fat and carbohydrates. The vinegar supports digestion, while garlic and dill bring antioxidant and anti-inflammatory benefits.
Plus, they’re naturally gluten-free and vegan, suitable for a variety of dietary needs. The salt content is moderate, but if you’re watching sodium intake, adjusting the salt quantity is easy without sacrificing too much flavor. I appreciate how these pickles satisfy cravings while adding a probiotic-like tang to meals, supporting gut health in a simple way.
Conclusion
If you’ve ever longed for that perfect fresh garlic dill pickle—crisp, tangy, and bursting with flavor—this recipe will be your new go-to. It’s simple enough to whip up on a whim, yet delivers the kind of homemade satisfaction that keeps you coming back for more. I love how it transforms ordinary cucumbers into a vibrant, crunchy treat that livens up any meal.
Feel free to tweak the garlic or spice levels to your liking—after all, pickling is part science, part art. I’d love to hear how your batch turns out or any fun twists you try, so drop a comment below or share your own spin on these pickles. Here’s to many crunchy, flavorful bites ahead!
Frequently Asked Questions
How long do refrigerator pickles last?
Stored properly in the fridge, these pickles stay fresh and tasty for up to two weeks. Beyond that, they may soften and lose crunch.
Can I use regular cucumbers instead of pickling cucumbers?
Yes, but pickling cucumbers or Kirbys are preferred for their firmness and thinner skins, which keep pickles crisp.
Do I have to use fresh dill?
Fresh dill is best for bright flavor, but you can substitute dried dill weed or dill seeds if needed—just expect a milder taste.
Why are my pickles not crunchy?
Soft pickles often result from using old cucumbers, too much water in the brine, or skipping pickling salt. Salting cucumbers before brining can help retain crispness.
Can I make these pickles spicy?
Absolutely! Add red pepper flakes, jalapeño slices, or even horseradish for a spicy kick tailored to your taste.
Pin This Recipe!
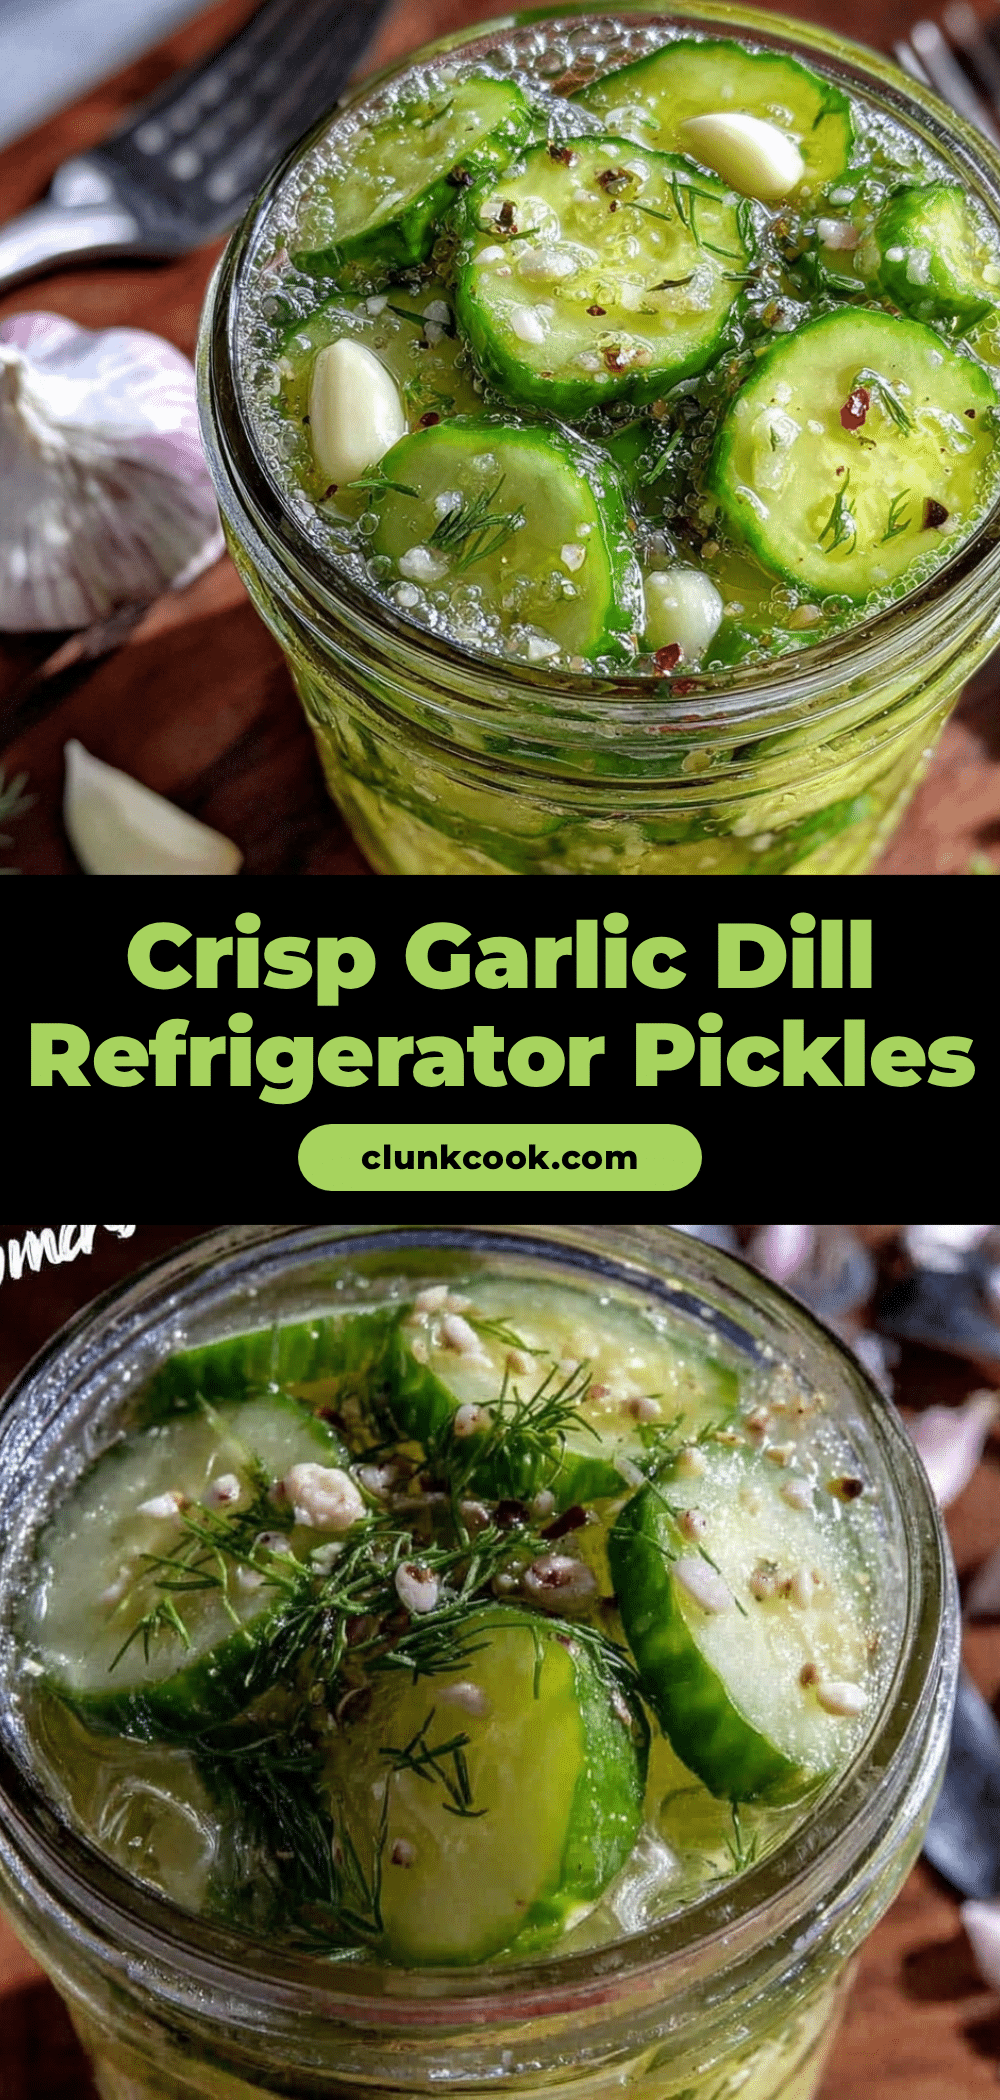
Fresh Garlic Dill Refrigerator Pickles
A quick and easy recipe for crisp, flavorful refrigerator pickles infused with fresh garlic and dill. Perfect for adding a tangy crunch to sandwiches and snacks.
- Prep Time: 15 minutes
- Cook Time: 5 minutes
- Total Time: 24 hours
- Yield: 2 jars (about 4-6 servings) 1x
- Category: Condiment
- Cuisine: American
Ingredients
- 2 pounds (900g) fresh cucumbers (Kirby or pickling cucumbers)
- 4–5 sprigs fresh dill
- 4–5 garlic cloves, smashed
- 1 cup (240ml) white distilled vinegar
- 1 cup (240ml) water
- 1 tablespoon pickling salt (or kosher salt without iodine)
- 1 teaspoon granulated sugar
- 1 teaspoon black peppercorns
- 1/4 teaspoon red pepper flakes (optional)
Instructions
- Wash and slice cucumbers: Rinse about 2 pounds (900 g) of Kirby or pickling cucumbers under cold water. Trim off the ends, then slice into 1/4-inch (6 mm) thick rounds or spears depending on your preference. Aim for uniform slices so they pickle evenly. This step should take about 10 minutes.
- Prepare the brine: In a small saucepan, combine 1 cup (240 ml) white distilled vinegar, 1 cup (240 ml) water, 1 tablespoon pickling salt, and 1 teaspoon granulated sugar. Warm over medium heat, stirring occasionally until salt and sugar fully dissolve (about 3-5 minutes). Remove from heat and let it cool slightly while you prep the jars.
- Pack the jars: Place 4-5 sprigs of fresh dill, 4-5 smashed garlic cloves, 1 teaspoon black peppercorns, and optional 1/4 teaspoon red pepper flakes into each clean glass jar. Then tightly pack the sliced cucumbers inside, leaving about 1/2 inch (1.3 cm) headspace.
- Pour the brine: Carefully ladle the warm brine over the cucumbers, covering them completely. Use a clean utensil to gently press the cucumbers down if needed so they’re submerged. Seal the jars with lids.
- Refrigerate: Place jars in the fridge. Let the pickles sit for at least 24 hours before tasting, though they get better after 2-3 days. The cool temperature helps keep cucumbers crisp and the flavors meld beautifully.
- Enjoy: Your fresh garlic dill refrigerator pickles are ready to snack on! They should stay fresh for up to 2 weeks refrigerated.
Notes
For crisper pickles, salt cucumber slices and drain for 30 minutes before packing jars. Use pickling or kosher salt to keep brine clear. Warm the brine to dissolve salt and sugar fully. Label jars with date. Pickles taste best after 2-3 days chilling. Store refrigerated up to 2 weeks.
Nutrition
- Serving Size: About 3 pickle slice
- Calories: 1015
- Sugar: 1
- Sodium: 400
- Carbohydrates: 3
- Fiber: 0.5
Keywords: refrigerator pickles, garlic dill pickles, quick pickles, easy pickles, fresh dill, crisp pickles, homemade pickles


