Love this? Save it for later!
Share the inspiration with your friends
This was supposed to be a straightforward batch of classic Rice Krispie treats for a casual weekend snack. I grabbed the wrong butter—or so I thought—the pan was screaming too loudly on the stove, and I was already juggling a phone call from my friend who decided to drop by unannounced. What came out was nothing like the usual sticky squares I was aiming for—and honestly, better.
I mean, I had set out to make the usual marshmallow-melted-with-butter magic, but in the chaos, the butter browned and filled the kitchen with this nutty, toasted aroma that instantly made me pause. The marshmallows bubbled differently, the crisped cereal held together with a golden sheen instead of the usual gloss. At one point, I almost thought I’d ruined the whole thing when the marshmallow started to hiss and pop more than usual, but I kept stirring, trusting that kitchen sixth sense.
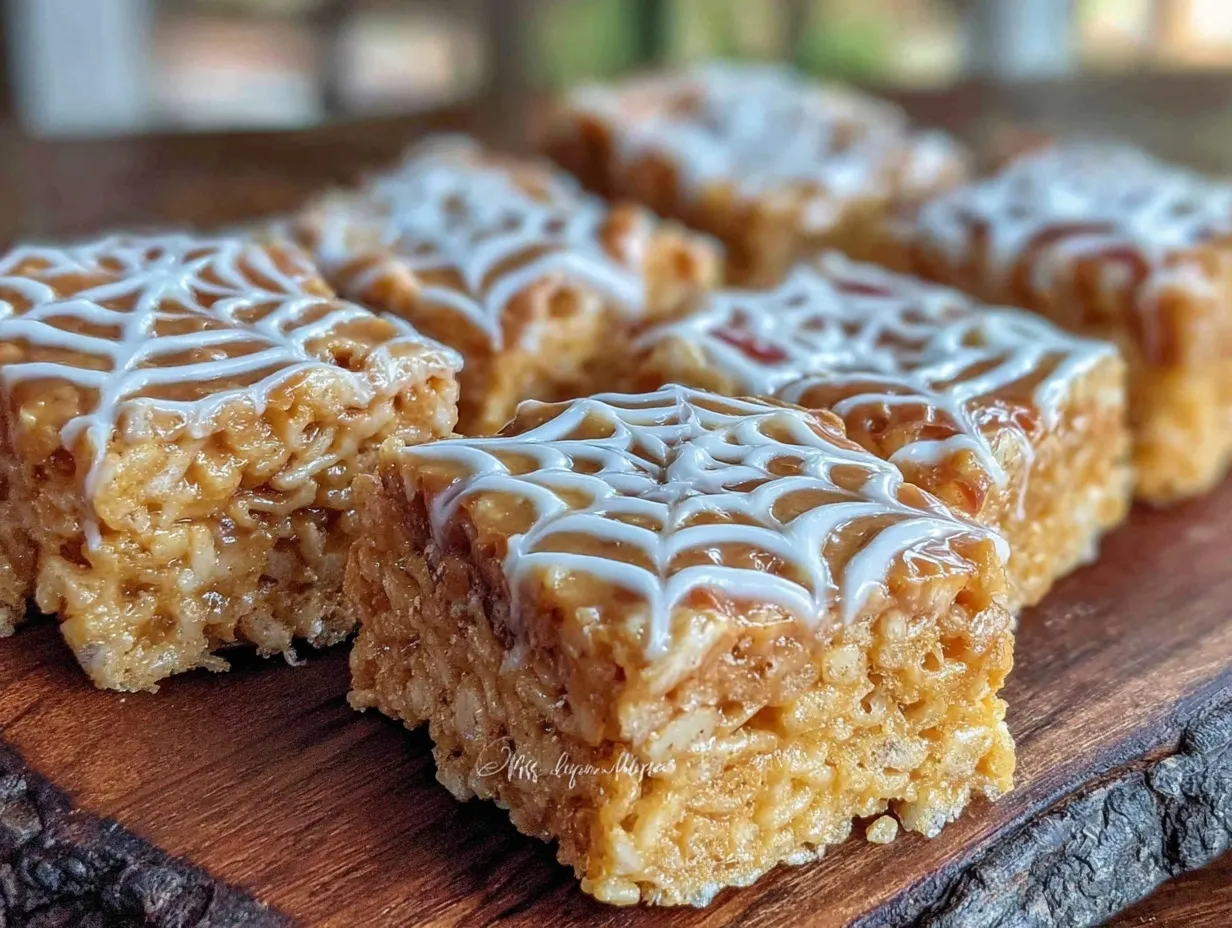
And then came the spider web pattern—unplanned and accidental. I was trying to spread the mixture quickly before it hardened, and the spatula left these thin, delicate lines across the top. The pattern reminded me of a spider web, and that crispy texture along those lines added a surprising crunch. I sliced them up, expecting polite smiles, but what I got was immediate second servings and a request for the recipe.
Maybe you’ve been there—the moment when a distracted kitchen experiment spirals out of control but somehow lands on something memorable. These Crispy Spider Web Brown Butter Rice Krispie Treat Bars have since become my go-to for a quick, comforting treat with a little extra flair. Honestly, they’re proof that sometimes, a little kitchen chaos can lead to sweet success.
Why You’ll Love This Crispy Spider Web Brown Butter Rice Krispie Treat Bars Recipe
After countless trials (and a few burned batches, I won’t lie), this recipe stands out for several reasons. It’s not your run-of-the-mill Rice Krispie treat—it’s got a toasty depth from the brown butter and a fun crispy texture that truly sets it apart.
- Quick & Easy: Ready in under 30 minutes, perfect for last-minute snacks or surprising guests.
- Simple Ingredients: No obscure items here—just everyday pantry staples like butter, marshmallows, and cereal.
- Perfect for Parties: The spider web design makes these bars a hit at Halloween, themed gatherings, or any casual get-together.
- Crowd-Pleaser: Kids love the crispy crunch, and adults appreciate the rich, nutty flavor from the browned butter.
- Unbelievably Delicious: The balance of gooey marshmallow and crispy cereal with that brown butter twist is next-level comfort food.
What really makes this recipe different is the brown butter—it’s the secret star. The technique of browning the butter before mixing adds a warm, caramel-like flavor that takes the familiar treat to a new height. Plus, the accidental spider web pattern adds a visual and textural surprise that’s fun to recreate once you get the hang of it.
This isn’t just nostalgia on a plate; it’s nostalgia with a grown-up edge. I honestly keep this recipe handy because it’s an easy way to impress without much fuss, whether I’m making snacks for friends or just indulging my own sweet tooth after a long day.
What Ingredients You Will Need
This recipe uses simple, wholesome ingredients to deliver bold flavor and satisfying texture without the fuss. Most are pantry staples, and substitutions are easy if needed.
- Unsalted butter – 6 tablespoons (85g), browned to bring out that rich nutty flavor. I prefer Plugrá for its consistency and depth.
- Mini marshmallows – 10 ounces (280g), for the perfect gooey bind. Use regular or vegan marshmallows if preferred.
- Rice Krispies cereal – 6 cups (about 180g), crisp and light for that classic crunch. I stick with the original Kellogg’s brand.
- Vanilla extract – 1 teaspoon, to enhance flavor complexity.
- Salt – a pinch, to balance sweetness and highlight the brown butter notes.
Optional:
- Orange zest – 1 teaspoon, adds a bright citrus note if you want a seasonal twist.
- Chocolate chips – ½ cup (90g), for a melty surprise inside the bars.
For a gluten-free version, stick with certified gluten-free Rice Krispies or swap cereal for puffed rice. Vegan options work well too—just swap butter with coconut oil and use vegan marshmallows.
Equipment Needed
You’ll want a few basic kitchen tools for these Crispy Spider Web Brown Butter Rice Krispie Treat Bars:
- Large heavy-bottomed saucepan: Essential for browning the butter evenly without burning.
- Wooden spoon or heatproof spatula: For stirring the marshmallow and cereal mixture.
- 9×13-inch baking pan: For shaping your bars. I like glass because it heats evenly, but metal works fine too.
- Non-stick spray or parchment paper: To line the pan and prevent sticking.
- Sharp knife: For slicing the bars cleanly once set.
If you don’t have a heavy-bottomed pan, a thick skillet is a good alternative—but watch the butter closely as it browns. For spreading the mixture, a silicone spatula with a flat edge works wonders to create those delicate spider web lines. If you want budget-friendly options, even a regular wooden spoon and aluminum foil for lining will do the trick.
Preparation Method
- Prepare your pan: Lightly grease a 9×13-inch (23×33 cm) baking pan with non-stick spray or line with parchment paper. This helps the bars release easily later. Set aside.
- Browning the butter: In a large, heavy-bottomed saucepan over medium heat, melt 6 tablespoons (85g) of unsalted butter. Stir constantly with a wooden spoon as it melts and starts to foam. Watch closely—the butter will turn a golden brown and smell nutty in about 5 minutes. When you see browned bits at the bottom and smell the aroma, remove from heat immediately to prevent burning.
- Add marshmallows: Quickly stir in 10 ounces (280g) of mini marshmallows and a pinch of salt. Stir continuously until the marshmallows are fully melted and smooth. This should take about 3-4 minutes. You’ll notice the mixture get glossy and thick.
- Flavor boost: Stir in 1 teaspoon of vanilla extract (and orange zest or chocolate chips if using) until evenly combined.
- Mix in cereal: Remove the pan from heat. Gradually fold in 6 cups (about 180g) of Rice Krispies cereal, stirring gently to coat all the cereal without crushing it. Be patient here—don’t overmix or you’ll lose the crispness.
- Form the spider web pattern: Transfer the mixture to your prepared pan. Using a clean, flat spatula, press the mixture evenly into the pan. Then, quickly drag the edge of the spatula lightly across the surface in thin, crisscross lines to create the spider web effect. This step works best when the mixture is still warm but starting to set. Don’t press too hard—you want those delicate crispy lines, not a solid sheet.
- Cool and set: Let the bars cool completely at room temperature, about 45 minutes to 1 hour. This helps the crispy webbing harden perfectly.
- Slice and serve: Once set, use a sharp knife to cut the bars into squares or rectangles. For cleaner cuts, warm the knife under hot water and wipe dry before slicing.
Watch out for marshmallow sticking to your spatula—keeping it lightly greased or wet helps. The brown butter stage is critical: if you hesitate, the butter could burn, so keep your eyes on the pan! The spider web pattern is all about timing; if the mixture cools too much, it won’t stretch thin lines.
Cooking Tips & Techniques
Brown butter is a game-changer here, but it requires attention. Use medium heat and stir constantly to avoid burning. I learned the hard way—once I walked away for a minute and ended up with bitter butter sludge instead of golden goodness.
When melting marshmallows, low and slow is your friend. Too high heat makes marshmallows scorch or seize up. Also, having all ingredients pre-measured and ready helps because you’ll need to move fast once the butter is browned.
For that spider web effect, the key is gentle dragging with a flat spatula edge—experiment with angles and pressure. Don’t worry if your first attempts look messy; it gets easier. The crispy texture along those lines adds a delightful contrast that’s worth the practice.
Try to work quickly when mixing in the cereal and pressing the bars because the mixture sets fast. If you find your bars too sticky, refrigerate them briefly before slicing.
Multitasking tip: While the bars cool, clean up your workspace—brown butter can get messy if it drips!
Variations & Adaptations
- Chocolate Lover’s Delight: Stir in ½ cup (90g) mini chocolate chips or drizzle melted chocolate over the bars after setting.
- Nutty Upgrade: Add ½ cup chopped toasted pecans or walnuts to the cereal mix for crunch and flavor contrast.
- Spiced Twist: Mix in ½ teaspoon cinnamon and a pinch of cayenne for a warm and slightly spicy edge.
- Vegan Version: Swap butter for coconut oil and use vegan marshmallows to keep it plant-based.
- Seasonal Swap: In fall, mix in dried cranberries or pumpkin spice to suit the season’s vibe.
Adjust the spider web pattern by using different tools—a fork or a toothpick can create thinner or more intricate lines if you want to get creative. I once tried using a chopstick for finer webs, and it looked like edible art! Feel free to experiment with toppings or mix-ins to make this recipe your own.
Serving & Storage Suggestions
Serve these bars at room temperature to enjoy the perfect balance of chewy and crispy textures. They’re fantastic on their own or paired with a cold glass of milk, hot chocolate, or even a cup of coffee for an afternoon pick-me-up.
For parties, arrange them on a platter with some fresh fruit or alongside other easy treats like crispy garlic chicken appetizers to balance savory and sweet.
Store leftover bars in an airtight container at room temperature for up to 3 days. If it’s warm out, refrigeration works but may soften the crispy webbing slightly. You can freeze the bars wrapped tightly for up to a month—just thaw at room temperature before serving.
To re-crisp bars after refrigeration, pop them in a 300°F (150°C) oven for about 5 minutes, watching carefully so they don’t burn. Flavors tend to meld and improve after a day, so if you can wait, that’s even better.
Nutritional Information & Benefits
Each serving of these crispy spider web brown butter Rice Krispie treat bars packs about 180-220 calories, depending on portion size. They provide a quick energy boost with carbohydrates from the cereal and marshmallows and a moderate amount of fat from the butter.
Brown butter adds a touch of depth without extra sugar, and using mini marshmallows helps with even melting and less added bulk. The pinch of salt balances sweetness and can help curb sugar cravings.
This treat is naturally gluten-free if you choose certified gluten-free cereal, making it accessible for many dietary needs. While indulgent, it’s a nostalgic comfort food that can be enjoyed in moderation as part of a balanced diet.
Personally, I love that this recipe lets me enjoy a childhood favorite with a grown-up twist—comfort food that feels a little more special and satisfying.
Conclusion
If you’re looking for a fun, easy-to-make treat that stands out from the usual Rice Krispie bars, this crispy spider web brown butter recipe is a must-try. It’s quick, simple, and has a deliciously rich flavor that’s hard to beat.
Feel free to customize it with your favorite mix-ins or seasonal flavors—the spider web pattern is a delightful way to add a little magic to any batch. Honestly, I keep coming back to this recipe because it’s a sweet reminder that sometimes mistakes lead to the best discoveries in the kitchen.
Give this recipe a shot, and let me know how your crispy spider web bars turn out! I’d love to hear your variations or any tips you picked up along the way. Happy baking!
FAQs About Crispy Spider Web Brown Butter Rice Krispie Treat Bars
Can I use regular butter instead of unsalted butter?
Yes, but be mindful of added salt in regular butter—adjust the pinch of salt in the recipe accordingly.
How do I make the spider web pattern if the mixture cools too fast?
Warm the mixture gently in the pan over low heat to soften before attempting the pattern again, or work faster to create the lines while still warm.
Can I use a different type of cereal?
Yes, puffed rice or other light cereals can work, but the texture and flavor will vary slightly. Avoid cereals that are too dense or sticky.
What’s the best way to store leftover bars?
Store in an airtight container at room temperature for up to 3 days or freeze for up to a month. Reheat briefly to regain crispness if refrigerated.
Is there a vegan option for this recipe?
Absolutely! Use coconut oil in place of butter and vegan marshmallows to make it completely plant-based.
Pin This Recipe!
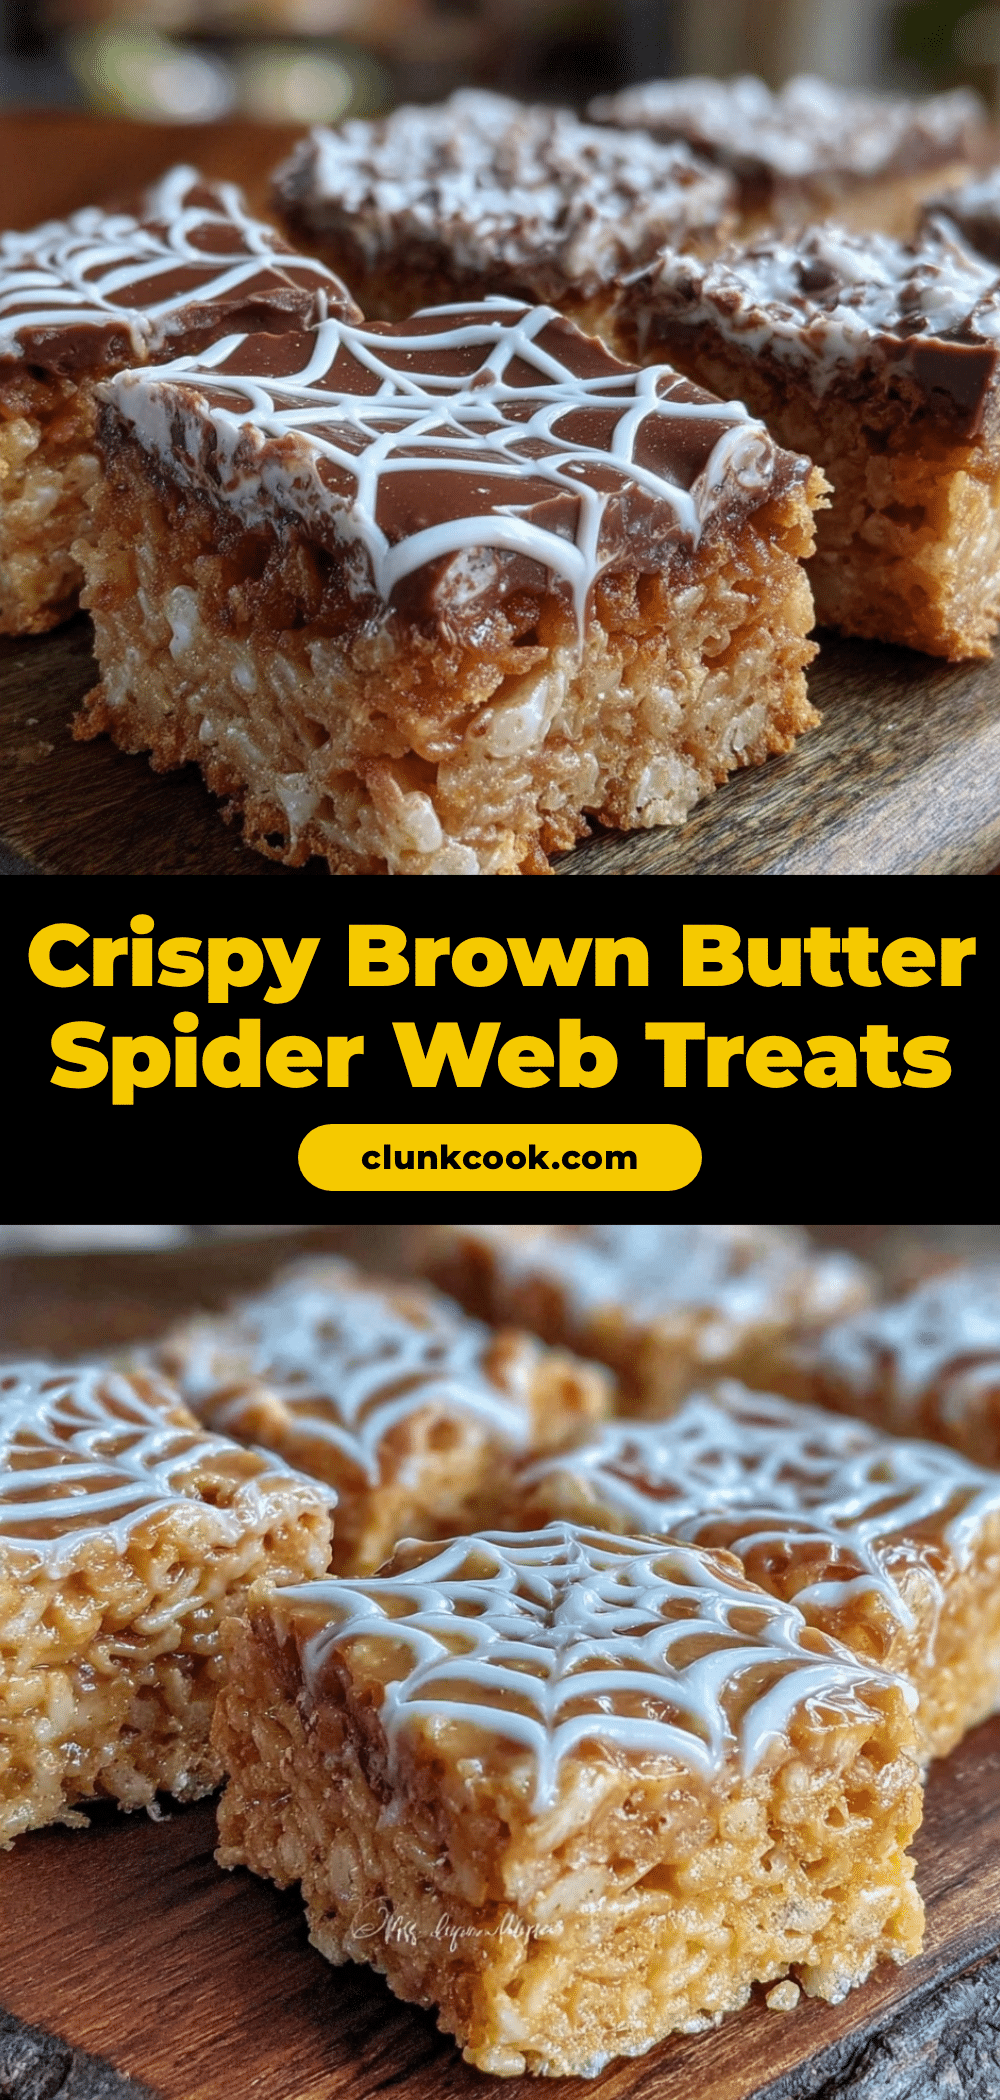
Crispy Spider Web Brown Butter Rice Krispie Treat Bars

A quick and easy twist on classic Rice Krispie treats featuring nutty brown butter and a unique crispy spider web pattern for added texture and visual appeal.
- Prep Time: 10 minutes
- Cook Time: 10 minutes
- Total Time: 1 hour 20 minutes
- Yield: 12 servings 1x
- Category: Dessert
- Cuisine: American
Ingredients
- 6 tablespoons (85g) unsalted butter, browned
- 10 ounces (280g) mini marshmallows
- 6 cups (about 180g) Rice Krispies cereal
- 1 teaspoon vanilla extract
- Pinch of salt
- Optional: 1 teaspoon orange zest
- Optional: ½ cup (90g) chocolate chips
Instructions
- Lightly grease a 9×13-inch baking pan with non-stick spray or line with parchment paper and set aside.
- In a large heavy-bottomed saucepan over medium heat, melt 6 tablespoons of unsalted butter, stirring constantly until it turns golden brown and smells nutty, about 5 minutes. Remove from heat immediately.
- Quickly stir in 10 ounces of mini marshmallows and a pinch of salt. Stir continuously until marshmallows are fully melted and smooth, about 3-4 minutes.
- Stir in 1 teaspoon vanilla extract and optional orange zest or chocolate chips until evenly combined.
- Remove pan from heat and gradually fold in 6 cups of Rice Krispies cereal, stirring gently to coat without crushing the cereal.
- Transfer mixture to prepared pan. Using a clean, flat spatula, press mixture evenly into the pan. Quickly drag the edge of the spatula lightly across the surface in thin, crisscross lines to create the spider web pattern.
- Let bars cool completely at room temperature for 45 minutes to 1 hour to allow the crispy webbing to harden.
- Use a sharp knife to cut bars into squares or rectangles. For cleaner cuts, warm the knife under hot water and dry before slicing.
Notes
Keep a close eye on the butter while browning to avoid burning. Work quickly when mixing and pressing the bars to create the spider web pattern before the mixture cools. To re-crisp refrigerated bars, warm in a 300°F oven for about 5 minutes. Vegan version can be made by substituting butter with coconut oil and using vegan marshmallows.
Nutrition
- Serving Size: 1 bar (approximate)
- Calories: 200
- Sugar: 18
- Sodium: 90
- Fat: 7
- Saturated Fat: 4
- Carbohydrates: 32
- Fiber: 0.5
- Protein: 2
Keywords: Rice Krispie treats, brown butter, crispy bars, spider web pattern, easy dessert, quick snack, homemade treats, Halloween treats