Love this? Save it for later!
Share the inspiration with your friends
I wasn’t expecting pickling advice from my accountant, but there I was, knee-deep in tax paperwork, listening to Mrs. Patterson describe exactly how to make the crunchiest refrigerator dill pickles I’d ever tasted. It was mid-April, I was stressed, and she’d stopped by to drop off some forms. Somehow, between discussing deductions and depreciation, she noticed my lunch bag peeking out of my tote—a sad sandwich and some store-bought chips. “You know what that needs?” she said, tapping the bag. “A good pickle. Homemade.” I laughed it off, but she was serious. The next day, a mason jar appeared on my desk with a handwritten label: “Patterson’s 24-Hour Dills.”
Honestly, I was skeptical. Twenty-four hours? For pickles? I thought pickling required weeks of brining, secret spices, and a grandmother’s patience. But one bite changed my mind. That crunch—that perfect, snappy, garlicky crunch—was unlike anything from a grocery store jar. I asked for the recipe, and she scribbled it on a sticky note. No fancy equipment, no canning experience needed. Just cucumbers, vinegar, dill, and a little patience. I’ve been making them ever since, and let me tell you, they’ve saved more than a few boring sandwiches and taco nights.
Maybe you’ve been there—staring at a fridge full of cucumbers from the garden or the farmer’s market, wondering what to do with them all. Or maybe you just want a quick, tangy snack without the fuss of traditional canning. These quick refrigerator dill pickles are your answer. They’re ready in 24 hours, require zero special skills, and taste like something you’d pay top dollar for at a fancy deli. I mean, who knew tax season could lead to such a delicious discovery?
Why You’ll Love This Recipe
Let’s face it—homemade pickles sound intimidating. All that boiling water, sterilizing jars, and waiting weeks for the flavors to develop? No thank you. But these refrigerator dill pickles are different. They’re the lazy cook’s dream, the busy parent’s savior, and the pickle lover’s new obsession.
- Ready in 24 Hours: No waiting weeks for that perfect crunch. These pickles are ready to eat tomorrow. Seriously, you can make them after dinner and have them for lunch the next day.
- Simple Ingredients: You probably have most of these in your pantry right now. Vinegar, salt, sugar, garlic, dill—that’s it. No weird preservatives or hard-to-find spices.
- Perfect for Garden Bounty: If you’ve got cucumbers coming out of your ears from the garden, this is the perfect solution. They keep for weeks in the fridge, so you won’t waste a single one.
- Crowd-Pleaser: I’ve brought these to barbecues, potlucks, and family gatherings, and they disappear faster than the chips and dip. Kids love them, adults devour them, and everyone asks for the recipe.
- Unbelievably Crunchy: The secret is in the salt—it draws out excess water from the cucumbers, keeping them firm and snappy. No mushy pickles here!
What makes this recipe different from the rest? It’s the balance. The brine is perfectly tangy without being overwhelming, the garlic is present but not punchy, and the dill is fresh and fragrant. I’ve tested a dozen variations over the years, and this one hits the sweet spot every time. Plus, it’s completely customizable—want more heat? Add some red pepper flakes. Prefer sweeter pickles? Bump up the sugar. This is your canvas.
This isn’t just another pickle recipe—it’s the one that makes you close your eyes after that first crunchy bite. It’s comfort food in a jar, ready when you are, with no stress attached. Perfect for impressing guests without breaking a sweat, or turning a simple sandwich into something memorable.
What Ingredients You Will Need
This recipe uses simple, wholesome ingredients to deliver that classic dill pickle flavor without any fuss. Most of these are pantry staples, so you might not even need a trip to the store.
For the Brine
- 1 cup water (filtered or tap, but avoid distilled—it lacks minerals that affect flavor)
- 1 cup white vinegar (5% acidity is standard; I prefer Heinz for consistent results)
- 1 tablespoon kosher salt (Diamond Crystal or Morton’s—avoid table salt, which has additives that can cloud the brine)
- 1 tablespoon granulated sugar (optional but balances the tang; use organic if you prefer)
For the Pickles
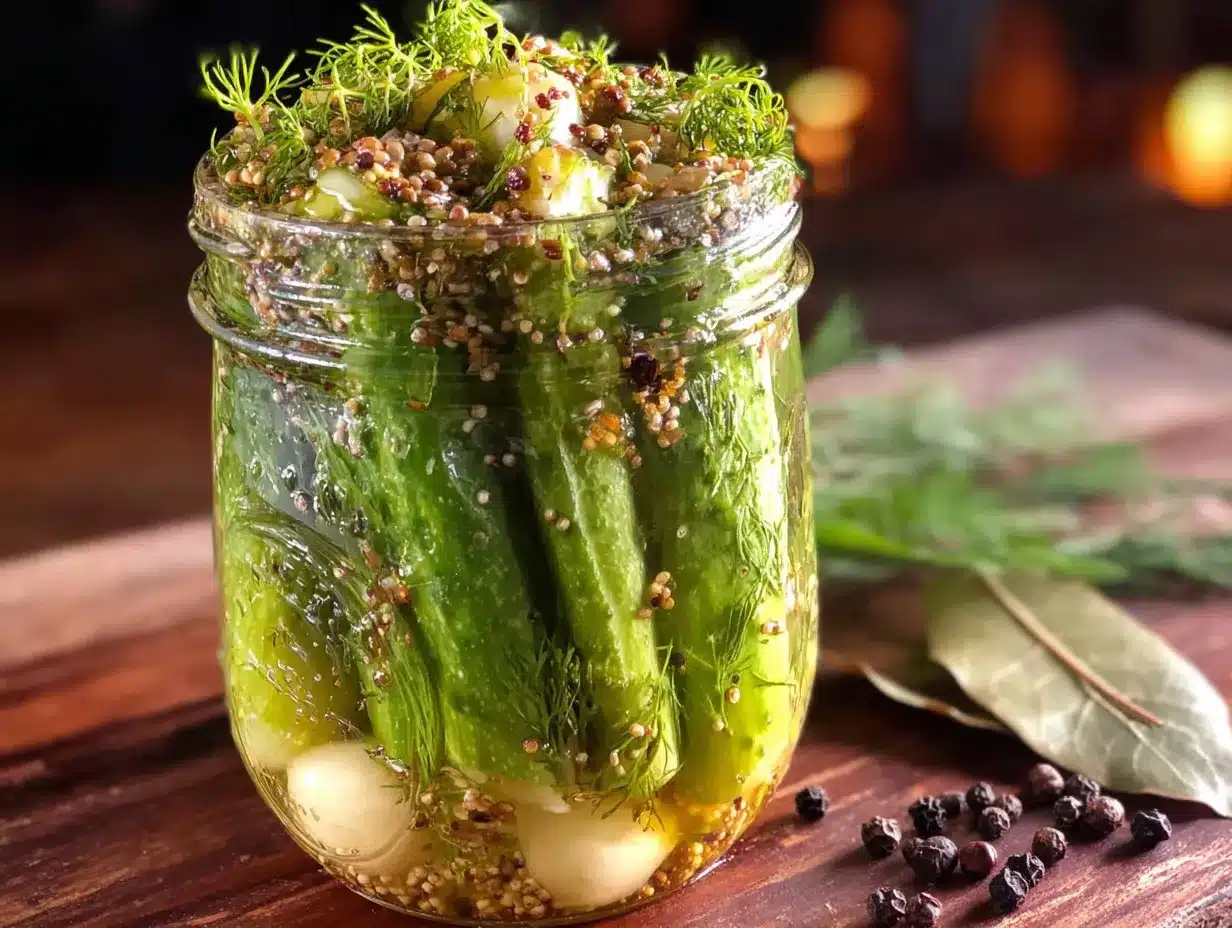
- 4-5 small to medium cucumbers (Kirby or Persian cucumbers work best—they’re firm and have fewer seeds. English cucumbers can be used but may be slightly less crunchy)
- 3-4 cloves garlic (peeled and smashed slightly to release flavor)
- 2-3 sprigs fresh dill (or 1 tablespoon dried dill weed; fresh is better for that bright flavor)
- 1 teaspoon black peppercorns (whole, not ground—adds a subtle warmth)
- 1/2 teaspoon red pepper flakes (optional, for heat; I like Aleppo pepper for a milder kick)
- 1 bay leaf (optional, adds depth)
Ingredient Selection Tips: Look for cucumbers that are firm, dark green, and free of soft spots. Smaller cucumbers are crunchier because they have fewer seeds. If you’re using garden cucumbers, pick them early in the morning when they’re still cool from the night—they’ll be crisper.
Substitution Guidance: No fresh dill? Use 1 tablespoon of dried dill weed instead. Want a sweeter pickle? Increase sugar to 2 tablespoons. Prefer a more sour pickle? Use 1 1/4 cups vinegar to 3/4 cup water. You can also swap white vinegar with apple cider vinegar for a fruitier note—just know it will darken the brine slightly.
Trusted Brands: I recommend using Morton’s kosher salt for its consistent crystal size, and Heinz vinegar for its reliable acidity. For dill, I grow my own in a pot on the windowsill—it’s foolproof and always fresh.
Equipment Needed
You don’t need a fancy pickling kit for this recipe. Here’s what you’ll need:
- 1 quart-sized mason jar (or any glass jar with a tight-fitting lid; a wide-mouth jar makes packing easier)
- Small saucepan (for heating the brine)
- Cutting board and knife (for slicing cucumbers and garlic)
- Measuring cups and spoons (for precise brine ratios)
- Wooden skewer or chopstick (to remove air bubbles from the jar)
- Funnel (optional but helpful for pouring brine without spilling)
Budget-Friendly Alternatives: No mason jar? Use a cleaned pickle jar or any glass container with a non-reactive lid. No funnel? Roll a piece of parchment paper into a cone. No skewer? Use a butter knife to gently release air bubbles.
Personal Experience: I’ve made these pickles in everything from fancy Weck jars to repurposed pasta sauce jars. The key is a tight seal—if the lid doesn’t close securely, the brine can leak and your pickles might not stay submerged. Also, avoid metal lids with exposed edges—vinegar can corrode them over time. Plastic lids or enamel-coated metal lids work best for long-term storage.
Preparation Method
Making these pickles is almost embarrassingly easy. Here’s how to do it, step by step.
- Prepare the cucumbers. Wash your cucumbers thoroughly under cool water. Trim off the blossom end (the tip opposite the stem)—it contains enzymes that can make pickles mushy. Slice them into spears (quarter them lengthwise) or into rounds, about 1/4-inch thick. I prefer spears for snacking and rounds for sandwiches. Place them in your clean jar, packing them tightly but not crushing them.
- Add the aromatics. Tuck the garlic cloves, dill sprigs, peppercorns, red pepper flakes (if using), and bay leaf into the jar, distributing them evenly among the cucumber pieces. Don’t just dump them on top—nestle them in so the flavors infuse evenly.
- Make the brine. In a small saucepan, combine the water, vinegar, kosher salt, and sugar. Bring to a boil over medium-high heat, stirring occasionally to dissolve the salt and sugar. Once it’s boiling, remove from heat immediately. Don’t let it boil for more than a minute—you want the brine hot but not reduced, which would concentrate the vinegar too much.
- Pour the brine. Carefully pour the hot brine over the cucumbers in the jar, using a funnel if you have one. Leave about 1/2 inch of headspace at the top. The cucumbers should be fully submerged—if they’re not, press them down gently with a clean spoon or add a little more brine (use a 1:1 ratio of water to vinegar).
- Remove air bubbles. Insert a wooden skewer or chopstick into the jar and gently move it around the edges to release any trapped air bubbles. This is important—air pockets can lead to uneven pickling and potential spoilage. You’ll see tiny bubbles rise to the surface.
- Seal and cool. Wipe the rim of the jar clean with a damp cloth to ensure a good seal. Screw on the lid tightly. Let the jar cool on the counter for about 30 minutes—you’ll hear a satisfying “pop” as the seal forms. Don’t worry if it doesn’t pop; these aren’t shelf-stable pickles, so the seal isn’t critical.
- Refrigerate and wait. Once cooled, transfer the jar to the refrigerator. Here’s the hard part: wait 24 hours. I know, it feels like forever. But trust me, the flavors need time to meld. The pickles will be good after 12 hours, but they’re amazing after a full day. For best results, wait 48 hours—they’ll be even better.
- Enjoy and store. After 24 hours, your pickles are ready to eat. They’ll keep in the refrigerator for up to 4 weeks, though they rarely last that long in my house. The flavor will continue to develop over the first week, becoming more complex and tangy.
Sensory Cues: When you open the jar after 24 hours, you should smell a bright, tangy aroma with clear notes of dill and garlic. The cucumbers should be slightly translucent at the edges but still firm in the center. Take a bite—the crunch should be audible. If they taste too salty, give them another day—the salt will mellow as the brine penetrates.
Troubleshooting Tip: If your pickles turn out soft, you likely used older cucumbers or didn’t trim the blossom end. Next time, try adding a grape leaf or a pinch of alum to the jar—both contain tannins that help maintain crunch. Also, make sure your brine was hot enough when poured; a hot brine helps set the texture.
Cooking Tips & Techniques
After dozens of batches, I’ve learned a few tricks that make these pickles consistently perfect. Here’s what I wish I’d known from the start.
Salt Matters More Than You Think. I once used fine table salt instead of kosher salt, and the pickles turned out cloudy and overly salty. Kosher salt has larger crystals that dissolve more evenly, and it doesn’t contain anti-caking agents that can cloud the brine. Stick with it—your pickles will thank you.
Don’t Skip the Cooling Step. I know it’s tempting to throw the jar straight into the fridge, but letting it cool on the counter first helps the flavors develop faster. The heat from the brine gently softens the cucumbers while the aromatics release their oils. Plus, a sudden temperature change can cause the jar to crack—learned that one the hard way.
Slice Evenly for Consistent Pickling. If your cucumber slices vary in thickness, some will be perfectly pickled while others are still bland. Use a mandoline slicer set to 1/4 inch for uniform slices. If you’re making spears, try to keep them similar in size—about 3 inches long and 1/2 inch thick.
Timing is Everything. I once opened a jar after just 6 hours because I couldn’t wait. Big mistake. The pickles were crunchy but barely flavored—the brine hadn’t penetrated yet. Give them a full 24 hours, and resist the urge to “test” them every few hours. Patience pays off.
Multitasking Strategy. While the brine is heating, slice your cucumbers and prep the aromatics. This way, everything is ready to go when the brine comes to a boil. I also like to wash my jar and lid while the brine heats—it ensures everything is clean and ready.
Consistency Tip: If you’re making multiple batches, write the date on the lid with a permanent marker. This helps you track which jars are ready and which need more time. I also note any variations (like extra garlic or less sugar) so I can replicate my favorites.
Variations & Adaptations
One of the best things about this recipe is how adaptable it is. Here are some of my favorite variations:
Spicy Garlic Dills: Add 2 sliced jalapeños or 1 teaspoon of red pepper flakes to the jar along with the garlic. For extra heat, include a few slices of fresh ginger—it adds a warm, peppery kick that complements the dill beautifully.
Sweet Bread-and-Butter Style: Increase the sugar to 1/4 cup and add 1/2 teaspoon of turmeric for that classic yellow color. Slice the cucumbers into thin rounds instead of spears. These are perfect for burgers and sandwiches.
Herb-Infused Pickles: Along with dill, add a sprig of fresh tarragon, a few leaves of basil, or a stem of rosemary. Each herb brings a unique flavor—tarragon adds a subtle licorice note, basil brings sweetness, and rosemary lends a piney aroma. Experiment and find your favorite.
Asian-Inspired Pickles: Replace the dill with 2 tablespoons of rice vinegar (reduce the white vinegar to 3/4 cup) and add 1 tablespoon of soy sauce, a slice of ginger, and a star anise pod. These are amazing with grilled meats or in banh mi sandwiches.
Low-Sodium Version: Reduce the salt to 1 1/2 teaspoons and add an extra tablespoon of vinegar. The pickles won’t be as crisp, but they’ll still be delicious. You can also add a slice of lemon to brighten the flavor without extra salt.
Personal Variation: My favorite twist is adding a cinnamon stick and a few cloves to the brine during the last minute of heating. It sounds weird, but the warm spices complement the dill in a way that’s surprisingly addictive. I serve these alongside roasted pork or on a charcuterie board—they always get rave reviews.
Serving & Storage Suggestions
These pickles are incredibly versatile. Here’s how to enjoy them at their best:
Serving Temperature: Serve them straight from the fridge—cold pickles are crunchier and more refreshing. If you’re adding them to a sandwich or burger, let them sit at room temperature for 5 minutes first to take the chill off, which lets the flavor shine.
Presentation: For a party, arrange pickles on a wooden board with cheese, cured meats, and olives. They also look beautiful in a clear glass jar with the dill and garlic visible—perfect for gift-giving. I like to tie a piece of twine around the jar with a handwritten label.
Complementary Dishes: These pickles are amazing alongside grilled burgers, hot dogs, or bratwurst. They’re also fantastic in tuna salad, chopped into potato salad, or served with smoked fish. For a simple snack, pair them with sharp cheddar and crackers.
Beverage Pairings: The tangy brine cuts through rich foods beautifully. Serve with a crisp lager or pilsner, or try a gin and tonic—the botanicals in the gin echo the dill and peppercorns. For non-alcoholic options, sparkling water with a squeeze of lemon is perfect.
Storage Instructions: Keep the jar tightly sealed in the refrigerator. The pickles will stay crunchy for up to 4 weeks, though the garlic flavor will intensify over time. If the brine becomes cloudy, it’s usually harmless—just give it a sniff. If it smells off or mold appears, discard the batch.
Reusing the Brine: After you finish the pickles, don’t toss the brine! You can reuse it to pickle other vegetables like carrots, radishes, or red onions. Simply slice the vegetables, pack them into the jar, and let them sit in the fridge for 24-48 hours. The brine will be slightly less potent, so you might need to add a pinch of salt and a splash of vinegar.
Flavor Development: These pickles actually get better over time. The first week is perfect for snacking, but by week two, the flavors have mellowed and melded beautifully. I’ve had jars that were still delicious after six weeks—though by then, the crunch had softened slightly.
Nutritional Information & Benefits
While pickles are mostly water, they do offer some surprising nutritional perks. Here’s a rough breakdown per serving (about 3-4 spears):
| Nutrient | Amount |
|---|---|
| Calories | 10-15 |
| Sodium | 350-400 mg |
| Carbohydrates | 2-3 g |
| Fiber | 0.5 g |
| Vitamin K | 5% DV |
Health Benefits: Cucumbers are hydrating and contain antioxidants like beta-carotene and flavonoids. The fermentation process (even quick refrigeration pickling) produces beneficial probiotics, though in smaller amounts than traditionally fermented pickles. Dill is rich in vitamin C and has been used traditionally to aid digestion.
Dietary Considerations: These pickles are naturally gluten-free, dairy-free, and vegan. They’re also low in calories and carbs, making them a great option for keto or low-carb diets—just be mindful of the sodium content if you’re watching your salt intake.
Potential Allergens: None from the ingredients listed, but if you’re using a commercial jar, ensure it hasn’t been exposed to allergens during manufacturing. Always wash your jars thoroughly before use.
Personal Wellness Perspective: I love these pickles as a way to add flavor without calories. They’re my go-to snack when I’m craving something salty and crunchy but don’t want to reach for chips. Plus, the probiotics are a nice bonus for gut health—though I eat them more for the taste than the health benefits, honestly.
Conclusion
These quick refrigerator dill pickles have become a staple in my kitchen, and I have a feeling they’ll become one in yours too. They’re proof that you don’t need fancy equipment, years of experience, or a grandmother’s secret recipe to make something truly delicious. Just a few simple ingredients, a little patience, and you’re rewarded with the crunchiest, most flavorful pickles you’ve ever tasted.
What I love most about this recipe is how forgiving it is. Want them spicier? Add more pepper flakes. Prefer them sweeter? Bump up the sugar. Craving something different? Throw in some fresh herbs or spices. This is your recipe now—make it your own. And don’t be afraid to experiment; some of my best variations came from happy accidents.
I’d love to hear how your pickles turn out! Drop a comment below and let me know what variations you tried, or share a photo of your jar on Pinterest. Did you add something unexpected? Did you serve them at a party? Tell me all about it. Your feedback helps other readers discover new ways to enjoy this recipe, and honestly, I just love hearing from you.
Happy pickling, friend. May your cucumbers always be crunchy and your brine perfectly tangy!
Frequently Asked Questions
Can I use English cucumbers for this recipe?
Yes, you can, but they won’t be as crunchy as Kirby or Persian cucumbers. English cucumbers have thinner skins and more seeds, which can lead to a softer pickle. If you use them, try slicing them into rounds instead of spears, and consider adding a grape leaf or a pinch of alum to the jar for extra crunch.
Do I need to sterilize the jar before making pickles?
Since these are refrigerator pickles and not shelf-stable, you don’t need to fully sterilize the jar. However, I recommend washing it thoroughly with hot, soapy water and rinsing well. A clean jar prevents unwanted bacteria from growing and keeps your pickles fresh longer.
Why are my pickles cloudy?
Cloudy brine is usually caused by using table salt instead of kosher salt. Table salt contains anti-caking agents that don’t dissolve completely, leaving the brine looking milky. It’s harmless, but if you want clear brine, stick with kosher salt. Another cause could be hard water—if your tap water is high in minerals, try using filtered water instead.
Can I reuse the brine for another batch?
Absolutely! After you finish the pickles, you can reuse the brine to pickle other vegetables like carrots, radishes, red onions, or even hard-boiled eggs. Just note that the brine will be slightly less potent, so you might want to add a pinch of salt and a splash of vinegar. The reused brine will also have a milder flavor, so adjust your expectations accordingly.
How long do these pickles last in the fridge?
These pickles will stay crunchy and delicious for up to 4 weeks when stored properly in the refrigerator. After that, they’ll start to soften and the flavor will become more intense. I’ve kept jars for up to 6 weeks with no issues, but they’re best enjoyed within the first month. Always check for signs of spoilage like mold, off smells, or slimy texture before eating.
Pin This Recipe!
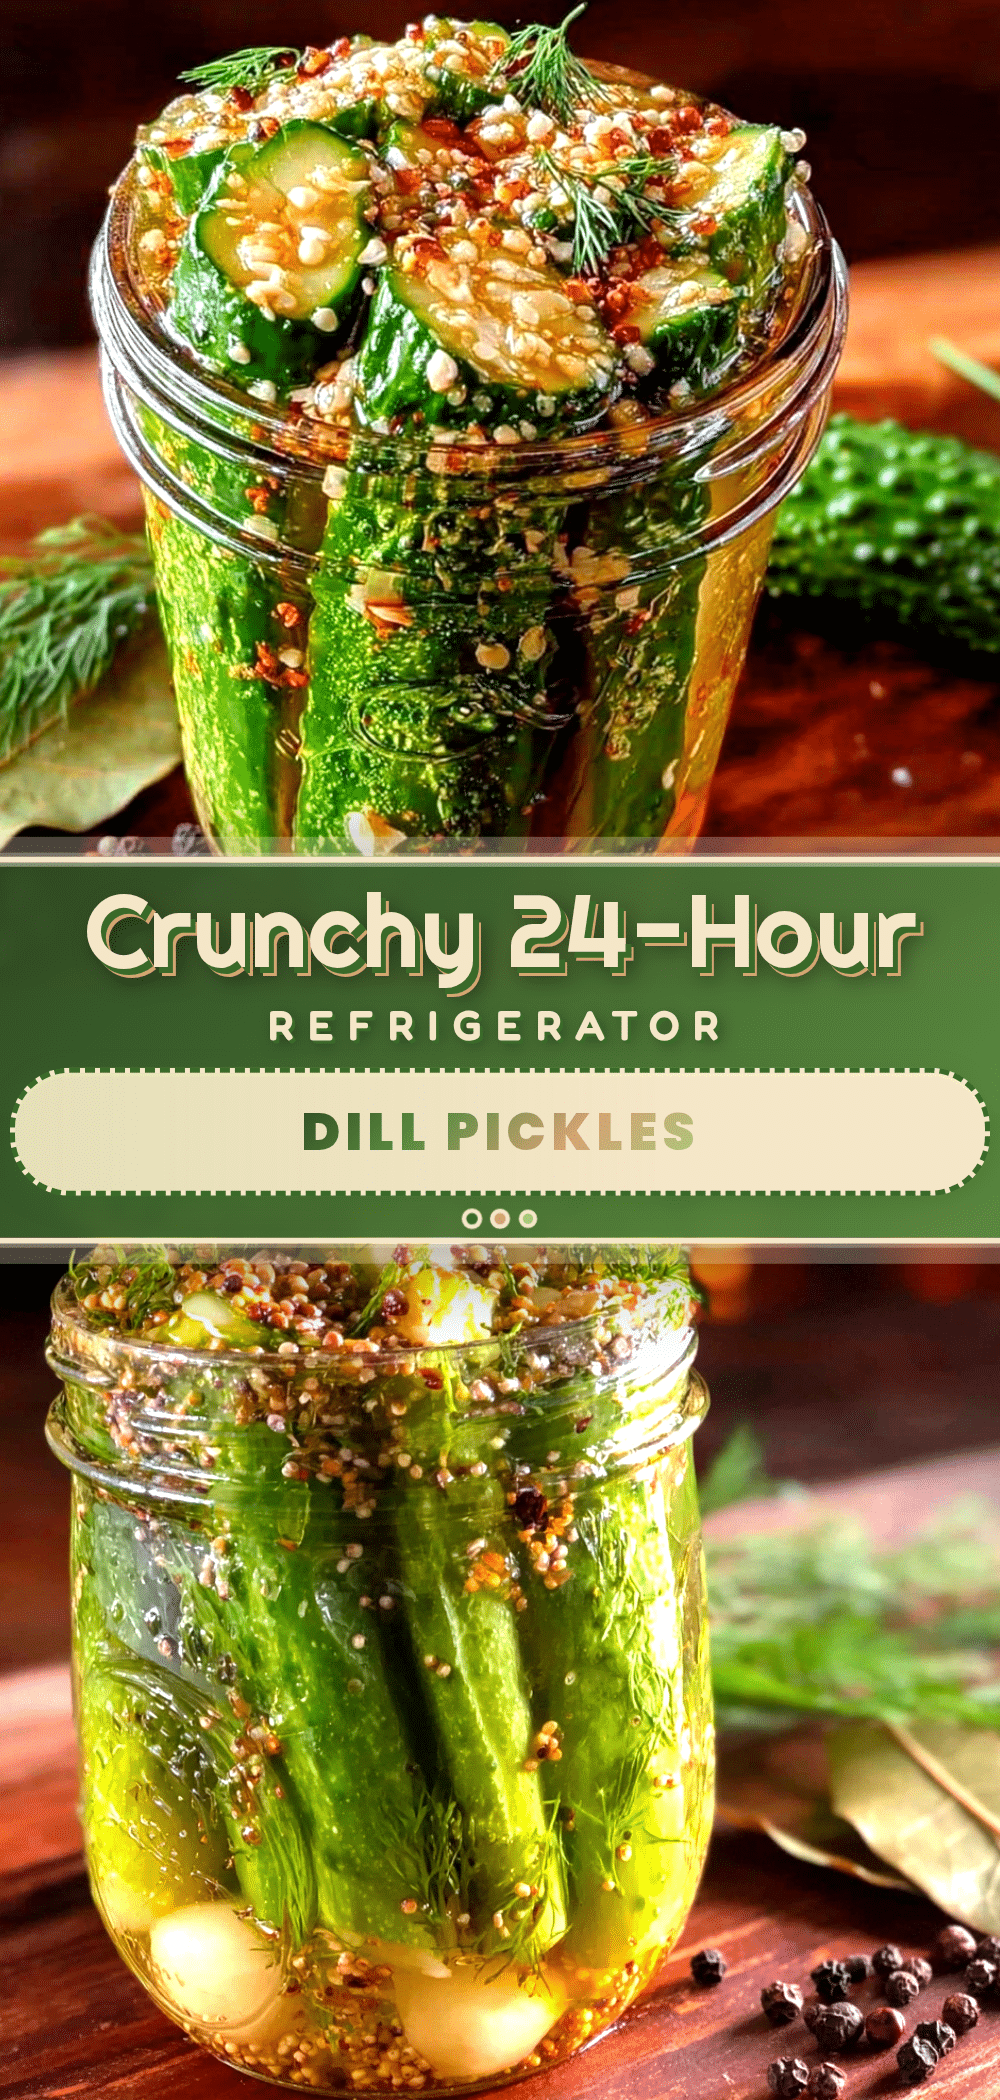
24-Hour Refrigerator Dill Pickles: Easy Homemade Recipe
These quick refrigerator dill pickles are ready in 24 hours, require zero special skills, and taste like something you’d pay top dollar for at a fancy deli. Perfect for garden bounty or a quick, tangy snack without the fuss of traditional canning.
- Prep Time: 15 minutes
- Cook Time: 5 minutes
- Total Time: 24 hours 20 minutes
- Yield: 4 servings 1x
- Category: Appetizer
- Cuisine: American
Ingredients
- 1 cup water (filtered or tap)
- 1 cup white vinegar (5% acidity)
- 1 tablespoon kosher salt
- 1 tablespoon granulated sugar (optional)
- 4–5 small to medium cucumbers (Kirby or Persian preferred)
- 3–4 cloves garlic (peeled and smashed)
- 2–3 sprigs fresh dill (or 1 tablespoon dried dill weed)
- 1 teaspoon black peppercorns (whole)
- 1/2 teaspoon red pepper flakes (optional)
- 1 bay leaf (optional)
Instructions
- Prepare the cucumbers: Wash thoroughly, trim off the blossom end, and slice into spears or rounds about 1/4-inch thick. Pack tightly into a clean quart-sized mason jar.
- Add the aromatics: Tuck garlic cloves, dill sprigs, peppercorns, red pepper flakes (if using), and bay leaf into the jar, distributing evenly among the cucumber pieces.
- Make the brine: In a small saucepan, combine water, vinegar, kosher salt, and sugar. Bring to a boil over medium-high heat, stirring to dissolve salt and sugar. Remove from heat immediately once boiling.
- Pour the brine: Carefully pour hot brine over cucumbers in the jar using a funnel, leaving about 1/2 inch headspace. Ensure cucumbers are fully submerged; if not, press down gently or add more brine (1:1 water to vinegar).
- Remove air bubbles: Insert a wooden skewer or chopstick into the jar and gently move around edges to release trapped air bubbles.
- Seal and cool: Wipe jar rim clean, screw on lid tightly, and let cool on counter for about 30 minutes.
- Refrigerate and wait: Transfer jar to refrigerator and wait 24 hours before eating. For best results, wait 48 hours.
- Enjoy and store: Pickles are ready after 24 hours and will keep in the refrigerator for up to 4 weeks.
Notes
For crunchier pickles, use Kirby or Persian cucumbers and trim the blossom end. If pickles turn out soft, add a grape leaf or pinch of alum next time. Brine can be reused to pickle other vegetables like carrots or radishes. Pickles improve in flavor over the first week.
Nutrition
- Serving Size: 3-4 spears
- Calories: 1015
- Sugar: 12
- Sodium: 350400
- Carbohydrates: 23
- Fiber: 0.5
Keywords: refrigerator pickles, dill pickles, homemade pickles, quick pickles, easy pickles, cucumber pickles, no canning pickles


