Love this? Save it for later!
Share the inspiration with your friends
I’m not supposed to play favorites with recipes, but this simple beginner sourdough starter from scratch has a special place in my kitchen. The power went out halfway through my first attempt, and I stood there in the dark, stirring flour and water like some kind of mad scientist. Honestly, I thought I’d ruined everything. But that starter? It bubbled right through the blackout like it didn’t care about my panic.
Let me tell you, I’d spent weeks reading complicated guides about hydration ratios and feeding schedules. I had a notebook full of notes. My neighbor Dave, who’s been baking sourdough for years, told me I was overthinking it. “Just mix flour and water,” he said. “It’s not rocket science.” Easy for him to say—he’s got a starter older than my car. But I wanted my own simple beginner sourdough starter from scratch, not someone else’s hand-me-down.
That first week was messy. I forgot to feed it one day and came home to a grayish liquid on top. I panicked, texted Dave, and he laughed. “That’s hooch, not a problem. Pour it off and keep going.” Maybe you’ve been there, staring at a jar of flour paste wondering if you’re doing it right. Here’s the thing: you probably are. This simple beginner sourdough starter from scratch taught me that patience matters more than perfection, and that’s why I keep coming back to it.
Why You’ll Love This Recipe
This isn’t just another sourdough starter guide. After testing this method over a dozen times—yes, I killed a few starters along the way—I can honestly say this approach works for beginners. Here’s what makes it special:
- Simple Ingredients: You only need two ingredients. No fancy organic flour required. I’ve made this with regular all-purpose flour from the grocery store, and it worked beautifully.
- Beginner-Friendly Process: No complicated measurements or temperature-controlled environments. Your kitchen counter is perfect. I’ve tested this in both humid summers and dry winters, and it adapts.
- Quick Results: In just 7 days, you’ll have an active, bubbly starter ready for baking. Some methods take weeks, but this one respects your time.
- Cost-Effective: A bag of flour costs less than $5, and you’ll get months of baking out of this starter. Compare that to buying a starter online for $20 or more.
- Foolproof: I’ve made every mistake possible—overfeeding, underfeeding, forgetting it for three days—and still ended up with a healthy starter. This method includes all those lessons.
What makes this different from other guides is the real-world testing. I’m not a professional baker telling you what should work. I’m the person who burned through three bags of flour figuring out what actually works. This simple beginner sourdough starter from scratch is the result of trial, error, and a lot of failed pancakes.
There’s something magical about watching flour and water turn into a living, bubbling thing. It feels like science and art at the same time. When you pull that first loaf out of the oven—and you will—you’ll understand why people get obsessed with this stuff. It’s not just bread. It’s proof that you can create something amazing from almost nothing.
What Ingredients You Will Need
This simple beginner sourdough starter from scratch uses exactly two ingredients. That’s it. No sugar, no yeast packets, no special additives. The magic happens naturally, but choosing the right ingredients makes a difference.
- All-Purpose Flour: This is your workhorse ingredient. I recommend unbleached all-purpose flour for the best results. Unbleached flour contains more natural yeast and bacteria than bleached flour, which helps your starter develop faster. I personally use Gold Medal or King Arthur Flour, but store brands work fine too. Avoid self-rising flour—it has salt and baking powder that will interfere with fermentation.
- Water: Filtered or bottled water works best. Tap water contains chlorine that can kill the natural yeast you’re trying to cultivate. If you only have tap water, let it sit out overnight to allow the chlorine to evaporate. Room temperature water is ideal—cold water slows down fermentation, and hot water can kill the yeast.
- Whole Wheat Flour (Optional): Adding whole wheat flour for the first few days gives your starter a nutrient boost. Whole wheat contains more yeast and bacteria than white flour, which can speed up the process. I use this trick when I’m impatient. After day 3, I switch back to all-purpose flour.
- Rye Flour (Optional): Rye flour is even more nutrient-dense than whole wheat. If you have it, use it for the first feeding. Your starter will become active faster. I’ve tested this, and it shaves about two days off the development time.
Ingredient selection tip: Look for flour that feels fresh. Check the expiration date and give it a sniff—fresh flour smells slightly sweet and nutty. Old flour can smell musty and won’t ferment as well. I learned this the hard way after using flour that had been sitting in my pantry for a year. That starter never really took off.
Substitution guidance: If you’re gluten-sensitive, you can make a gluten-free starter using brown rice flour or sorghum flour. The process is the same, but the texture will be different. Gluten-free starters tend to be thinner and more liquid-like. They work beautifully for gluten-free sourdough bread, but the fermentation time may be longer.
Equipment Needed
You don’t need fancy equipment to make this simple beginner sourdough starter from scratch. Here’s what you’ll need:
- Glass Jar or Container: A 16-ounce or 32-ounce glass jar works perfectly. I use a wide-mouth Mason jar because it’s easy to clean and I can see the bubbles forming. Avoid metal containers—the acidity of the starter can react with metal over time.
- Kitchen Scale: This is the one piece of equipment I strongly recommend. Measuring by weight is more accurate than measuring by volume, especially for maintaining the right flour-to-water ratio. A basic digital scale costs about $15 and will transform your baking. I use mine for everything now.
- Wooden or Silicone Spoon: Metal spoons can react with the acidic starter. A wooden chopstick or silicone spatula works great. I keep a dedicated chopstick in my flour jar for stirring.
- Kitchen Towel or Coffee Filter: You need something to cover your jar that allows air flow but keeps out dust and bugs. A clean kitchen towel secured with a rubber band works perfectly. Coffee filters are even better because you can see through them.
- Rubber Band or Marker: Marking the level of your starter after feeding helps you see how much it rises. I wrap a rubber band around the jar at the starting level. It’s satisfying to see it double in size.
Budget-friendly tip: You don’t need a special sourdough starter jar. I used an old pasta sauce jar for my first starter. Just make sure it’s thoroughly cleaned and dried before you start.
Preparation Method
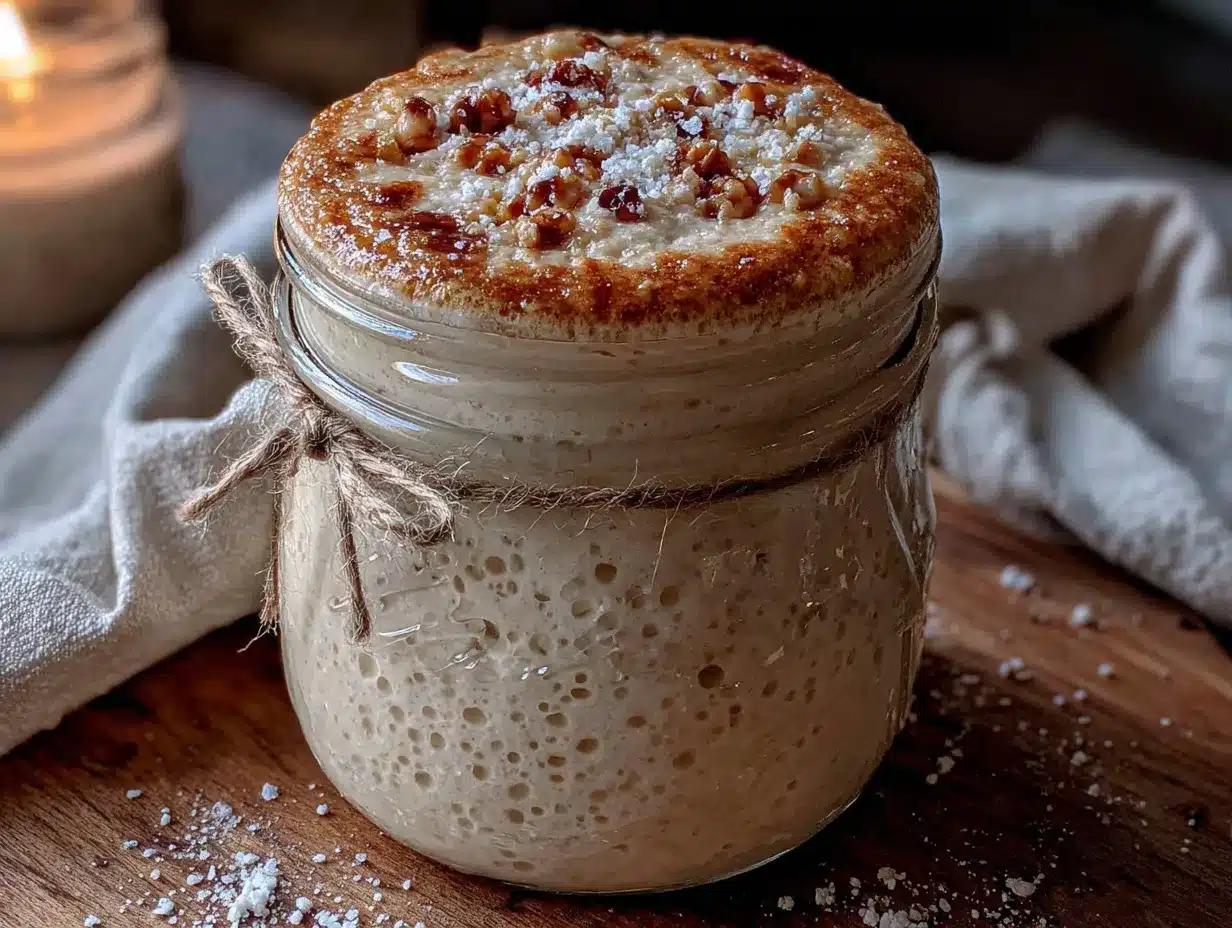
Follow these steps carefully, and you’ll have an active simple beginner sourdough starter from scratch in 7 days. I’ve broken it down day by day so you know exactly what to expect.
Day 1: The Beginning
Combine 50 grams of flour and 50 grams of water in your jar. Stir vigorously until no dry flour remains. The mixture should look like thick pancake batter. Scrape down the sides of the jar with your spoon. Cover loosely with your towel or coffee filter and place it on your kitchen counter. Leave it alone for 24 hours. Nothing much will happen today, and that’s normal.
Day 2: Patience Test
Check your starter. You might see a few tiny bubbles, or you might see nothing. Both are fine. Discard half of the starter (about 50 grams) and add 50 grams of fresh flour and 50 grams of fresh water. Stir well, scrape down the sides, and cover again. If you see a layer of liquid on top, that’s hooch—it means your starter is hungry. Just stir it back in or pour it off before feeding.
Day 3: First Signs of Life
You should start seeing more bubbles today. The mixture might smell slightly sour or fruity. This is good. Discard half, feed with 50 grams flour and 50 grams water, and stir. You might notice the starter has doubled in size by the end of the day. If not, don’t worry—some starters take longer.
Day 4: Getting Active
Your starter should be noticeably bubbly now. It might smell like yogurt or ripe fruit. Discard half, feed again, and watch for activity. The starter should rise within 4 to 6 hours after feeding. If it’s still sluggish, try using slightly warmer water (around 80°F) for your next feeding.
Day 5: Almost There
Your simple beginner sourdough starter from scratch should be doubling in size within 4 to 6 hours after feeding. It should smell pleasantly sour, like sourdough bread. Discard half, feed, and watch the rise. If it’s not doubling yet, keep going. Some starters need a few extra days.
Day 6: Strong Activity
The starter should be very bubbly and double in size within 4 hours. It should have a dome shape on top when it’s at its peak. Discard half, feed, and check the timing. If it doubles consistently, you’re almost ready to bake.
Day 7: Ready to Bake
Feed your starter in the morning. By afternoon, it should be bubbly, doubled, and smell wonderfully sour. It should pass the float test—drop a small spoonful into a glass of water, and if it floats, it’s ready. Congratulations! You now have an active simple beginner sourdough starter from scratch.
Troubleshooting tip: If your starter isn’t ready by day 7, don’t give up. Keep feeding it daily. Some starters take 10 to 14 days, especially in cooler kitchens. I had one starter that took 12 days because my apartment was cold. It worked perfectly once it got going.
Cooking Tips & Techniques
After making this simple beginner sourdough starter from scratch more times than I can count, I’ve learned a few tricks that make the process easier.
Keep it warm: Your starter thrives in a warm environment. If your kitchen is cold (below 70°F), find a warmer spot. I’ve placed my starter on top of the refrigerator, near the water heater, or even in the oven with the light on. Just make sure the oven isn’t accidentally turned on—I learned that lesson the hard way.
Consistency matters: Your starter should look like thick pancake batter after feeding. If it’s too thick, add a little more water. If it’s too thin, add a little more flour. The texture should be spreadable but not runny. I adjust based on how the flour absorbs—different flours need slightly different amounts of water.
Don’t skip the discard: I know it feels wasteful to throw away half your starter, but this step is crucial. If you don’t discard, you’ll end up with a huge jar of starter that requires massive amounts of flour to feed. Plus, the discard keeps the yeast population healthy and active. Save your discard for pancakes, crackers, or muffins.
Watch for the peak: The best time to use your starter is when it’s at its peak—fully risen and covered in bubbles. This usually happens 4 to 6 hours after feeding. If you miss the peak, your starter will start to deflate and smell more acidic. You can still use it, but the rise won’t be as strong.
Common mistake: Overfeeding is a real thing. I once fed my starter three times a day because I was so excited it was active. It got weak and watery. Stick to once a day until your starter is established. After that, you can feed it twice a day if you keep it at room temperature.
Variations & Adaptations
Your simple beginner sourdough starter from scratch is just the beginning. Here are ways to adapt it once you’re comfortable with the basics.
Whole Wheat Starter
Use 100% whole wheat flour instead of all-purpose. Whole wheat ferments faster and produces a more robust, nutty flavor. The starter will be thicker and may need a little extra water. I love this variation for heartier bread recipes.
Rye Starter
Rye flour creates a very active starter with a distinct, earthy flavor. Rye starters tend to be more liquid and bubble more vigorously. This is my go-to for dense, European-style breads. The fermentation is noticeably faster—sometimes ready in 5 days instead of 7.
Gluten-Free Starter
Use brown rice flour or sorghum flour instead of wheat flour. The process is identical, but the texture will be thinner and more pourable. Gluten-free starters don’t rise as dramatically as wheat starters, so look for bubbles and a sour smell instead. This variation works beautifully for gluten-free sourdough bread.
Stiff Starter
Use a 2:1 ratio of flour to water (100 grams flour to 50 grams water) instead of the standard 1:1 ratio. This creates a stiff, dough-like starter that ferments more slowly and produces a less sour flavor. Stiff starters are popular in artisan bakeries and keep well in the refrigerator.
Personal variation I love: I keep two starters going—one all-purpose and one rye. The rye starter adds incredible depth to sandwich bread, while the all-purpose starter is my go-to for pizza dough and pancakes. It takes a little more effort, but the variety is worth it.
Serving & Storage Suggestions
Once you have your simple beginner sourdough starter from scratch, you need to know how to keep it alive and use it effectively.
Room Temperature Storage: If you bake frequently (every day or every other day), keep your starter on the counter. Feed it once a day at the same time. I feed mine every morning before coffee. It becomes a pleasant routine.
Refrigerator Storage: If you bake once a week or less, store your starter in the refrigerator. Feed it, let it sit at room temperature for an hour, then cover and refrigerate. Feed it once a week to keep it healthy. When you’re ready to bake, take it out, feed it, and let it come to room temperature for a few hours before using.
Freezing: You can freeze your starter for long-term storage. Spread it thin on parchment paper, freeze until solid, then break into pieces and store in a freezer bag. To revive it, thaw a piece and feed it as usual. It may take a few feedings to become fully active again.
Drying: Spread your starter thinly on parchment paper and let it dry completely at room temperature. Break into flakes and store in an airtight container. To revive, mix a flake with flour and water and feed it for a few days. This is my preferred method for backup starters.
Flavor Development: Your starter’s flavor changes over time. A young starter (under 2 weeks) produces milder bread. An older starter (2 months or more) develops deeper, more complex sour notes. I’ve noticed my starter tastes different in summer versus winter, probably because of the natural yeast in the air.
Nutritional Information & Benefits
Sourdough bread made from your simple beginner sourdough starter from scratch offers several nutritional advantages over commercial bread.
| Nutrient | Per Serving (1 slice, ~60g) |
|---|---|
| Calories | 150-180 |
| Carbohydrates | 30-35g |
| Protein | 5-7g |
| Fiber | 2-3g |
| Iron | 8-10% DV |
| Calcium | 2-4% DV |
Health Benefits: The fermentation process breaks down phytic acid, making minerals like iron and zinc more bioavailable. Sourdough also has a lower glycemic index than regular bread, meaning it doesn’t spike blood sugar as dramatically. The health benefits of sourdough are well-documented in nutrition research.
Dietary Considerations: Traditional sourdough is not gluten-free, but the fermentation process breaks down some gluten proteins. Some people with mild gluten sensitivity find they can tolerate sourdough better than regular bread. For celiac disease, use a gluten-free starter variation.
Potential Allergens: Wheat flour contains gluten. If you have a wheat allergy or celiac disease, use gluten-free flour alternatives. Always check your flour labels for cross-contamination warnings if you have severe allergies.
Personal wellness perspective: I started making sourdough because I wanted to eat less processed food. Knowing exactly what’s in my bread—flour, water, salt—gives me peace of mind. Plus, the act of caring for my starter feels grounding in a busy world.
Conclusion
Making your own simple beginner sourdough starter from scratch is one of the most rewarding kitchen projects you can try. It costs almost nothing, requires minimal equipment, and connects you to a baking tradition that’s thousands of years old. I’ve made this starter in tiny apartments, in humid summers, and in dry winter kitchens, and it works every time.
Don’t be afraid to customize your starter based on what you have available. Use different flours, adjust the feeding schedule, or experiment with the water temperature. Your starter will develop its own personality based on your kitchen and your routine. That’s part of the magic.
I’d love to hear about your sourdough journey. Drop a comment below and tell me about your first loaf, your biggest challenge, or your favorite way to use discard. Share this guide with a friend who’s been wanting to try sourdough but felt intimidated. And remember—even if your starter doesn’t look perfect on day 3, keep going. It’s worth it.
Happy baking, friend. Your kitchen is about to smell amazing.
Frequently Asked Questions
Why isn’t my starter bubbling?
Several factors can slow down your starter. Cold temperatures are the most common cause—try moving it to a warmer spot. Old flour can also be a problem. Make sure you’re using fresh, unbleached flour. If you’ve been using tap water, switch to filtered water. Sometimes starters just need more time. Keep feeding it daily, and it should start bubbling within a few more days.
Can I use my starter before 7 days?
You can, but the results won’t be great. A young starter hasn’t developed enough yeast and bacteria to properly leaven bread. Your bread will be dense and flat. I’ve tried using a 5-day starter for pancakes, and they were okay, but for bread, wait until your starter consistently doubles in size within 4 to 6 hours after feeding.
What do I do with the discard?
Don’t throw it away! Sourdough discard is perfect for pancakes, waffles, crackers, muffins, and quick breads. I keep a separate container in my refrigerator for discard and use it within a week. Sourdough discard recipes are a great way to reduce food waste while enjoying delicious baked goods.
How do I know if my starter has gone bad?
A healthy starter smells pleasantly sour or fruity. If it smells like acetone, nail polish remover, or rotten eggs, it’s likely been underfed or overheated. Pink or orange streaks are a sign of harmful bacteria—discard that starter immediately and start over. A layer of grayish liquid (hooch) on top is normal and just means your starter is hungry.
Can I skip the daily feeding?
During the first 7 days, daily feeding is essential. After your starter is established, you can refrigerate it and feed it once a week. If you’re going on vacation, feed your starter, let it sit for an hour, then refrigerate. It will survive for up to two weeks without feeding in the refrigerator. For longer trips, dry some starter or ask a friend to babysit it.
Pin This Recipe!
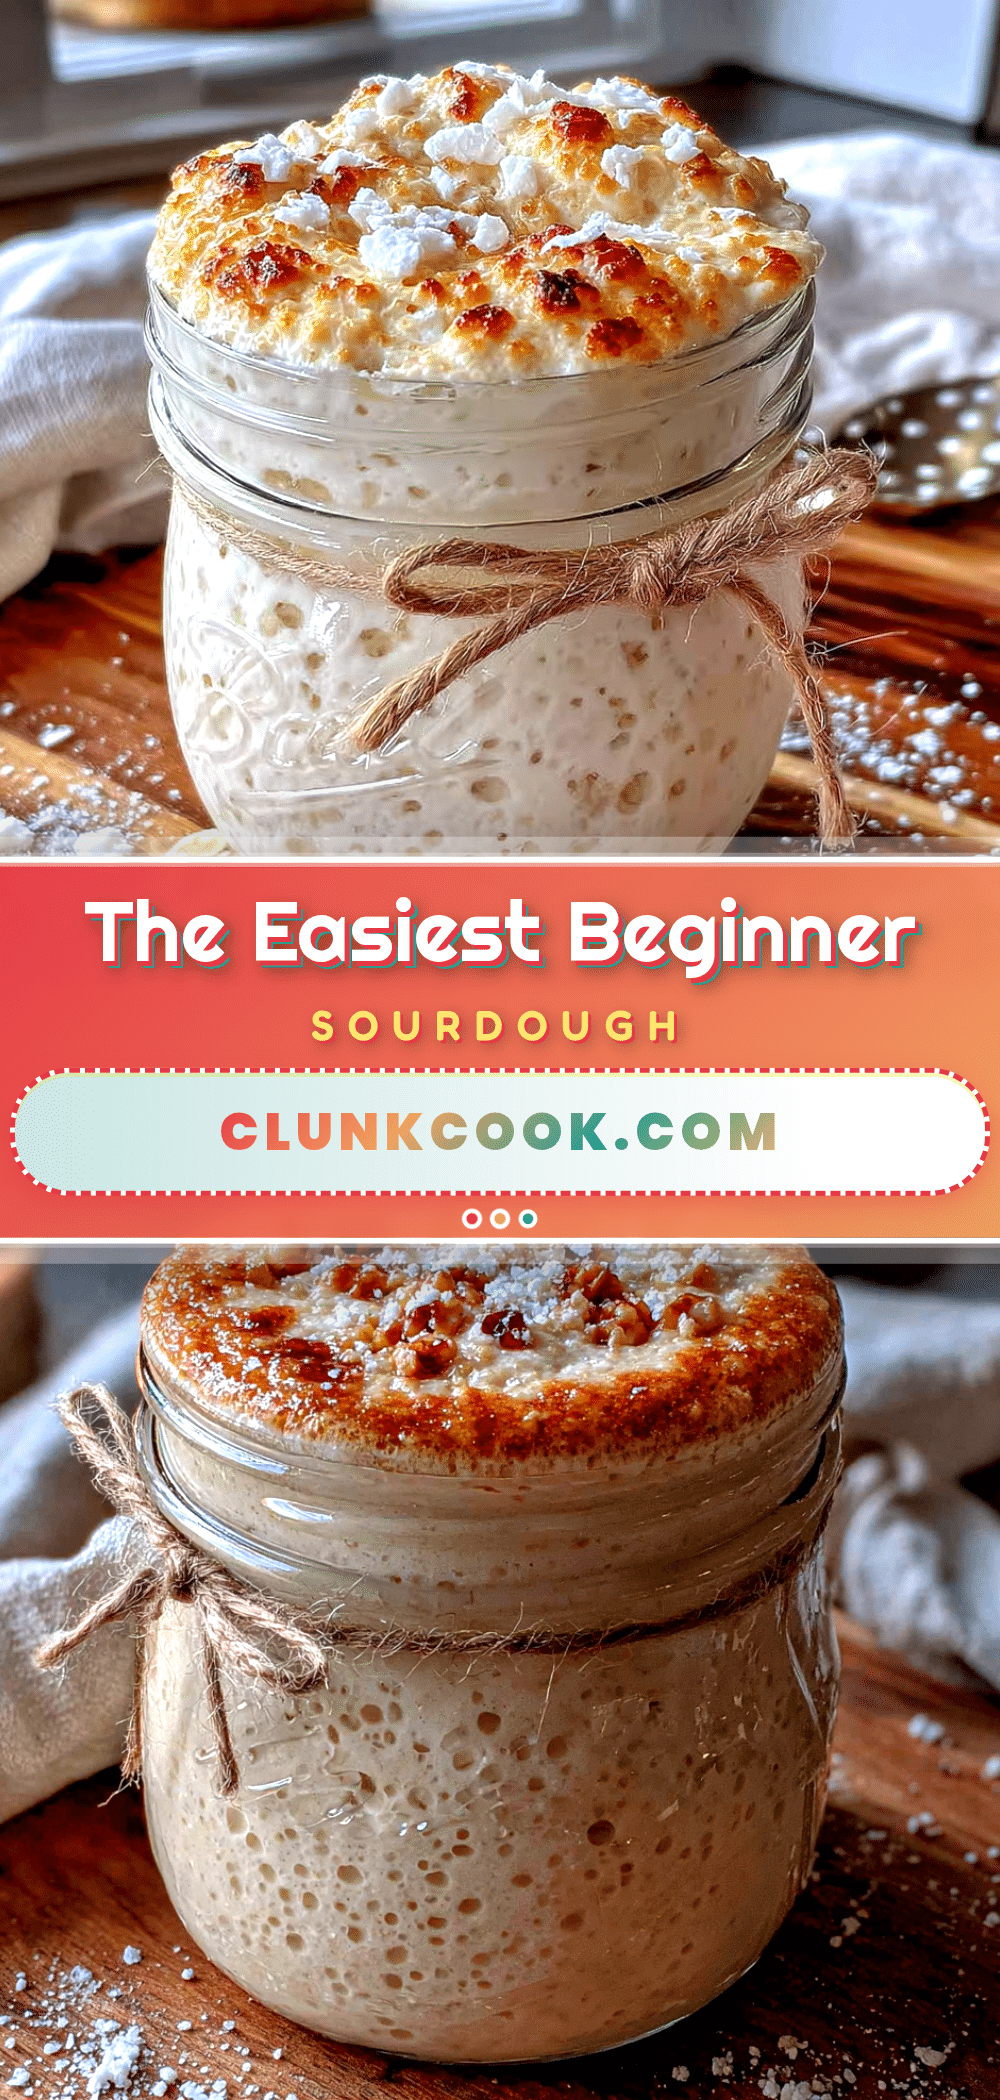
Simple Beginner Sourdough Starter from Scratch: Easy 7-Day Guide
Learn how to make a simple beginner sourdough starter from scratch with this easy 7-day guide. Using just flour and water, you’ll create a bubbly, active starter perfect for baking delicious sourdough bread.
- Prep Time: 10 minutes
- Cook Time: 0 minutes
- Total Time: 7 days
- Yield: 1 active sourdough starter 1x
- Category: Starter
- Cuisine: American
Ingredients
- 50 grams all-purpose flour (unbleached preferred)
- 50 grams water (filtered or bottled, room temperature)
- Optional: whole wheat flour or rye flour for first few days
Instructions
- Day 1: Combine 50 grams of flour and 50 grams of water in a glass jar. Stir vigorously until no dry flour remains. Scrape down sides, cover loosely with a towel or coffee filter, and place on kitchen counter for 24 hours.
- Day 2: Discard half of the starter (about 50 grams). Add 50 grams fresh flour and 50 grams fresh water. Stir well, scrape down sides, and cover. If hooch (grayish liquid) appears, stir it in or pour it off before feeding.
- Day 3: Discard half, feed with 50 grams flour and 50 grams water. Stir and cover. You should see more bubbles and a slightly sour or fruity smell.
- Day 4: Discard half, feed again. Starter should be noticeably bubbly and may rise within 4-6 hours. If sluggish, use slightly warmer water (around 80°F).
- Day 5: Discard half, feed. Starter should double in size within 4-6 hours and smell pleasantly sour.
- Day 6: Discard half, feed. Starter should be very bubbly and double in size within 4 hours, with a dome shape at peak.
- Day 7: Feed in the morning. By afternoon, starter should be bubbly, doubled, and smell wonderfully sour. Pass the float test: drop a small spoonful into water; if it floats, it’s ready.
Notes
Keep starter in a warm spot (above 70°F) for faster development. If using tap water, let it sit out overnight to allow chlorine to evaporate. Don’t skip the discard step; save discard for pancakes, crackers, or muffins. If starter isn’t ready by day 7, continue daily feedings; some starters take 10-14 days.
Nutrition
- Serving Size: 1 slice (60g)
- Calories: 150180
- Sugar: 1
- Sodium: 150200
- Fat: 0.51
- Saturated Fat: 0.1
- Carbohydrates: 3035
- Fiber: 23
- Protein: 57
Keywords: sourdough starter, beginner sourdough, easy sourdough starter, homemade sourdough starter, 7-day sourdough starter