Love this? Save it for later!
Share the inspiration with your friends
My sister-in-law, Claire, had a long-standing, very public, and frankly, a little dramatic hatred for meringue cookies. For years she claimed they were “just puffs of sweet air” or “a waste of an egg white.” She’d wrinkle her nose at the dessert table, bypassing the delicate cookies for anything with a bit more substance, like a brownie or a slice of pie. It was a position she defended with surprising passion.
Then, last Halloween, I made a batch of these ghost meringue cookies for my annual costume party. I set them out on a black platter next to the punch bowl, these little white blobs with tiny chocolate chip eyes staring up at the guests. I honestly made them more for the decoration than anything else. I figured they’d get passed over for the caramel apples.
About an hour into the party, I saw Claire. She was standing by the snack table, a ghost cookie in each hand, mid-bite. Her eyes were wide. She wasn’t looking at me, she was looking at the cookie she was about to finish. “Okay, fine,” she said with a mouthful, “these are actually incredible. Don’t tell anyone I said that.” That was the moment I knew I had a keeper. It wasn’t a recipe that tried to convert anyone; it was one that just quietly did the job, one crunchy, airy bite at a time.
Why You’ll Love This Recipe
This isn’t just another Halloween cookie recipe. This is the one you’ll find yourself making year after year, not just because it’s easy, but because it genuinely works. I’ve tested this method about a dozen times to make sure the cookies hold their shape, get that perfect crisp exterior, and have a marshmallowy center that melts on your tongue. It’s a crowd-pleaser that looks like you spent hours on it when you really didn’t.
- Only 4 Simple Ingredients: You probably have eggs, sugar, vanilla, and cream of tartar in your kitchen right now. No fancy grocery trips needed for this Halloween treat.
- Naturally Gluten-Free & Low-Fat: For your guests with dietary restrictions, these are a perfect, guilt-free indulgence. They’re light, airy, and won’t weigh anyone down at the party.
- Perfect for Hosting: You can make these days in advance. They store beautifully in an airtight container, freeing up your oven and your time on the day of your gathering. Talk about stress-free hosting!
- Unbelievably Impressive: Let’s be honest, a platter of ghost-shaped meringues is a showstopper. They add a whimsical, spooky touch to your dessert table that gets people talking and snapping photos.
- Kid-Friendly Fun: This is a great recipe to get little hands involved. Piping the ghosts and placing the chocolate chip eyes is a perfect Halloween activity before the party starts.
What makes these different from other meringue recipes is the careful balance of sugar and the low-and-slow baking method. I’ve learned the hard way that rushing the process leads to cracked ghosts and sticky, chewy centers. This method guarantees a perfect, crisp cookie every single time.
What Ingredients You Will Need
This recipe uses the most basic pantry staples to create something that feels truly special. The magic is in the technique, not a long list of exotic ingredients. Each one plays a vital role in creating that signature light-as-air texture.
- 4 Large Egg Whites (room temperature): This is the foundation of your meringue. For the best volume, make sure your eggs are at room temperature. Cold egg whites won’t whip up as high or as stable. Separate your eggs carefully—any trace of yolk will prevent the whites from reaching stiff peaks.
- 1 Cup (200g) Granulated Sugar: The sugar isn’t just for sweetness; it’s the structure. It stabilizes the egg whites and gives the cookies that characteristic crispness. I recommend using fine granulated sugar. If you have superfine or caster sugar, even better—it dissolves more quickly.
- 1/2 Teaspoon Cream of Tartar: This is your secret weapon for success. Cream of tartar is an acid that stabilizes the egg white foam, making it less likely to collapse. It also helps create a smoother, glossier meringue. If you don’t have it, you can substitute with 1 teaspoon of lemon juice or white vinegar, but cream of tartar is my go-to for reliability.
- 1 Teaspoon Vanilla Extract: A good quality vanilla extract adds a warm, sweet depth that balances the airy sugar. It takes the edge off the sweetness and makes the flavor feel more rounded. I personally love using a Mexican vanilla for a slightly different, more floral note.
- Mini Chocolate Chips (for eyes): You’ll need about 1/4 cup of mini chocolate chips. These are for the ghost faces. I find the mini chips are the perfect size for two little eyes. You can also use a black decorating gel, but the chips give a nice little chocolate crunch.
Equipment Needed
You don’t need a professional pastry kitchen to make these ghosts. A few basic tools will do the trick, and I’ve included some alternatives if you don’t have the exact item.
- Electric Stand Mixer or Hand Mixer: You can whip meringue by hand with a whisk, but your arm will get a serious workout. An electric mixer is highly recommended. A stand mixer with the whisk attachment is ideal because it leaves your hands free to add the sugar, but a hand mixer works perfectly well.
- Large Glass or Metal Mixing Bowl: Make sure your bowl is completely clean and free of any grease. Even a tiny bit of oil can ruin your meringue. I like to wipe my bowl and whisk attachment with a little lemon juice or vinegar before starting just to be safe.
- Piping Bag with a Large Round Tip: A piping bag gives you the most control for shaping the ghosts. A large round tip (like a Wilton 1A) is perfect. If you don’t have a piping bag, you can use a sturdy zip-top bag with a small corner snipped off. It won’t be as precise, but it will still work.
- Baking Sheets and Parchment Paper: Line your baking sheets with parchment paper. This is non-negotiable. The meringues will stick to ungreased metal, and you’ll end up with a mess. Parchment paper ensures they release cleanly.
Preparation Method
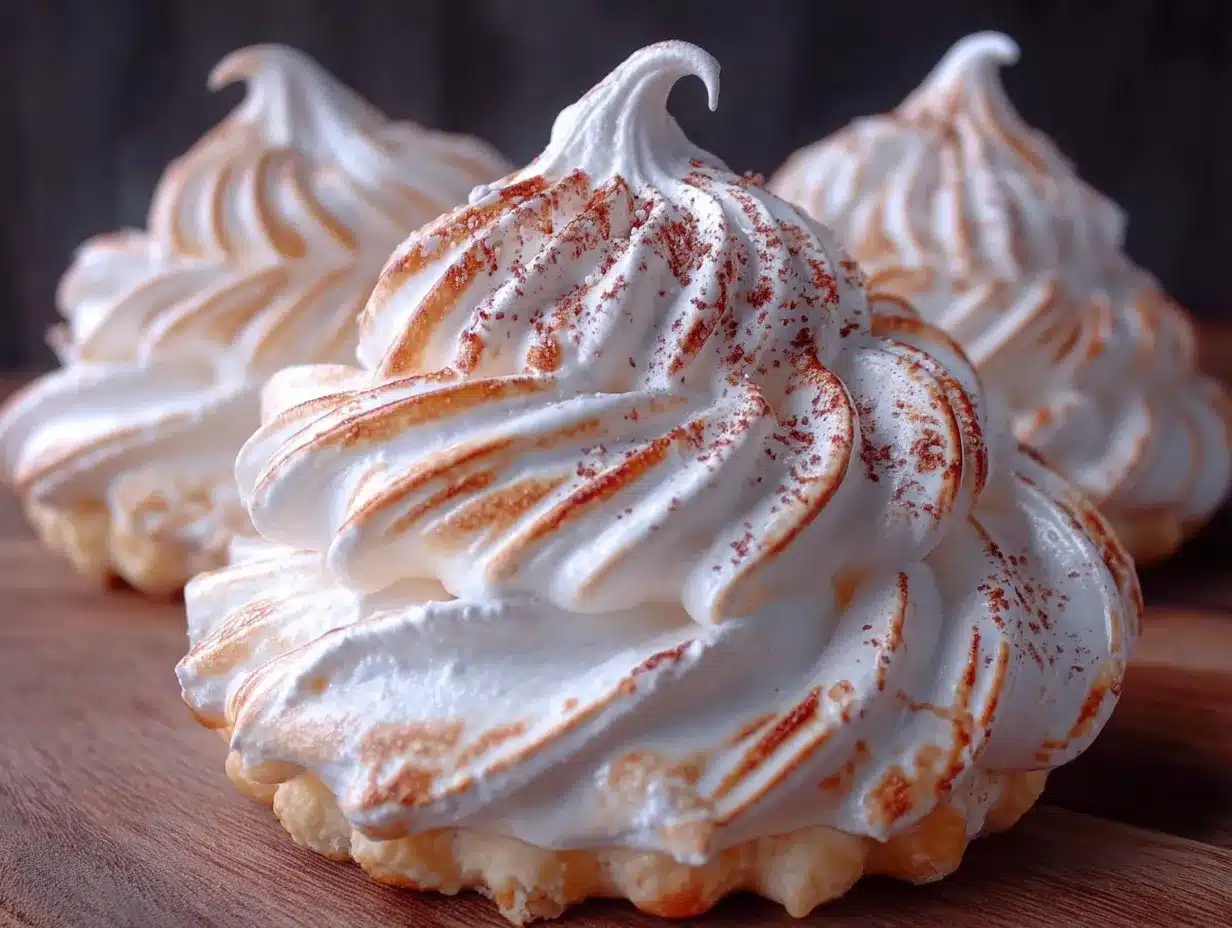
This is where the magic happens. Follow these steps carefully, and you’ll be rewarded with a platter of adorable, delicious ghosts. Don’t rush the process!
- Preheat and Prep: Preheat your oven to 200°F (93°C). Line two large baking sheets with parchment paper. Set them aside. This low temperature is crucial—we are drying the meringues, not baking them.
- Start the Meringue: Place your room-temperature egg whites and cream of tartar in the clean, grease-free bowl of your stand mixer. Begin whipping on medium-low speed. You’re looking for the mixture to become frothy and bubbly, like a bubble bath. This usually takes about 1-2 minutes.
- Gradually Add the Sugar: This is the most important step. With the mixer running on medium speed, start adding the granulated sugar, one tablespoon at a time. I know it’s tedious, but if you dump it all in at once, the meringue will deflate. Let each addition of sugar dissolve for about 15-20 seconds before adding the next. Be patient—this process should take about 5-7 minutes.
- Whip to Stiff Peaks: Once all the sugar is added, increase the mixer speed to medium-high. Whip until the meringue is glossy, thick, and forms stiff peaks. You’ll know it’s ready when you lift the whisk attachment and the meringue holds a point that doesn’t droop. Also, rub a tiny bit between your fingers—it should feel smooth, not grainy. If it’s grainy, keep whipping until the sugar dissolves. This can take another 5-8 minutes.
- Add the Vanilla: With the mixer on low speed, add the vanilla extract. Mix just until it’s combined. You don’t want to overmix at this stage.
- Pipe the Ghosts: Transfer the meringue to your piping bag fitted with the large round tip. Hold the bag straight up and down, about 1/2 inch above the parchment paper. Squeeze a mound of meringue about 1.5 inches in diameter. Stop squeezing, then pull the bag straight up to create a little peak on top. This is the ghost’s head. Repeat, leaving about an inch of space between each ghost.
- Add the Eyes: Before the meringue starts to dry, gently press two mini chocolate chips into each ghost to make eyes. Don’t push them in too far, or they’ll sink. Just a gentle press so they stick.
- Bake Low and Slow: Place the baking sheets in the preheated oven. Bake for 1 hour and 15 minutes to 1 hour and 30 minutes. The meringues are done when they are dry to the touch and can be lifted cleanly off the parchment paper. They should not be browned at all—just a pure, snowy white.
- Cool in the Oven: This is my secret tip for perfect meringues. Turn the oven off, crack the door open slightly (I wedge a wooden spoon in the door), and let the meringues cool completely in the oven for at least 2 hours. This prevents them from cracking due to a sudden change in temperature.
Cooking Tips & Techniques
I’ve made a lot of mistakes with meringue over the years. I’ve had flat cookies, cracked ghosts, and sticky messes. Here are the lessons I learned so you don’t have to.
The Humidity is Your Enemy. Meringue is sugar and air, and sugar loves to absorb moisture. Do not make these on a rainy or humid day. The cookies will end up sticky and chewy instead of light and crisp. Wait for a dry day for the best results.
Don’t Overbake, Overdry. The low temperature is key. You’re not cooking the egg whites; you’re slowly evaporating the water. If your oven runs hot, these can start to brown, which ruins the “ghost” illusion. An oven thermometer is a cheap and worthwhile investment.
The “Grainy” Test. I can’t stress this enough—feeling the meringue between your fingers is the best way to know if it’s ready. If it feels gritty, the sugar hasn’t dissolved. Keep whipping. A grainy meringue will “weep” or leak sugar syrup as it bakes, resulting in a flat, sticky mess.
Multitasking is a No-Go. Don’t try to answer the phone or start another recipe while you’re adding the sugar to the egg whites. It requires your full attention for those first critical minutes. I once forgot to add the cream of tartar. The result was a sad, flat puddle on my baking sheet.
Variations & Adaptations
Once you master the basic ghost, the possibilities are endless. This is a great base recipe to make your own.
- Flavor Variations: Swap the vanilla extract for peppermint, almond, or orange extract for a different flavor profile. For chocolate ghosts, sift 2 tablespoons of unsweetened cocoa powder over the meringue after you’ve whipped it to stiff peaks and gently fold it in with a rubber spatula.
- Dietary Adaptations: This recipe is naturally gluten-free. For a vegan version, you can try using aquafaba (the liquid from a can of chickpeas) in place of the egg whites. It whips up just like egg whites, though the flavor is slightly different.
- Different Shapes: You don’t have to make ghosts! Use a star tip to pipe small star shapes for a spooky night sky. Pipe long, thin strips for “bones” or “mummies.” You can also add a little black food coloring to a portion of the meringue and pipe tiny spiders or bats.
- Colorful Spirits: Add a few drops of gel food coloring to the meringue before piping. Swirl it in gently with a knife to create a marbled effect. Green ghosts, purple ghosts, or orange ghosts are all fun and festive.
Serving & Storage Suggestions
These ghosts are best served the day they are made, but they are incredibly forgiving when it comes to storage.
Serving: Serve them at room temperature. They are the perfect, light finish to a heavy Halloween meal. I like to arrange them on a dark platter or a bed of black sanding sugar to make the white ghosts pop. They look amazing next to a bowl of punch or a plate of caramel apples. They are also fantastic for crumbling over a bowl of ice cream or hot chocolate.
Storage: Store your completely cooled meringues in an airtight container at room temperature. Do not put them in the refrigerator—the moisture will ruin them. Properly stored, they will stay crisp for up to two weeks. If they do get a little soft, you can pop them back into a 200°F (93°C) oven for 10-15 minutes to re-crisp them.
Make-Ahead Magic: This is the best part for a host. You can make these ghosts up to a week before your party. Just store them in an airtight container in a cool, dry place. They will be ready to go when you are, allowing you to focus on other dishes and decorations on the day of your gathering.
Nutritional Information & Benefits
While these are a treat, they are a lighter option compared to many other cookies and candies.
- Per Serving (1 ghost cookie): Approximately 35 calories, 0g fat, 8g carbohydrates (8g sugar), 1g protein.
- Low in Fat: Since they are made from egg whites and sugar, they are naturally fat-free.
- Gluten-Free & Dairy-Free: This recipe is safe for guests with common dietary restrictions.
- High in Protein (from egg whites): While not a significant source, each cookie does offer a small amount of protein.
Remember, these are a special occasion treat. They are meant to be enjoyed in moderation as part of a festive celebration. I feel good serving them because I know exactly what’s in them, and they don’t leave anyone feeling overly stuffed or sluggish.
Conclusion
Honestly, these ghost meringue cookies are the perfect example of why I love cooking for a crowd. They look like you put in a ton of effort, but the reality is they’re one of the simplest things you can make. The process is almost meditative—watching the egg whites transform into a glossy, cloud-like mixture is genuinely satisfying. And the payoff? Watching your guests smile when they see these little guys on the dessert table is the best part.
I encourage you to make these your own. Add a different extract, pipe them into different shapes, or just stick with the classic ghost. They are a blank canvas for your Halloween creativity. They’ve become a non-negotiable tradition at my house, and I have a feeling they will at yours, too.
Have you made these? I’d love to hear how they turned out! Drop a comment below and let me know if your guests loved them as much as mine did. Don’t forget to pin this recipe for later and share it with your fellow Halloween hosts!
Frequently Asked Questions
Can I make these meringues on a rainy day?
It’s not recommended. Meringue is very sensitive to humidity. The sugar will absorb moisture from the air, making the cookies sticky and chewy instead of crisp. Wait for a dry day for the best results.
Why did my meringue cookies crack?
Cracking is usually caused by a sudden change in temperature. This is why I recommend letting them cool completely in the oven with the door cracked open. It allows them to adjust to the room temperature slowly.
Can I use liquid egg whites from a carton?
You can, but the results may not be as good. Carton egg whites are often pasteurized at a higher temperature, which can affect their ability to whip up to stiff peaks. For the most reliable results, use fresh egg whites.
How do I know when the meringue is whipped enough?
The best test is the “finger test.” Rub a small amount of the meringue between your thumb and forefinger. It should feel completely smooth, not grainy. If it’s grainy, the sugar hasn’t dissolved, and you need to keep whipping.
My ghosts flattened in the oven. What went wrong?
This usually means the meringue wasn’t whipped to stiff enough peaks, or the sugar was added too quickly. It could also be a sign that the bowl or whisk had a trace of grease or yolk on it. Make sure your equipment is spotless and you whip the meringue until it holds a very firm, glossy peak.
Pin This Recipe!
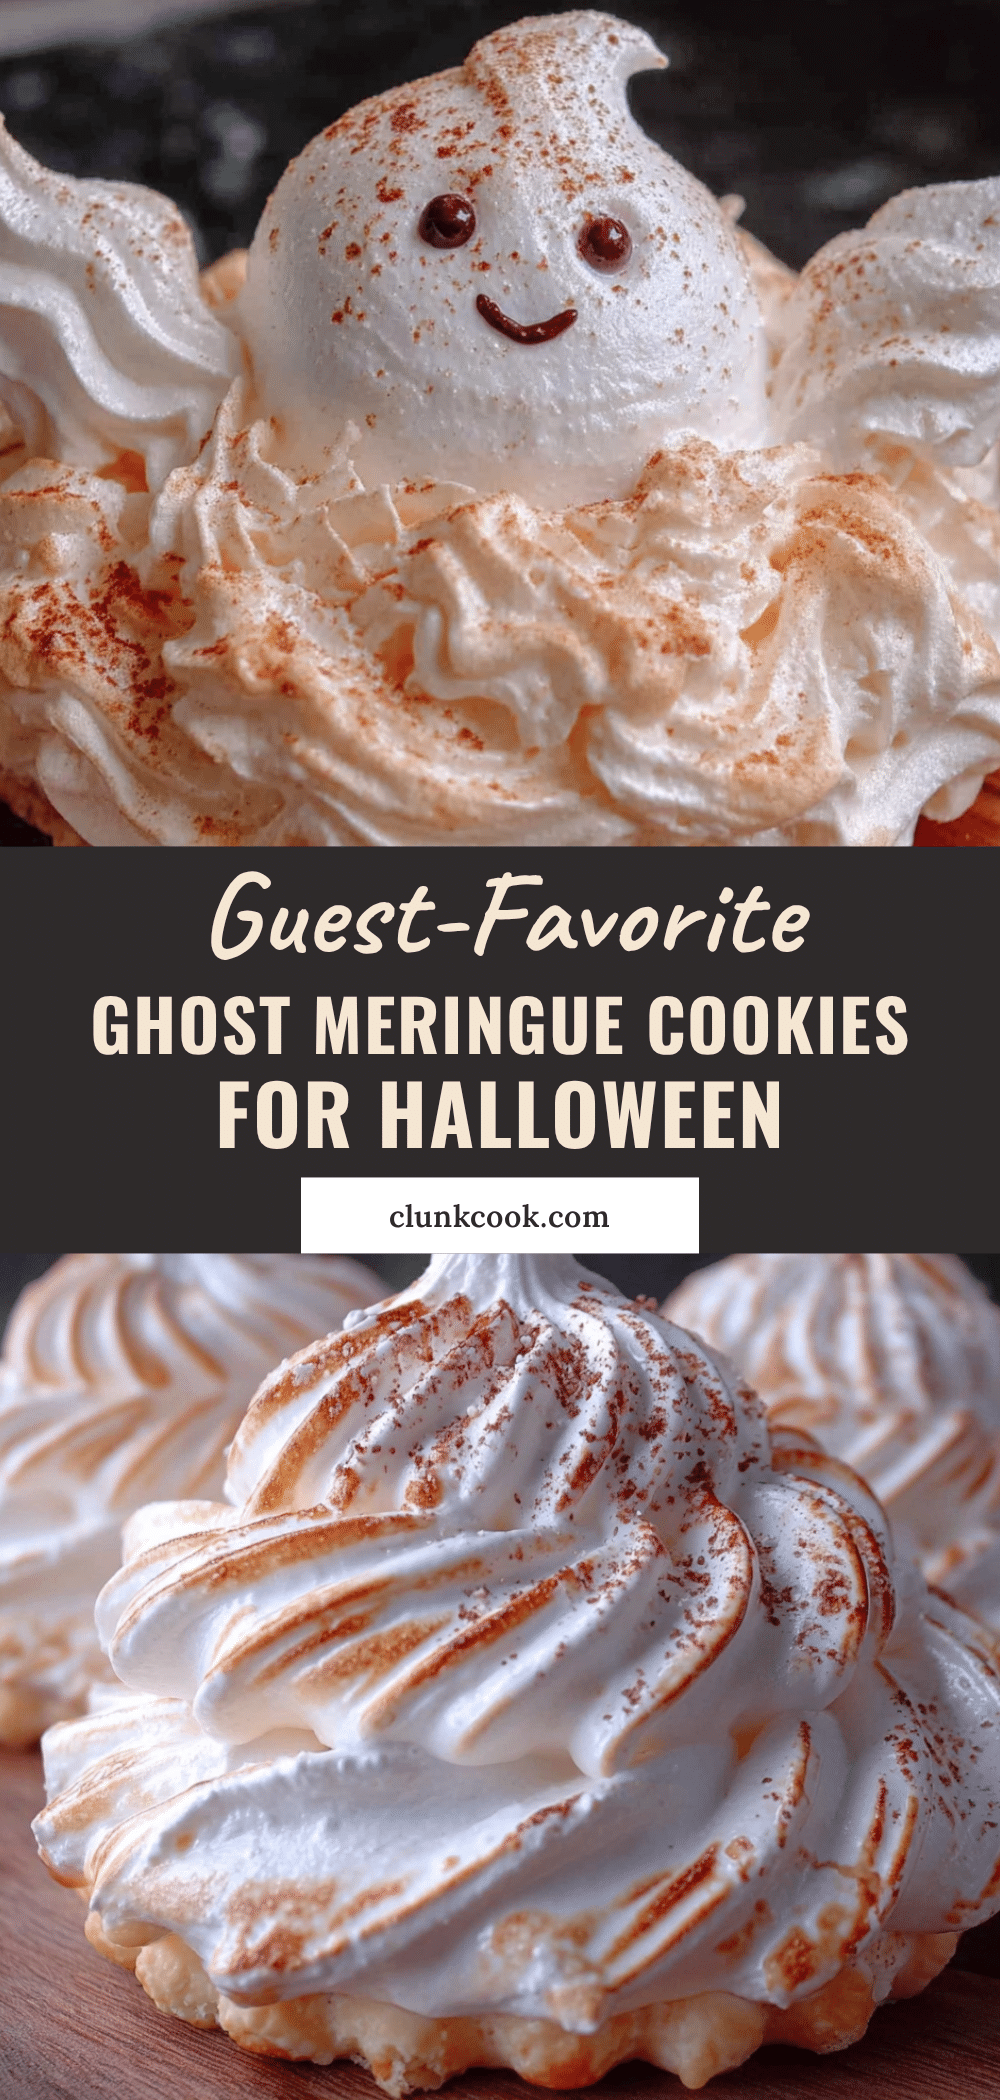
Halloween Guest-Favorite Ghost Meringue Cookies: Easy 4-Ingredient Recipe
These adorable ghost meringue cookies are a Halloween showstopper made with just 4 simple ingredients. They are light, airy, naturally gluten-free, and perfect for parties.
- Prep Time: 20 minutes
- Cook Time: 1 hour 30 minutes
- Total Time: 3 hours 50 minutes (includes cooling)
- Yield: 24 servings 1x
- Category: Dessert
- Cuisine: American
Ingredients
- 4 large egg whites, room temperature
- 1 cup (200g) granulated sugar
- 1/2 teaspoon cream of tartar
- 1 teaspoon vanilla extract
- 1/4 cup mini chocolate chips (for eyes)
Instructions
- Preheat oven to 200°F (93°C). Line two large baking sheets with parchment paper.
- Place room-temperature egg whites and cream of tartar in a clean, grease-free bowl. Whip on medium-low speed until frothy and bubbly, about 1-2 minutes.
- With mixer running on medium speed, add granulated sugar one tablespoon at a time, letting each addition dissolve for 15-20 seconds. This should take 5-7 minutes.
- Increase speed to medium-high and whip until meringue is glossy, thick, and forms stiff peaks. Rub a bit between your fingers—it should feel smooth, not grainy. This can take another 5-8 minutes.
- Add vanilla extract on low speed and mix just until combined.
- Transfer meringue to a piping bag fitted with a large round tip. Pipe 1.5-inch mounds onto prepared baking sheets, pulling straight up to create a peak on top.
- Gently press two mini chocolate chips into each ghost for eyes before meringue dries.
- Bake for 1 hour 15 minutes to 1 hour 30 minutes, until dry to the touch and easily lifted off parchment. Do not brown.
- Turn off oven, crack door open with a wooden spoon, and let meringues cool completely in oven for at least 2 hours.
Notes
Do not make on a humid or rainy day. Ensure bowl and whisk are completely grease-free. For best results, let meringues cool in the oven with door cracked to prevent cracking. Store in an airtight container at room temperature for up to two weeks.
Nutrition
- Serving Size: 1 ghost cookie
- Calories: 35
- Sugar: 8
- Sodium: 10
- Carbohydrates: 8
- Protein: 1
Keywords: ghost meringue cookies, Halloween cookies, meringue cookies, easy Halloween dessert, gluten-free cookies, low-fat cookies


