Love this? Save it for later!
Share the inspiration with your friends
Introduction
“You ever notice how the smell of vinegar and dill can instantly take you back?” My neighbor Ruth said this as she handed me a jar of pickles last summer. Honestly, I wasn’t expecting much—just some crunchy cucumbers, right? But that jar held something special. It wasn’t just any pickle; it was her grandma’s kitchen pickle recipe, crafted with summer cucumbers picked fresh from the garden that morning.
Ruth told me she found the recipe scribbled on a yellowed notecard tucked inside an old cookbook at a flea market downtown. The handwriting was shaky but the instructions clear, passed down like a secret treasure. I remember standing in her sunlit kitchen, the jars lined up on the counter, the air thick with the tangy scent of spices. She confessed she’d forgotten to add the garlic the first time and nearly tossed the whole batch. But that batch? It turned out to be the best pickle she’d ever made.
Maybe you’ve been there—trying to recreate a flavor that feels like home, or stumbling into a recipe that surprises you with its simplicity and soul. This classic homemade grandma’s kitchen pickle recipe with summer cucumbers is exactly that kind of find. It’s the kind of pickle that makes you close your eyes after the first bite, the kind you wish you could bottle up with a sprinkle of nostalgia. Let me tell you why this recipe has stayed on my kitchen shelf and why I think it’ll find a spot in yours too.
Why You’ll Love This Recipe
After testing this recipe multiple times (and yes, sampling way too many pickles), I can say it’s a keeper for all the right reasons. It’s not just a pickle; it’s a little jar of happiness that’s easy to make and even easier to enjoy.
- Quick & Easy: Comes together in under an hour, perfect for those summer afternoons when you want fresh pickles without fuss.
- Simple Ingredients: Uses pantry staples and fresh summer cucumbers—you probably won’t need to make a special grocery run.
- Perfect for Summer Gatherings: Ideal for barbecues, picnics, or just a crunchy snack while you sit on the porch.
- Crowd-Pleaser: Kids and adults alike can’t get enough; the balance of tang and spice is just right.
- Unbelievably Delicious: The crisp cucumbers soak up the brine, delivering every bite with a satisfying crunch and a burst of flavor.
What sets this apart from other pickle recipes? It’s the gentle simmer of the brine that keeps the cucumbers crisp, the generous handful of dill that whispers of tradition, and the touch of garlic that makes it unmistakably homemade. Plus, Ruth swears by using small, firm cucumbers from the farmer’s market—she says it makes all the difference. This isn’t just another pickle recipe; it’s the one that turns simple summer cucumbers into a jar of kitchen magic.
What Ingredients You Will Need
This recipe uses simple, wholesome ingredients to deliver bold flavor and satisfying texture without the fuss. Most are pantry staples, with the star being fresh summer cucumbers—crisp and perfect for pickling.
- Summer cucumbers: about 2 pounds (900 grams), small to medium-sized and firm (Kirby cucumbers work great)
- Water: 2 cups (480 ml), filtered if possible for the cleanest brine
- White vinegar: 2 cups (480 ml), 5% acidity (standard for pickling)
- Pickling salt: 2 tablespoons (use kosher or sea salt, avoid iodized)
- Granulated sugar: 1 tablespoon (optional, balances acidity)
- Dill sprigs: 4-5 large sprigs, fresh (look for bright green, fragrant leaves)
- Garlic cloves: 3-4, peeled and smashed (adds that classic punch)
- Black peppercorns: 1 teaspoon (whole, for subtle spice)
- Mustard seeds: 1 teaspoon (adds a gentle warmth)
- Red pepper flakes: 1/4 teaspoon (optional, for a bit of heat)
Ingredient tips: If you want a crunchy texture, pick cucumbers that snap when bent. For a slightly different flavor, try substituting apple cider vinegar. And if you can’t find fresh dill, dill seeds can be a fine substitute, but the fresh sprigs bring that unmistakable aroma from grandma’s jar.
Equipment Needed
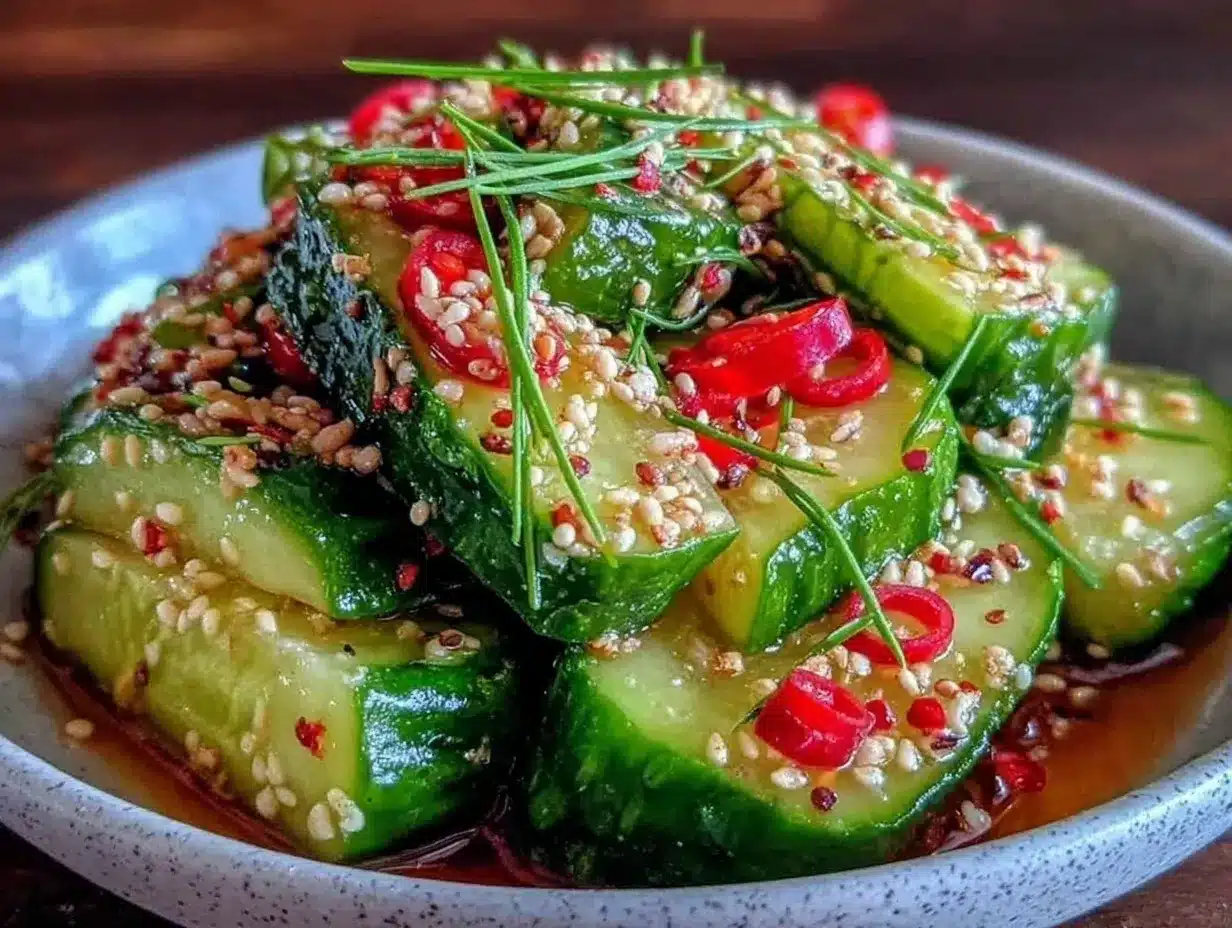
- Quart-sized glass jars with lids: Perfect for storing your pickles; reuse old pickle or jam jars if you want to save money and reduce waste.
- Large pot: For boiling the brine—any heavy-bottomed pot works well to prevent scorching.
- Mixing bowl: To rinse and toss cucumbers before packing.
- Tongs or jar lifter: Helpful for safely handling hot jars if you plan to process them for longer storage.
- Sharp knife and cutting board: For slicing cucumbers if you prefer spears or rounds.
If you don’t have quart jars, pint jars will work too; just adjust quantities accordingly. Glass is preferred over plastic to avoid unwanted flavors. I’ve tried using a plastic storage container for quick fridge pickles, but honestly, nothing beats the classic glass jar for flavor and presentation. Also, keep your lids clean and free of dents to ensure a good seal.
Preparation Method
- Wash and prepare cucumbers: Rinse the summer cucumbers under cold water to remove any dirt. Trim off the blossom end (the opposite of the stem end) to help keep pickles crisp. You can leave them whole, slice into spears, or cut rounds depending on your preference. (Approx. 10 minutes)
- Prepare jars: Sterilize your glass jars and lids by washing them in hot soapy water, then placing them in a pot of simmering water for 10 minutes. Remove with tongs and let air dry on a clean towel.
- Make the brine: In a large pot, combine water, white vinegar, pickling salt, and sugar. Bring to a boil over medium-high heat, stirring occasionally to dissolve the salt and sugar completely. Once boiling, remove from heat. (Approx. 5-7 minutes)
- Pack the jars: Into each sterilized jar, place a couple of dill sprigs, a smashed garlic clove, 1/4 teaspoon of black peppercorns, and a pinch of mustard seeds and red pepper flakes if using. Then pack the cucumbers tightly but without crushing. I like to press them gently with my fingers. (Approx. 10 minutes)
- Pour the hot brine: Carefully ladle the hot brine over the cucumbers, leaving about 1/2 inch (1.25 cm) headspace at the top. Use a clean utensil to remove air bubbles by gently pressing around the cucumbers. Wipe rims clean with a damp cloth before sealing. (Approx. 5 minutes)
- Seal and cool: Place the lids on jars and screw on rings finger-tight. Let the jars cool to room temperature on a towel-lined counter. Once cool, refrigerate immediately if you plan to eat within a few weeks. For longer storage, process in a boiling water bath for 10 minutes. (Cooling: 1-2 hours; Processing: Optional 10 minutes)
- Wait and enjoy: For best flavor, let the pickles sit in the fridge for at least 48 hours before tasting. Honestly, the wait is worth it—you get that perfect blend of crispness and tang that you can’t rush.
Quick tip: If your cucumbers turn soft, it’s often because the brine wasn’t hot enough or the jars weren’t sterilized properly. Also, avoid using baking soda on cucumbers—it can ruin the texture. The first time I made this, I forgot to pack the garlic and realized it only after tasting. It wasn’t bad, but that garlicky kick is worth the extra step!
Cooking Tips & Techniques
To get those perfect crunchy pickles every time, here are some tips I’ve learned the hard way:
- Keep cucumbers cold: Before pickling, store cucumbers in the fridge. Cold cucumbers hold their crunch better when immersed in hot brine.
- Trim the blossom end: That little flower end contains enzymes that can make pickles soft. Snip it off for a firmer bite.
- Use pickling salt: Regular table salt can cloud the brine and alter flavor. Pickling salt dissolves cleanly and keeps the brine clear.
- Don’t skip the boiling brine: Heating the brine helps meld flavors and ensures the salt and sugar fully dissolve.
- Avoid overcrowding jars: Pack cucumbers tightly but gently to avoid bruising, which can cause mushy spots.
- Store properly: Keep pickles refrigerated if you’re not processing for shelf stability. I learned this the hard way after a batch fermented overnight in the pantry!
Timing is everything here. Boiling your brine while packing jars can feel like a juggling act, but prepping your ingredients ahead makes the process smooth. If you want to multitask, start the brine first, then prep cucumbers and jars while it’s heating.
Variations & Adaptations
This classic pickle recipe is a fantastic base for customization. Here are a few ideas to make it your own:
- Spicy Pickles: Add extra red pepper flakes or a sliced jalapeño for a fiery kick.
- Garlic & Herb: Mix in fresh thyme or rosemary sprigs alongside dill for an herby twist.
- Low-Sodium Version: Reduce salt to 1 tablespoon and increase vinegar slightly; keep in mind this alters the texture.
- Fermented Pickles: Skip the vinegar and use a saltwater brine for natural fermentation, but be prepared for a more sour, complex flavor.
- Vinegar Swap: Use apple cider vinegar or rice vinegar for subtle flavor differences.
Personally, I once tried adding a splash of smoked paprika for a subtle smoky note—it was surprisingly good! If you’re gluten-free or watching carbs, this recipe fits perfectly with no adjustments needed. For vegans, it’s naturally plant-based and clean.
Serving & Storage Suggestions
Serve these pickles chilled right from the jar or sliced on a platter with sandwiches, burgers, or cheese boards. They add a bright, tangy crunch that cuts through rich flavors beautifully.
Store pickles in the refrigerator for up to 4 weeks when made fresh. If you process them in a water bath, they can last sealed in a cool, dark pantry for up to a year. Over time, the flavors deepen—if you like your pickles extra tangy, let them sit a bit longer.
To reheat (if you want warm pickles for a cooked dish), briefly warm the brine in a saucepan and pour it over the pickles, but usually, cold pickles are the star.
Nutritional Information & Benefits
These classic homemade pickles are low in calories (around 10-15 calories per medium pickle spear) and fat-free, making them a guilt-free snack. The vinegar helps digestion and blood sugar control, while dill brings antioxidants and vitamins.
Keep in mind, pickles are naturally high in sodium, so enjoy in moderation if you’re watching salt intake. This recipe is gluten-free, vegan, and keto-friendly. From a wellness perspective, I love how these pickles add flavor without extra calories or processed ingredients—great for mindful eating.
Conclusion
This classic homemade grandma’s kitchen pickle recipe with summer cucumbers is more than just a condiment—it’s a little jar of summer, tradition, and simple joy. Whether you’re new to pickling or have been making your own for years, this recipe offers a straightforward, tasty way to enjoy fresh cucumbers all year long.
Feel free to tweak the spices or adjust sweetness to your taste. I love this recipe because it reminds me of those sunny afternoons with Ruth, learning that sometimes the best recipes are the ones that come with stories and a little bit of patience.
If you try this recipe, I’d love to hear how your pickles turn out or if you add your own twist. Share your thoughts and stories in the comments below—you never know who might be inspired next. Happy pickling!
FAQs
How long do homemade pickles last in the refrigerator?
Refrigerated pickles typically last about 3 to 4 weeks. Always check for any signs of spoilage like off smells or mold before eating.
Can I use regular cucumbers instead of summer cucumbers?
Yes, but summer cucumbers or pickling cucumbers are preferred for their firmness and smaller seeds, which help keep pickles crisp.
Do I have to process these pickles in a water bath?
No, if you plan to eat them within a few weeks, refrigeration is sufficient. Processing extends shelf life for pantry storage.
Why are my pickles soft?
Soft pickles often result from using overripe cucumbers, not trimming the blossom end, or a brine that was not hot enough. Following the recipe steps closely helps keep them crisp.
Can I make this recipe vegan and gluten-free?
Absolutely! This recipe is naturally vegan and gluten-free, using only plant-based ingredients and no gluten-containing additives.
Pin This Recipe!
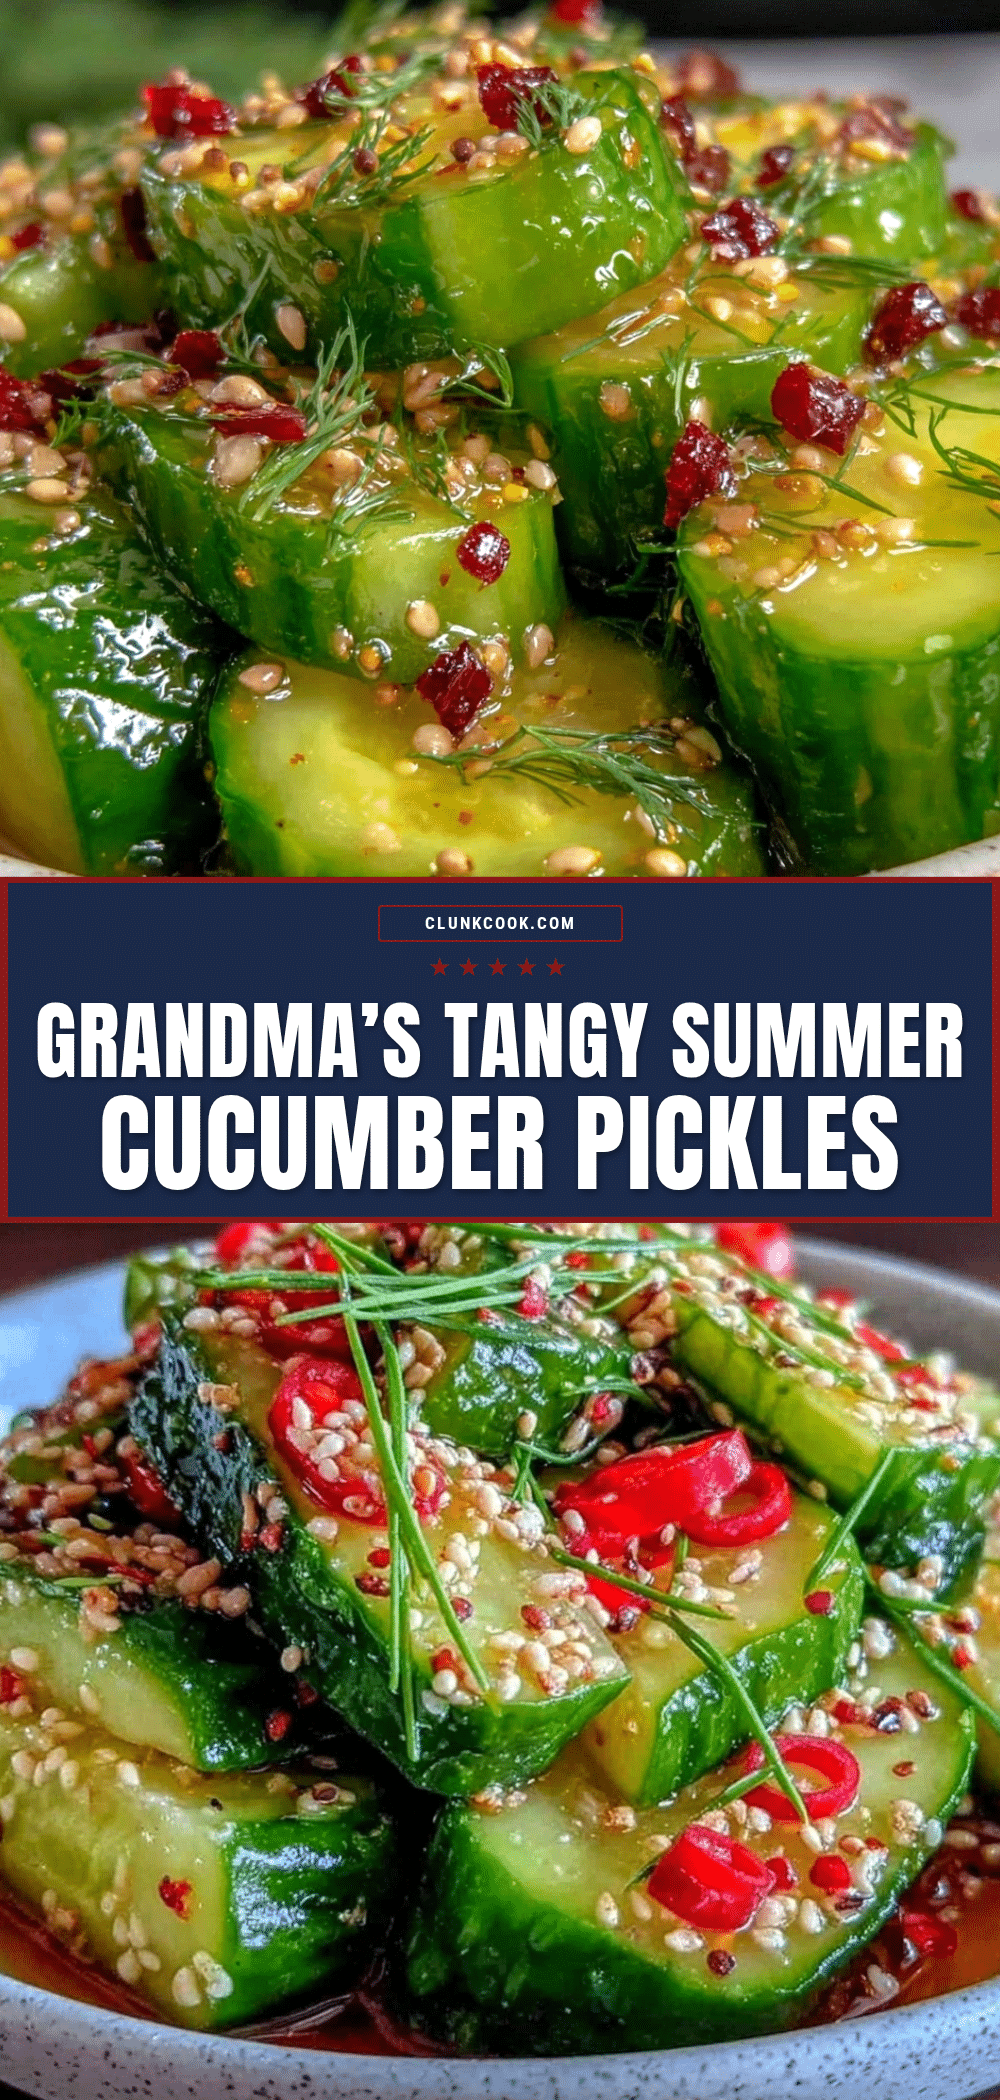
Classic Homemade Grandma’s Kitchen Pickle Recipe Easy Summer Cucumber Pickles to Make Today
A nostalgic and easy-to-make recipe for crunchy summer cucumber pickles with a tangy vinegar and dill brine, perfect for summer gatherings and everyday snacking.
- Prep Time: 20 minutes
- Cook Time: 10 minutes
- Total Time: 1 hour 30 minutes
- Yield: 4 servings 1x
- Category: Condiment
- Cuisine: American
Ingredients
- 2 pounds summer cucumbers (small to medium-sized, firm, Kirby cucumbers work great)
- 2 cups water (filtered if possible)
- 2 cups white vinegar (5% acidity)
- 2 tablespoons pickling salt (kosher or sea salt, avoid iodized)
- 1 tablespoon granulated sugar (optional)
- 4–5 large fresh dill sprigs
- 3–4 garlic cloves, peeled and smashed
- 1 teaspoon whole black peppercorns
- 1 teaspoon mustard seeds
- 1/4 teaspoon red pepper flakes (optional)
Instructions
- Wash and prepare cucumbers: Rinse under cold water, trim off the blossom end, and slice into spears, rounds, or leave whole as preferred. (Approx. 10 minutes)
- Prepare jars: Sterilize glass jars and lids by washing in hot soapy water, then simmering in boiling water for 10 minutes. Remove with tongs and air dry.
- Make the brine: In a large pot, combine water, white vinegar, pickling salt, and sugar. Bring to a boil over medium-high heat, stirring to dissolve salt and sugar. Remove from heat once boiling. (Approx. 5-7 minutes)
- Pack the jars: Place 2 dill sprigs, 1 smashed garlic clove, 1/4 teaspoon black peppercorns, a pinch of mustard seeds, and red pepper flakes if using into each jar. Pack cucumbers tightly but gently without crushing. (Approx. 10 minutes)
- Pour the hot brine: Ladle hot brine over cucumbers leaving 1/2 inch headspace. Remove air bubbles by pressing around cucumbers with a clean utensil. Wipe rims clean before sealing. (Approx. 5 minutes)
- Seal and cool: Screw lids on finger-tight. Let jars cool to room temperature on a towel-lined counter. Refrigerate immediately if eating within weeks or process in boiling water bath for 10 minutes for longer storage. (Cooling: 1-2 hours; Processing: Optional 10 minutes)
- Wait and enjoy: Refrigerate pickles for at least 48 hours before tasting for best flavor.
Notes
Keep cucumbers cold before pickling to maintain crunch. Trim blossom end to prevent soft pickles. Use pickling salt to keep brine clear. Boil brine to dissolve salt and sugar fully. Avoid overcrowding jars to prevent mushy spots. Refrigerate if not processing for shelf stability. For longer storage, process jars in boiling water bath for 10 minutes.
Nutrition
- Serving Size: Approximately 1/2 cu
- Calories: 15
- Sugar: 1
- Sodium: 600
- Carbohydrates: 3
- Fiber: 0.5
Keywords: pickles, homemade pickles, cucumber pickles, summer pickles, dill pickles, easy pickling, refrigerator pickles, vegan pickles, gluten-free pickles