Love this? Save it for later!
Share the inspiration with your friends
My husband, Mark, swore he hated pumpkin seeds. For years, he claimed they were the culinary equivalent of chewing on dry twigs, or worse, that soggy disappointment you sometimes get in a salad bar. I mean, I get it. If you’ve ever had them boiled and underseasoned, they taste like salty sponges. He avoided them at Halloween, he ignored them at Thanksgiving, and he definitely didn’t want them in his trail mix. Then I made this batch of crispy roasted pumpkin seeds with cinnamon sugar ‘just for myself’ and found him emptying a bowl I’d left on the counter at 11 p.m. on a Tuesday.
I was halfway through watching a documentary on fungi when I heard that distinct, rhythmic crunch. I turned around to see him standing in the dim kitchen light, holding an empty bowl, looking like a kid who had just been caught stealing cookies. He didn’t even try to hide it. He just shrugged and said, “These are dangerous.” I knew right then that I had won the argument without saying a single word. It wasn’t just that they were good; it was that they were addictive in the best possible way.
You know that feeling when you’re trying to make a healthy snack that doesn’t taste like cardboard? Maybe you’ve been there, staring into your pantry wondering what to do with leftover pumpkins. This recipe changed our game. It turned a seasonal byproduct into a year-round obsession. The smell of cinnamon toasting in the oven fills the house, and suddenly, you’re not eating a snack; you’re experiencing a little slice of autumn comfort. Honestly, it’s hard to stop at one handful.
I still remember the first time I tried to roast them. I forgot to dry them properly, and they came out chewy and sad. I almost gave up. But then I figured out the secret: patience and a good rinse. Now, I keep a bag of these in the pantry because life gets busy, and sometimes you just need something crunchy and sweet to get you through the afternoon slump. This isn’t just a recipe; it’s a small victory in the kitchen. It’s proof that you don’t need fancy ingredients to make something memorable. You just need a pumpkin, some sugar, and a willingness to try something new.
These seeds have become our go-to for movie nights, hiking trips, and late-night study sessions. They’re portable, they’re delicious, and they make you feel like a culinary genius even if you’re just following instructions. I love that they use something most people throw away. It feels sustainable and smart. Plus, the contrast between the salty pumpkin and the sweet cinnamon is just perfect. If you’re skeptical, trust me on this one. Once you take that first bite, you’ll be wondering why you ever bought those overpriced, pre-packaged snacks from the store. This version is better, fresher, and made with love.
Why You’ll Love This Recipe
I’ve tested this recipe more times than I care to admit. There was the batch where I used too much salt, and the batch where the sugar burned because I wasn’t watching the oven closely enough. But this version? This is the one. It’s the result of trial, error, and a lot of tasting. I want you to know that these aren’t just another snack idea floating around the internet. This is a tested, true, and trusted method for making the best crispy roasted pumpkin seeds with cinnamon sugar you will ever eat.
- Quick & Easy: These come together in under 45 minutes, which is perfect for busy weeknights or when you need a last-minute treat for unexpected guests. You won’t believe how fast they go from raw to roasted.
- Simple Ingredients: No fancy grocery trips needed. You likely already have pumpkin seeds, cinnamon, sugar, and butter in your kitchen. It’s pantry-friendly and budget-conscious.
- Perfect for Autumn: Great for Halloween parties, Thanksgiving sides, or cozy dinners by the fire. They capture the essence of the season in every bite.
- Crowd-Pleaser: Always gets rave reviews from kids and adults alike. Even the picky eaters who usually turn their noses up at “weird” snacks will ask for seconds.
- Unbelievably Delicious: The texture is next-level comfort food. Crispy, sweet, salty, and slightly spiced all at once. It’s the kind of snack that makes you close your eyes after the first bite.
What makes this recipe different from the rest is the attention to detail in the preparation. Many recipes skip the step of thoroughly drying the seeds, which leads to steam instead of crispness. I’ve learned that drying is the key to that perfect crunch. Also, the ratio of cinnamon to sugar is balanced so it’s not overwhelmingly sweet, but just enough to satisfy a craving. It’s comfort food reimagined—healthier, faster, but with the same soul-soothing satisfaction. It’s perfect for impressing guests without stress, or turning a simple meal into something memorable.
What Ingredients You Will Need
This recipe uses simple, wholesome ingredients to deliver bold flavor and satisfying texture without the fuss. You don’t need a lot of stuff to make this work, which is part of its charm. The beauty of crispy roasted pumpkin seeds with cinnamon sugar lies in its simplicity. Here is what you’ll need to get started.
- Raw Pumpkin Seeds: You can buy these pre-packaged, but I highly recommend saving them from a fresh pumpkin. Look for plump, white seeds. If you buy them, make sure they are raw and not pre-roasted or salted. A standard medium pumpkin yields about 1 to 1.5 cups of cleaned seeds.
- Unsalted Butter: I recommend using real butter for the best flavor. It adds a rich, creamy note that pairs perfectly with the cinnamon. You’ll need about 2 tablespoons, melted. If you need a dairy-free option, coconut oil works well too.
- Granulated Sugar: White sugar helps create that nice, crisp coating. Brown sugar can be used for a deeper, molasses flavor, but it might make the seeds stick together more. Stick with white for maximum crunch. You’ll need about 2 tablespoons.
- Ground Cinnamon: This is the star of the show. Use a good quality cinnamon for a strong, aromatic flavor. I prefer Cassia cinnamon for its boldness. About 1 teaspoon is perfect.
- Salt: Even though we are adding sugar, a pinch of salt is crucial to balance the sweetness and enhance the natural flavor of the pumpkin. Use about 1/4 teaspoon of fine sea salt.
- Water: You’ll need a bowl of water to rinse the seeds. This helps separate the good seeds from the pumpkin pulp.
- Vegetable Oil (Optional): If you want extra crispiness, you can add a teaspoon of neutral oil to the butter mixture. It helps conduct heat evenly.
When selecting your seeds, look for firm ones that sink in water. Those that float are usually hollow or bad, so toss them. If you are using store-bought seeds, check the expiration date to ensure they are fresh. Stale seeds will never get crispy, no matter how long you roast them. For seasonal variations, you can add a pinch of nutmeg or cardamom if you want a more complex spice profile, but the classic cinnamon sugar combo is hard to beat.
How do I clean pumpkin seeds from the pumpkin?
Just pull the seeds out and put them in a bowl of water. The pulp will float, and the seeds will sink. Skim off the pulp and rinse the seeds until the water runs clear. It’s a bit messy, but it’s necessary for the best texture.
Equipment Needed
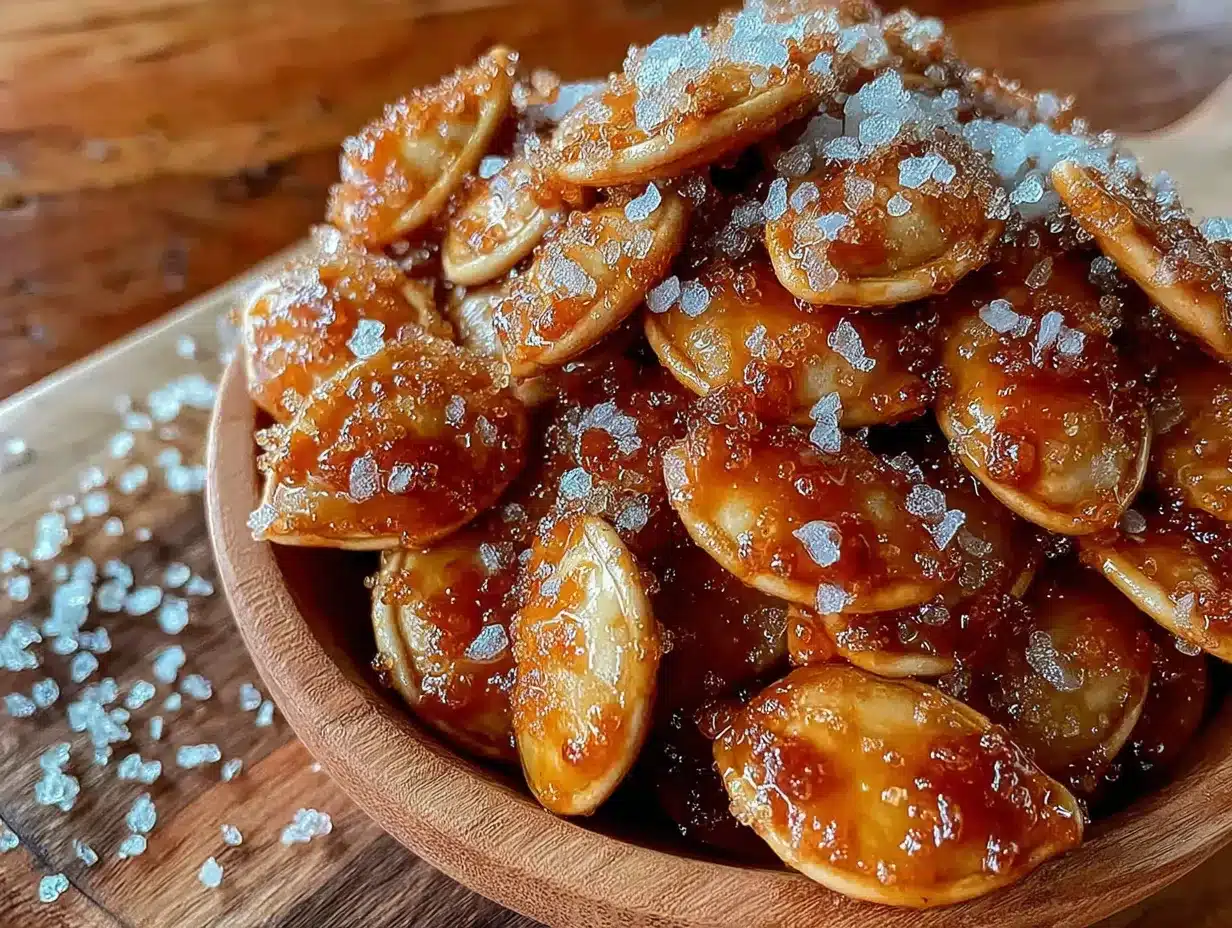
You don’t need a fancy kitchen to make these. Here is what you’ll need to get the job done right.
- Baking Sheet: A standard half-sheet pan is ideal. Make sure it’s not too small, or the seeds will overlap and steam instead of roast. I use a heavy-duty aluminum sheet for even heating.
- Parchment Paper: Lining your pan with parchment paper makes cleanup a breeze. The sugar can caramelize and stick, so this is a lifesaver. Silicone mats work too, but parchment is cheaper and easier to dispose of.
- Large Bowls: You’ll need one for soaking the seeds and another for mixing them with the butter and spices. A wide bowl helps with rinsing.
- Whisk or Fork: To mix the melted butter, sugar, and cinnamon into a paste. This ensures every seed gets coated evenly.
- Spatula: A silicone spatula is great for scraping the mixture off the bowl and for stirring the seeds in the oven.
- Coffee Grinder or Spice Grinder (Optional): If you want a finer cinnamon dust, you can grind your own cinnamon sticks. Store-bought ground cinnamon is fine, though.
If you don’t have a baking sheet, you can use a roasting pan, but keep an eye on them since the sides are higher. Avoid using non-stick spray on the parchment; it’s not necessary and can sometimes cause uneven browning. Just make sure your oven is preheated correctly. A reliable oven thermometer is a good investment if you suspect your oven runs hot or cold.
Preparation Method
Let’s get into the nitty-gritty of making these seeds. This process is straightforward, but timing is everything. Follow these steps closely for the best results.
- Preheat Your Oven: Set your oven to 325°F (165°C). This lower temperature is key. If you roast them too hot, the sugar will burn before the seeds are crispy. Let the oven warm up for about 10 minutes.
- Clean the Seeds: If you are using fresh seeds, scoop them out of the pumpkin. Put them in a large bowl of water. Swirl them around. The good seeds will sink, and the pumpkin guts will float. Skim off the floating bits. Drain the seeds and rinse them under cold water. Pick out any remaining stringy bits. This step takes about 5 minutes.
- Dry the Seeds: This is the most important step. Spread the cleaned seeds on a clean kitchen towel or paper towels. Pat them dry. You want them as dry as possible. If they are wet, they will steam in the oven. Let them air dry for 15-20 minutes while you preheat. I usually toss them around a bit to speed it up.
- Mix the Coating: In a medium bowl, melt the butter. Whisk in the sugar, cinnamon, and salt. It should look like wet sand. If it’s too dry, add a tiny bit more melted butter. If it’s too wet, add a pinch more sugar.
- Coat the Seeds: Add the dried seeds to the butter mixture. Stir well with a spatula until every single seed is coated. You want a thin, even layer. Don’t worry if some clump together; they will separate in the oven.
- Spread on Pan: Line your baking sheet with parchment paper. Spread the seeds in a single layer. Do not overcrowd the pan. If they are touching, they won’t get crispy. You may need two pans. This takes about 2 minutes.
- Roast: Place the pan in the oven. Roast for 20-30 minutes. You need to stir them every 10 minutes. This ensures even browning. Watch them closely in the last 5 minutes. They are done when they are golden brown and smell amazing. They will continue to crisp up as they cool.
- Cool: Remove the pan from the oven. Let the seeds cool completely on the pan. This is when they get their final crunch. Do not eat them hot; they will be soft. Wait at least 15 minutes. This step is hard, but necessary.
If you notice the sugar is melting too fast, lower the oven temperature by 25 degrees. If the seeds are still soft after cooling, put them back in the oven for another 5 minutes. Patience is your best friend here.
Can I use a dehydrator instead?
Yes, you can! Spread the coated seeds on dehydrator trays. Set it to 150°F (65°C) and dry for 6-8 hours. They will be very crispy, but they won’t have the toasted flavor that roasting gives. I prefer the oven method for the richer taste.
Cooking Tips & Techniques
I’ve learned a few things along the way that can save you from disaster. Here are some pro tips to make your crispy roasted pumpkin seeds with cinnamon sugar perfect.
- Dry Thoroughly: I cannot stress this enough. Wet seeds are sad seeds. Use paper towels and be aggressive with the drying. If you can, let them sit out for an hour before roasting.
- Stir Frequently: Sugar burns quickly. Stirring every 10 minutes prevents hot spots. It also helps separate any seeds that stick together.
- Watch the Color:
- Cool Completely: The seeds will harden as they cool. If you try to store them while they are warm, they will get soggy. Let them cool on the counter.
- Storage: Store in an airtight container at room temperature. They will stay crispy for up to 5 days. If they lose their crunch, pop them back in the oven for 5 minutes.
One mistake I made early on was using too much sugar. It created a hard shell that cracked off in big chunks. Keep the coating light and even. Another tip is to add a tiny pinch of cayenne pepper if you like a kick. It balances the sweetness nicely. But for a classic treat, stick to cinnamon.
Why are my seeds still chewy?
They probably weren’t dry enough before roasting, or you didn’t roast them long enough. Try drying them more thoroughly next time and extending the roast time by 5 minutes. Also, make sure your oven is at the correct temperature.
Variations & Adaptations
While I love the classic cinnamon sugar, you can twist this recipe in many ways. Here are a few ideas.
- Spicy Kick: Add 1/4 teaspoon of cayenne pepper and 1/2 teaspoon of chili powder to the sugar mixture. It’s a sweet-heat combo that is addictive.
- Savory Herb: Skip the sugar and cinnamon. Use olive oil, garlic powder, onion powder, and dried parsley. Roast as usual. These are great with beer or wine.
- Maple Glaze: Substitute the butter with maple syrup and use maple sugar or brown sugar. It gives a rich, autumnal flavor that is incredible.
- Chocolate Drizzle: Once the seeds are cooled, melt some dark chocolate and drizzle it over them. Let it set in the fridge. These are like candy bars.
I tried the spicy version for a game day party, and they disappeared in minutes. The savory ones are great for salads. Don’t be afraid to experiment. The base recipe is flexible. Just keep an eye on the oven, as sugar content affects burning time.
Can I make these vegan?
Absolutely. Substitute the butter with coconut oil or a vegan butter alternative. The rest of the ingredients are naturally vegan. Just ensure your sugar is bone-char free if that matters to you.
Serving & Storage Suggestions
These seeds are versatile. Serve them in small bowls at parties, pack them in lunchboxes for a healthy snack, or eat them straight from the bag (I won’t judge). They pair well with apple cider, coffee, or tea.
For storage, keep them in an airtight container at room temperature for up to 5 days. If you want to keep them longer, freeze them in a freezer-safe bag for up to 3 months. Thaw at room temperature before eating. Do not refrigerate, as the humidity can make them soft. If they do get soft, re-crisp them in the oven for 5 minutes at 300°F.
I love bringing these to potlucks. People always ask for the recipe. It’s a great way to show off that you can make something special from simple ingredients. They also make great gifts in small jars with a ribbon. Just be prepared for people to beg for more.
How long do they last?
Up to 5 days at room temperature in an airtight container. If you freeze them, they last up to 3 months. Always check for staleness before roasting, as old seeds won’t crisp up well.
Nutritional Information & Benefits
These seeds are not just tasty; they are nutritious. Pumpkin seeds are packed with magnesium, zinc, and protein. They are a great source of healthy fats. The cinnamon adds antioxidants without extra calories. While we do add sugar, the portion size is usually small, making this a reasonable treat. They are gluten-free and naturally soy-free. For those watching their sugar intake, you can reduce the sugar amount or use a natural sweetener like stevia, though the texture may vary. I find that the natural richness of the seeds makes the sugar feel less necessary over time. It’s a balanced snack that satisfies cravings while providing nutrients.
Are these seeds healthy?
Yes, pumpkin seeds are very healthy. They are high in protein and healthy fats. The added sugar makes them a treat, but in moderation, they are a great snack option. You can control the sugar amount to fit your dietary needs.
Conclusion
Making crispy roasted pumpkin seeds with cinnamon sugar is easier than you think, and the results are worth every minute. It’s a simple recipe that yields big rewards. I hope you try it and enjoy it as much as I do. Feel free to adjust the spices to your liking. Maybe you like it spicier, or maybe you prefer a lighter dusting of sugar. This recipe is yours to customize. I love that it turns waste into wonder. It’s a small act of culinary creativity that pays off in flavor. Please share your results with me in the comments. Did you add any unique twists? I’d love to hear about your variations. Happy roasting, and enjoy every crunchy bite!
FAQs
Can I use pre-packaged pumpkin seeds?
Yes, you can. Just make sure they are raw and unsalted. If they are pre-roasted, you will need to reduce the roasting time significantly to avoid burning them.
Why did my sugar burn?
Sugar burns easily. Make sure your oven is not too hot, stir the seeds frequently, and watch them closely in the last few minutes of roasting.
Can I make these ahead of time?
Yes, they keep well for up to 5 days at room temperature. You can also freeze them for longer storage. Re-crisp in the oven if needed.
What if I don’t have parchment paper?
You can use a silicone baking mat or lightly grease the pan with oil. However, parchment paper is best for easy cleanup and preventing sticking.
How do I know when they are done?
They are done when they are golden brown and smell toasty. They will continue to crisp up as they cool. If they are still soft after cooling, roast for a few more minutes.
Pin This Recipe!
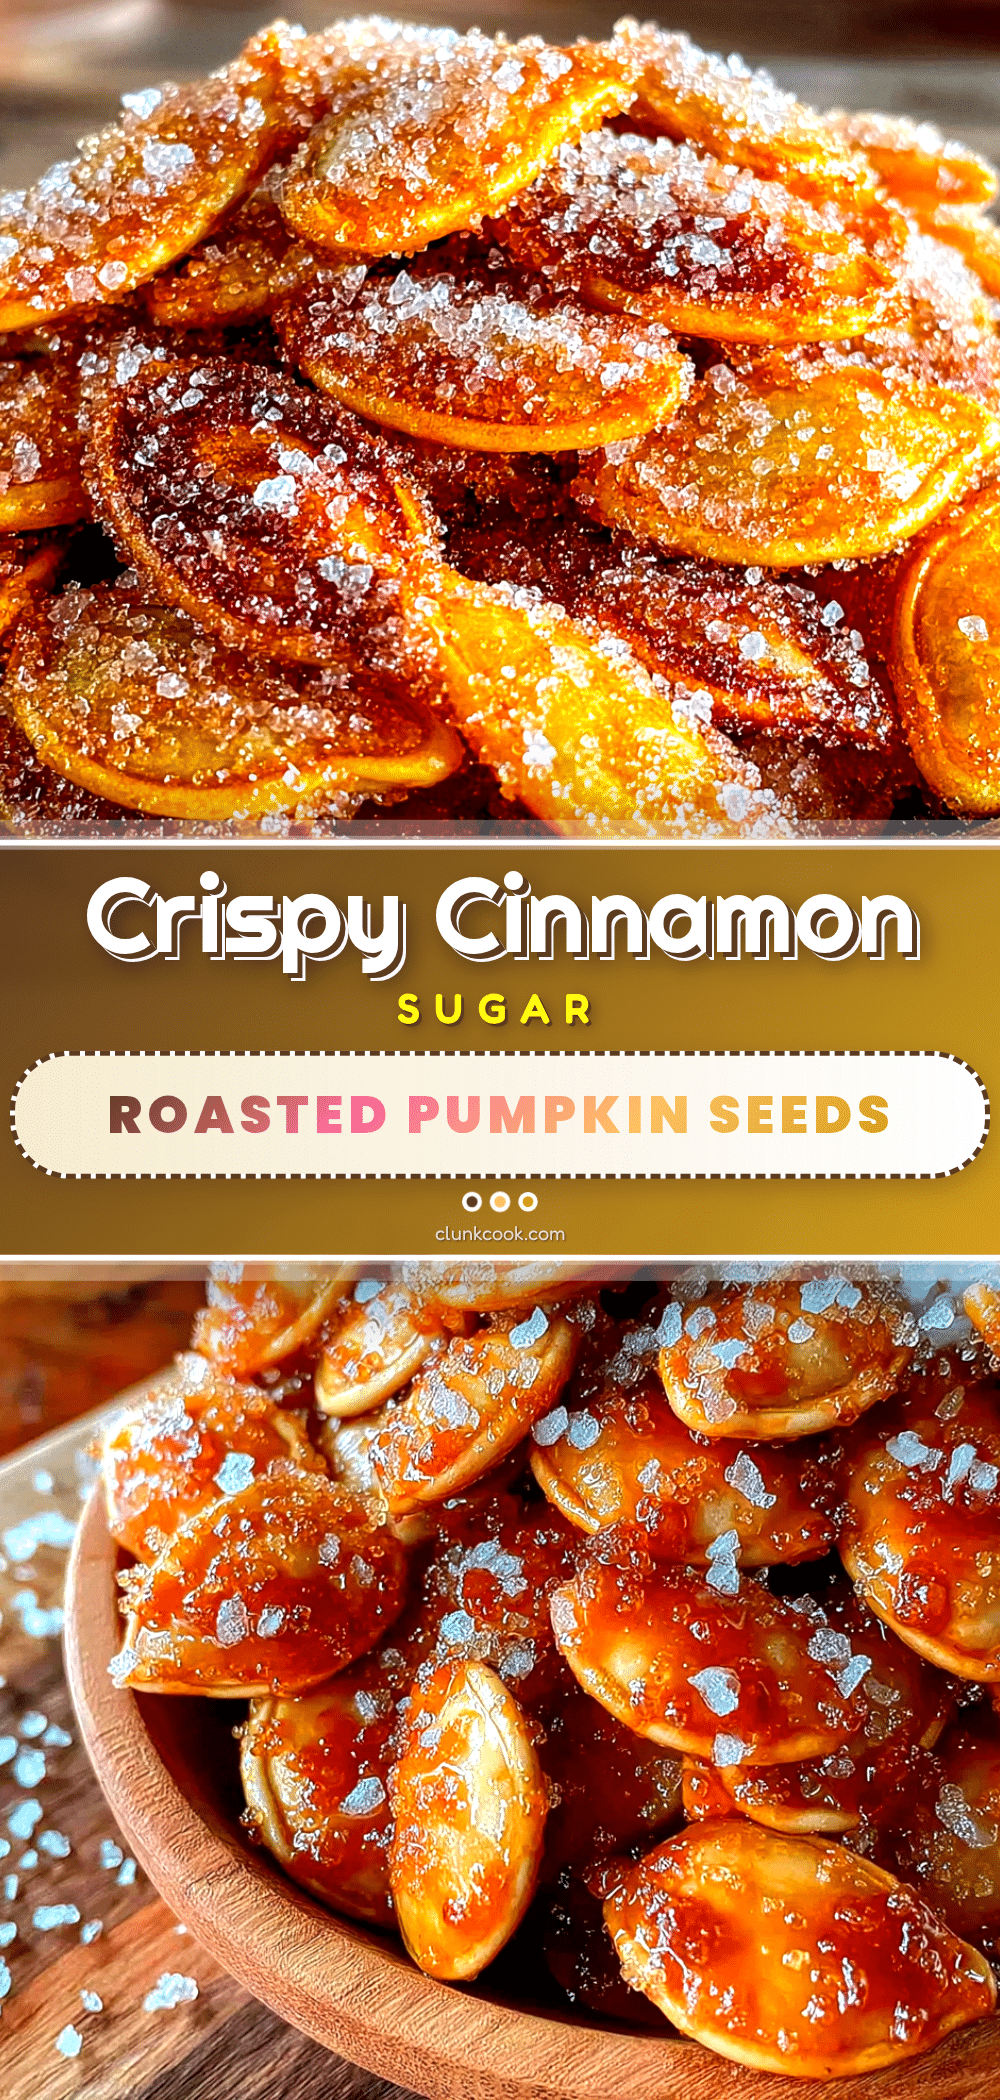
Crispy Roasted Pumpkin Seeds with Cinnamon Sugar

A simple, addictive snack made from raw pumpkin seeds coated in a sweet and salty cinnamon sugar mixture and roasted until perfectly crispy.
- Prep Time: 20 minutes
- Cook Time: 30 minutes
- Total Time: 50 minutes
- Yield: 4 servings 1x
- Category: Snack
- Cuisine: American
Ingredients
- 1 to 1.5 cups raw pumpkin seeds (cleaned from a medium pumpkin or store-bought raw)
- 2 tablespoons unsalted butter, melted
- 2 tablespoons granulated sugar
- 1 teaspoon ground cinnamon
- 1/4 teaspoon fine sea salt
- 1 teaspoon vegetable oil (optional, for extra crispiness)
- Water (for rinsing)
Instructions
- Preheat oven to 325°F (165°C).
- Clean the seeds by placing them in a bowl of water; skim off floating pulp and rinse until water runs clear.
- Dry the seeds thoroughly on a clean kitchen towel or paper towels. Let them air dry for 15-20 minutes to ensure crispiness.
- In a medium bowl, whisk together the melted butter, sugar, cinnamon, and salt until it resembles wet sand.
- Add the dried seeds to the butter mixture and stir with a spatula until every seed is evenly coated.
- Line a baking sheet with parchment paper and spread the seeds in a single layer, ensuring they are not overcrowded.
- Roast in the preheated oven for 20-30 minutes, stirring every 10 minutes to prevent burning and ensure even browning.
- Remove from oven when golden brown and fragrant. Let cool completely on the pan (at least 15 minutes) to allow them to crisp up.
- Store in an airtight container at room temperature.
Notes
Ensure seeds are completely dry before roasting to avoid steaming. Stir frequently to prevent sugar from burning. Seeds will continue to crisp as they cool. Do not store while warm or they will become soggy. Can be made vegan by substituting butter with coconut oil.
Nutrition
- Serving Size: 1/4 cup
- Calories: 150
- Sugar: 8
- Sodium: 120
- Fat: 10
- Saturated Fat: 4
- Carbohydrates: 12
- Fiber: 2
- Protein: 5
Keywords: pumpkin seeds, cinnamon sugar, roasted seeds, healthy snack, autumn recipe, gluten-free, vegan option, easy snack