Love this? Save it for later!
Share the inspiration with your friends
There used to be a tiny candy shop tucked into a strip mall on the edge of town that made the most incredible candy bark I have ever tasted. When they closed their doors three years ago—just a handwritten sign in the window saying “Thank you, neighbors”—I honestly felt a little lost. That bark was my go-to Halloween contribution, my emergency hostess gift, my “I need something sweet right now” fix. After twelve tries—twelve, let me tell you, some of them were truly tragic—I finally got it.
This Easy 3-Ingredient Candy Corn Bark is the recreation of that memory. It’s funny how a simple candy can hold so much weight, right? I mean, it’s just chocolate and candy corn and a few pretzels, but somehow it became the thing that made Halloween feel like Halloween at my house. The first time I nailed the texture—that perfect snap when you break off a piece, the way the salt from the pretzels hits the sweet candy corn—I actually texted my sister a photo. She didn’t get it. But you might.
The best part? This bark comes together in about fifteen minutes of active work. Fifteen minutes. For something that looks like you spent hours tempering chocolate and carefully arranging toppings. It’s the kind of recipe that makes you look like a kitchen wizard without actually having to be one. Maybe you’ve been there—needing a Halloween treat that’s impressive but doesn’t require a trip to three different stores or a degree in pastry arts. This is that recipe.
Why You’ll Love This Recipe
Let me tell you why this Easy 3-Ingredient Candy Corn Bark has become my most-requested Halloween recipe. It’s not fancy. It’s not complicated. But it is absolutely, unapologetically delicious, and it has saved me more times than I can count.
- Quick & Easy: From start to finish, this takes about 15 minutes of hands-on time. You melt, you spread, you sprinkle, you wait. That’s it. Perfect for those weeknights when you realize tomorrow is the school Halloween party and you have nothing to bring.
- Simple Ingredients: Three ingredients. Maybe four if you count the salt. You probably already have the chocolate in your pantry, and candy corn is everywhere this time of year. No special trips to a baking supply store.
- Perfect for Halloween: This is the ultimate last-minute Halloween treat. It works for parties, classroom celebrations, trick-or-treat bowls, or just keeping on your counter to snack on while handing out candy.
- Crowd-Pleaser: Kids love the candy corn. Adults love the chocolate-and-salt combo. Everyone loves that it’s not overly sweet because the pretzels balance everything out.
- Unbelievably Delicious: The texture is what gets me every time. The chocolate sets up firm but not hard, the candy corn stays slightly chewy, and the pretzels add that salty crunch. It’s a whole mouth experience.
What makes this version different from other candy barks I’ve tried is the ratio. I spent a long time figuring out exactly how much candy corn to use so it’s not overwhelming, and the right amount of pretzels so every piece gets some salt. It’s not just another bark recipe—it’s the one where every bite is balanced. The one where you don’t pick out the candy corn because there’s too much, or hunt for the pretzels because there’s too few.
This is the kind of treat that makes you close your eyes after the first bite. I’m not exaggerating. The combination of sweet, salty, creamy, and crunchy is basically what comfort food dreams are made of. And knowing you made it in under twenty minutes? That’s the real magic.
What Ingredients You Will Need
This recipe uses three simple ingredients to create something that tastes far more complex than it has any right to. The beauty is in the combination—each component plays a specific role, and together they create magic. Here’s what you need and why each one matters.
- 12 ounces (340g) white chocolate or vanilla candy coating — This is the base of your bark. White chocolate gives you that sweet, creamy foundation that lets the candy corn colors pop. I recommend using real white chocolate (look for cocoa butter on the ingredient list) or a good-quality vanilla candy coating like Ghirardelli or Wilton. Candy coating melts more smoothly and doesn’t require tempering, which makes it perfect for beginners. If you use white chocolate chips, add a teaspoon of coconut oil to help them melt smoothly.
- 1 cup (about 150g) candy corn — The star of the show. Candy corn adds sweetness, that iconic Halloween look, and a slightly chewy texture that contrasts beautifully with the firm chocolate. I use regular Brach’s candy corn because it’s widely available and has the right texture. Avoid the “harvest” mix with the pumpkins unless you want bigger chunks—the small pieces distribute better. Pro tip: separate the colors if you want a more uniform look, but I like the mix.
- 1/2 cup (about 60g) mini pretzel twists or pretzel sticks, slightly crushed — This is the secret weapon. The salt from the pretzels cuts through the sweetness and keeps the bark from being cloying. The crunch adds texture that makes each bite interesting. I use Snyder’s of Hanover mini pretzels because they’re sturdy and salty. If you only have regular pretzels, crush them into bite-sized pieces. For a gluten-free version, use gluten-free pretzels—they work just as well.
- Optional: Flaky sea salt for finishing — Not strictly necessary, but highly recommended. A sprinkle of flaky salt like Maldon right before the chocolate sets takes this from good to great. It adds that professional touch and another layer of flavor.
That’s it. Three ingredients, plus an optional garnish. The beauty of this recipe is its simplicity—no fancy equipment, no hard-to-find items, no complicated techniques. Everything is available at your regular grocery store, and you probably already have most of it in your kitchen right now.
Equipment Needed
You don’t need much for this recipe, which is part of why I love it. Here’s what you’ll need and a few notes from my own experience.
- Baking sheet or rimmed sheet pan — Any standard 13×18-inch baking sheet works. Line it with parchment paper or a silicone baking mat for easy removal. I’ve used both, and silicone mats give a slightly smoother bottom, but parchment is perfectly fine.
- Microwave-safe bowl or double boiler — For melting the white chocolate. A microwave is faster and easier, but a double boiler gives you more control. If using a microwave, use a glass bowl and melt in 30-second intervals, stirring between each. I’ve burned white chocolate more times than I’d like to admit—patience is key here.
- Rubber spatula — For spreading the melted chocolate. A silicone spatula is ideal because it won’t scratch your bowl and it scrapes every last bit of chocolate out.
- Small offset spatula or butter knife — For spreading the chocolate evenly on the baking sheet. An offset spatula gives you more control, but a regular butter knife works in a pinch.
- Parchment paper or silicone baking mat — Lining your pan is non-negotiable. Trust me on this. I once made bark directly on an unlined pan and spent twenty minutes chiseling it off. Not fun.
- Refrigerator space — You need about 30 minutes for the bark to set. Make sure you have a flat spot in your fridge.
Budget-friendly tip: You don’t need fancy equipment. A cheap baking sheet from the dollar store works fine. The most important thing is the parchment paper—don’t skip it.
Preparation Method
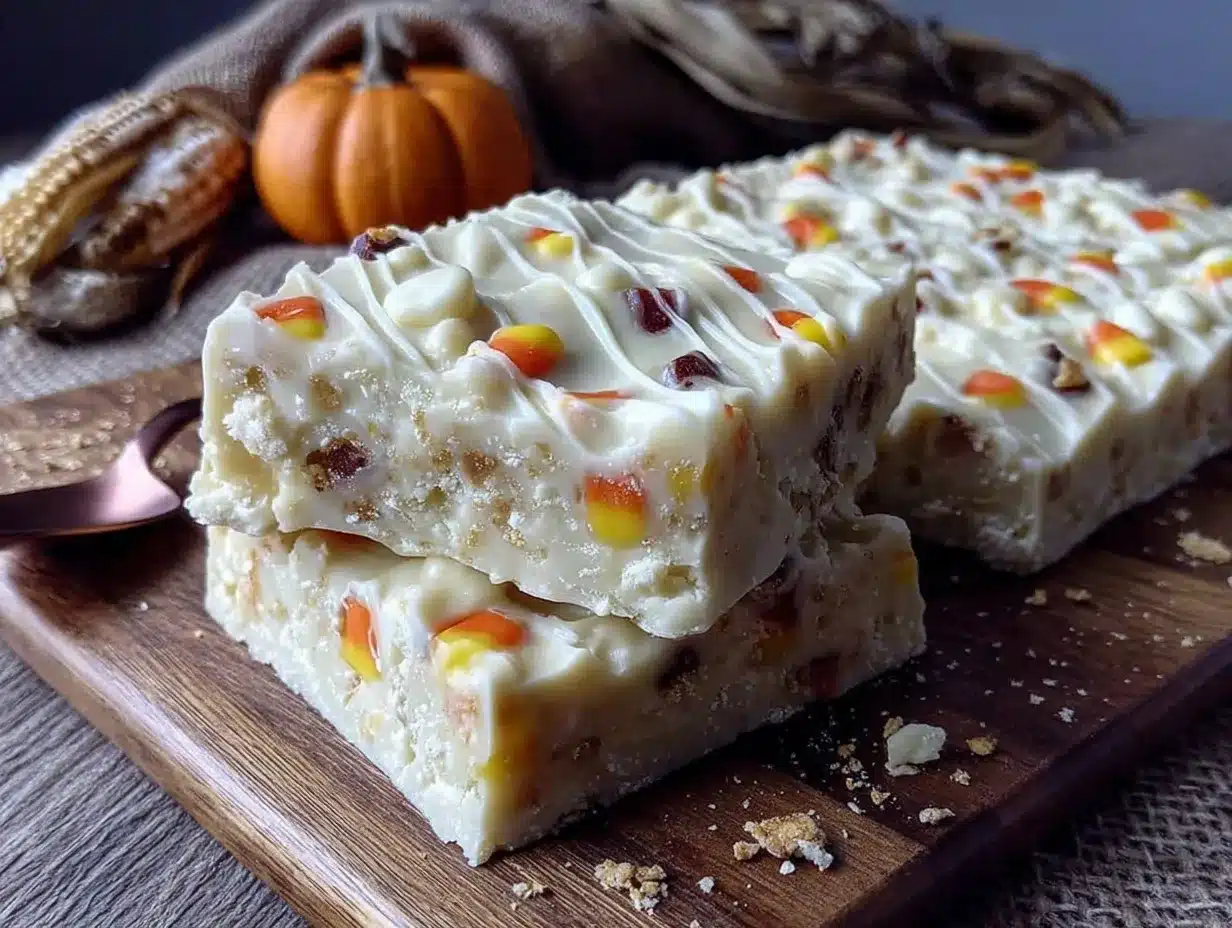
This is where the magic happens. Follow these steps, and you’ll have beautiful, delicious bark every time. I’ve included all the little details I wish someone had told me the first time I made this.
- Prepare your pan. Line a baking sheet with parchment paper or a silicone mat. Make sure the paper extends slightly over the edges—this gives you handles to lift the bark out later. Set the pan aside.
- Crush your pretzels. Place the pretzels in a zip-top bag and gently crush them with a rolling pin or the bottom of a measuring cup. You want pieces about the size of a pea—some smaller, some larger. Don’t turn them into dust. I like to leave a few bigger pieces for texture contrast.
- Melt the white chocolate. Place the white chocolate or candy coating in a microwave-safe bowl. Microwave in 30-second intervals at 50% power, stirring thoroughly after each interval. White chocolate burns easily, so don’t rush this. It should be smooth and completely melted with no lumps. If it seizes (gets grainy and stiff), you’ve overheated it—start over with fresh chocolate. I’ve done this more times than I care to count, so don’t feel bad if it happens to you.
- Spread the chocolate. Pour the melted chocolate onto the prepared baking sheet. Use your offset spatula or butter knife to spread it into an even layer about 1/4-inch thick. Don’t worry about making it perfect—bark is supposed to look rustic. A rectangle shape is easiest, but any shape works.
- Add the toppings. While the chocolate is still wet, sprinkle the candy corn evenly over the surface. Follow with the crushed pretzels. Press them gently into the chocolate with your fingertips or the back of a spoon so they stick. Work quickly—the chocolate starts setting faster than you think.
- Add the finishing touch. If using flaky sea salt, sprinkle a small pinch over the entire surface. Don’t overdo it—a little salt goes a long way.
- Set the bark. Place the baking sheet in the refrigerator for at least 30 minutes, or until the chocolate is completely firm and no longer sticky to the touch. If you’re in a hurry, 20 minutes in the freezer works too, but watch it carefully—freezer time can make the chocolate brittle.
- Break into pieces. Once set, lift the bark out of the pan using the parchment paper edges. Place it on a cutting board. Use your hands to break it into irregular pieces—this is part of the charm. If you want neater pieces, use a sharp knife, but honestly, the rustic broken edges look better.
- Serve or store. Transfer the pieces to a serving platter or store in an airtight container. That’s it. You just made candy bark in less than an hour, with only about 15 minutes of actual work.
A few sensory cues to watch for: The melted chocolate should look glossy and flow like thick cream. When you press the toppings in, you should feel them sink slightly into the chocolate. The finished bark should snap cleanly when you break it, not bend or crack messily.
Cooking Tips & Techniques
After making this Easy 3-Ingredient Candy Corn Bark more times than I can count, I’ve learned a few things the hard way. Here are my best tips to make sure yours turns out perfect every time.
Don’t overheat the white chocolate. This is the number one mistake people make, and I’ve made it myself more times than I’d like to admit. White chocolate burns at a lower temperature than dark or milk chocolate. Always melt at 50% power and stir frequently. If it starts looking thick and grainy, you’ve gone too far. The good news? Candy coating is more forgiving than real white chocolate, so if you’re nervous, start with that.
Work quickly with the toppings. Once you spread the chocolate, you have about 2-3 minutes before it starts setting. Have your candy corn and pretzels measured and ready before you melt the chocolate. I learned this lesson when I had to fish candy corn out of a half-set chocolate puddle. Not pretty.
Press toppings in gently but firmly. You want them to stick, but you don’t want them to sink all the way to the bottom. A light press with your fingers is perfect. The toppings should be visible on top, not buried.
Let it set completely. I know it’s tempting to dig in after 20 minutes, but under-set bark is messy and doesn’t break cleanly. Give it the full 30 minutes in the fridge. If you’re making this ahead, it actually gets better after a few hours—the flavors meld together.
Use room temperature ingredients. If your candy corn or pretzels are cold, they can cause the chocolate to seize when you add them. Keep everything at room temperature for best results.
One more thing: If you’re making this for a party, double the recipe. I promise it will disappear faster than you expect. I’ve never brought home leftovers.
Variations & Adaptations
One of the best things about this Easy 3-Ingredient Candy Corn Bark is how easy it is to customize. Here are some of my favorite variations.
- Chocolate Base Swap: Use dark chocolate or milk chocolate instead of white chocolate for a completely different flavor profile. Dark chocolate with candy corn is surprisingly good—the bitterness balances the sweetness. Milk chocolate makes it taste like a candy bar. I’ve done all three, and honestly, I can’t pick a favorite.
- Add Nuts: Sprinkle chopped pecans, almonds, or peanuts along with the pretzels for extra crunch and a protein boost. Toasted pecans are my personal favorite—they add a warm, buttery flavor that pairs beautifully with the candy corn.
- Seasonal Variations: Swap the candy corn for seasonal candies throughout the year. Use candy canes for Christmas, pastel mints for Easter, or broken-up chocolate bars for Valentine’s Day. The technique stays the same—just change the topping.
- Gluten-Free Version: Use gluten-free pretzels or replace the pretzels with toasted pumpkin seeds or sunflower seeds. The salty crunch remains, and it’s just as delicious.
- Add Dried Fruit: Dried cranberries or chopped dried apricots add a chewy, tart element that cuts through the sweetness. This is a great option if you find candy corn too sweet on its own.
- Spiced Version: Sprinkle a little cinnamon or pumpkin pie spice over the top before the chocolate sets. It adds a warm, cozy flavor that screams fall. I tried this on a whim one year and it was a huge hit.
Don’t be afraid to experiment. The base recipe is so simple that it’s basically a blank canvas. I’ve made versions with crushed cookies, sprinkles, and even bacon bits (don’t knock it until you try it).
Serving & Storage Suggestions
This Easy 3-Ingredient Candy Corn Bark is incredibly versatile when it comes to serving. Here’s how to make the most of it.
Serving Temperature: Serve the bark cold or at room temperature. Cold bark has a cleaner snap, while room temperature bark is slightly creamier. Both are delicious. If you’re serving it at a party, I recommend keeping it in the fridge until just before serving, then letting it sit out for about 5 minutes.
Presentation Ideas: Arrange the broken pieces on a festive platter or in a glass jar for a casual look. For Halloween parties, I like to layer the pieces in a clear cellophane bag tied with orange ribbon—it makes a great take-home favor. You can also stack pieces in a small gift box lined with tissue paper for a homemade gift.
Complementary Pairings: This bark pairs beautifully with coffee, hot chocolate, or apple cider. The bitterness of coffee balances the sweetness perfectly. For a dessert board, arrange the bark alongside fresh apple slices, caramel dip, and salted nuts.
Storage Instructions: Store the bark in an airtight container at room temperature for up to 1 week. If your kitchen is warm, store it in the refrigerator—it will last up to 2 weeks. Layer the pieces between sheets of parchment paper to prevent sticking. Do not freeze this bark—the texture of the candy corn changes when thawed, becoming sticky and soft.
Make-Ahead Note: This bark actually improves after a day or two. The flavors meld together, and the texture becomes more cohesive. I often make it 2-3 days before I need it. Just keep it in an airtight container and it stays perfect.
Nutritional Information & Benefits
Let’s be real—this is a treat, not a health food. But here’s the nutritional breakdown so you know what you’re working with.
Estimated per serving (1 ounce, about 2-3 pieces):
- Calories: 150-180
- Fat: 8-10g
- Carbohydrates: 20-25g
- Sugar: 18-22g
- Protein: 1-2g
- Sodium: 80-120mg
Dietary Considerations: This recipe is vegetarian. For a gluten-free version, use gluten-free pretzels. For a dairy-free version, use dairy-free white chocolate or dark chocolate. Candy corn is typically dairy-free, but always check the label.
Health Benefits (such as they are): White chocolate contains calcium and a small amount of protein. Pretzels provide some iron and B vitamins. Candy corn… well, candy corn provides joy. And sometimes that’s enough. This is a treat to be enjoyed in moderation, perfect for special occasions like Halloween.
From my own perspective, I believe in balance. I eat vegetables most of the time so I can enjoy treats like this without guilt. A few pieces of this bark after a long day? That’s self-care in my book.
FAQs
Can I use chocolate chips instead of white chocolate?
Yes, but add 1 teaspoon of coconut oil or vegetable shortening to help them melt smoothly. Chocolate chips contain stabilizers that make them thicker when melted, so the oil helps create a spreadable consistency.
Why did my white chocolate seize up?
White chocolate is sensitive to heat and moisture. If it gets too hot (over 110°F), it can seize and become grainy. Also, even a single drop of water can cause seizing. Make sure your bowl and spatula are completely dry before you start.
Can I use other candies besides candy corn?
Absolutely! This technique works with almost any candy. Try it with chopped candy canes, crushed peppermint, M&M’s, or chopped chocolate bars. Just keep the total amount of toppings around 1 1/2 cups.
How do I get clean, neat pieces?
For cleaner breaks, let the bark set completely, then use a sharp chef’s knife to cut it into squares or rectangles. Score the chocolate lightly before it fully sets, then break along the lines once it’s firm. Or just embrace the rustic look—I think irregular pieces look more homemade and inviting.
Can I double this recipe?
Yes, but use two separate baking sheets instead of one large one. Spreading the chocolate too thin makes it fragile, and too thick makes it hard to bite. A 1/4-inch thickness is ideal, so stick to one batch per pan.
Conclusion
This Easy 3-Ingredient Candy Corn Bark is proof that you don’t need complicated recipes or fancy techniques to create something truly special. It’s the recipe that brings me back to that little candy shop, but it’s also become its own thing—a tradition in my kitchen, a gift I’m proud to give, and a treat that never fails to make people smile.
I hope you give this recipe a try, whether it’s for a Halloween party, a classroom celebration, or just because you need something sweet on a Tuesday night. Customize it however you like—add nuts, switch the chocolate, use different candies. That’s the beauty of bark. It’s forgiving, it’s flexible, and it’s always delicious.
If you make this, I’d love to hear about it. Drop a comment below and let me know how it turned out, what variations you tried, or if you have any questions. And if you share it on social media, tag me—I love seeing your creations. Happy Halloween, and happy snacking!
Pin This Recipe!
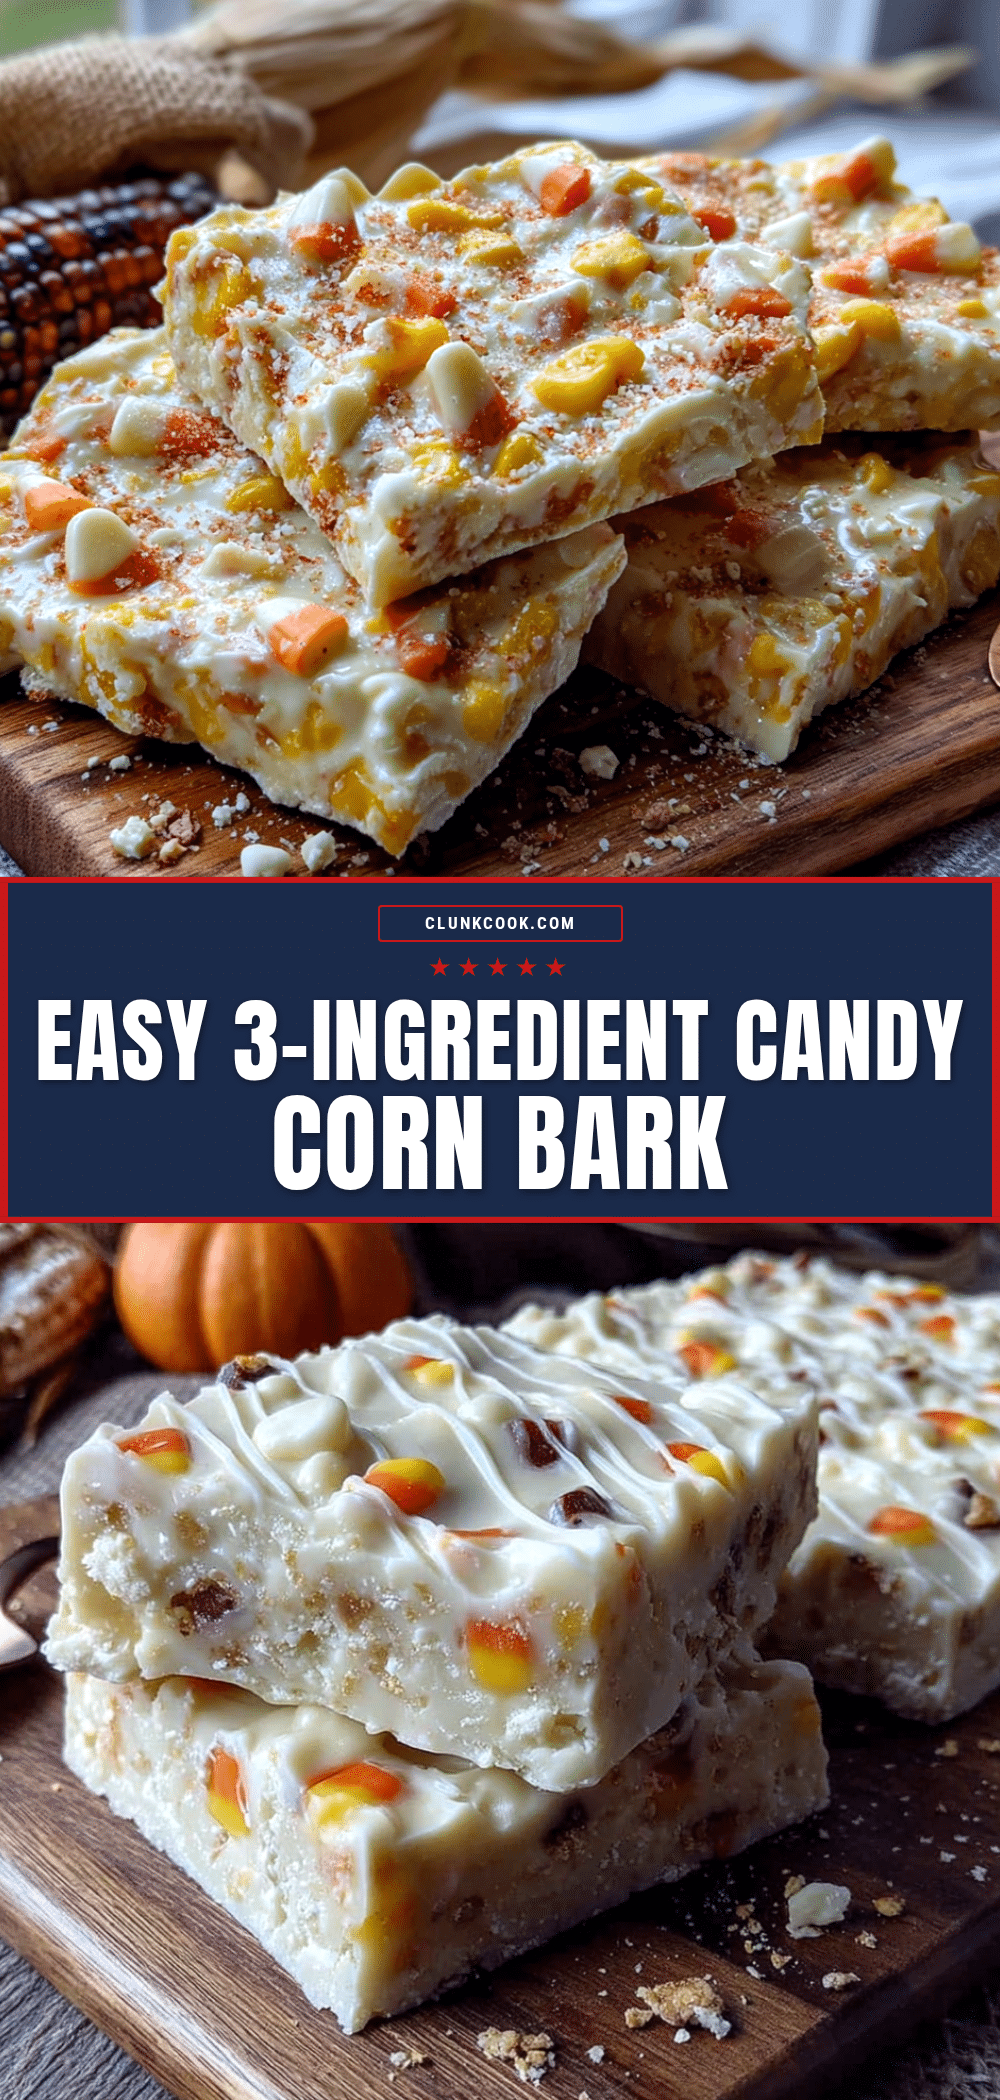
Easy 3-Ingredient Candy Corn Bark: The Best Halloween Treat

This Easy 3-Ingredient Candy Corn Bark is a quick and delicious Halloween treat that combines white chocolate, candy corn, and pretzels for a perfect sweet-and-salty crunch. Ready in about 15 minutes of active work, it’s an impressive last-minute dessert for parties or gifting.
- Prep Time: 15 minutes
- Cook Time: 0 minutes
- Total Time: 45 minutes
- Yield: 12 servings 1x
- Category: Dessert
- Cuisine: American
Ingredients
- 12 ounces (340g) white chocolate or vanilla candy coating
- 1 cup (about 150g) candy corn
- 1/2 cup (about 60g) mini pretzel twists or pretzel sticks, slightly crushed
- Optional: Flaky sea salt for finishing
Instructions
- Line a baking sheet with parchment paper or a silicone mat, letting the paper extend over the edges for easy removal.
- Place the pretzels in a zip-top bag and gently crush them with a rolling pin or measuring cup into pea-sized pieces.
- Melt the white chocolate or candy coating in a microwave-safe bowl in 30-second intervals at 50% power, stirring after each interval, until smooth.
- Pour the melted chocolate onto the prepared baking sheet and spread it into an even layer about 1/4-inch thick using an offset spatula or butter knife.
- While the chocolate is still wet, sprinkle the candy corn evenly over the surface, followed by the crushed pretzels. Gently press the toppings into the chocolate with your fingertips or the back of a spoon.
- If using flaky sea salt, sprinkle a small pinch over the entire surface.
- Place the baking sheet in the refrigerator for at least 30 minutes, or until the chocolate is completely firm and no longer sticky.
- Once set, lift the bark out of the pan using the parchment paper edges. Place it on a cutting board and break it into irregular pieces with your hands.
- Serve immediately or store in an airtight container.
Notes
Don’t overheat the white chocolate—melt at 50% power in 30-second intervals. Work quickly with toppings as the chocolate sets fast. Press toppings gently but firmly so they stick. Let the bark set completely for clean breaks. For a gluten-free version, use gluten-free pretzels. For a dairy-free version, use dairy-free white chocolate or dark chocolate. The bark improves after a day or two in an airtight container.
Nutrition
- Serving Size: 1 ounce (about 2-3 p
- Calories: 165
- Sugar: 20
- Sodium: 100
- Fat: 9
- Saturated Fat: 5
- Carbohydrates: 22
- Protein: 1.5
Keywords: candy corn bark, Halloween treat, 3-ingredient dessert, white chocolate bark, easy candy recipe


