Love this? Save it for later!
Share the inspiration with your friends
Introduction
The summer I turned twenty-eight, I stumbled upon this recipe almost by accident. It was a sweltering July afternoon, and honestly, my freezer was looking pretty bare except for a few lonely berries and some leftover yogurt. I wasn’t planning to make anything fancy—just something cold to beat the heat. But then, while scrolling through a dusty cookbook I’d picked up at a flea market, I found a scribbled note about layering fruit juices and purees to make colorful popsicles. The idea sounded simple, yet somehow exciting.
I remember rushing to the kitchen, juggling the phone and trying to peel the stubborn sticker off a container of blueberries, all while the summer playlist blasted in the background. The first layer was a tangy strawberry puree, followed by a creamy coconut yogurt middle, and finished off with a vibrant blueberry juice layer. I forgot to set the timer, and the mixture leaked a bit, making a sticky mess on the counter. But you know what? That imperfect first batch ended up being a hit at the neighborhood block party the next day. Kids loved the bright colors, adults loved how refreshing they were, and I loved the way it felt like a little celebration on a stick.
Maybe you’ve been there—looking for a simple, fun way to add some festive flair to your summer treats. These fresh red white and blue popsicles with three vibrant layers are just that. They’re not just pretty; they’re surprisingly easy and adaptable, perfect for those moments when you want something cool and cheerful without fussing over complicated ingredients. Let me tell you, this recipe stuck with me because it’s the kind of summer joy you want to share again and again.
Why You’ll Love This Recipe
Honestly, I’ve tried many popsicle recipes over the years, but this one keeps winning for several reasons. It’s simple enough for a last-minute idea yet sophisticated enough to impress. Here’s why you’ll want to keep this fresh red white and blue popsicles recipe in your rotation:
- Quick & Easy: Comes together in about 20 minutes, plus freezing time—ideal for busy summer days or spontaneous get-togethers.
- Simple Ingredients: Uses fresh fruit and pantry staples you probably already have, no need for specialty stores.
- Perfect for Summer Celebrations: Whether it’s the Fourth of July, a picnic, or just a casual backyard hangout, these popsicles bring instant festive vibes.
- Crowd-Pleaser: Kids love the colorful layers, and adults appreciate the natural, fresh flavors without added sugars or artificial colors.
- Unbelievably Delicious: The combo of tangy berries, creamy middle, and juicy finish is a refreshing treat that feels special but not fussy.
What really sets this recipe apart is the layering technique. Instead of mixing everything together, each layer gets its moment to shine with its own texture and flavor. The creamy coconut yogurt layer adds a subtle richness that balances the bright fruit layers. Plus, you can tweak it easily—swap in your favorite berries or try different creamy bases. Honestly, the first time I made these, my friend said, “These are like summer fireworks you can eat!” And I can’t argue with that.
What Ingredients You Will Need
This fresh red white and blue popsicles recipe uses simple, wholesome ingredients to deliver bold flavor and a satisfying texture without any fuss. Most are pantry staples or fresh fruit that’s easy to find in season.
- For the Red Layer:
- 1 cup fresh strawberries, hulled and chopped (or frozen, thawed)
- 2 tablespoons honey or agave syrup (optional, for sweetness)
- 1 tablespoon fresh lemon juice (to brighten the flavor)
- For the White Layer:
- 3/4 cup plain coconut yogurt (full-fat for creaminess, brands like So Delicious work well)
- 2 tablespoons milk or almond milk (to thin slightly for easy pouring)
- 1 teaspoon vanilla extract (optional, adds warmth)
- For the Blue Layer:
- 1 cup fresh blueberries (or frozen, thawed)
- 2 tablespoons water or fresh lemon juice
- 1 tablespoon honey or maple syrup (optional)
If you’re feeling creative, you can swap out coconut yogurt for Greek yogurt or even a dairy-free alternative like cashew yogurt. For a gluten-free or paleo twist, these ingredients work perfectly as is. When choosing your berries, I recommend organic if you can find them—less pesticide residue and better flavor, in my experience. Also, in summer, swapping fresh for frozen berries works great if your local market’s selection is limited.
Equipment Needed
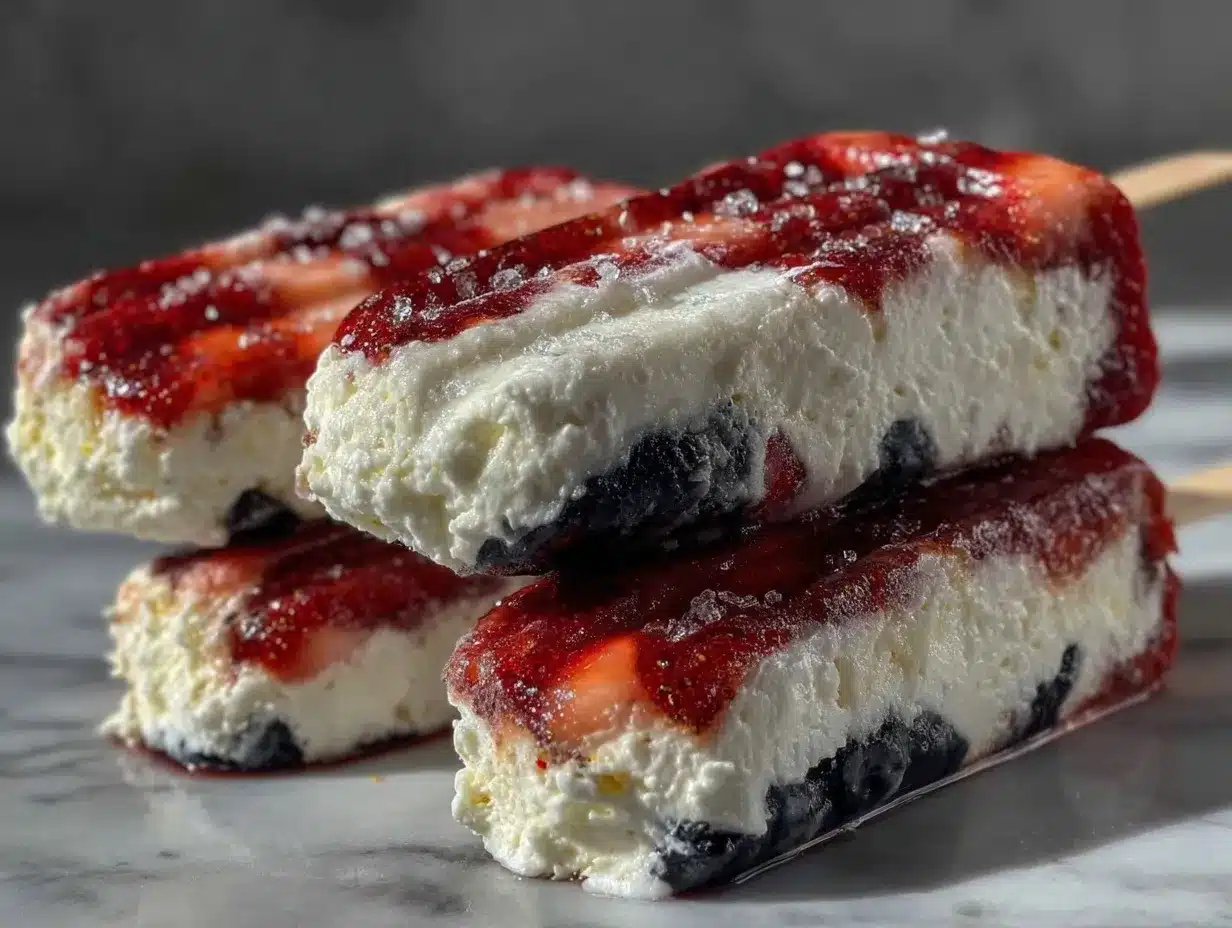
To make these popsicles, you don’t need anything fancy, but having the right tools does make the process smoother. Here’s what I used and recommend:
- Popsicle molds: Silicone molds are my favorite because they’re flexible and make unmolding easy. If you don’t have molds, small paper cups with wooden sticks work fine.
- Blender or food processor: For pureeing the fruit layers smoothly. A handheld immersion blender can work, but it might take longer.
- Measuring cups and spoons: To keep the layers consistent and neat.
- Small mixing bowls: Useful for thinning the yogurt layer and mixing sweeteners.
If you’re on a budget, you can find affordable popsicle molds online or at most kitchen stores. Just avoid metal molds unless you’re experienced, as they can be tricky to unmold without cracking. Also, I learned the hard way that rinsing molds with warm water before unmolding helps the popsicles pop out without breaking.
Preparation Method
- Prepare the Red Layer: In a blender, combine 1 cup strawberries, honey (if using), and lemon juice. Blend until smooth, about 30 seconds. Pour the mixture into your popsicle molds, filling each about one-third full. Place molds in the freezer for 30-45 minutes, or until the layer is firm to the touch but not completely frozen solid. This helps keep the layers separate.
- Make the White Layer: In a small bowl, whisk together coconut yogurt, milk, and vanilla extract until smooth and slightly pourable. Remove molds from the freezer, and gently spoon or pour the white layer over the frozen red layer. Freeze again for 30-45 minutes until set but still slightly soft.
- Create the Blue Layer: Blend blueberries with water and sweetener until smooth. Carefully add the blue layer on top of the white, filling the molds to the top. Insert popsicle sticks now if your molds don’t have built-in holders. Freeze for at least 4 hours, preferably overnight.
- Unmold and Serve: To remove, run warm water briefly over the outside of the molds to loosen the popsicles. Pull gently on the sticks and enjoy!
Note: If you want cleaner layers, let each layer freeze completely before adding the next, but this will increase total freezing time. The slight softness between layers helps them bind better, so I prefer the 30-45 minute approach. Also, when blending berries, you can strain out seeds if you prefer a smoother texture, but I usually leave them in for a bit of rustic charm.
Cooking Tips & Techniques
Making layered popsicles might sound tricky, but honestly, it’s all about patience and a few handy tricks I picked up after a few messy tries. Here’s what I’ve learned:
- Layer Timing: Don’t rush freezing each layer. If the first layer isn’t firm enough, the next one might mix in and you’ll lose that pretty separation. But if it’s too frozen, the layers won’t stick well.
- Thickness Matters: If your yogurt layer is too thick, it won’t pour smoothly and could break the layer below. Thin it just enough with a splash of milk or almond milk.
- Spoon vs. Pour: For the middle layer, gently spooning the mixture over the frozen layer can help avoid breaking the bottom. Pour slowly if you’re confident.
- Sweeten Wisely: Fresh fruit is naturally sweet, so taste your purees before adding sweetener. You can always add a touch more, but too much makes popsicles icy.
- Prevent Ice Crystals: Cover your popsicles tightly with plastic wrap or lids to avoid ice forming on the surface.
I once tried to speed things up by skipping the partial freezing steps, and the layers just blended into one purple blob. It was tasty but nowhere near as fun to eat or look at! Taking your time pays off—plus, it gives you a good excuse to sneak a taste of each layer as you go.
Variations & Adaptations
One of my favorite things about this popsicle recipe is how flexible it is. Here are a few ideas to make it your own:
- Dairy-Free Option: Use coconut yogurt or almond yogurt for the middle layer to keep it creamy without dairy.
- Flavor Swaps: Try raspberries or watermelon for the red layer, and swap blueberries with blackberries or purple grapes for a twist on the blue.
- Adult Version: Add a splash of lemonade or a bit of sparkling water to the fruit layers for a fizzy pop.
- Nutty Boost: Sprinkle chopped pistachios or toasted coconut flakes between layers for added texture.
- Personal Favorite: I once added a thin layer of chia seed jam between the white and blue layers—it gave a fun surprise crunch and extra nutrition.
You can also experiment with different molds—heart shapes for a party or mini popsicles for kids. Just adjust freezing times accordingly, as smaller molds freeze faster. If you want to make these ahead for a picnic, they freeze well for up to a week, but the fresher, the better.
Serving & Storage Suggestions
These fresh red white and blue popsicles are best served straight from the freezer on a hot day. Let them sit for a minute or two at room temperature for easier biting. They look fantastic on a platter—perfect for gatherings or casual outdoor fun.
Pair them with light snacks like a fresh fruit salad, or even a chilled lemonade or iced tea for a perfect summer combo. If you’re hosting a party, they make a great palate cleanser between heavier dishes.
Store the popsicles in an airtight container or tightly sealed popsicle mold in the freezer. Wrapped well, they keep their texture and flavor for about a week. Avoid refreezing after thawing to keep them from getting icy.
Reheat advice is simple: avoid microwaving! Instead, run warm water over the mold briefly to loosen. The flavors tend to brighten if you let the popsicles soften a bit before serving, so patience pays off here too.
Nutritional Information & Benefits
These popsicles offer a light, naturally sweet treat that’s low in calories and packed with vitamins from fresh fruit. Here’s a rough estimate per popsicle (based on 6 servings):
| Nutrient | Amount |
|---|---|
| Calories | 70-90 kcal |
| Carbohydrates | 15-18 g |
| Fiber | 2-3 g |
| Protein | 1-2 g |
| Fat | 1-2 g (mostly from coconut yogurt) |
Key benefits include antioxidants from berries, vitamin C from strawberries and lemon juice, and probiotics if you use live-culture yogurt. These popsicles are gluten-free and can be made vegan by choosing plant-based yogurt and sweeteners. Just watch for allergies if you add nuts or use dairy-based yogurt.
From my wellness perspective, this recipe is a wonderful way to enjoy fruit without added preservatives or artificial colors. It’s a guilt-free indulgence that’s as refreshing as it is nourishing.
Conclusion
If you’re looking for a colorful, fresh, and fun summer treat, these fresh red white and blue popsicles with three vibrant layers should be your go-to. They’re easy enough for a weekday craving but special enough to bring out for celebrations or just because. I love how customizable they are—you can make them as sweet or as natural as you like, and the layering technique always makes them feel a little festive.
Give this recipe a try, and don’t hesitate to tweak it to suit your taste. Maybe add a little mint, try different fruits, or swap the creamy layer for something tangier. I’d love to hear what you come up with—feel free to share your versions and thoughts in the comments. Let’s keep the summer fun (and cool) rolling!
FAQs
Can I make these popsicles without sugar?
Yes! The natural sweetness from ripe berries often means you can skip added sugar or honey. Taste your purees and adjust as needed.
How long do these popsicles take to freeze?
Each layer needs about 30-45 minutes to set partially, and the final freeze should be at least 4 hours or overnight for best results.
Can I use other fruits for the layers?
Absolutely! Strawberries and blueberries work well for the red and blue layers, but raspberries, watermelon, or blackberries make great alternatives.
What if I don’t have popsicle molds?
You can use small paper cups or even an ice cube tray with toothpicks or small sticks, though the shapes will vary.
How do I prevent ice crystals from forming on the popsicles?
Cover your molds tightly and avoid opening the freezer frequently. Using fresh fruit and not over-thinning the mixtures also helps reduce ice crystals.
Pin This Recipe!
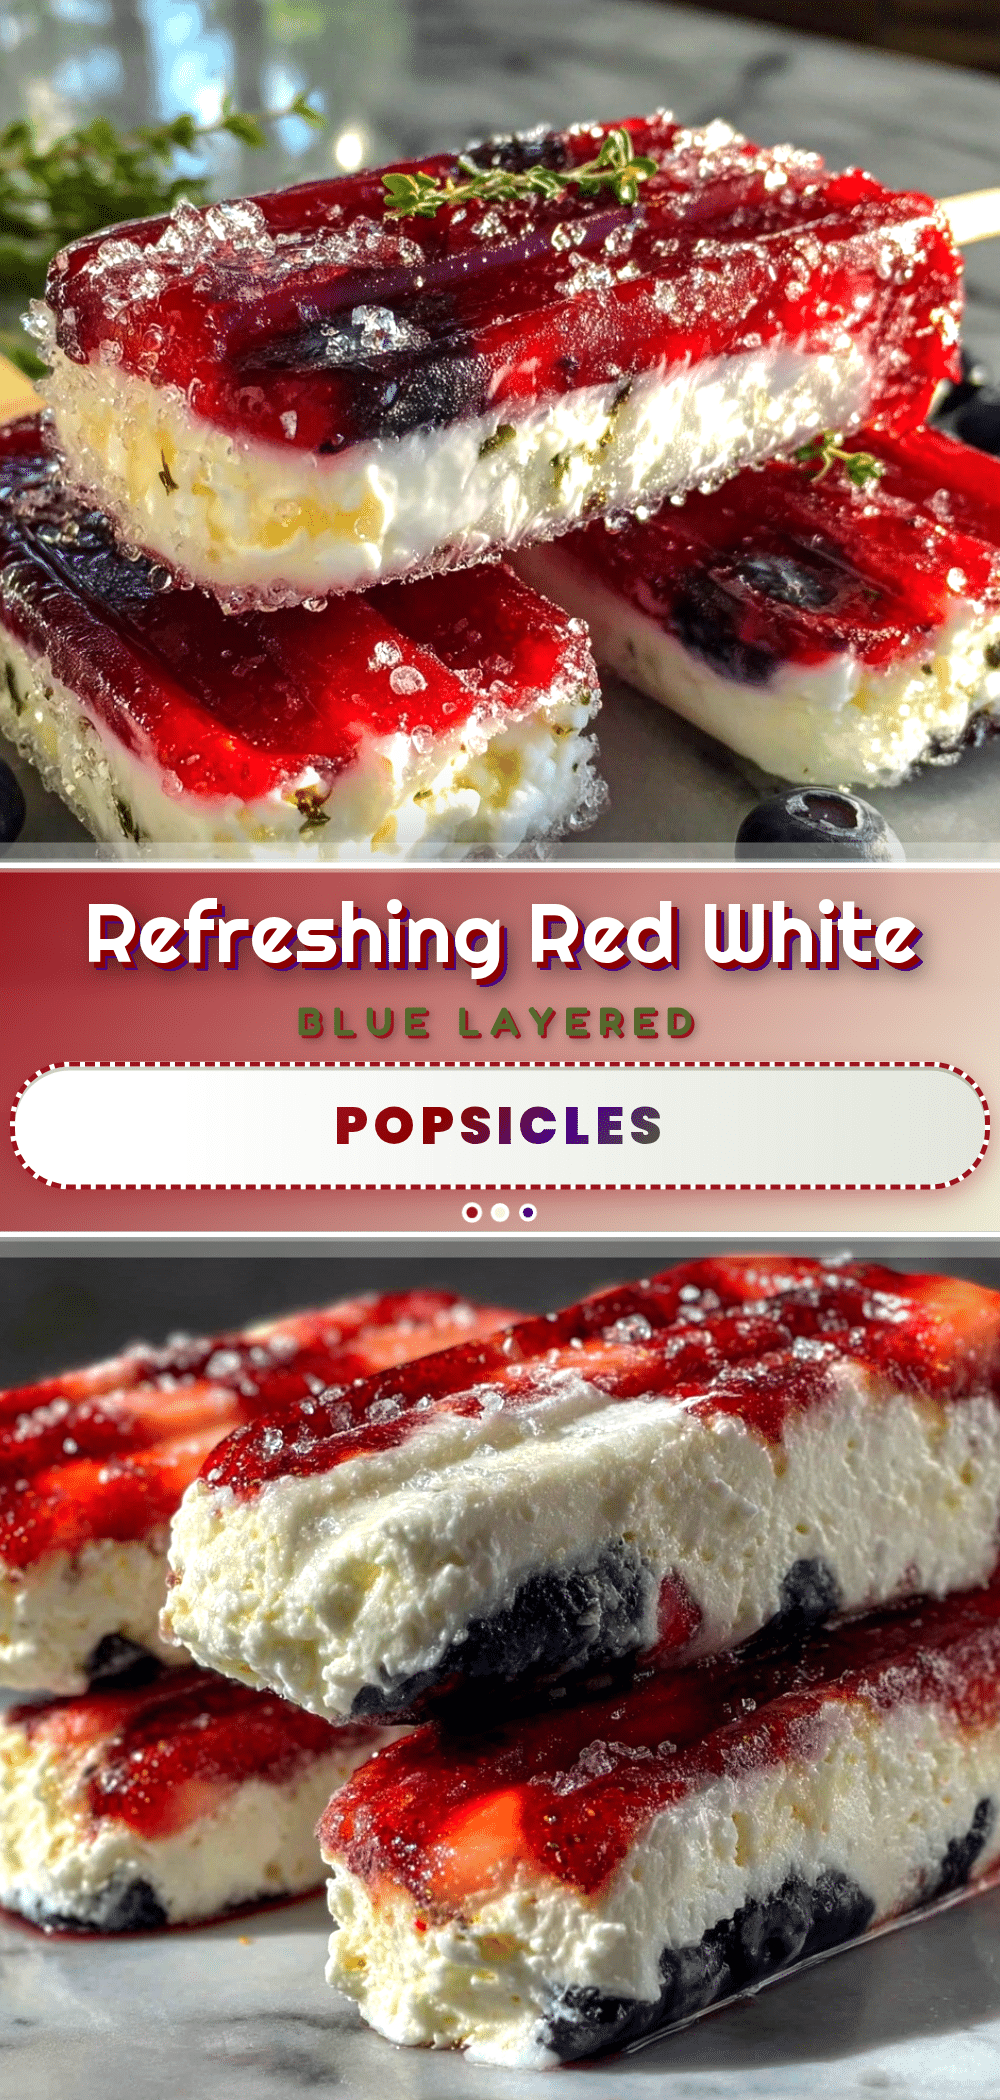
Fresh Red White and Blue Popsicles Recipe Easy 3-Layer Summer Treat
These fresh red white and blue popsicles feature three vibrant layers of strawberry puree, creamy coconut yogurt, and blueberry juice. They are easy to make, refreshing, and perfect for summer celebrations.
- Prep Time: 20 minutes
- Cook Time: 4 hours 45 minutes
- Total Time: 5 hours 5 minutes
- Yield: 6 servings 1x
- Category: Dessert
- Cuisine: American
Ingredients
- 1 cup fresh strawberries, hulled and chopped (or frozen, thawed)
- 2 tablespoons honey or agave syrup (optional, for sweetness)
- 1 tablespoon fresh lemon juice
- 3/4 cup plain coconut yogurt (full-fat)
- 2 tablespoons milk or almond milk
- 1 teaspoon vanilla extract (optional)
- 1 cup fresh blueberries (or frozen, thawed)
- 2 tablespoons water or fresh lemon juice
- 1 tablespoon honey or maple syrup (optional)
Instructions
- Prepare the Red Layer: In a blender, combine 1 cup strawberries, honey (if using), and lemon juice. Blend until smooth, about 30 seconds. Pour the mixture into your popsicle molds, filling each about one-third full. Place molds in the freezer for 30-45 minutes, or until the layer is firm to the touch but not completely frozen solid.
- Make the White Layer: In a small bowl, whisk together coconut yogurt, milk, and vanilla extract until smooth and slightly pourable. Remove molds from the freezer, and gently spoon or pour the white layer over the frozen red layer. Freeze again for 30-45 minutes until set but still slightly soft.
- Create the Blue Layer: Blend blueberries with water and sweetener until smooth. Carefully add the blue layer on top of the white, filling the molds to the top. Insert popsicle sticks now if your molds don’t have built-in holders. Freeze for at least 4 hours, preferably overnight.
- Unmold and Serve: To remove, run warm water briefly over the outside of the molds to loosen the popsicles. Pull gently on the sticks and enjoy!
Notes
For cleaner layers, let each layer freeze completely before adding the next, but this increases total freezing time. Thin the yogurt layer with milk or almond milk for easier pouring. Run warm water over molds briefly to loosen popsicles before unmolding. You can strain berry purees to remove seeds if desired. Cover molds tightly to prevent ice crystals. Use frozen berries if fresh are unavailable.
Nutrition
- Serving Size: 1 popsicle
- Calories: 7090
- Fat: 12
- Carbohydrates: 1518
- Fiber: 23
- Protein: 12
Keywords: popsicles, summer treat, layered popsicles, red white and blue, coconut yogurt, strawberry puree, blueberry juice, healthy dessert, gluten-free, dairy-free option


