Love this? Save it for later!
Share the inspiration with your friends
“The power went out halfway through our Saturday night,” I remember saying to Jamie as we stared at the dim kitchen. We’d planned a cozy couples date with candles, soft jazz, and a homemade treat. Honestly, I wasn’t sure how the night would turn out without electricity, but then the idea struck me: why not make glazed yeasted donuts from scratch? I mean, who doesn’t love the comforting smell of fresh donuts filling the air, right?
There we were, mixing dough by hand under the soft glow of our flashlights, laughing every time the flour puffed up like clouds around us. It was a bit messy, and I accidentally grabbed salt instead of sugar once (classic!), but somehow, those donuts turned out perfectly golden and irresistibly soft. The glaze was a little uneven—not that I minded—and we sat on the floor, sharing warm bites and stories by candlelight. Maybe you’ve been there too, when a simple recipe turns into a magical memory.
That night, these cozy homemade glazed yeasted donuts became more than a dessert; they were our little tradition in the making. Perfect for a couples date, they bring warmth, sweetness, and a touch of fun to any evening. Let me tell you, this recipe isn’t just about donuts—it’s about creating moments that linger, long after the last bite.
Why You’ll Love This Recipe
After countless trials, tweaks, and a few flour-covered mishaps, this glazed yeasted donuts recipe became my go-to for a relaxed, intimate night in. Not only is it delightfully simple, but it delivers that soft, airy texture with a shiny glaze that’s just right—not too sweet, not too thin.
- Quick & Easy: Ready in about 2 hours from start to finish—perfect for spontaneous date nights.
- Simple Ingredients: Uses pantry staples you likely already have—no fancy or hard-to-find items required.
- Perfect for Couples Dates: Making these together is half the fun, with plenty of chances to laugh and sneak tastes.
- Crowd-Pleaser: Whether you’re sharing with your partner or friends, these donuts get rave reviews every time.
- Unbelievably Delicious: The yeasted dough yields a pillowy bite, and the glaze adds just the right sheen and sweetness.
This isn’t just another donut recipe floating around—the secret is in the slow rise and gentle frying, giving that classic yeasted flavor with a homemade charm. Plus, the glaze recipe is balanced so well, you get that perfect snap without it turning into a sugary mess. Honestly, it’s the kind of treat you close your eyes for after the first bite.
What Ingredients You Will Need
This cozy homemade glazed yeasted donuts recipe keeps things straightforward with ingredients that work together to create that tender, airy texture and irresistible glaze. You’ll find most of these tucked away in your pantry or fridge already.
- For the Dough:
- All-purpose flour, 4 cups (480g) – I prefer King Arthur for consistent results
- Granulated sugar, 1/2 cup (100g) – balances the dough’s flavor
- Active dry yeast, 2 1/4 tsp (one packet) – the magic behind the rise
- Whole milk, 1 cup (240ml), warmed to about 110°F (43°C) – helps activate the yeast
- Unsalted butter, 1/4 cup (56g), melted – adds richness and tenderness
- Large eggs, 2, room temperature – bind and enrich the dough
- Salt, 1 tsp – enhances all the flavors
- For Frying:
- Vegetable oil or canola oil, enough for deep frying (about 4 cups/1 liter) – neutral flavor and high smoke point
- For the Glaze:
- Powdered sugar, 2 cups (240g), sifted – for a smooth finish
- Whole milk, 1/3 cup (80ml) – adjust for desired glaze thickness
- Pure vanilla extract, 1 tsp – adds warmth and depth
If you want to swap out dairy, almond or oat milk works well in the glaze, keeping it vegan-friendly. For a gluten-free twist, try a 1:1 baking flour blend, though the texture will be a bit different—still delicious, just a bit more crumbly.
Equipment Needed
- Large mixing bowl – I love a glass bowl so I can see the dough rise
- Whisk and wooden spoon – for combining ingredients efficiently
- Stand mixer with dough hook (optional) – saves time kneading but you can do it by hand
- Rolling pin – essential for rolling out the dough evenly
- Donut cutter or two round cutters (about 3-inch and 1.5-inch) – to get that classic donut shape
- Deep frying pan or heavy-bottomed pot – a deep pot helps maintain oil temperature
- Thermometer (candy or instant-read) – crucial for keeping oil at a steady 350°F (175°C)
- Wire rack with baking sheet underneath – lets excess oil drip off and keeps donuts crisp
- Slotted spoon or spider strainer – for safely lifting donuts out of hot oil
If you don’t have a donut cutter, a glass and a bottle cap or small cookie cutter can work in a pinch. I’ve also found that a heavy cast iron skillet keeps oil temperature steady better than thinner pans, which helps avoid greasy donuts.
Preparation Method
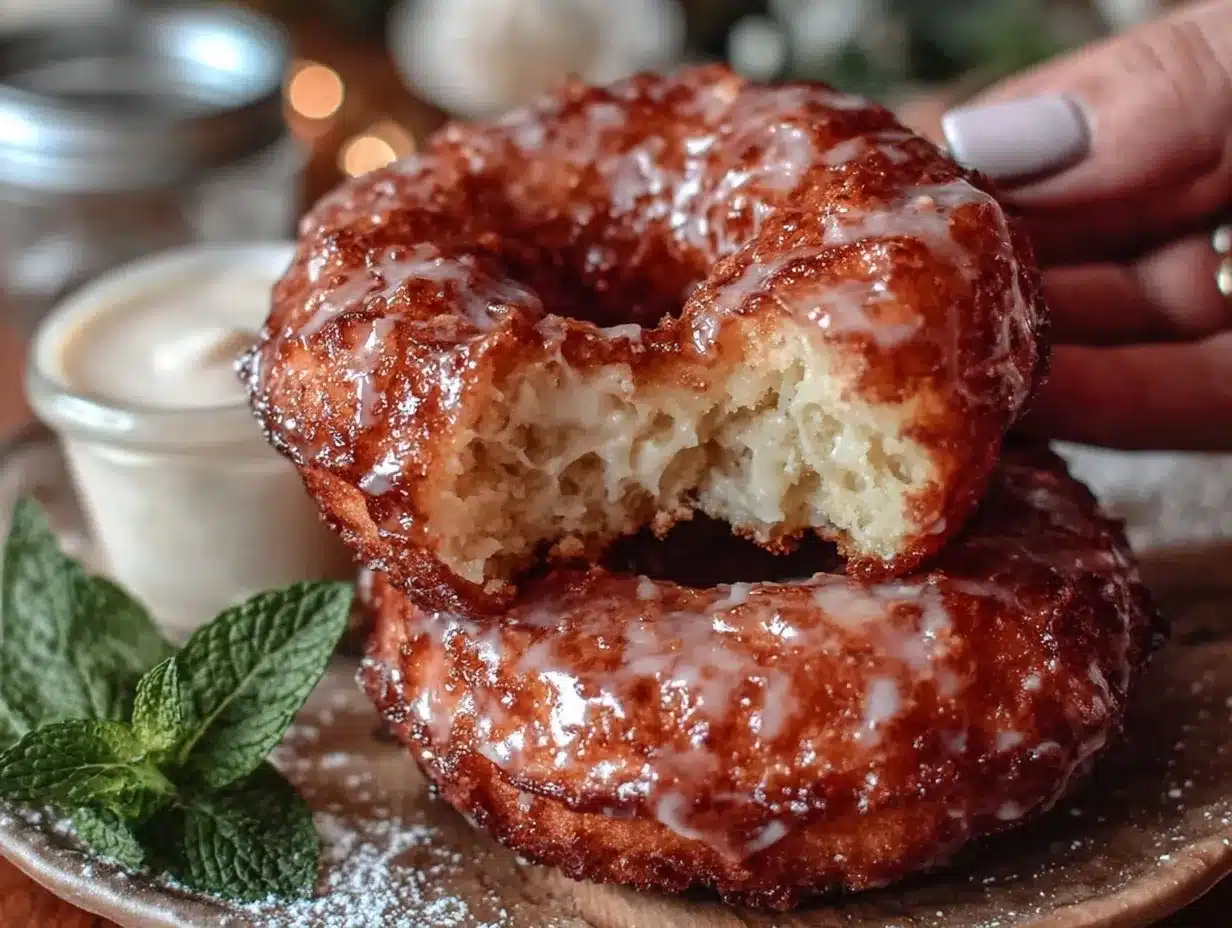
- Activate the yeast: In your large bowl, combine the warm milk (about 110°F/43°C) with 1 tablespoon of sugar and the yeast. Stir lightly and let it sit for 5-10 minutes until foamy and bubbly. If it doesn’t foam, your yeast might be old or the milk was too hot or cold.
- Mix the dough: Add the melted butter, remaining sugar, eggs, and salt to the yeast mixture. Slowly incorporate the flour, about 1 cup at a time, mixing with a wooden spoon or dough hook until the dough starts to come together. It should be soft but not sticky.
- Knead: Turn the dough onto a lightly floured surface and knead for about 8-10 minutes until smooth and elastic. If using a stand mixer, knead for 5-6 minutes on medium speed. The dough will be slightly tacky but not clingy.
- First rise: Place the dough in a lightly greased bowl, cover with a clean kitchen towel or plastic wrap, and let it rise in a warm spot for 1 to 1 1/2 hours, or until doubled in size. I usually put mine near the oven or on top of the fridge.
- Roll and cut: Gently punch down the dough and turn it onto a floured surface. Roll it out to about 1/2 inch (1.3 cm) thickness. Use your donut cutter or two round cutters to cut out donuts and holes. Gather scraps, reroll, and cut more donuts if needed.
- Second rise: Place the cut donuts and holes on parchment-lined baking sheets. Cover loosely with a towel and let rise for 30-45 minutes until puffy but not overly risen.
- Heat the oil: Heat oil in your pot or pan to 350°F (175°C). Use a thermometer to keep a steady temperature. If too hot, donuts brown too fast and stay raw inside; too cool, they soak up oil.
- Fry the donuts: Carefully slide a few donuts at a time into the hot oil. Fry for about 1-2 minutes per side, turning once, until golden brown. Use your slotted spoon to remove and drain on the wire rack.
- Make the glaze: While frying, whisk powdered sugar, milk, and vanilla extract in a bowl until smooth. Adjust with more milk or sugar to get a thick but pourable glaze.
- Glaze the donuts: Dip the warm donuts into the glaze, letting the excess drip off. Place back on the rack to set. The glaze will harden slightly but stay glossy and tender.
- Enjoy: Serve warm or at room temperature. These donuts are best fresh but still tasty the next day if stored properly.
Cooking Tips & Techniques
Let me share some hard-earned wisdom from my many donut adventures. First, temperature control is everything. You want your oil steady at 350°F (175°C). I’ve burned many batches trying to rush this part, and the taste just isn’t the same. Keep a thermometer handy—it’s your best friend.
When rolling out dough, avoid adding too much flour or the donuts turn dense. I often use a light dusting on the surface and my rolling pin, but if the dough sticks, a quick chill in the fridge helps.
Don’t overcrowd the frying pan! Drop in a few donuts at a time and give them space. Overcrowding drops oil temperature and leads to soggy, oily results.
Glazing while donuts are warm (but not hot) helps the glaze stick just right. If the donuts are too hot, glaze melts off; too cool, it won’t adhere well. I usually wait 5 minutes before glazing.
Lastly, patience is key. Let your dough rise fully for that classic airy texture. I once tried rushing this and ended up with heavy donuts that no one wanted to eat—lesson learned!
Variations & Adaptations
Want to switch things up? Here are some ideas I’ve played around with:
- Chocolate Glaze: Swap the vanilla glaze for a simple chocolate version by mixing powdered sugar with cocoa powder and milk. It adds a rich, indulgent twist perfect for chocolate lovers.
- Seasonal Twists: Add a pinch of cinnamon or nutmeg to the dough for a warm fall vibe. Or try lemon zest in the glaze for a bright, summery feel.
- Vegan Version: Substitute dairy milk with almond or oat milk, replace eggs with flax eggs (1 tbsp flaxseed meal + 3 tbsp water per egg), and use vegan butter. The texture is slightly different but still delightful.
- Baked Option: If frying isn’t your thing, bake the donuts at 375°F (190°C) for about 12-15 minutes until golden, then glaze as usual. They won’t have the same crisp exterior, but they’re a bit lighter.
- Filled Donuts: After frying, inject your favorite jam or custard for a luscious surprise inside. I once filled mine with raspberry preserves, and it was a hit!
Serving & Storage Suggestions
These glazed yeasted donuts are best served warm, fresh from the glaze, with a cozy cup of coffee or hot chocolate. For a special couples date, plate them with fresh berries and a sprinkle of powdered sugar on the side—simple but so inviting.
To store, keep donuts in an airtight container at room temperature for up to 24 hours. After that, they’re still good refrigerated for 2-3 days, but I recommend popping them in the microwave for about 10 seconds to refresh that softness.
For longer storage, freeze unglazed donuts in a sealed bag for up to 3 months. Defrost at room temperature, then gently warm and glaze before serving. The flavors mellow and deepen a bit overnight, making leftovers a nice treat.
Nutritional Information & Benefits
Each glazed yeasted donut contains roughly 250-300 calories, depending on size and glaze thickness. While they’re a treat, the recipe uses simple ingredients without artificial additives or preservatives, so you know exactly what you’re eating.
Key ingredients like yeast contribute to fermentation, which can aid digestion slightly, and the use of real butter and eggs provides natural fats and proteins. This recipe also avoids preservatives found in many store-bought donuts.
For those watching carbs or dairy, the variations section offers helpful substitutions. Just keep in mind, these are best enjoyed as an occasional indulgence that brings joy and connection—perfect for those special couples moments.
Conclusion
Cozy homemade glazed yeasted donuts are more than just a sweet treat—they’re an experience, a way to slow down and share something special with someone you care about. Whether it’s a planned couples date or an unexpected night in, this recipe brings warmth and sweetness in every bite.
Feel free to tweak the glaze, try different fillings, or even bake instead of fry—making this recipe your own is part of the fun. Honestly, I make these when I want to impress Jamie without the fuss, and they never disappoint.
Give it a try, and don’t forget to share your donut stories and adaptations—I’d love to hear how your perfect couples date went with these cozy treats. Remember, good food is all about the love you put into it and the memories you create along the way.
FAQs
How long does it take to make homemade glazed yeasted donuts?
From start to finish, expect about 2 hours, including dough rising and frying. Most of the time is waiting for the dough to rise, so you can relax or prep other things in the meantime.
Can I use instant yeast instead of active dry yeast?
Yes, you can substitute instant yeast in the same quantity. Just mix it directly with the flour instead of activating it in warm milk first.
Why are my donuts dense instead of light and fluffy?
This usually means the dough didn’t rise enough or the oil temperature was off. Make sure your yeast is fresh and the dough doubles in size before frying. Also, keep the oil steady at 350°F (175°C).
Can I make these donuts ahead of time?
Donuts are best fresh, but you can prepare the dough a day ahead and refrigerate it overnight. Bring it to room temperature before rolling and frying for best results.
What’s the best way to reheat leftover donuts?
Microwaving for 10-15 seconds softens them nicely. You can also warm them in a low oven (300°F/150°C) for 5 minutes to revive the texture without drying them out.
Pin This Recipe!
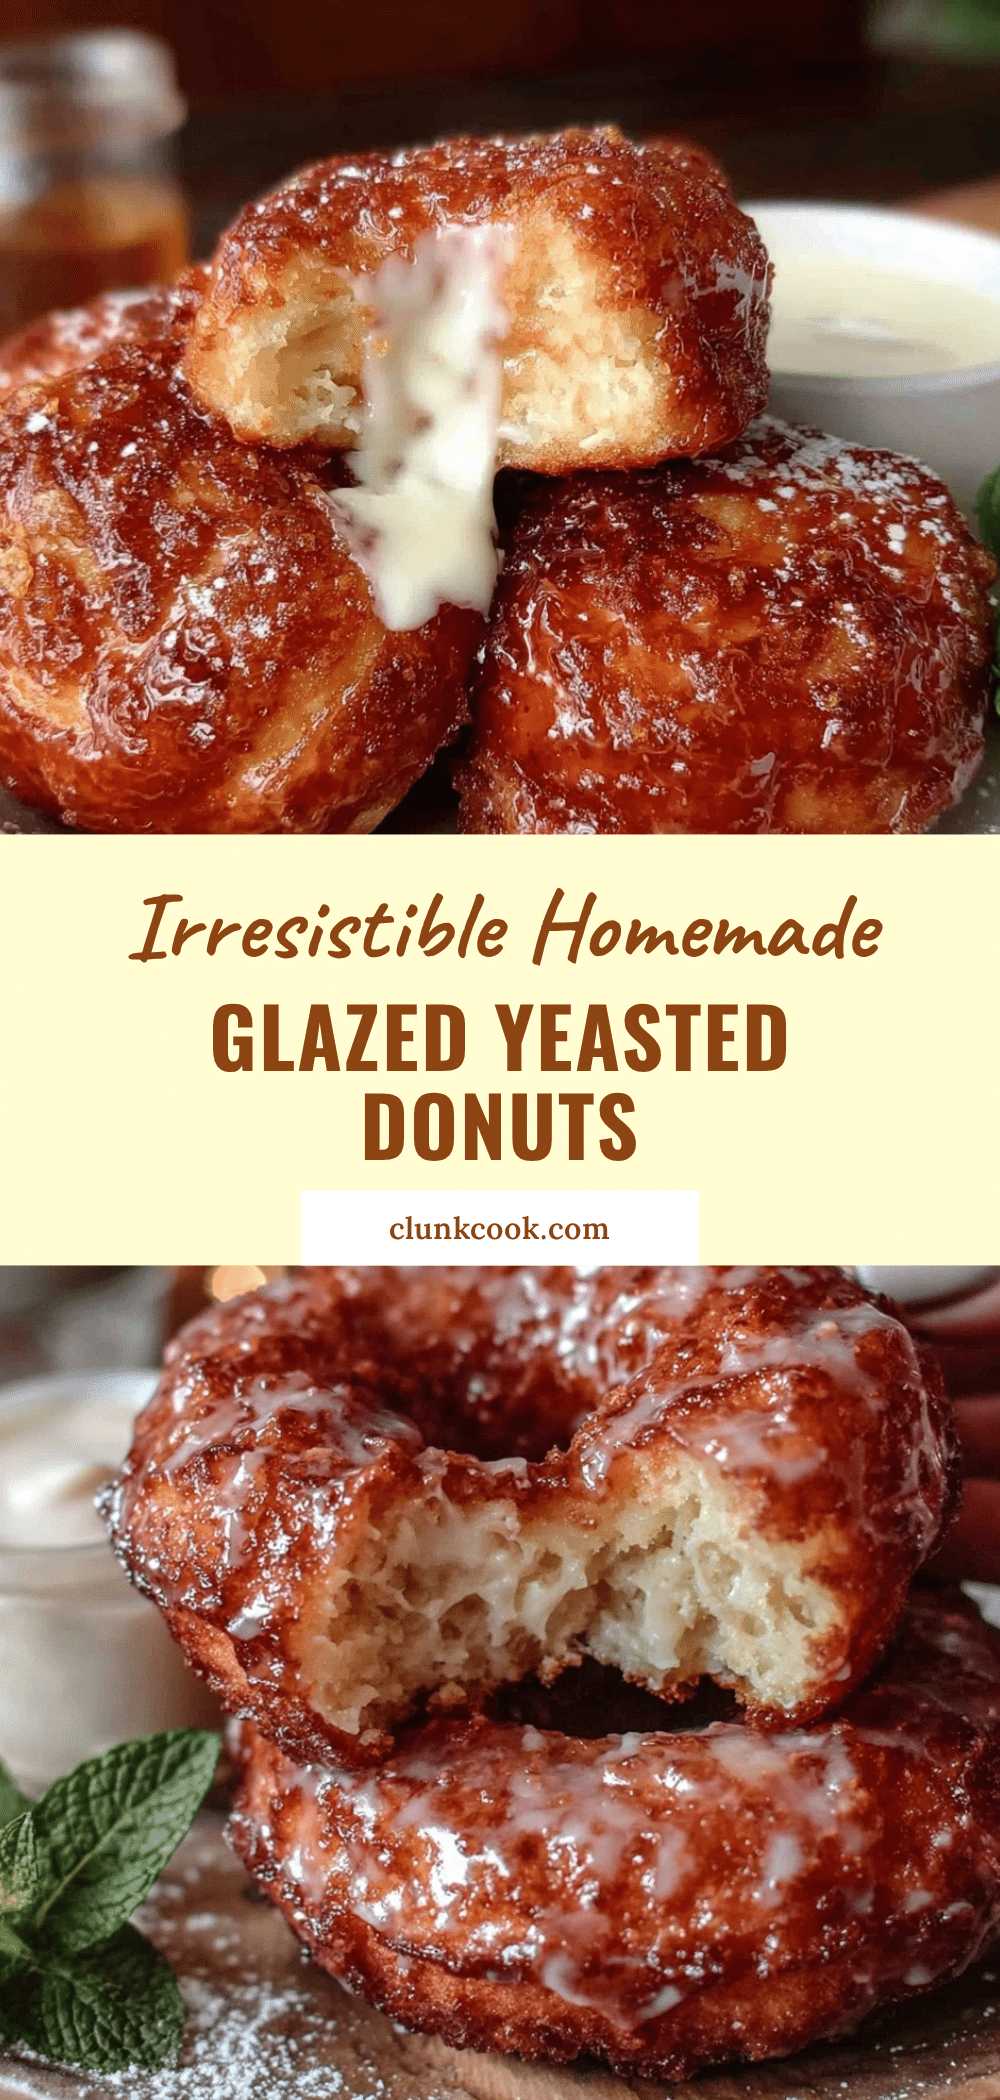
Cozy Homemade Glazed Yeasted Donuts

Soft, airy yeasted donuts with a shiny, balanced glaze perfect for cozy couples dates or any sweet occasion. This recipe delivers classic flavor with simple ingredients and a comforting homemade charm.
- Prep Time: 30 minutes
- Cook Time: 30 minutes
- Total Time: 2 hours
- Yield: 12 donuts 1x
- Category: Dessert
- Cuisine: American
Ingredients
- 4 cups all-purpose flour (480g)
- 1/2 cup granulated sugar (100g)
- 2 1/4 tsp active dry yeast (one packet)
- 1 cup whole milk, warmed to about 110°F (240ml)
- 1/4 cup unsalted butter, melted (56g)
- 2 large eggs, room temperature
- 1 tsp salt
- Vegetable oil or canola oil for deep frying (about 4 cups / 1 liter)
- 2 cups powdered sugar, sifted (240g)
- 1/3 cup whole milk (80ml)
- 1 tsp pure vanilla extract
Instructions
- Activate the yeast: In a large bowl, combine warm milk (about 110°F/43°C) with 1 tablespoon of sugar and the yeast. Stir lightly and let sit for 5-10 minutes until foamy and bubbly.
- Mix the dough: Add melted butter, remaining sugar, eggs, and salt to the yeast mixture. Slowly incorporate flour about 1 cup at a time, mixing until dough starts to come together. Dough should be soft but not sticky.
- Knead: Turn dough onto a lightly floured surface and knead for 8-10 minutes until smooth and elastic. Alternatively, knead 5-6 minutes in a stand mixer with dough hook on medium speed.
- First rise: Place dough in a lightly greased bowl, cover, and let rise in a warm spot for 1 to 1 1/2 hours until doubled in size.
- Roll and cut: Punch down dough and roll out to about 1/2 inch (1.3 cm) thickness. Use donut cutter or two round cutters (3-inch and 1.5-inch) to cut donuts and holes. Reroll scraps and cut more donuts.
- Second rise: Place cut donuts and holes on parchment-lined baking sheets. Cover loosely and let rise 30-45 minutes until puffy but not overly risen.
- Heat oil: Heat oil in a deep frying pan or pot to 350°F (175°C). Use a thermometer to maintain steady temperature.
- Fry donuts: Fry a few donuts at a time for 1-2 minutes per side until golden brown. Remove with slotted spoon and drain on wire rack.
- Make glaze: Whisk powdered sugar, milk, and vanilla extract until smooth. Adjust thickness with more milk or sugar as needed.
- Glaze donuts: Dip warm donuts into glaze, letting excess drip off. Place back on rack to set glaze.
- Serve warm or at room temperature. Best fresh but can be stored properly for later.
Notes
Maintain oil temperature at 350°F for best results. Avoid overcrowding the frying pan to prevent soggy donuts. Glaze donuts while warm but not hot for best adhesion. Dough rising time is crucial for light, airy texture. Variations include chocolate glaze, vegan substitutions, and baking instead of frying.
Nutrition
- Serving Size: 1 donut
- Calories: 275
- Sugar: 15
- Sodium: 210
- Fat: 12
- Saturated Fat: 6
- Carbohydrates: 36
- Fiber: 1
- Protein: 4
Keywords: yeasted donuts, glazed donuts, homemade donuts, couples date dessert, fried donuts, easy donut recipe


