Love this? Save it for later!
Share the inspiration with your friends
Introduction
“I never expected my Saturday morning grocery run to turn into a sticky, sweet adventure,” I confessed to my friend Lisa last weekend. You see, I was hunting for fresh strawberries at the local market when a burst of laughter from the stall next door caught my attention. An elderly gentleman was carefully explaining to his curious granddaughter how to turn those very strawberries into a batch of homemade preserves, just like his mother did decades ago. The way he described the process—simple, slow, and full of love—reminded me of my own attempts to make classic homemade old-fashioned strawberry preserves. Honestly, the smell of simmering fruit and sugar wafting through the air brought back moments of childhood summers and kitchen chaos (I once spilled an entire pot, by the way). Maybe you’ve been there—caught between the mess and the magic of making something from scratch that tastes like a warm, nostalgic hug.
This recipe stayed with me not only because it’s a timeless way to capture the essence of fresh strawberries but also because it’s forgiving enough to be made in any kitchen, even when you’re juggling life’s little interruptions. Let me tell you, this easy 3-step guide to classic homemade old-fashioned strawberry preserves is the kind of recipe you’ll come back to again and again, whether you’re preserving summer berries or crafting heartfelt gifts for neighbors. So, grab your apron—sticky fingers and all—and let’s get started.
Why You’ll Love This Recipe
After testing countless versions of strawberry preserves, I can confidently say this one is a keeper. It strikes the perfect balance of sweetness and fresh berry flavor without any fuss.
- Quick & Easy: Comes together in under an hour, making it perfect for busy mornings or last-minute batch-making.
- Simple Ingredients: Uses just fresh strawberries, sugar, lemon juice, and a pinch of patience—no fancy add-ins needed.
- Perfect for Gifts & Breakfasts: Ideal for spreading on toast, dolloping over yogurt, or even spooning onto ice cream during summer.
- Crowd-Pleaser: Family-approved and adored by kids who love its sweet, slightly chunky texture.
- Unbelievably Delicious: The slow simmering method brings out a rich, deep flavor that’s far from your typical jarred preserve.
This recipe shines because it honors tradition but doesn’t get bogged down in complicated processes. I especially love the way the lemon juice brightens the flavor, making it taste like the berries were picked just moments ago. Plus, it’s the kind of recipe where you get to taste-test along the way—no rules, just fun cooking. If you’ve ever tried to make preserves that turned out too runny or overly sweet, this one will feel like a breath of fresh air.
What Ingredients You Will Need
This recipe uses simple, wholesome ingredients to deliver bold flavor and satisfying texture without the fuss. Most of these are pantry staples or easy to find at your local market.
- Fresh Strawberries (about 4 cups / 600 grams): Choose ripe, firm berries for the best flavor. I prefer organic when possible to avoid pesticides on the skin.
- Granulated Sugar (2 cups / 400 grams): Regular white sugar works great here; it helps preserve and sweeten while balancing the berry’s natural tartness.
- Fresh Lemon Juice (2 tablespoons): Adds brightness and helps with natural pectin activation. Always use fresh lemon juice—bottled just doesn’t cut it.
- Optional: Pectin (1-2 teaspoons): If you want a firmer set, you can add a small amount of powdered pectin, but honestly, this recipe works beautifully without it.
For brands, I usually go with Domino sugar—it dissolves nicely and has consistent quality. When picking strawberries, the smaller, sweet berries from local farms often pack more flavor, but supermarkets’ bigger berries work just fine, too. In summer months, sometimes I swap half the strawberries for fresh raspberries or blackberries for a twist, but the classic is unbeatable.
Equipment Needed
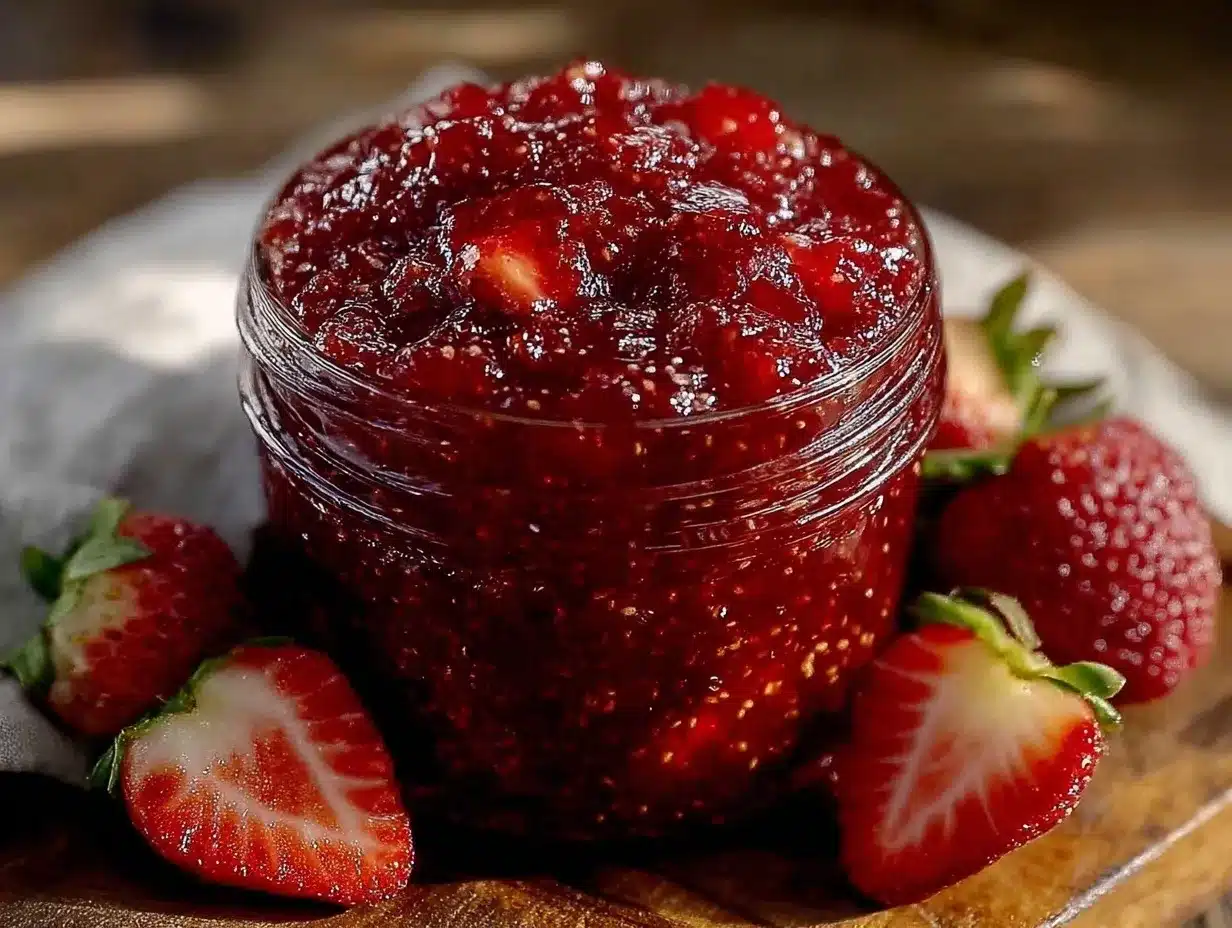
- Heavy-Bottomed Saucepan: Essential for even heat distribution and preventing burning. A 3-quart (3-liter) pan works well.
- Wooden Spoon or Heat-Resistant Spatula: For stirring gently without scratching your cookware.
- Measuring Cups and Spoons: Accurate measurements help with consistency, especially for sugar and lemon juice.
- Glass Jars with Lids (Mason jars or similar): For storing your preserves safely. I always sterilize my jars by boiling them before use to keep everything fresh.
- Optional: Potato Masher: Handy if you want to crush the strawberries more for a smoother texture.
If you don’t have a heavy-bottomed pan, just be extra attentive to stirring and lower the heat to avoid scorching. I once tried making preserves in a thin saucepan and, well, let’s just say it involved a bit more cleanup. For budget-friendly storage options, repurposed jam jars from previous batches work perfectly, just make sure the seals are good.
Preparation Method
- Prepare the Strawberries (10 minutes): Rinse your strawberries gently under cold water. Remove the green stems and slice the berries into halves or quarters depending on their size. If you want chunkier preserves, keep the pieces larger. For a more spreadable texture, use a potato masher to crush them lightly once sliced.
- Combine Ingredients and Heat (5 minutes): In your heavy-bottomed saucepan, add the sliced strawberries, sugar, and lemon juice. Stir everything together and let it sit for 10 minutes—this helps the sugar draw out the strawberry juices, creating a natural syrup. Sometimes I get distracted here and forget to set a timer, but that resting phase is worth it.
- Simmer the Mixture (30-40 minutes): Place the pan over medium heat and bring the mixture to a gentle boil, stirring frequently to prevent sticking. Once boiling, reduce heat to low and let it simmer gently. Stir every few minutes, and skim off any foam that forms on top. You’ll notice the syrup thickening and the color deepening to a rich red. The preserves are ready when a spoonful placed on a cold plate wrinkles when pushed with your finger (about 220°F or 104°C if you’re using a candy thermometer).
- Jar and Cool (15 minutes): Carefully ladle the hot preserves into sterilized glass jars, leaving about 1/4 inch of headspace. Wipe the rims clean, seal tightly with lids, and allow to cool completely at room temperature. Once cooled, store in the refrigerator for up to three weeks or freeze for longer storage.
Quick tip: If your preserves seem too runny after cooling, you can simmer them a bit longer next time, or add a teaspoon of pectin at the start. I once had a batch that didn’t set well because I rushed the simmering step, so patience really pays off.
Cooking Tips & Techniques
Making old-fashioned strawberry preserves is as much about technique as it is about timing. Here are some tips I’ve learned over the years:
- Use a heavy-bottomed pot: It prevents hot spots that can burn the preserves. Trust me, a scorched batch isn’t worth saving.
- Don’t rush the simmer: Slow and steady cooking lets the flavors concentrate and the texture develop just right.
- Skim the foam: The foam that rises at the top can give your preserves a cloudy look and bitter taste. Skimming it off keeps your preserves clear and pleasant.
- Test the set early: The wrinkle test on a cold plate is your friend. If it doesn’t wrinkle, keep simmering and test every few minutes.
- Stir gently: Too vigorous stirring can break down the berries more than you’d like, unless you’re aiming for a smoother preserve.
- Don’t forget sterilizing jars: This step prevents spoilage and extends shelf life. I once skipped this step and ended up with a batch that fermented faster than I wanted!
Also, multitasking is your best buddy here—prep your jars while the preserves simmer, and you’ll save valuable time. And when you’re stirring, don’t be shy to sneak a taste. It’s the best way to know when the balance of sweetness and tartness is just right.
Variations & Adaptations
If you like experimenting, this classic homemade old-fashioned strawberry preserves recipe welcomes a few tweaks:
- Low-Sugar Version: Reduce sugar by 25% and add 1 teaspoon of lemon zest to brighten the flavor. Just note that lower sugar can affect the set and shelf life.
- Mixed Berry Preserve: Swap half the strawberries with blueberries or raspberries for a tangy twist that’s equally nostalgic and fresh.
- Chunk-Free Preserve: Use an immersion blender at the end of cooking to puree the preserves for a smooth, jam-like texture.
- Vegan Pectin Boost: Add 1 teaspoon of fruit pectin if you want a firmer set without using commercial pectin powders that might contain animal derivatives.
- Spiced Strawberry Preserve: Stir in a cinnamon stick or a splash of vanilla extract during simmering for a cozy flavor variation.
Personally, I once made a batch with a touch of fresh basil stirred in after cooking—surprisingly delightful and perfect for summer toast. Feel free to play around and find what makes your preserves uniquely yours.
Serving & Storage Suggestions
This strawberry preserve is best enjoyed at room temperature, spread thickly over warm toast, fresh biscuits, or even swirled into plain yogurt for breakfast. It pairs beautifully with a cup of strong coffee or a chilled glass of sparkling water for a refreshing contrast.
To store, keep your jars sealed in the refrigerator for up to three weeks. For longer preservation, freezing is your friend; just leave some headspace in the jars or use freezer-safe containers. When reheating, warm gently in a saucepan or microwave to bring back that luscious spreadable texture.
Flavors actually deepen after a day or two in the fridge, so if you can hold back, your patience will be rewarded. And if you’re gifting these preserves, a pretty ribbon and handwritten label go a long way to make the recipient feel special.
Nutritional Information & Benefits
Per 2-tablespoon serving, this homemade strawberry preserve roughly contains:
| Calories | 90 |
|---|---|
| Carbohydrates | 23g (mostly sugars) |
| Fat | 0g |
| Protein | 0.2g |
| Fiber | 0.5g |
Strawberries are loaded with antioxidants and vitamin C, supporting immune health and skin vitality. Using fresh lemon juice not only aids in preservation but adds a dose of vitamin C, too. This recipe is naturally gluten-free and vegan, making it accessible for many dietary preferences. Just be mindful of the sugar content if you’re watching intake.
Conclusion
This classic homemade old-fashioned strawberry preserves recipe is more than just a way to save summer’s sweetness; it’s a comforting ritual that celebrates simple ingredients and the joy of homemade food. Whether you customize it with your favorite berries or stick to the original, it’s a recipe that invites you to slow down and savor the process. I keep making this batch after batch because it reminds me of sunlit kitchens, family gatherings, and the simple pleasure of spreading a little homemade love on toast.
Go ahead and give it a try—you might just find yourself hooked on the charm of making preserves the old-fashioned way. And when you do, I’d love to hear how yours turned out or what variations you tried. Share your experience and keep the tradition alive!
FAQs
How long can homemade strawberry preserves be stored?
When refrigerated, they last up to three weeks. For longer storage, freeze in airtight containers for up to six months.
Can I use frozen strawberries for this recipe?
Yes, but thaw and drain excess liquid first to avoid runny preserves. Fresh berries give the best texture and flavor, though.
What if my preserves don’t set properly?
Return them to a gentle simmer and cook a bit longer, or add a teaspoon of pectin at the start next time. The wrinkle test on a cold plate helps you check readiness.
Is it necessary to sterilize jars?
It’s highly recommended to prevent spoilage and extend shelf life. Boil jars and lids before filling with hot preserves.
Can I make this recipe with less sugar?
Yes, but reducing sugar too much may affect preservation and texture. Try reducing by 25% and adding extra lemon zest for brightness.
For a delicious twist on homemade preserves, you might enjoy trying the easy peach jam recipe or the bright citrus marmalade for a tangy change. These pair wonderfully with morning toast or afternoon tea!
Pin This Recipe!
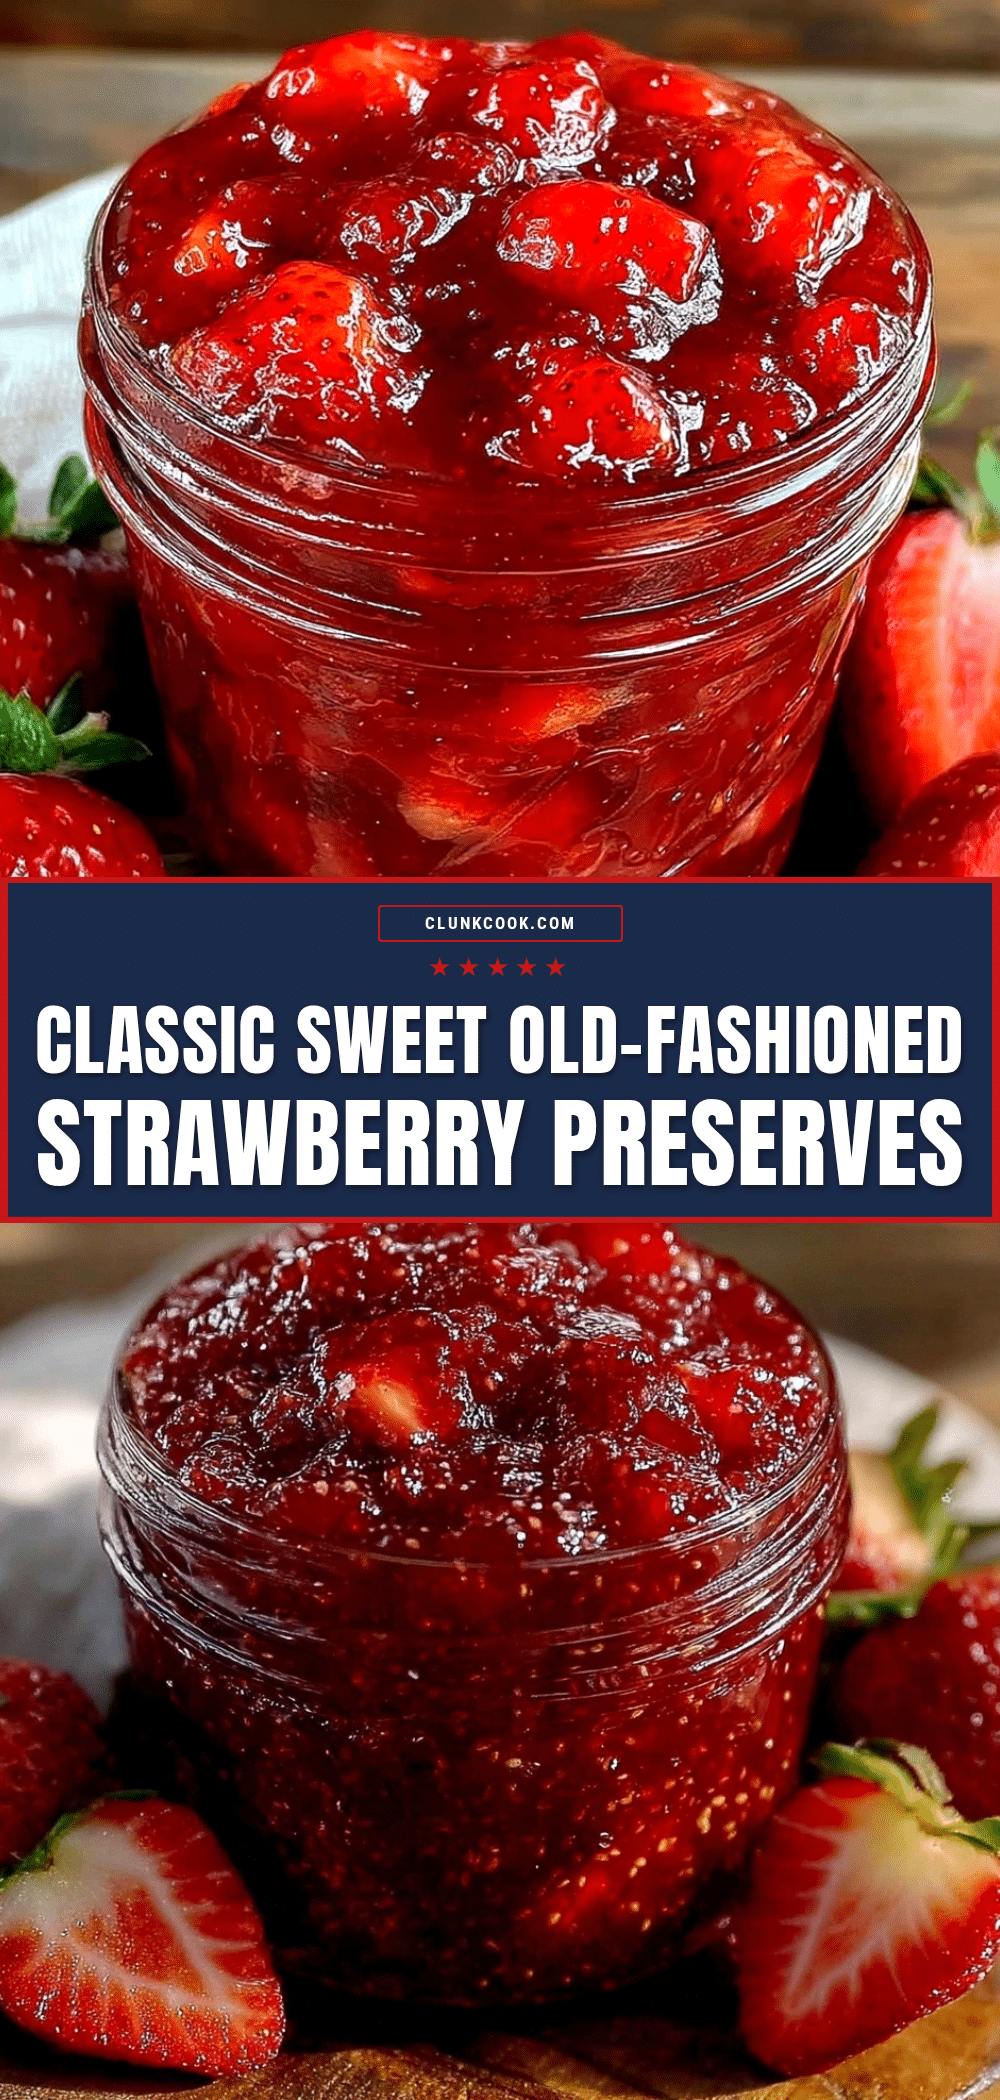
Classic Homemade Old-Fashioned Strawberry Preserves
A timeless, easy 3-step recipe for homemade strawberry preserves that balances sweetness and fresh berry flavor, perfect for spreading on toast or gifting.
- Prep Time: 15 minutes
- Cook Time: 35 minutes
- Total Time: 50 minutes
- Yield: About 4 cups (approximately 8 servings) 1x
- Category: Preserves
- Cuisine: American
Ingredients
- 4 cups fresh strawberries (about 600 grams)
- 2 cups granulated sugar (about 400 grams)
- 2 tablespoons fresh lemon juice
- Optional: 1-2 teaspoons pectin
Instructions
- Prepare the Strawberries (10 minutes): Rinse strawberries under cold water, remove stems, and slice into halves or quarters. For chunkier preserves, keep pieces larger; for smoother texture, lightly crush with a potato masher.
- Combine Ingredients and Heat (5 minutes): In a heavy-bottomed saucepan, mix sliced strawberries, sugar, and lemon juice. Stir and let sit for 10 minutes to draw out juices.
- Simmer the Mixture (30-40 minutes): Bring mixture to a gentle boil over medium heat, stirring frequently. Reduce heat to low and simmer gently, stirring every few minutes and skimming foam. Cook until syrup thickens and wrinkles on a cold plate (about 220°F or 104°C).
- Jar and Cool (15 minutes): Ladle hot preserves into sterilized glass jars, leaving 1/4 inch headspace. Wipe rims, seal tightly, and cool at room temperature. Store in refrigerator up to three weeks or freeze for longer storage.
Notes
Use a heavy-bottomed pot to prevent burning. Do not rush simmering to develop flavor and texture. Skim foam to keep preserves clear. Test set with wrinkle test on a cold plate. Sterilize jars before filling to prevent spoilage. If preserves are too runny, simmer longer or add pectin next time.
Nutrition
- Serving Size: 2 tablespoons
- Calories: 90
- Sugar: 22.5
- Carbohydrates: 23
- Fiber: 0.5
- Protein: 0.2
Keywords: strawberry preserves, homemade jam, old-fashioned preserves, easy strawberry jam, fruit preserves, homemade preserves, strawberry jam recipe


