Love this? Save it for later!
Share the inspiration with your friends
I swore I’d never bake chicken wings again. Three years of dry, sad skin and flabby texture had convinced me that the only path to wing nirvana was a deep fryer—and honestly, I was tired of the grease splatter that took an hour to scrub off the stovetop. Then last November, my neighbor Marcus showed up at my door with a foil tray of these golden beauties, still warm from his oven, and I found myself standing in my kitchen doorway, napkin in hand, eating one after another like I hadn’t eaten in days. The skin cracked when I bit into it. The honey garlic glaze stuck to my fingers in that perfect, sticky-sweet way. And I realized I had been wrong about baked wings all along.
That moment changed everything for me. I spent the next three weeks in my kitchen, tweaking and testing, trying to recreate that same magic Marcus had brought over. You know that feeling when you take a bite of something and immediately start planning when you’ll make it again? That’s this recipe. It’s the kind of wing that makes you forget you’re eating baked food—crispy, caramelized, and completely satisfying without a single drop of oil for frying.
I mean, let me tell you, the first batch I made on my own was a disaster. I forgot to pat the wings dry, and they steamed instead of crisping. But that failure taught me exactly what not to do, and by batch three, I had wings that rivaled any bar version I’d ever ordered. The trick is in the technique—baking powder, low heat, then high heat—and a glaze that hits that sweet-salty balance so perfectly you’ll want to lick the bowl clean. And maybe you will. I won’t judge.
Why You’ll Love This Recipe
These crispy honey garlic baked chicken wings aren’t just another recipe—they’re the result of dozens of test batches, a few kitchen disasters, and that one perfect batch that made me text Marcus a photo at 10 p.m. on a Tuesday. Here’s why they’ll become your go-to game day snack:
- Oven-Baked, Not Fried : You get all the crunch without the mess, the oil splatter, or the lingering fry smell in your kitchen. Your stovetop will thank you.
- Simple Pantry Ingredients : Chicken wings, baking powder, salt, pepper, honey, soy sauce, garlic, and butter. That’s it. No trips to specialty stores or weird ingredient hunts.
- Perfect for Game Day : These wings hold up beautifully in a warm oven while you watch the game, and they’re easy to eat with one hand while the other holds your drink.
- Crowd-Pleasing Flavor : The honey garlic combo is universally loved—sweet, savory, sticky, and utterly addictive. Kids devour them, adults sneak extras, and nobody guesses they’re baked.
- Make-Ahead Friendly : You can prep the wings the night before, bake them when guests arrive, and have hot, crispy wings on the table in under an hour.
What makes these wings different from every other baked wing recipe out there? It’s the double-baking method—low and slow to render the fat, then high heat to crisp the skin. Combined with the baking powder trick (not baking soda, trust me on this), you get skin so crispy it crackles when you bite into it. The glaze is a careful balance of sweet honey, savory soy sauce, and fresh garlic that caramelizes beautifully in the final minutes of baking.
This recipe is the kind that makes you close your eyes after the first bite. It’s comfort food reimagined—healthier, faster, but with the same soul-soothing satisfaction as your favorite wing joint. Perfect for impressing guests without stress, or turning a casual Sunday into something memorable.
What Ingredients You Will Need
This recipe uses simple, wholesome ingredients to deliver bold flavor and satisfying crunch without the fuss. Most of these are pantry staples you probably already have on hand.
For the Wings
- 3 pounds chicken wings, separated into drumettes and flats (about 24-30 pieces total)
- 2 teaspoons baking powder (aluminum-free preferred—it prevents any metallic aftertaste)
- 1 teaspoon salt (I use fine sea salt for even distribution)
- ½ teaspoon black pepper, freshly ground
- ½ teaspoon garlic powder (optional, but adds an extra layer of savory depth)
For the Honey Garlic Glaze
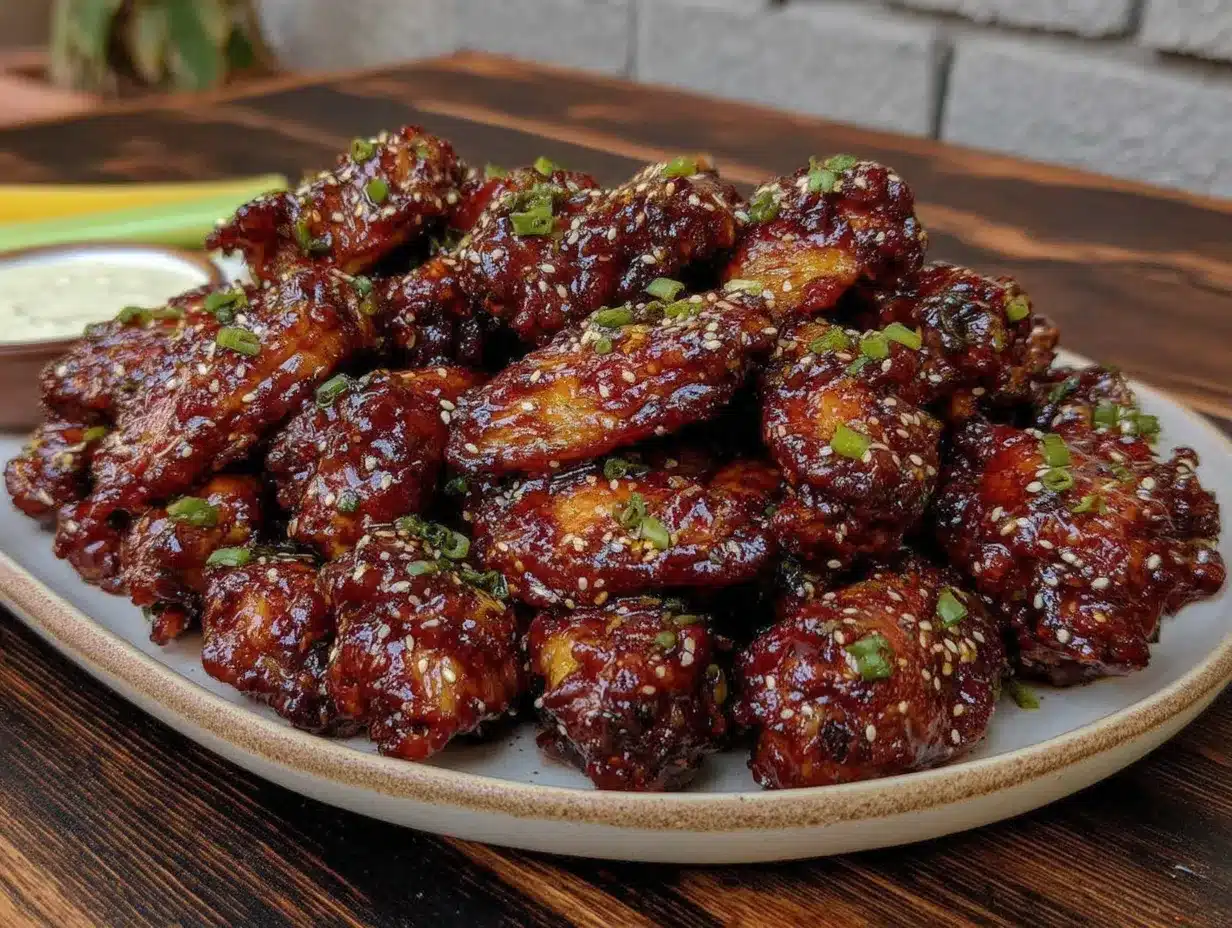
- ⅓ cup honey (use a runny, natural honey for best consistency)
- 3 tablespoons soy sauce (low-sodium works great; tamari or coconut aminos for gluten-free)
- 4 cloves garlic, minced (fresh is non-negotiable here—jarred garlic won’t give you the same punch)
- 2 tablespoons unsalted butter (adds richness and helps the glaze cling to the wings)
- 1 tablespoon rice vinegar (or apple cider vinegar—the acidity balances the sweetness)
- ½ teaspoon red pepper flakes (optional, for a subtle kick)
For Garnish (Optional)
- 2 tablespoons sesame seeds, toasted
- 2 green onions, thinly sliced
- Fresh cilantro leaves (if you’re a cilantro person)
Ingredient Selection Tips: Look for wings that are fresh, not frozen if possible—frozen wings release more water as they thaw, which can affect crispiness. If using frozen, thaw completely in the refrigerator overnight and pat extremely dry. I recommend Bell & Evans or Mary’s Free Range chicken wings for the best texture and flavor, but any good-quality wing will work.
Substitution Guidance: For a dairy-free version, swap the butter with coconut oil or a vegan butter alternative. To make it gluten-free, use tamari or coconut aminos instead of soy sauce. If you’re watching sugar intake, you can reduce the honey to ¼ cup and add an extra tablespoon of soy sauce for balance.
Equipment Needed
You don’t need much fancy equipment for these wings, which is part of their beauty. Here’s what you’ll want to have on hand:
- Large baking sheet (half-sheet pan, about 18×13 inches—enough space to spread wings without crowding)
- Wire rack that fits inside your baking sheet (this is the secret to crispy wings—air circulates all around)
- Paper towels (lots of them—for patting wings bone-dry)
- Large mixing bowl (for tossing wings with the dry rub)
- Small saucepan (for making the glaze)
- Pastry brush (for applying glaze, or you can use a spoon)
- Tongs (for flipping wings halfway through baking)
- Instant-read thermometer (optional but recommended—wings are done at 165°F internal temp)
If you don’t have a wire rack, you can use a baking sheet lined with aluminum foil and a second rack placed on top—just be careful it’s stable. I’ve even used a cooling rack from my cookie baking in a pinch, and it worked fine. The key is elevation, not perfection.
Budget-Friendly Tip: You don’t need a fancy baking sheet. A basic aluminum half-sheet pan from the grocery store costs about $5 and works perfectly. The wire rack is worth the $8 investment though—it makes that much difference in crispiness.
Preparation Method
Let me walk you through this step by step. I’ve tested this method more times than I care to admit, and these exact steps will give you the crispiest baked wings you’ve ever made.
- Prep the Wings (15 minutes) : Start by patting each wing piece completely dry with paper towels. I mean really dry—this is the most important step. Any moisture on the skin will steam instead of crisp. Lay them out on a clean kitchen towel or paper towel-lined tray while you work. You want the surface bone-dry.
- Season the Wings (5 minutes) : In a large mixing bowl, combine 2 teaspoons baking powder, 1 teaspoon salt, ½ teaspoon black pepper, and ½ teaspoon garlic powder (if using). Add the dried wings and toss thoroughly with your hands—get that seasoning into every nook and cranny. The baking powder is the magic ingredient here; it raises the skin’s pH and helps it brown and crisp beautifully.
- First Bake – Low and Slow (30 minutes at 250°F) : Place a wire rack inside your baking sheet and arrange the seasoned wings in a single layer with space between each piece—crowding leads to steaming. Bake at 250°F for 30 minutes. This low temperature renders the fat under the skin slowly, giving you that shatteringly crisp texture later. Your kitchen will start smelling amazing about 15 minutes in.
- Second Bake – High and Crispy (40-45 minutes at 425°F) : Remove the wings from the oven and increase the temperature to 425°F. Once the oven is hot, return the wings and bake for another 40-45 minutes, flipping them halfway through at the 20-minute mark. They should be deep golden brown and the skin should look crackled and tight. The sound when you tap one with a fork is pure satisfaction.
- Make the Glaze (10 minutes) : While the wings are in their final bake, combine ⅓ cup honey, 3 tablespoons soy sauce, 4 minced garlic cloves, 2 tablespoons butter, 1 tablespoon rice vinegar, and ½ teaspoon red pepper flakes (if using) in a small saucepan. Simmer over medium heat, stirring frequently, until the butter melts and the glaze thickens slightly—about 5-7 minutes. You want it syrupy enough to coat a spoon but not so thick it becomes candy. Remove from heat and set aside.
- Glaze and Finish (5 minutes) : When the wings come out of the oven, transfer them to a clean large bowl. Pour about half the warm glaze over the wings and toss gently to coat. Don’t dump all the glaze at once—you want a light coating, not a soggy mess. Add more glaze if needed, tossing until every wing has a beautiful glossy sheen.
- Garnish and Serve (2 minutes) : Transfer the glazed wings to a serving platter. Sprinkle with toasted sesame seeds, sliced green onions, and fresh cilantro if you’re using them. Serve immediately while they’re still hot and the skin is at its crispiest.
Sensory Cues: At the 30-minute mark of the second bake, the wings should smell deeply roasted and the skin should look tight and golden. When you tap a wing with a fork, you should hear a distinct crackle. The glaze should bubble gently in the pan and smell sweet and savory—that honey-garlic aroma is intoxicating.
Troubleshooting Tip: If your wings aren’t crisping, they might be too wet. Next time, pat them even drier and consider leaving them uncovered in the refrigerator for an hour before baking—this dries the skin further. Also, make sure your baking powder is fresh; old baking powder loses its effectiveness.
Cooking Tips & Techniques
After making these wings more times than I can count, I’ve collected a few hard-earned lessons that will save you from my early mistakes.
The Drying Secret: I cannot stress this enough—dry skin is crispy skin. After patting the wings dry with paper towels, I sometimes let them sit uncovered in the fridge for an hour. This air-dries the skin even further and makes the baking powder work more effectively. It’s an extra step, but the difference is noticeable.
Don’t Skip the Wire Rack: I know it’s tempting to just line the baking sheet with foil and call it a day. I’ve done it. The wings end up sitting in their own rendered fat, and the bottoms stay soft and pale. The wire rack elevates the wings, allowing hot air to circulate all around them. Every single wing comes out crispy on all sides.
Room Temperature Matters: Let the seasoned wings sit at room temperature for about 15 minutes before the first bake. This helps the baking powder activate and ensures more even cooking. Don’t leave them out longer than 30 minutes though—food safety first.
My Biggest Failure: The first time I made these for a Super Bowl party, I doubled the recipe and crammed all the wings onto one baking sheet. They steamed instead of crisped. I ended up serving sad, flabby wings to ten people. Now I always use two baking sheets if I’m making more than 3 pounds. Crowding is the enemy of crispiness.
Timing Strategy: Start the wings about 1 hour and 30 minutes before you want to serve them. The low-temperature bake is forgiving, so you can hold the wings at that stage for an extra 10-15 minutes if your guests are running late. The high-temperature bake is less forgiving—serve those wings within 15 minutes of coming out of the oven for maximum crunch.
Glaze Temperature: Apply the glaze while the wings are hot out of the oven. Warm glaze on hot wings creates the perfect coating. If the glaze has cooled and thickened too much, gently reheat it with a splash of water or additional honey.
Variations & Adaptations
This recipe is wonderfully flexible. Here are some variations I’ve tried and loved:
Spicy Honey Sriracha Wings: Add 2 tablespoons of sriracha to the glaze along with an extra clove of garlic. The heat builds gradually and pairs beautifully with the sweet honey. I made these for a friend who claims she hates spicy food, and she ate eight of them before admitting they were “pretty good.”
Garlic Parmesan Version: Skip the honey glaze entirely and toss the baked wings with 3 tablespoons melted butter, 4 minced garlic cloves (sautéed briefly in the butter), and ½ cup freshly grated Parmesan cheese. The salty, savory, garlicky combination is absolutely addictive and perfect for those who prefer savory over sweet.
Air Fryer Adaptation: If you have an air fryer, you can use it for the second bake. After the low-temperature oven bake, transfer the wings to your air fryer basket in a single layer and cook at 400°F for 12-15 minutes, shaking the basket halfway through. The air fryer gives you even crispier skin in less time. Just don’t overcrowd the basket—work in batches if needed.
Gluten-Free Option: This recipe is naturally gluten-free if you substitute the soy sauce with tamari or coconut aminos. Everything else is already gluten-free. I serve these at parties where friends have celiac disease, and they always appreciate having a safe, delicious option.
Milder Version for Kids: Omit the red pepper flakes and reduce the garlic to 2 cloves. The honey glaze is naturally kid-friendly—sweet, sticky, and finger-licking good. My nephew calls these “candy wings” and asks for them every time he visits.
Serving & Storage Suggestions
These wings are best served hot and fresh, but they’re still delicious at room temperature—which makes them perfect for game day grazing.
Serving Temperature: Serve immediately after glazing while the skin is still crackly. If you’re hosting a party, you can keep them warm in a 200°F oven for up to 30 minutes, but the crispiness will diminish slightly. For best results, bake them in batches and serve as they come out.
Presentation Ideas: Arrange the wings on a large wooden board or platter with celery sticks, carrot sticks, and a bowl of blue cheese or ranch dressing for dipping. The contrast of crunchy vegetables and creamy dip against the sticky-sweet wings is perfect. I like to scatter extra sesame seeds and green onions over the top for color.
What to Serve With Them: These wings pair beautifully with cold beer (an IPA or lager works great), coleslaw for crunch, or sweet potato fries for a complete game day spread. I also love serving them alongside a simple cucumber salad—the cool, fresh crunch balances the rich, sticky wings.
Storage Instructions: Store leftover wings in an airtight container in the refrigerator for up to 3 days. The glaze will soften the skin over time, but they’re still delicious cold or reheated. I actually love eating them cold straight from the fridge the next day—the flavors have melded together beautifully.
Reheating Tips: To restore some crispiness, reheat wings in a 400°F oven on a wire rack for 5-7 minutes. Avoid the microwave—it will make the skin rubbery and sad. If you have an air fryer, 3-4 minutes at 375°F works like magic. The glaze will caramelize again and the skin will crisp right up.
Flavor Development: Interestingly, these wings taste even better the next day. The honey garlic flavor penetrates deeper into the meat overnight, and the saltiness becomes more pronounced. If you’re meal prepping for a party, you can bake the wings a day ahead, store them unglazed in the fridge, then reheat and glaze just before serving.
Nutritional Information & Benefits
While chicken wings aren’t exactly health food, this baked version is significantly lighter than traditional fried wings. Here’s the approximate nutritional breakdown per serving (about 6 wings):
- Calories: 380-420
- Protein: 28-32g
- Fat: 22-26g
- Carbohydrates: 18-22g
- Sugar: 14-16g (mostly from honey)
- Sodium: 600-700mg
Health Benefits: Chicken wings are a good source of protein, which supports muscle repair and keeps you feeling full. The honey in the glaze provides antioxidants and natural energy, while garlic offers anti-inflammatory properties and immune support. By baking instead of frying, you save approximately 100-150 calories and 10-15 grams of fat per serving compared to traditional wings.
Dietary Considerations: This recipe is naturally gluten-free (with tamari substitution), dairy-free (if using coconut oil instead of butter), and nut-free. It’s not suitable for low-carb or keto diets due to the honey content, but you can reduce the honey to 2 tablespoons for a lower-sugar version. Always check your soy sauce label for gluten if that’s a concern.
Potential Allergens: Soy (from soy sauce), dairy (from butter), and sesame (from garnish). All can be easily substituted as noted in the variations section.
I believe in enjoying food without guilt. These wings are a treat, and they’re a much better choice than takeout or frozen options. Balance is everything—enjoy them with a big vegetable side and don’t stress about the numbers.
Conclusion
These crispy honey garlic baked chicken wings have become my go-to for every game day, potluck, and casual gathering. They’re the recipe that proved to me that baked wings can be just as good as fried—maybe even better, because you don’t have that heavy, greasy feeling afterward. The combination of shatteringly crisp skin, sticky-sweet glaze, and tender, juicy meat is honestly unbeatable.
I love that this recipe brings people together. There’s something about a platter of glossy, golden wings that makes everyone gather around, napkins in hand, ready to dig in. And when someone takes that first bite and their eyes go wide? That’s the moment that makes all the testing and tweaking worth it.
I hope you make these wings your own. Add more garlic if you’re a garlic fiend. Double the red pepper flakes for extra heat. Serve them with your favorite dipping sauce and a cold drink. Whatever you do, don’t skip the baking powder trick—it’s the secret weapon that makes these wings truly special.
Now go preheat that oven. Your game day spread is about to get a whole lot better. And when you make them—because I know you will—come back and tell me how they turned out. I’d love to hear about your own wing journey.
Frequently Asked Questions
Can I use frozen chicken wings for this recipe?
Yes, but you need to thaw them completely in the refrigerator first—overnight is best. Once thawed, pat them extremely dry with paper towels. Frozen wings release more moisture as they thaw, so you’ll need to be extra diligent about drying. I recommend fresh wings if possible for the crispiest results.
Why did my wings turn out soggy instead of crispy?
The most common reasons are: not drying the wings thoroughly before seasoning, overcrowding the baking sheet (which traps steam), or using old baking powder. Make sure each wing has space around it on the wire rack, and pat them bone-dry before seasoning. Also check that your baking powder is fresh—it loses effectiveness over time.
Can I make these wings ahead of time for a party?
Absolutely. You can complete the first low-temperature bake up to 24 hours in advance. Store the partially baked wings in the refrigerator, then finish with the high-temperature bake and glaze just before serving. This is actually my preferred method for parties—it reduces day-of stress and the wings come out perfectly crispy.
How do I store and reheat leftover wings?
Store leftovers in an airtight container in the refrigerator for up to 3 days. For best results, reheat in a 400°F oven on a wire rack for 5-7 minutes, or in an air fryer at 375°F for 3-4 minutes. Avoid the microwave—it will make the skin rubbery. The wings are also delicious cold if you’re into that sort of thing.
Can I use chicken drumsticks or thighs instead of wings?
Yes, but adjust the cooking time. Chicken drumsticks will need about 10-15 minutes longer in the high-temperature bake, and thighs may need 5-10 minutes more. Use an instant-read thermometer to check for doneness—165°F at the thickest part. The glaze works beautifully on any cut of chicken.
Pin This Recipe!
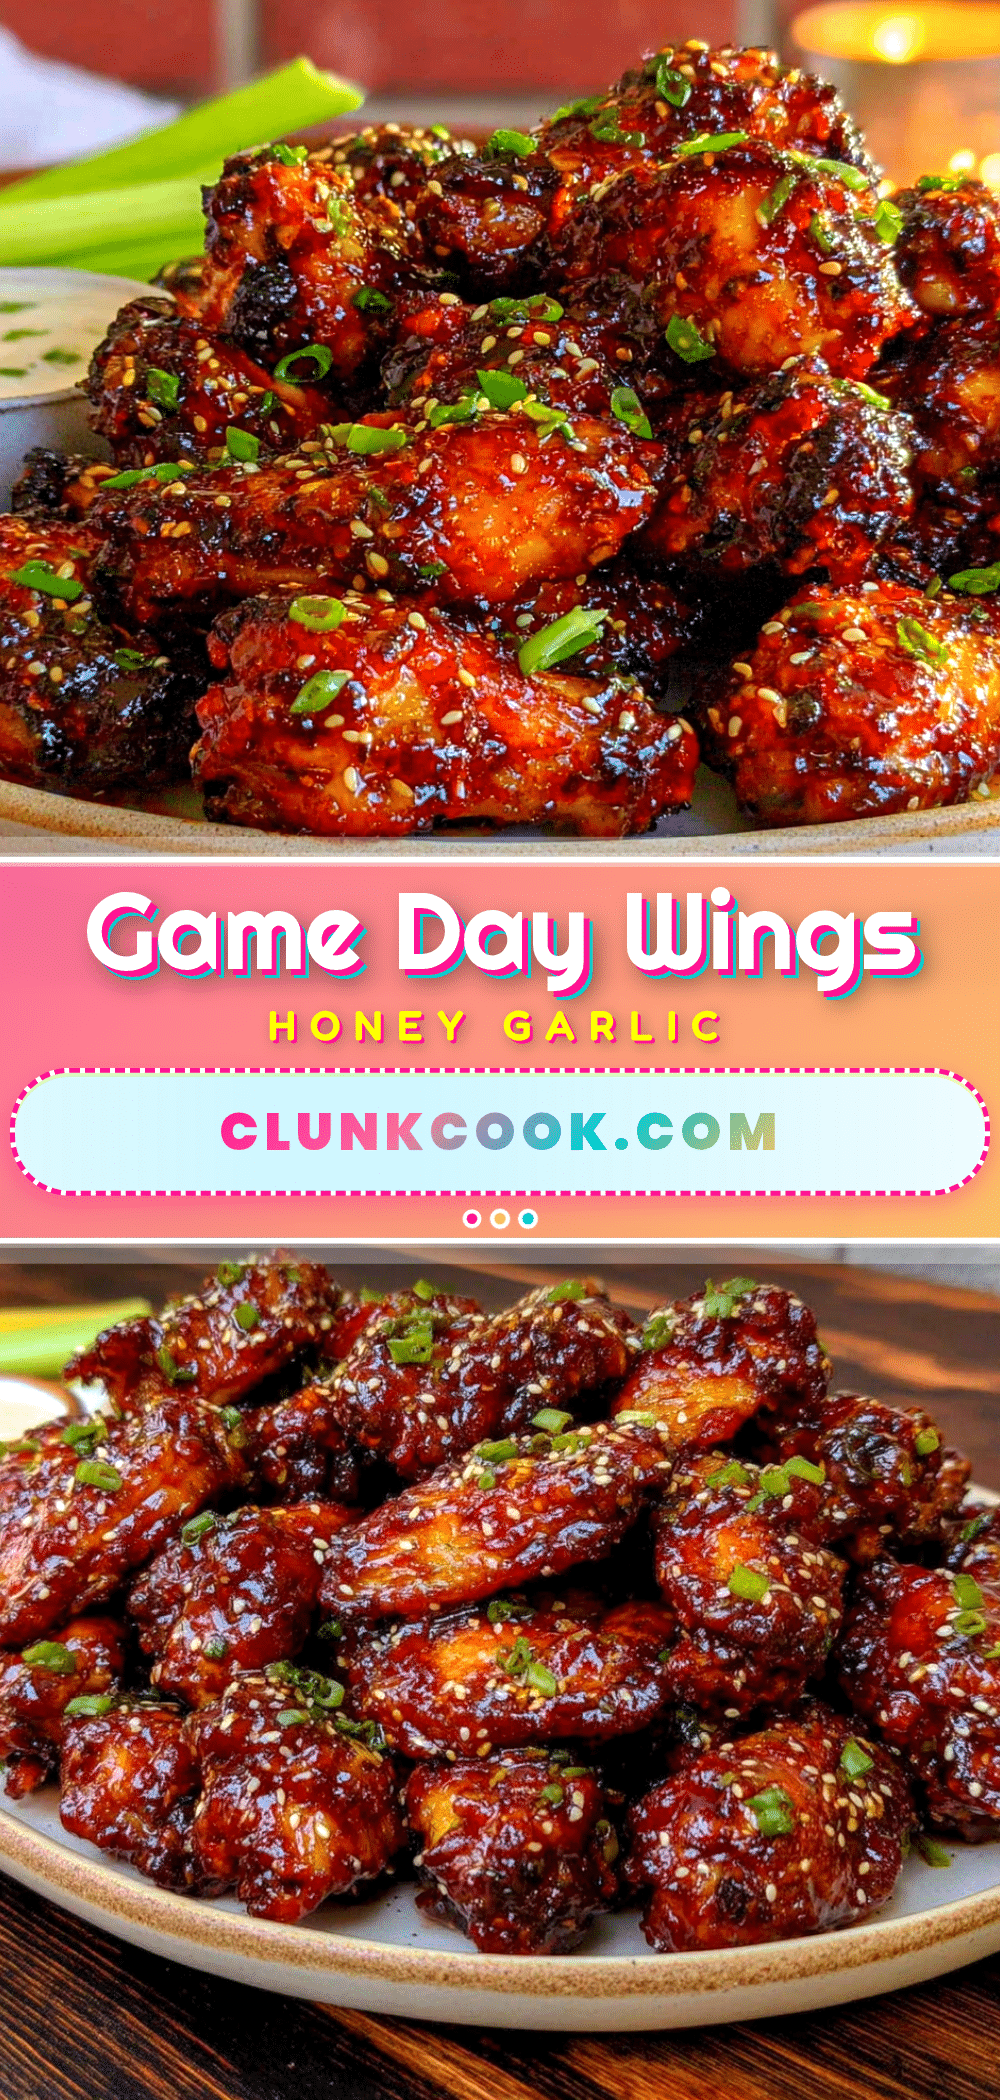
Crispy Honey Garlic Baked Chicken Wings Best Game Day Snack

These oven-baked chicken wings are incredibly crispy and coated in a sticky-sweet honey garlic glaze. Perfect for game day, they offer all the crunch of fried wings without the mess.
- Prep Time: 15 minutes
- Cook Time: 1 hour 15 minutes
- Total Time: 1 hour 30 minutes
- Yield: 4 servings 1x
- Category: Appetizer
- Cuisine: American
Ingredients
- 3 pounds chicken wings, separated into drumettes and flats (about 24–30 pieces total)
- 2 teaspoons baking powder (aluminum-free preferred)
- 1 teaspoon salt (fine sea salt)
- ½ teaspoon black pepper, freshly ground
- ½ teaspoon garlic powder (optional)
- ⅓ cup honey (runny, natural)
- 3 tablespoons soy sauce (low-sodium; tamari or coconut aminos for gluten-free)
- 4 cloves garlic, minced
- 2 tablespoons unsalted butter
- 1 tablespoon rice vinegar (or apple cider vinegar)
- ½ teaspoon red pepper flakes (optional)
- 2 tablespoons sesame seeds, toasted (for garnish)
- 2 green onions, thinly sliced (for garnish)
- Fresh cilantro leaves (for garnish, optional)
Instructions
- Prep the Wings (15 minutes): Pat each wing piece completely dry with paper towels. Lay them out on a clean kitchen towel or paper towel-lined tray.
- Season the Wings (5 minutes): In a large mixing bowl, combine 2 teaspoons baking powder, 1 teaspoon salt, ½ teaspoon black pepper, and ½ teaspoon garlic powder (if using). Add the dried wings and toss thoroughly with your hands.
- First Bake – Low and Slow (30 minutes at 250°F): Place a wire rack inside your baking sheet and arrange the seasoned wings in a single layer with space between each piece. Bake at 250°F for 30 minutes.
- Second Bake – High and Crispy (40-45 minutes at 425°F): Remove the wings from the oven and increase the temperature to 425°F. Once hot, return the wings and bake for another 40-45 minutes, flipping them halfway through at the 20-minute mark.
- Make the Glaze (10 minutes): While the wings are in their final bake, combine ⅓ cup honey, 3 tablespoons soy sauce, 4 minced garlic cloves, 2 tablespoons butter, 1 tablespoon rice vinegar, and ½ teaspoon red pepper flakes (if using) in a small saucepan. Simmer over medium heat, stirring frequently, until the butter melts and the glaze thickens slightly—about 5-7 minutes. Remove from heat and set aside.
- Glaze and Finish (5 minutes): When the wings come out of the oven, transfer them to a clean large bowl. Pour about half the warm glaze over the wings and toss gently to coat. Add more glaze if needed, tossing until every wing has a beautiful glossy sheen.
- Garnish and Serve (2 minutes): Transfer the glazed wings to a serving platter. Sprinkle with toasted sesame seeds, sliced green onions, and fresh cilantro if using. Serve immediately.
Notes
Pat wings extremely dry for crispiest results. Do not skip the wire rack. Let seasoned wings sit at room temperature for 15 minutes before first bake. Avoid overcrowding the baking sheet. Apply glaze while wings are hot. For make-ahead, complete first bake up to 24 hours in advance, refrigerate, then finish with second bake and glaze before serving.
Nutrition
- Serving Size: 6 wings
- Calories: 400
- Sugar: 15
- Sodium: 650
- Fat: 24
- Saturated Fat: 8
- Carbohydrates: 20
- Protein: 30
Keywords: baked chicken wings, honey garlic wings, crispy wings, game day snack, oven baked wings