Love this? Save it for later!
Share the inspiration with your friends
Last Tuesday, my neighbor across the hall knocked on my door holding a cutting board and a paper bag. She didn’t say hello first—just asked if I had a sharp knife she could borrow. I handed it over, she disappeared for twenty minutes, then came back with the board absolutely covered in little piles of salami, cheese cubes, grapes, and crackers. She called it a “snack board for her kids,” but honestly, it looked like a party platter. She shrugged and said it was just something she threw together when she didn’t want to cook. That moment stuck with me. Not the board itself, but the ease of it. The way she didn’t stress over it. She just arranged things on a board and called it lunch.
I started making my own version that same week. And let me tell you—it became my go-to for busy afternoons, lazy weekends, and even the occasional dinner when I just couldn’t. The homemade lunchables board with salami and cheese turned into something I actually looked forward to making. You know that feeling when you find a meal that requires zero effort but still feels special? That’s this board. I mean, I’ve made it for myself on a Tuesday while standing at the counter, and I’ve made it for guests who thought I spent way more time than I actually did.
The best part? There’s no real recipe to follow. It’s more of a method. A mindset, even. You grab what you have, you arrange it nicely, and you call it done. That’s the whole thing. And honestly, that’s why I keep coming back to it. It’s not about perfection—it’s about putting something on the table that makes everyone happy without making you exhausted. So if you’ve been overthinking lunch or snack time, this easy homemade lunchables board with salami and cheese might just change everything for you.
Why You’ll Love This Recipe
Let me be real with you—I’ve tested a lot of lunch ideas over the years. Some were complicated. Some were messy. Some required ingredients I had to drive to three different stores for. This board is none of those things. It’s the kind of meal that makes you wonder why you ever bothered with anything else. Here’s why this one stands out:
- Quick & Easy : Comes together in under 10 minutes. No cooking, no baking, no waiting. Just assemble and serve.
- Simple Ingredients : You probably already have most of what you need in your fridge and pantry. No fancy grocery trips required.
- Perfect for Any Occasion : Great for lunchboxes, after-school snacks, picnic lunches, road trips, or even a casual dinner when you don’t feel like cooking.
- Crowd-Pleaser : Kids love the build-your-own aspect. Adults love the variety. Everyone wins.
- Unbelievably Delicious : The combination of salty salami, creamy cheese, crunchy crackers, and fresh fruit is honestly next-level comfort food.
What makes this different from just throwing snacks on a plate? It’s the thoughtfulness. The way everything is arranged so each bite feels intentional. I’ve tested this with different combinations, and I’ve found that the balance of textures—crunchy, creamy, chewy, crisp—is what makes it so satisfying. Plus, it’s completely customizable. You can make it for one person or a crowd. You can swap ingredients based on what you have. It’s foolproof, and I mean that genuinely.
This recipe isn’t just good—it’s the kind that makes you close your eyes after the first bite. It’s comfort food reimagined: faster, simpler, but with the same soul-soothing satisfaction. Perfect for impressing guests without stress, or turning a simple afternoon into something memorable.
What Ingredients You Will Need
This easy homemade lunchables board with salami and cheese uses simple, everyday ingredients to deliver big flavor and satisfying texture without any fuss. Most of these are pantry staples or easy to find at any grocery store. Here’s what you’ll need:
For the Protein
- Salami (6-8 slices per person) – I prefer Genoa salami for its balanced flavor, but hard salami or pepperoni work great too. Look for pre-sliced to save time, or slice your own from a stick for thicker pieces.
- Cheese (2-3 varieties recommended) – Cheddar, provolone, and mozzarella are my go-tos. Cube them or slice them into bite-sized pieces. I recommend Tillamook or Boar’s Head for consistent quality.
For the Crunch
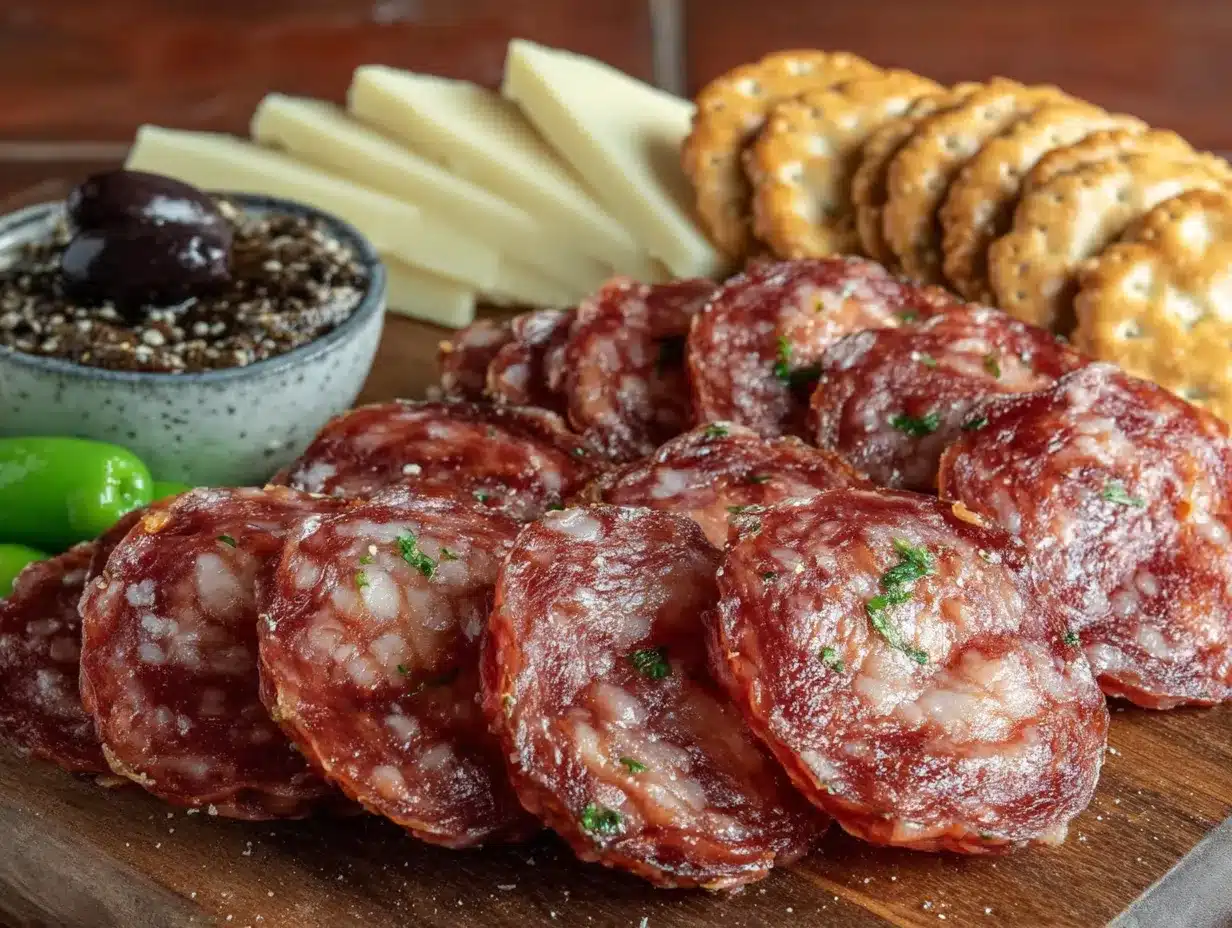
- Crackers (about 10-12 per person) – Ritz, club crackers, or water crackers all work. I like using a mix of buttery and plain crackers for variety. Gluten-free crackers work perfectly here too.
- Pretzels or breadsticks (optional) – Adds extra crunch and a salty contrast to the cheese. Mini pretzel twists are my favorite.
For the Fresh Elements
- Grapes (red or green, about 1 cup) – Their sweetness balances the saltiness of the salami and cheese. Wash and pat dry before adding to the board.
- Apple slices (1 apple, sliced thin) – Toss with a little lemon juice to prevent browning. Honeycrisp or Fuji work best for sweetness and crunch.
- Cherry tomatoes (optional, about 1/2 cup) – Adds a pop of color and acidity. Halve them if serving to younger kids.
For Extras
- Olives (green or black, about 1/4 cup) – Adds a briny kick. I love Castelvetrano olives for their buttery texture.
- Nut or seed butter (optional) – Almond butter or sunflower seed butter for dipping apple slices. Great for extra protein.
- Honey or mustard (for drizzling or dipping) – A small dish of honey pairs beautifully with sharp cheddar. Whole grain mustard works well with salami.
Pro tip: If you’re making this for a lunchbox, skip the board altogether and pack everything in a bento-style container with compartments. It keeps everything separate and fresh. For a dairy-free option, swap the cheese with vegan cheese slices or hummus for creaminess.
Equipment Needed
You don’t need much to put together this easy homemade lunchables board with salami and cheese. Here’s what I use:
- Cutting board or large platter – Any flat surface works. I use a wooden board for aesthetic appeal, but a baking sheet or even a large dinner plate works just fine.
- Sharp knife – For slicing cheese, apples, and salami if it’s not pre-sliced. A serrated knife works well for softer cheeses.
- Small bowls or ramekins – For holding olives, honey, mustard, or nut butter. I use 4-ounce ramekins, but even small cups work.
- Cheese knife or spreader – Optional but nice for spreading soft cheese or butter on crackers.
- Bento boxes or compartment containers – If you’re packing this for lunch on the go. I love the ones with removable dividers for easy cleaning.
I’ve made this board with nothing but a butter knife and a paper plate before. It still tasted amazing. Don’t overthink the equipment—use what you have. If you’re investing in a good cutting board, look for one with a juice groove to catch any drips from fruit. Budget-friendly options from IKEA or Target work perfectly for this.
Preparation Method
This is the easiest part. There’s no cooking involved, just assembly. Follow these steps, and you’ll have a beautiful lunchables board in under 10 minutes.
- Choose your board or platter. Pick something large enough to hold everything without overcrowding. A standard cutting board (about 12×16 inches) works perfectly for 2-3 people. If you’re serving a crowd, use a baking sheet or multiple smaller boards.
- Place your small bowls first. Put ramekins or small bowls for olives, honey, mustard, or nut butter on the board. Arrange them in a triangle pattern or along one edge. This anchors your layout and keeps wet ingredients from touching crackers.
- Add the cheese. Cube or slice your cheese and arrange it in small piles around the board. I like to place them in clusters of 3-4 cubes each, spaced evenly. Leave room between different cheese varieties so flavors don’t mix. If you’re using soft cheese like brie, place it near a knife for easy spreading.
- Add the salami. Fold or roll each slice of salami and place it in small piles near the cheese. I fold mine in half, then half again to create little triangles. Alternatively, you can roll them into cylinders—kids love these. Space them out so each section of the board has some salami nearby.
- Add the crackers. Arrange crackers in small stacks or fanned out in a line. I usually place them between the cheese and salami piles to create a natural flow. If you’re using multiple cracker types, keep them separate so people can choose.
- Add the fruit. Scatter grapes and apple slices in the remaining empty spaces. Tuck them between cheese piles and around the edges of the board. The bright colors create visual contrast and make the board look more inviting. If using cherry tomatoes, place them near the salami for a savory pairing.
- Add extras. Sprinkle olives around the board, or leave them in a small bowl. Place pretzels or breadsticks in any remaining gaps. Drizzle a little honey over the cheddar if you’re feeling fancy—trust me on this one.
- Serve immediately. Place the board in the center of the table and let everyone build their own combinations. No plates needed unless you want them. I like to provide small napkins or paper plates for easy cleanup.
Visual cue: Your board should look abundant but not crowded. You should be able to see the surface of the board between items. If everything is touching, you’ve added too much. That’s okay—just eat some and rearrange!
Time-saving tip: Prep ingredients the night before. Cube the cheese, wash the grapes, and slice the apples (toss with lemon juice to prevent browning). Store everything in separate containers in the fridge. In the morning, just arrange and go. This cuts assembly time down to about 3 minutes.
Cooking Tips & Techniques
Over the years, I’ve made a few mistakes with my lunchables boards. Let me save you the trouble. Here’s what I’ve learned:
- Don’t overthink the arrangement. I used to stress about making everything look perfect. Honestly, the best boards I’ve made were the ones where I just placed things down without overthinking. People will eat it regardless. Trust me.
- Keep ingredients separated. Wet ingredients like grapes and tomatoes can make crackers soggy. Keep them in separate clusters or use small bowls for anything with moisture. This is especially important if you’re making the board ahead of time.
- Let cheese come to room temperature. Cheese tastes better when it’s not straight from the fridge. Take your cheese out about 15-20 minutes before serving. It’ll be creamier and more flavorful. Hard cheeses like cheddar benefit from this too.
- Use a variety of textures. The magic of a good lunchables board is the contrast. Crunchy crackers, creamy cheese, chewy salami, crisp fruit—each bite should feel different. If everything is soft, it gets boring. If everything is crunchy, it feels dry. Balance is key.
- Prep in stages. I learned this the hard way after trying to do everything at once and ending up with cheese crumbs everywhere. Cube the cheese first, then slice the salami, then wash the fruit. It’s more organized and less messy.
- Don’t be afraid to use leftovers. I’ve made amazing boards with leftover salami from a party platter, random cheese ends from the fridge, and half a bag of crackers. It’s about using what you have, not buying everything new.
One time, I forgot to wash the grapes until after I arranged everything. I had to pick them all off, wash them, and rearrange. It took twice as long. Learn from my mistake—wash your fruit first.
Variations & Adaptations
This easy homemade lunchables board with salami and cheese is endlessly customizable. Here are some variations I’ve tried and loved:
Dietary Variations
- Vegetarian version: Skip the salami and add extra cheese, hummus, roasted red peppers, and marinated artichoke hearts. The creamy and tangy flavors fill the gap perfectly.
- Dairy-free version: Use vegan cheese slices or cubes, or skip cheese entirely and add extra protein like roasted chickpeas or turkey slices. Nut-based cheeses work beautifully here.
- Gluten-free version: Use gluten-free crackers or rice cakes. Veggie chips or plantain chips also work great for crunch. Most salami and cheese are naturally gluten-free, but check labels to be sure.
Flavor Variations
- Italian-inspired board: Use prosciutto, fresh mozzarella balls, basil leaves, cherry tomatoes, and balsamic glaze drizzle. Serve with grissini breadsticks.
- Mediterranean board: Swap salami for pepperoni or soppressata. Add feta cheese, kalamata olives, cucumber slices, and pita chips. A dollop of tzatziki on the side completes it.
- Sweet and savory board: Add dark chocolate squares, dried apricots, and honeycomb alongside the salami and cheese. The sweet-salty combination is addictive.
Method Variations
- For lunchboxes: Pack everything in a bento box with compartments. Keep crackers separate from moist ingredients to prevent sogginess. Add an ice pack if including cheese.
- For picnics: Assemble the board on a disposable wooden platter or large paper plate. Cover with plastic wrap and transport carefully. Add fruit just before serving.
- For parties: Double or triple the quantities and arrange on multiple boards. Label each board with a small sign indicating what’s on it—especially helpful for guests with dietary restrictions.
My personal favorite variation? I add a small dish of hot honey. The spicy-sweet kick with sharp cheddar and salty salami is honestly life-changing. Try it once, and you’ll never go back.
Serving & Storage Suggestions
This board is best served immediately after assembly, but there are plenty of ways to prep ahead or store leftovers.
Serving temperature: Serve everything at room temperature for the best flavor. Take cheese out of the fridge 15-20 minutes before serving. Salami can go straight from the fridge to the board—it’s fine at room temperature for up to 2 hours.
Presentation tips: Arrange ingredients in small clusters rather than spreading them thinly. This creates visual interest and makes it easier for people to grab what they want. I like to place the most colorful items (grapes, tomatoes) in spots that catch the eye first. Add fresh herbs like rosemary sprigs or basil leaves for a finishing touch—they’re not just decorative, they add subtle aroma.
What to serve alongside: This board pairs beautifully with a simple green salad, a cup of soup, or even a glass of wine if you’re serving adults. For kids, serve with apple juice or milk. It’s also great alongside a bowl of popcorn for movie night.
Storage instructions: If you have leftovers (unlikely, but possible), separate the components and store them in airtight containers. Cheese and salami will keep in the fridge for 3-4 days. Grapes and apple slices will last 1-2 days—toss them with a little lemon juice to slow browning. Crackers should be stored separately in a dry, airtight container to maintain crunch.
Reheating: There’s nothing to reheat here! If anything, just let refrigerated leftovers sit at room temperature for 10 minutes before serving again. The flavors actually meld together nicely overnight—the salami and cheese develop a deeper flavor.
Flavor development note: I’ve found that this board actually tastes better after sitting for about 30 minutes at room temperature. The cheese softens slightly, the salami releases a bit of its oil, and everything becomes more cohesive. Just don’t leave it out for more than 2 hours for food safety reasons.
Nutritional Information & Benefits
While this easy homemade lunchables board with salami and cheese is more about enjoyment than strict nutrition, it does offer some surprising benefits. Here’s a rough estimate per serving (based on 2-3 ounces of cheese, 4-6 slices of salami, a handful of crackers, and fruit):
- Calories: Approximately 400-500 per serving
- Protein: 20-25 grams (from cheese and salami)
- Carbohydrates: 25-35 grams (mostly from crackers and fruit)
- Fat: 25-30 grams (from cheese and salami)
- Fiber: 3-5 grams (from fruit and crackers)
Health benefits: Cheese provides calcium and protein for bone health and muscle repair. Salami offers iron and B vitamins, though it’s higher in sodium—so enjoy in moderation. Grapes and apples deliver antioxidants and vitamin C. The combination of protein, fat, and carbs makes this a balanced snack that keeps you full and satisfied.
Dietary considerations: This recipe is naturally low-carb if you skip the crackers. It’s also vegetarian-friendly if you omit the salami and add extra cheese or plant-based protein. For a lower-sodium option, choose low-sodium salami and unsalted crackers. For a heart-healthy version, use reduced-fat cheese and add more fruit.
I personally love that this board lets me control portion sizes. I can load up on fruit and crackers, or go heavier on cheese and salami depending on my hunger level. It’s flexible, and that’s what makes it work for real life.
Conclusion
This easy homemade lunchables board with salami and cheese has honestly become a staple in my kitchen. It’s the meal I turn to when I’m too tired to cook, when I have random leftovers to use up, or when I want to make something that feels special without any actual effort. It’s proof that you don’t need a complicated recipe to create something delicious and satisfying.
I love that this board adapts to whatever you have on hand. Some weeks it’s all about the salami and sharp cheddar. Other weeks, I load up on fruit and skip the crackers. It never gets boring because it’s never the same twice. That’s the beauty of it—you make it your own every single time.
So go ahead and try it. Grab whatever you have in your fridge, arrange it on a board or a plate, and call it lunch. You’ll be surprised at how good it feels to put something together that takes almost no time but still feels like a treat. And when someone asks you how you made it, just smile and say it’s your secret recipe. I won’t tell.
I’d love to hear how your board turns out! Drop a comment below and let me know what combinations you tried. Did you add something unexpected? Did your kids love it? Share your creations—I’m always looking for new ideas to try myself.
Frequently Asked Questions
Can I make this lunchables board ahead of time?
Yes! You can prep all the ingredients the night before. Cube the cheese, slice the salami, wash and cut the fruit, and store everything in separate containers. Assemble the board just before serving to keep crackers crunchy and fruit fresh.
What’s the best cheese for a lunchables board?
I recommend using 2-3 varieties for variety. Sharp cheddar, provolone, and mozzarella are my favorites. Gouda, Swiss, and pepper jack also work great. Choose cheeses that are firm enough to cube but soft enough to enjoy at room temperature.
How do I keep crackers from getting soggy?
Keep crackers away from wet ingredients like grapes, tomatoes, and apple slices. Place them in a separate cluster or on the opposite side of the board. If you’re packing for lunch, use a bento box with separate compartments.
Can I use different meats instead of salami?
Absolutely! Pepperoni, prosciutto, ham, turkey slices, or even roast beef work wonderfully. Just make sure they’re sliced thin and easy to roll or fold. For a vegetarian option, skip the meat and add extra cheese or roasted vegetables.
How long can this board sit out at room temperature?
For food safety, don’t leave the board out for more than 2 hours. If you’re serving outdoors in warm weather, reduce that to 1 hour. After that, refrigerate any leftovers promptly. The cheese and salami will keep for 3-4 days in the fridge.
Pin This Recipe!
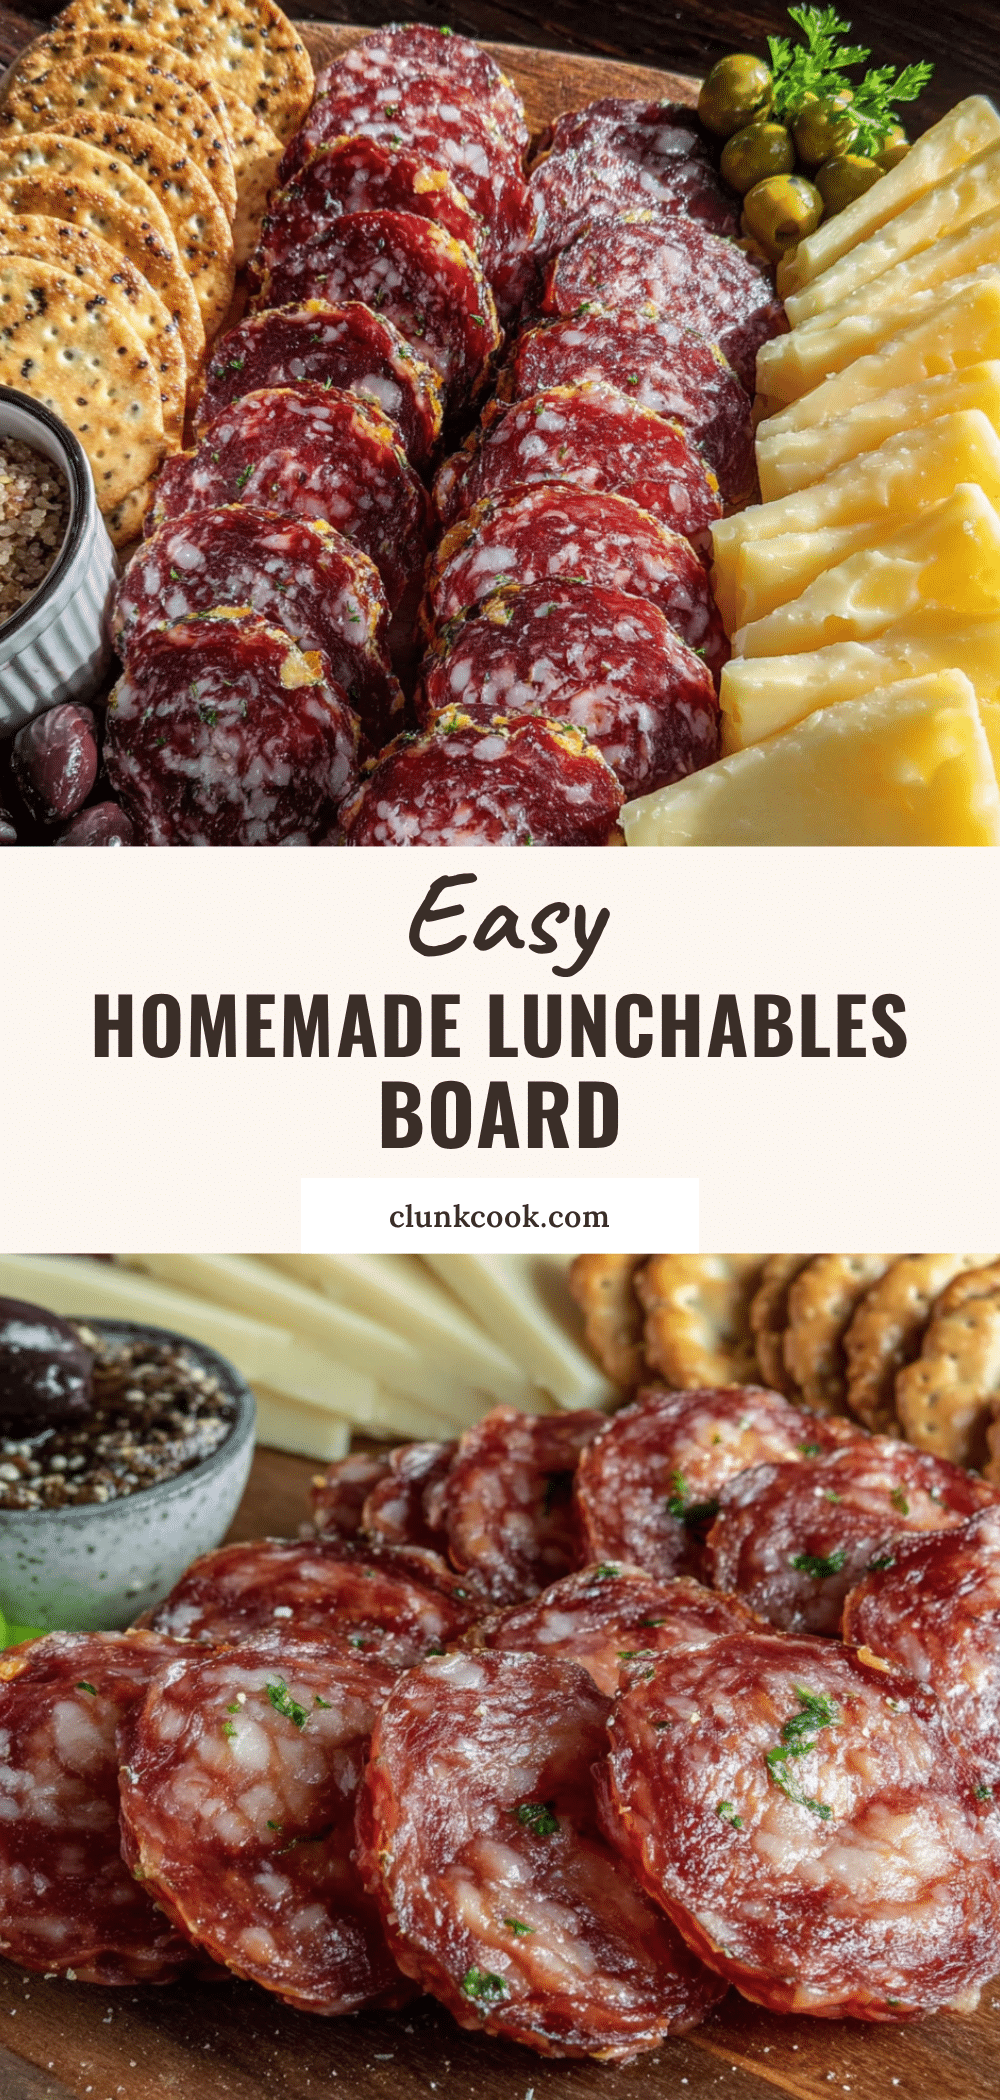
Easy Homemade Lunchables Board with Salami & Cheese

A quick and easy no-cook lunch or snack board featuring salami, cheese, crackers, and fresh fruit. Perfect for busy days, picnics, or impressing guests with minimal effort.
- Prep Time: 10 minutes
- Cook Time: 0 minutes
- Total Time: 10 minutes
- Yield: 4 servings 1x
- Category: Snack
- Cuisine: American
Ingredients
- 6–8 slices salami per person (Genoa, hard salami, or pepperoni)
- 2–3 varieties cheese (cheddar, provolone, mozzarella), cubed or sliced
- 10–12 crackers per person (Ritz, club crackers, or water crackers)
- Pretzels or breadsticks (optional)
- 1 cup grapes (red or green)
- 1 apple, sliced thin (Honeycrisp or Fuji)
- 1/2 cup cherry tomatoes (optional)
- 1/4 cup olives (green or black, e.g., Castelvetrano)
- Nut or seed butter (optional, e.g., almond butter or sunflower seed butter)
- Honey or whole grain mustard (for dipping)
Instructions
- Choose your board or platter large enough to hold everything without overcrowding.
- Place small bowls or ramekins for olives, honey, mustard, or nut butter on the board in a triangle pattern or along one edge.
- Cube or slice cheese and arrange in small piles around the board, leaving space between varieties.
- Fold or roll salami slices into triangles or cylinders and place in small piles near the cheese.
- Arrange crackers in small stacks or fanned out between cheese and salami piles.
- Scatter grapes and apple slices in remaining empty spaces, tucking them between cheese piles and around edges.
- Add olives, pretzels, or breadsticks in any gaps. Drizzle honey over cheddar if desired.
- Serve immediately, letting everyone build their own combinations.
Notes
Prep ingredients the night before to save time. Let cheese come to room temperature for best flavor. Keep crackers away from wet ingredients to prevent sogginess. For a dairy-free option, use vegan cheese or hummus.
Nutrition
- Serving Size: 1 serving (approx. 2
- Calories: 450
- Sugar: 15
- Sodium: 800
- Fat: 28
- Saturated Fat: 12
- Carbohydrates: 30
- Fiber: 4
- Protein: 22
Keywords: lunchables board, salami and cheese board, easy snack board, no-cook lunch, charcuterie board for kids, quick lunch idea


