Love this? Save it for later!
Share the inspiration with your friends
I wasn’t expecting to find my new favorite lunchbox recipe from the plumber, but there I was, knee-deep in a kitchen renovation, listening to Frank explain exactly how to make these no-bake peanut butter granola bars. He had been fixing a pipe under my sink, and somehow, between the clanking of his wrench, we got talking about how his wife packs his lunch every day. “She makes these bars that stick to your ribs,” he said, wiping his hands on a rag. “No oven, no fuss. Just peanut butter, oats, and a little magic.” I scribbled his description on the back of a receipt, honestly not sure if it would work. But let me tell you, that first batch was a game-changer. The bars came out perfectly chewy, not too sweet, and sturdy enough to survive a backpack tumble. Maybe you’ve had that moment where a recipe sounds too simple to be good, but then you take a bite and realize it’s exactly what you’ve been missing. That’s this recipe. It’s the one I keep coming back to, week after week, because it solves the eternal question of what to pack for snacks without turning on the oven.
These easy no-bake peanut butter granola bars have become a staple in my house. They are the kind of recipe you memorize after making them twice, and they save you on those mornings when you realize you have nothing ready for lunchboxes. I mean, who has time to bake when the school bus is coming in twenty minutes? These bars come together in a single bowl, and the hardest part is waiting for them to set in the fridge. Honestly, they are a lifesaver for busy parents, meal preppers, or anyone who just wants a wholesome snack without the hassle. The combination of creamy peanut butter, crunchy oats, and a touch of honey creates a bar that is both satisfying and portable. Let me tell you, once you make these, you will wonder why you ever bought the store-bought kind.
Why You’ll Love This Recipe
Let’s face it—finding a snack that is healthy, delicious, and actually gets eaten can feel like a small miracle. These no-bake peanut butter granola bars check all those boxes and more. I have tested this recipe more times than I can count, tweaking the ratios until the texture was just right. Not too crumbly, not too sticky, but that perfect in-between that holds together without feeling heavy. They are chef-tested and family-approved, which in my house means passing the picky-eater test. My own kids devour them, and I feel good about what they are eating.
- Quick & Easy: These bars come together in under 15 minutes of active prep time. No oven required, no complicated techniques. Just mix, press, and chill.
- Simple Ingredients: You likely have everything in your pantry right now. Oats, peanut butter, honey, and a few mix-ins. No fancy grocery trips needed.
- Perfect for Lunchboxes: They are sturdy enough to survive a school bag, and they don’t get soggy or melt. A total win for busy mornings.
- Crowd-Pleaser: Kids love them, adults love them, and they disappear fast at potlucks or playdates. I have yet to meet someone who doesn’t ask for the recipe after trying one.
- Unbelievably Delicious: The texture is chewy with a slight crunch from the oats, and the peanut butter flavor is rich without being overwhelming. It is comfort food you can feel good about.
What makes these bars different from the rest? It is the technique of warming the peanut butter and honey together just enough to create a binder that holds everything together without making the bars greasy. I have tried versions that used too much butter or too little sweetener, and they always fell apart. This version is the sweet spot—balanced, reliable, and forgiving. It is the kind of recipe that makes you close your eyes after the first bite, knowing you have found something special. Perfect for busy weekdays or lazy weekends, these bars turn a simple snack into something memorable.
What Ingredients You Will Need
This recipe uses simple, wholesome ingredients to deliver bold flavor and satisfying texture without the fuss. Most of these are pantry staples, so you can whip up a batch anytime the craving strikes. Here is everything you will need:
For the Bars
- 2 cups rolled oats (use certified gluten-free oats if needed; old-fashioned oats work best, not quick oats)
- 1 cup creamy peanut butter (I prefer natural peanut butter with no added sugar, but any creamy kind works; avoid the “natural” kind that separates too much unless you stir it well)
- 1/2 cup honey (or maple syrup for a vegan option; the honey gives a slightly floral sweetness)
- 1/4 cup unsalted butter (or coconut oil for a dairy-free version; adds richness and helps the bars set firmly)
- 1 teaspoon vanilla extract (pure vanilla adds warmth and depth)
- 1/4 teaspoon salt (skip if your peanut butter is salted; salt balances the sweetness)
Optional Mix-Ins
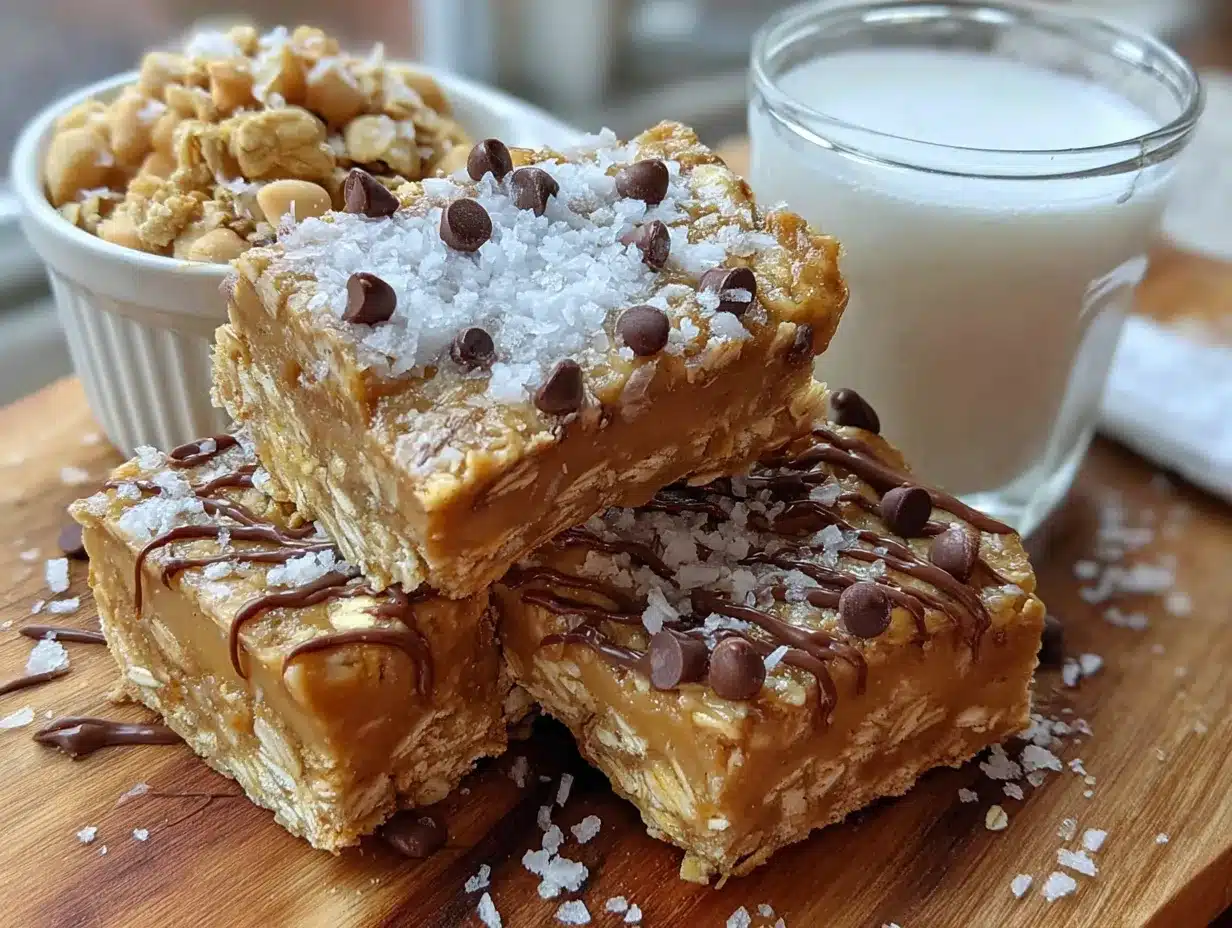
- 1/3 cup mini chocolate chips (I recommend Enjoy Life brand for allergy-friendly options; they melt slightly into the bars for little pockets of chocolate)
- 1/4 cup unsweetened shredded coconut (adds texture and a subtle tropical note)
- 1/4 cup chopped peanuts (for extra crunch; toast them lightly first for more flavor)
- 2 tablespoons ground flaxseed (a sneaky way to add fiber and omega-3s)
When choosing your peanut butter, look for one that is smooth and creamy for the best texture. If you use a chunky peanut butter, the bars will have a different consistency and may not hold together as well. For the oats, rolled oats are essential because they provide the right chewiness. Quick oats will make the bars too soft, and steel-cut oats will be too hard. Trust me on this one—I learned the hard way. You can also swap the honey for agave nectar if you prefer a milder sweetness, but the flavor will be slightly different. For a nut-free version, use sunflower seed butter, though the color will turn a bit green from the natural reaction with the baking soda (don’t worry, it is safe to eat).
Equipment Needed
You do not need a fancy kitchen to make these no-bake peanut butter granola bars. In fact, I have made them in a tiny apartment with minimal tools, and they turned out perfectly. Here is what you will need:
- 8×8-inch baking pan (a 9×9-inch pan works too, but the bars will be slightly thinner; line it with parchment paper for easy removal)
- Mixing bowl (a medium-sized bowl is fine; I use a glass one because it is easy to scrape clean)
- Saucepan (for warming the peanut butter, honey, and butter together; a small saucepan works best)
- Spatula (a silicone spatula is ideal for scraping every last bit of the mixture into the pan)
- Measuring cups and spoons (accuracy matters for the binder ratio; I prefer metal measuring cups for dry ingredients)
- Parchment paper (this is non-negotiable for easy lifting; trust me, you do not want to fight with stuck bars)
- Refrigerator (for chilling the bars for at least 2 hours; make space beforehand)
If you do not have an 8×8 pan, you can use a loaf pan and make thicker bars, just adjust the chilling time. I once used a pie dish in a pinch, and while the bars were oddly shaped, they still tasted great. For pressing the mixture down, the flat bottom of a measuring cup works wonders. You can also use your hands if you lightly grease them first. And if you are like me and hate washing dishes, line the pan with enough parchment paper to have overhang on two sides—it makes lifting the whole block out so much easier.
Preparation Method
Making these no-bake peanut butter granola bars is almost too easy, but I promise the results are worth every minute. Follow these steps carefully, and you will have perfect bars every time.
- Line your pan. Take an 8×8-inch baking pan and line it with parchment paper, leaving about 2 inches of overhang on two opposite sides. This will act as handles to lift the bars out later. Set the pan aside.
- Combine the wet ingredients. In a small saucepan over low heat, combine 1 cup creamy peanut butter, 1/2 cup honey, and 1/4 cup unsalted butter. Stir constantly with a spatula until the mixture is smooth and fully melted. This should take about 2-3 minutes. Do not let it boil—you just want everything warm and combined. Remove from heat and stir in 1 teaspoon vanilla extract and 1/4 teaspoon salt. The mixture will look glossy and smell amazing.
- Mix the dry ingredients. In a medium mixing bowl, place 2 cups rolled oats. If you are using any mix-ins like chocolate chips or shredded coconut, add them now. Give the dry ingredients a quick stir to distribute everything evenly.
- Combine wet and dry. Pour the warm peanut butter mixture over the oats. Use your spatula to fold everything together until every oat is coated. The mixture will be thick and sticky. Keep folding until no dry patches remain. This takes about a minute of gentle but firm stirring.
- Press into the pan. Transfer the mixture into your prepared pan. Spread it out as evenly as you can with your spatula. Then, place a piece of parchment paper over the top and use the flat bottom of a measuring cup or your hands to press the mixture down firmly. This is the most important step—press hard and evenly. The tighter you pack it, the better the bars will hold together. I usually press for a full minute, making sure the corners are compacted.
- Chill. Place the pan in the refrigerator for at least 2 hours. For best results, chill for 3-4 hours or even overnight. Do not rush this step. If the bars are not fully set, they will crumble when you cut them.
- Cut and serve. Once the bars are firm, lift the parchment paper to remove the block from the pan. Place it on a cutting board. Use a sharp knife to cut into 12-16 bars, depending on how big you want them. Wipe the knife clean between cuts for neat edges. If the bars are too hard straight from the fridge, let them sit at room temperature for 5 minutes before cutting.
A few troubleshooting notes: If the mixture seems too dry and crumbly, you may have used oats that are too thick or peanut butter that is too stiff. Add a tablespoon of warm honey or a splash of milk to bring it together. If the mixture is too sticky and wet, you likely added too much honey or butter. Add a few more oats, a tablespoon at a time, until the texture feels right. The final mixture should hold together when you squeeze a bit in your hand, but it should not be greasy. You will know it is ready when it looks like a cohesive, slightly sticky dough.
Cooking Tips & Techniques
Over the years, I have made these no-bake peanut butter granola bars more times than I can count, and I have learned a few tricks along the way. Let me share them so you can skip the trial and error.
Don’t overheat the peanut butter mixture. I made this mistake once when I was in a hurry. I turned the heat up too high, and the mixture started to bubble and separate. The bars turned out greasy and didn’t set properly. Keep the heat low and stir constantly. You just want everything melted and combined, not cooked.
Press firmly and evenly. This is the secret to bars that don’t fall apart. I use the bottom of a measuring cup to really compact the mixture. Pay extra attention to the corners and edges. If you have kids, let them help with this step—they love pressing down with their hands, and it gets them excited about the snack.
Chill thoroughly. I know it is tempting to cut into them after an hour, but patience pays off. The bars need time for the binder to firm up. I once cut them after 90 minutes, and they were crumbly and messy. Now I always chill for at least 3 hours, and they come out perfectly clean.
Use room temperature ingredients. If your peanut butter or honey is cold from the pantry, it will take longer to melt and may not combine as smoothly. Let them sit on the counter for 15 minutes before starting. It is a small step that makes a big difference in texture.
Clean cuts every time. For the neatest bars, use a long, sharp knife and wipe it clean with a damp paper towel between each cut. This prevents the bars from dragging and tearing. I also like to score the top of the block lightly before cutting all the way through—it helps me get even portions.
One more thing: if you are making these for a lunchbox, consider wrapping each bar individually in parchment paper or plastic wrap. They stay fresh longer and are easy to grab on busy mornings. I keep a stash in the freezer for those days when I forget to prep.
Variations & Adaptations
One of the best things about this recipe is how flexible it is. You can change it up based on what you have in your pantry or what your family craves. Here are some of my favorite variations:
Chocolate Peanut Butter Dream Bars
Add 1/3 cup mini chocolate chips to the mixture before pressing. For an even richer version, drizzle melted dark chocolate over the top after they set. Let the chocolate harden in the fridge for an extra 15 minutes. These taste like a candy bar but with wholesome ingredients.
Tropical Coconut Bars
Swap 1/4 cup of the oats for unsweetened shredded coconut. Add 1/4 cup dried pineapple or mango, chopped small. The combination of coconut and tropical fruit gives these bars a sunny, vacation-y vibe. My kids call them “island bars.”
Crunchy Nut Lover’s Bars
Use chunky peanut butter instead of creamy, and add 1/4 cup chopped almonds or cashews. Toast the nuts lightly in a dry pan for 3-4 minutes before adding them for extra depth. These bars have a satisfying crunch that makes them feel more substantial.
Vegan & Gluten-Free Option
Use maple syrup instead of honey, coconut oil instead of butter, and certified gluten-free oats. The texture will be slightly different—a bit more tender—but they hold together well. I have made this version for friends with dietary restrictions, and no one could tell the difference.
Protein-Packed Bars
Add 2 tablespoons of your favorite protein powder (vanilla or unflavored works best) to the dry ingredients. You may need to add an extra tablespoon of honey to balance the dryness. These are great post-workout snacks or for growing teenagers who need extra fuel.
I once tried a version with dried cranberries and white chocolate chips, and it was a hit at a holiday party. The tartness of the cranberries cuts through the sweetness beautifully. Feel free to experiment with your own combinations—these bars are very forgiving.
Serving & Storage Suggestions
These no-bake peanut butter granola bars are incredibly versatile when it comes to serving. I like to eat them straight from the fridge for a firm, chewy texture. If you prefer a softer bar, let them sit at room temperature for 5-10 minutes before enjoying. They are perfect on their own, but I also love crumbling one over a bowl of yogurt or oatmeal for a crunchy topping.
For lunchboxes, these bars are a dream. They do not get soggy or melt, even if packed next to an ice pack. I often wrap them individually in parchment paper and tie them with kitchen twine for a fun, lunchbox-friendly presentation. They pair beautifully with fresh fruit, a cheese stick, or a small container of yogurt. For an afternoon snack, I serve them with a glass of cold milk or a cup of coffee—the combination is pure comfort.
Storage: Keep the bars in an airtight container in the refrigerator for up to 2 weeks. They will stay fresh and firm. If you live in a warm climate, do not leave them out at room temperature for more than a day, as the peanut butter can soften and the bars may lose their shape.
Freezing: These bars freeze beautifully. Place them in a single layer in a freezer-safe bag or container, with parchment paper between layers to prevent sticking. They will keep for up to 3 months. To thaw, simply move them to the refrigerator overnight or let them sit at room temperature for 15 minutes. You can also eat them frozen—they are like a chewy, cold treat on a hot day.
Reheating: While these are meant to be eaten cold or at room temperature, you can warm them slightly in the microwave for 10-15 seconds for a softer, almost baked texture. Be careful not to overheat, or the bars will become too soft and fall apart. I do this on chilly mornings when I want something a little cozy.
One note on flavor development: these bars actually taste better the day after you make them. The flavors meld together overnight, and the texture becomes more uniform. So if you can, make them a day ahead for the best results. I often double the batch and keep one in the fridge and one in the freezer for emergencies.
Nutritional Information & Benefits
These no-bake peanut butter granola bars are not just delicious—they pack a nutritional punch that makes them a smart choice for snacks and lunchboxes. Here is an approximate breakdown per bar (based on 16 bars):
| Nutrient | Amount per Bar |
|---|---|
| Calories | 210 |
| Total Fat | 11g |
| Saturated Fat | 3.5g |
| Carbohydrates | 24g |
| Fiber | 3g |
| Sugar | 12g |
| Protein | 6g |
| Sodium | 120mg |
The oats provide slow-release carbohydrates and fiber, keeping energy levels steady throughout the day. Peanut butter is a great source of plant-based protein and healthy fats, which help with satiety. The honey offers natural sweetness along with trace antioxidants. If you add flaxseed or chia seeds, you will boost the omega-3 fatty acid content, which is great for brain health.
These bars are naturally vegetarian and can be made vegan with simple swaps. They are also nut-free if you use sunflower seed butter, and gluten-free if you use certified oats. The main allergens to note are peanuts (obviously) and gluten (if using regular oats). Always check your labels if you are serving someone with allergies. From a personal wellness perspective, I love that these bars give me and my family a wholesome option that feels like a treat. They satisfy that midday craving without the crash that comes from processed snacks.
Conclusion
These easy no-bake peanut butter granola bars have earned a permanent spot in my kitchen rotation. They are simple enough to make on a whim, reliable enough to count on for busy weeks, and delicious enough to disappear in minutes. Whether you are packing lunchboxes, looking for a post-workout snack, or just want something homemade without turning on the oven, this recipe delivers every time. I love how customizable they are—you can make them your own with different mix-ins and flavors. Honestly, once you try them, you will wonder why you ever bought granola bars from the store.
I would love to hear how these turn out for you! Did you add any fun mix-ins? Did your kids give them a thumbs up? Drop a comment below and share your experience. And if you know someone who is always looking for easy, healthy snacks, send them this recipe. Let’s spread the no-bake love! Happy snacking, friends.
Frequently Asked Questions
Can I use quick oats instead of rolled oats?
I do not recommend it. Quick oats are more finely processed and will absorb moisture differently, resulting in a softer, mushier bar that may not hold together well. Rolled oats give the bars their signature chewy texture and structure. Stick with old-fashioned rolled oats for the best results.
My bars are too crumbly. What went wrong?
Crumbly bars usually mean the binder ratio was off or the mixture was not pressed firmly enough. Make sure you measured the peanut butter, honey, and butter accurately. Also, press the mixture into the pan with serious force—use the bottom of a measuring cup to compact it evenly. Chilling for the full 3-4 hours is also crucial for the bars to set properly.
Can I make these bars nut-free?
Absolutely! Swap the peanut butter for sunflower seed butter or soy nut butter. Keep in mind that sunflower seed butter can react with baking soda and turn green, but it is perfectly safe to eat. You may also want to add a tablespoon of extra honey to balance the slightly more bitter taste of sunflower seed butter.
How long do these bars last at room temperature?
In a cool, dry place, these bars can last up to 2 days at room temperature. However, because they contain peanut butter and butter, I recommend storing them in the refrigerator for longer shelf life. They will stay fresh for up to 2 weeks in the fridge and up to 3 months in the freezer.
Can I double this recipe?
Yes! Double all the ingredients and use a 9×13-inch pan instead of an 8×8-inch pan. The chilling time may need to be extended by about an hour to ensure the larger batch sets fully. I often double the recipe and freeze half for later—it is a great time-saver.
Pin This Recipe!
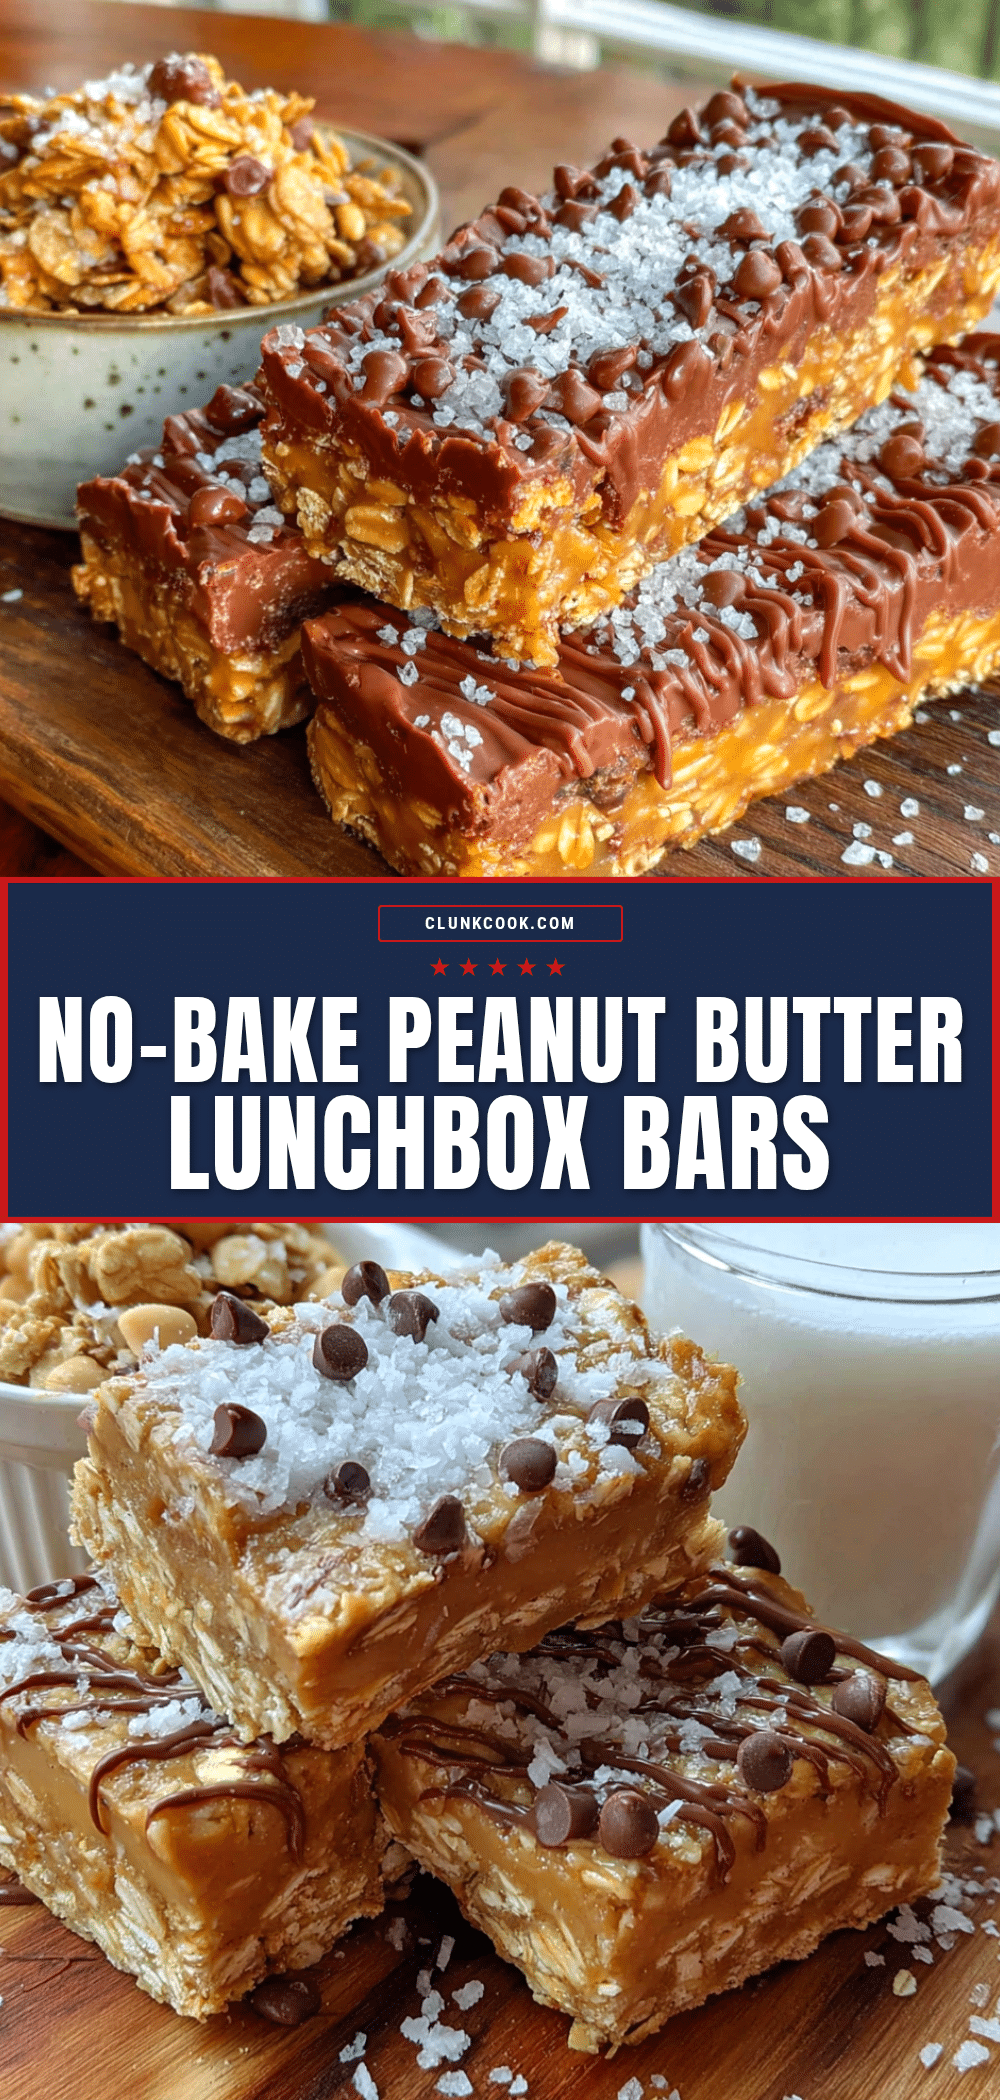
Easy No-Bake Peanut Butter Granola Bars Perfect for Lunchboxes
These easy no-bake peanut butter granola bars are a lifesaver for busy parents and snack lovers. Made with simple pantry ingredients, they come together in minutes and are perfect for lunchboxes, post-workout snacks, or a wholesome treat.
- Prep Time: 15 minutes
- Cook Time: 0 minutes
- Total Time: 2 hours 15 minutes (includes chilling time)
- Yield: 12-16 bars 1x
- Category: Snack
- Cuisine: American
Ingredients
- 2 cups rolled oats (use certified gluten-free oats if needed; old-fashioned oats work best, not quick oats)
- 1 cup creamy peanut butter (natural peanut butter with no added sugar preferred, but any creamy kind works; avoid the ‘natural’ kind that separates too much unless you stir it well)
- 1/2 cup honey (or maple syrup for a vegan option)
- 1/4 cup unsalted butter (or coconut oil for a dairy-free version)
- 1 teaspoon vanilla extract (pure vanilla adds warmth and depth)
- 1/4 teaspoon salt (skip if your peanut butter is salted)
- 1/3 cup mini chocolate chips (optional; I recommend Enjoy Life brand for allergy-friendly options)
- 1/4 cup unsweetened shredded coconut (optional)
- 1/4 cup chopped peanuts (optional; toast them lightly first for more flavor)
- 2 tablespoons ground flaxseed (optional)
Instructions
- Line your pan. Take an 8×8-inch baking pan and line it with parchment paper, leaving about 2 inches of overhang on two opposite sides. This will act as handles to lift the bars out later. Set the pan aside.
- Combine the wet ingredients. In a small saucepan over low heat, combine 1 cup creamy peanut butter, 1/2 cup honey, and 1/4 cup unsalted butter. Stir constantly with a spatula until the mixture is smooth and fully melted. This should take about 2-3 minutes. Do not let it boil—you just want everything warm and combined. Remove from heat and stir in 1 teaspoon vanilla extract and 1/4 teaspoon salt. The mixture will look glossy and smell amazing.
- Mix the dry ingredients. In a medium mixing bowl, place 2 cups rolled oats. If you are using any mix-ins like chocolate chips or shredded coconut, add them now. Give the dry ingredients a quick stir to distribute everything evenly.
- Combine wet and dry. Pour the warm peanut butter mixture over the oats. Use your spatula to fold everything together until every oat is coated. The mixture will be thick and sticky. Keep folding until no dry patches remain. This takes about a minute of gentle but firm stirring.
- Press into the pan. Transfer the mixture into your prepared pan. Spread it out as evenly as you can with your spatula. Then, place a piece of parchment paper over the top and use the flat bottom of a measuring cup or your hands to press the mixture down firmly. This is the most important step—press hard and evenly. The tighter you pack it, the better the bars will hold together. I usually press for a full minute, making sure the corners are compacted.
- Chill. Place the pan in the refrigerator for at least 2 hours. For best results, chill for 3-4 hours or even overnight. Do not rush this step. If the bars are not fully set, they will crumble when you cut them.
- Cut and serve. Once the bars are firm, lift the parchment paper to remove the block from the pan. Place it on a cutting board. Use a sharp knife to cut into 12-16 bars, depending on how big you want them. Wipe the knife clean between cuts for neat edges. If the bars are too hard straight from the fridge, let them sit at room temperature for 5 minutes before cutting.
Notes
Press the mixture firmly into the pan to ensure bars hold together. Chill for at least 2 hours, preferably 3-4 hours or overnight. For clean cuts, wipe the knife between cuts. Bars can be stored in the refrigerator for up to 2 weeks or frozen for up to 3 months.
Nutrition
- Serving Size: 1 bar
- Calories: 210
- Sugar: 12
- Sodium: 120
- Fat: 11
- Saturated Fat: 3.5
- Carbohydrates: 24
- Fiber: 3
- Protein: 6
Keywords: no-bake granola bars, peanut butter granola bars, lunchbox snacks, easy granola bars, healthy snacks, no-bake snacks


