Love this? Save it for later!
Share the inspiration with your friends
It was 11:47 PM on a random Thursday in July, and I was staring at a cardboard box of peaches my neighbor had dropped off that afternoon. You know that feeling when someone gives you more fresh fruit than you could possibly eat before it turns? That was me. The kitchen was hot, I was tired, and those peaches were staring back at me from the counter like they knew I’d let them down. I didn’t have pectin packets in the pantry—honestly, I never do—but I had sugar, a lemon, and this stubborn idea that there had to be a simpler way.
So I grabbed my biggest pot, started peeling, and told myself I’d figure it out as I went. The jam set up way better than I expected, and by midnight I had three little jars of the most incredible peach freezer jam sitting on my counter. No pectin. No complicated water bath canning. Just fruit, sugar, lemon, and a little bit of late-night kitchen magic.
I’ve made this easy small-batch peach freezer jam every summer since that night. It’s become my go-to for using up ripe peaches without the fuss of traditional canning. And honestly? It tastes better than any store-bought jam I’ve ever had. Maybe you’ve been there too—overwhelmed by a fruit windfall, not sure what to do. This recipe is your answer.
Why You’ll Love This Recipe
This isn’t just another jam recipe. After testing this method about a dozen times over the past few summers, I can tell you with confidence—this is the one. Here’s why it works so well:
- No Pectin Required: Most freezer jam recipes call for powdered or liquid pectin, but this version relies on the natural pectin in the fruit and a simple cooking technique. It’s one less thing to buy, and the texture comes out perfect every time.
- Small Batch Magic: This recipe makes just 3-4 half-pint jars. No massive pots of jam that you’ll be giving away to everyone you know. It’s the perfect amount for one family to enjoy over a few months.
- Quick & Easy: From start to finish, you’re looking at about 30 minutes of active time. The hardest part is peeling the peaches, and honestly, that’s not even hard.
- Perfect for Beginners: If you’ve never made jam before, this is the recipe to start with. No special equipment, no candy thermometers, no sterilizing jars in boiling water. Just fruit, a pot, and some freezer-safe containers.
- Tastes Like Summer: The flavor is incredibly fresh and bright. Because you’re not cooking the fruit to death, the jam tastes like biting into a perfectly ripe peach. It’s pure summer in a jar.
I’ve brought jars of this jam to brunches, given them as hostess gifts, and kept a stash in my freezer for those mornings when toast just needs something special. Every single time, someone asks for the recipe. And every single time, they’re shocked there’s no pectin involved.
What Ingredients You Will Need
This recipe uses simple, everyday ingredients to create something truly special. The magic happens when ripe peaches meet sugar and a touch of lemon—that’s really all you need.
- 2 pounds ripe peaches (about 5-6 medium peaches): Look for peaches that give slightly when you squeeze them gently. They should smell intensely peachy. Underripe peaches won’t have enough natural pectin or flavor. I prefer freestone peaches for easier prep—the flesh comes away from the pit cleanly.
- 1 ½ cups granulated sugar: This isn’t just for sweetness. Sugar acts as a preservative and helps the jam set properly. Don’t reduce the amount or your jam might not thicken. I use regular white sugar for the cleanest flavor.
- 2 tablespoons fresh lemon juice: The acid in lemon juice helps activate the natural pectin in the peaches and balances the sweetness. Always use fresh—bottled lemon juice has a flat taste that you’ll notice in the finished jam.
- 1 teaspoon vanilla extract (optional but recommended): This adds a warmth that complements the peach flavor beautifully. I add it every time now after trying it once on a whim.
- Pinch of salt: Just a tiny pinch. Salt enhances all the other flavors and helps balance the sweetness. You won’t taste it, but you’ll miss it if you leave it out.
For ingredient sourcing, I’ve had the best luck with peaches from local farmers’ markets or roadside stands. They’re usually picked riper than grocery store peaches. If you’re using supermarket peaches, let them sit on the counter for a day or two until they’re fully ripe. And if you want to try a different fruit, this method works beautifully with nectarines, plums, or apricots too.
Equipment Needed
The beauty of this recipe is that you probably already have everything you need. No fancy canning equipment required.
- Large pot: A 4-quart pot or Dutch oven works perfectly. You want something wide so the jam can cook down evenly. I use my enameled cast iron pot because it distributes heat beautifully, but any heavy-bottomed pot will do.
- Wooden spoon or silicone spatula: For stirring the jam as it cooks. Wooden spoons are great because they don’t conduct heat, so you can leave them in the pot while you cook.
- Sharp knife and cutting board: For peeling and chopping the peaches. A paring knife works best for the peeling part.
- Measuring cups and spoons: Accurate measurements matter in jam making. Use dry measuring cups for the sugar and liquid measuring cups for the lemon juice.
- Potato masher or fork: For mashing the cooked peaches to your desired consistency. I prefer a potato masher because it gives you more control over the texture.
- Freezer-safe jars or containers: Half-pint mason jars are perfect. You can also use plastic freezer containers with tight-fitting lids. Just make sure they’re freezer-safe and leave about ½ inch of headspace for expansion.
- Small plate and freezer: For testing if the jam is set. Pop a small plate in the freezer before you start cooking—you’ll thank me later.
If you don’t have mason jars, you can use any clean glass jar with a tight lid. I’ve even reused small jam jars from the store. Just make sure they’re thoroughly washed and dried before you use them.
Preparation Method
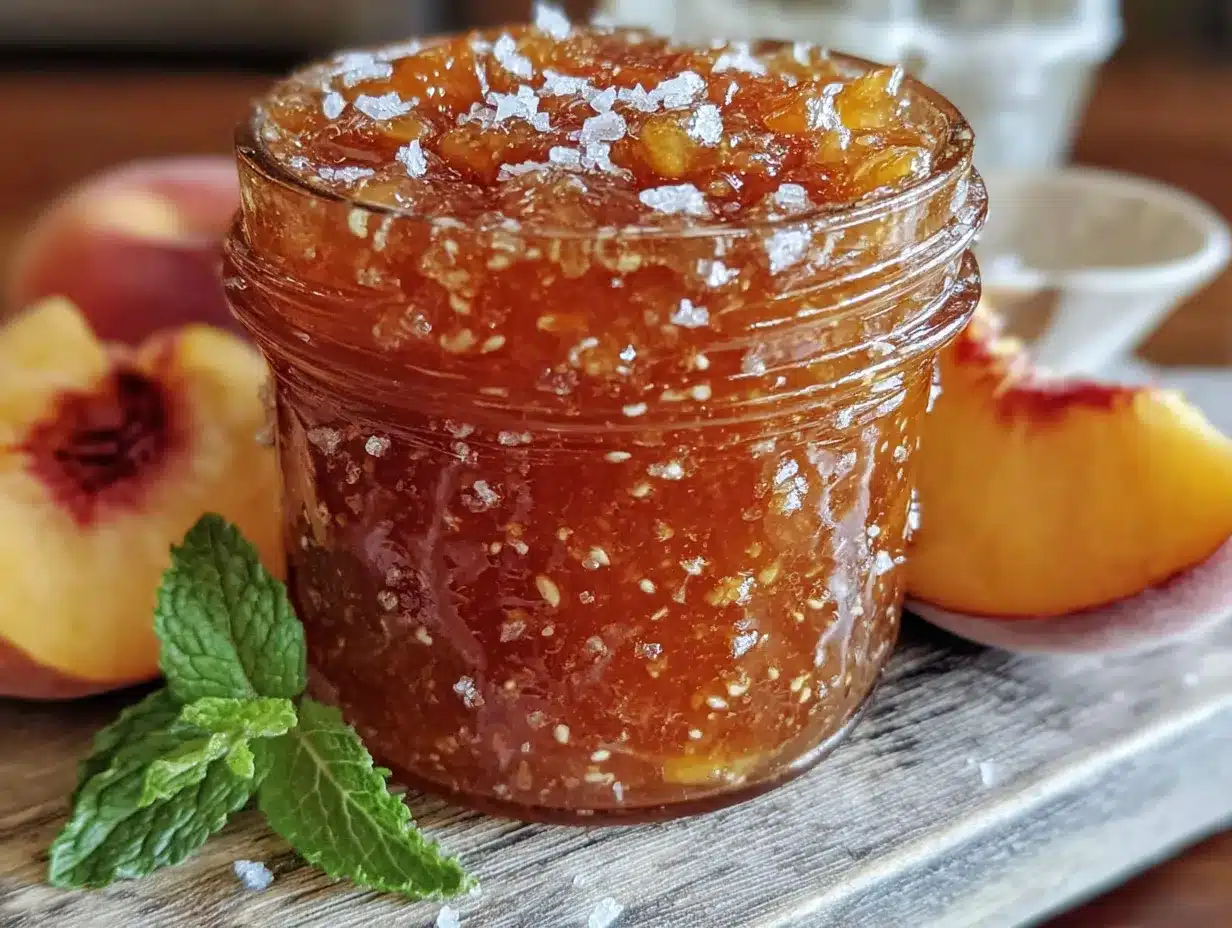
- Prep your peaches: Bring a pot of water to a boil. Score a small X on the bottom of each peach with a knife. Drop the peaches into the boiling water for 30-45 seconds, then transfer them to a bowl of ice water. The skins will slip right off. Cut the peaches in half, remove the pits, and chop them into small pieces—about ½-inch chunks. You should have about 4 cups of chopped peaches.
- Mash and combine: In your large pot, add the chopped peaches. Use your potato masher or a fork to mash them to your preferred consistency. I like mine a little chunky, so I leave some small pieces. Add the sugar, lemon juice, and salt. Stir everything together until the sugar starts to dissolve. Let the mixture sit for about 10 minutes—this helps draw out the peach juices.
- Cook the jam: Place the pot over medium-high heat and bring the mixture to a full, rolling boil. This means the bubbles keep rising even when you stir. Once it’s boiling, reduce the heat to medium and let it cook for 15-20 minutes, stirring frequently. The jam will darken slightly and start to thicken. Don’t walk away—jam can burn quickly if you’re not paying attention.
- Test for doneness: Here’s the trick I learned after my first failed batch. Grab that small plate from the freezer. Drop a tiny spoonful of jam onto the cold plate and let it sit for 30 seconds. Run your finger through the jam. If it wrinkles and holds its shape, it’s done. If it’s still runny, cook for another 2-3 minutes and test again.
- Add the vanilla: Once the jam passes the plate test, remove the pot from the heat. Stir in the vanilla extract. This is a step I add off-heat so the vanilla flavor doesn’t cook away. Give it a final stir and taste it. Adjust with a tiny pinch more salt if it tastes too sweet.
- Fill your jars: Let the jam cool in the pot for about 5 minutes—this helps it thicken slightly more and makes it easier to handle. Ladle the jam into your clean jars, leaving about ½ inch of headspace at the top. Wipe the rims clean with a damp paper towel and screw on the lids.
- Cool and freeze: Let the jars cool completely on the counter. This can take 1-2 hours. Once they’re at room temperature, pop them in the freezer. The jam will keep for up to 6 months frozen, or about 3 weeks in the refrigerator once opened.
A quick note on texture: Your jam will look a bit runny when it’s hot. Don’t panic. As it cools, the natural pectin will continue to work and the jam will set up nicely. If you’re worried, do the plate test a second time after the jam has cooled for 10 minutes.
Cooking Tips & Techniques
I’ve made this jam enough times to know exactly where things can go wrong. Here are the lessons I’ve learned the hard way so you don’t have to.
Don’t skip the peeling step. I know it’s tempting to leave the skins on for extra texture and nutrients, but peach skins contain compounds that can make your jam taste slightly bitter. Plus, the texture is much smoother without them. The blanching method I described makes peeling a breeze—it’s worth the extra 5 minutes.
Watch your heat carefully. The first time I made this, I walked away to answer a text and came back to jam that had scorched on the bottom. The whole batch tasted smoky and burnt. Now I set a timer for every 5 minutes and stir thoroughly each time. Medium heat is your friend here—high heat might speed things up, but it also increases the risk of burning.
Trust the plate test, not your eyes. Hot jam looks runny. It always does. I’ve had batches that looked like soup at the 15-minute mark but passed the plate test perfectly. Don’t be tempted to overcook it just because it doesn’t look thick yet. Overcooked jam turns into a sticky, chewy mess that’s more like fruit leather than spreadable jam.
Use ripe but not mushy peaches. Overripe peaches can make your jam taste fermented or overly sweet. You want peaches that are soft enough to yield to gentle pressure but still hold their shape when you cut them. If your peaches are already mushy, this recipe might not set up as well.
Double the batch if you want, but don’t triple it. This recipe scales up nicely to double, but I’ve found that larger batches take much longer to cook down and the texture becomes less consistent. Stick with 4-6 pounds of fruit maximum if you’re scaling up.
Variations & Adaptations
One of the best things about this recipe is how easy it is to change up. Here are some variations I’ve tried and loved.
Spiced Peach Jam: Add ½ teaspoon of cinnamon and ¼ teaspoon of ground ginger along with the sugar. The warm spices make this taste like peach pie filling. I made a batch of this last fall and used it as a topping for oatmeal all winter long.
Peach Raspberry Jam: Swap ½ cup of the chopped peaches for ½ cup of fresh or frozen raspberries. The raspberries add a beautiful color and a tartness that balances the sweetness perfectly. This combination is absolutely stunning on a cheese board.
Honey-Sweetened Version: Replace the granulated sugar with ¾ cup of honey. Note that honey-sweetened jam will be slightly softer and less firm than the sugar version. It also has a more complex flavor that pairs beautifully with the peaches. I recommend using a mild honey like clover or orange blossom so it doesn’t overpower the fruit.
Low-Sugar Option: If you need to reduce sugar, you can use 1 cup of sugar instead of 1 ½ cups. The jam will be a bit softer and won’t keep as long in the freezer—aim to use it within 3 months instead of 6. I’ve also had success with using a sugar substitute like monk fruit sweetener, but the texture is definitely different.
Herb-Infused Jam: Add 2-3 sprigs of fresh thyme or a small handful of basil leaves to the pot while the jam cooks. Remove the herbs before ladling the jam into jars. The herbal notes add a surprising sophistication that’s perfect for serving with goat cheese or on crostini.
Serving & Storage Suggestions
This jam is incredibly versatile. Here’s how I like to use and store it.
Serving ideas: Obviously, this jam is amazing on toast, biscuits, or English muffins. But don’t stop there. Swirl it into yogurt or oatmeal for an instant breakfast upgrade. Spoon it over vanilla ice cream or pound cake for a quick dessert. Use it as a filling for thumbprint cookies or between cake layers. I’ve even used it as a glaze for grilled pork chops—just warm it up with a splash of apple cider vinegar and brush it on during the last few minutes of cooking.
Storage instructions: Store unopened jars in the freezer for up to 6 months. Once opened, keep the jam in the refrigerator and use it within 3 weeks. I write the date on the lid with a permanent marker so I know when I made it. If you notice any mold or off smells, toss it immediately—better safe than sorry.
Thawing tips: To thaw a frozen jar, simply move it from the freezer to the refrigerator overnight. If you’re in a hurry, you can run the jar under cool water for a few minutes. Never microwave frozen jam—it can create hot spots that ruin the texture and flavor.
How flavors develop: This jam actually tastes better after it’s been in the freezer for a week or two. The flavors meld together and the texture becomes more uniform. So don’t be disappointed if it tastes a bit one-dimensional right after you make it. Give it time to work its magic.
Nutritional Information & Benefits
While jam isn’t exactly health food, this version has some redeeming qualities. Here’s a rough breakdown per 1-tablespoon serving:
- Calories: 45
- Carbohydrates: 11g
- Sugar: 10g
- Fiber: 0.5g
- Vitamin C: 2% of daily value
The main health benefit here comes from the peaches themselves. Peaches are a good source of vitamin C, which supports immune function, and they contain antioxidants like chlorogenic acid that may help reduce inflammation. The lemon juice also adds a small amount of vitamin C.
If you’re watching your sugar intake, remember that this is a treat—not an everyday staple. The small batch size means you’re less likely to go through it too quickly. And because it’s made with real fruit and no preservatives, it’s a better choice than most store-bought jams that contain high fructose corn syrup and artificial flavors.
This recipe is naturally gluten-free, dairy-free, and vegan. Just make sure your sugar is certified vegan if that’s important to you—some white sugars are processed with bone char.
Conclusion
This easy small-batch peach freezer jam has become a summer tradition in my kitchen, and I have a feeling it will become one in yours too. There’s something deeply satisfying about opening a jar of homemade jam in the middle of winter and tasting the sunshine of July. And knowing you made it yourself, with no pectin and no fuss, makes it taste even better.
I really hope you give this recipe a try. It’s forgiving, it’s delicious, and it’s the kind of kitchen project that makes you feel accomplished without taking up your whole day. Whether you’re using up a glut of peaches from your tree or just want to capture summer in a jar, this recipe delivers every single time.
If you make this jam, I’d love to hear about it. Drop a comment below and let me know how it turned out, what variations you tried, or how you ended up serving it. Your feedback helps other readers know what works, and honestly, I just love hearing about your kitchen adventures. Happy jam-making!
Frequently Asked Questions
Can I use frozen peaches for this recipe?
Yes, you can! Thaw the frozen peaches completely and drain off any excess liquid before using. You may need to cook the jam for an extra 2-3 minutes to account for the extra moisture. The texture will be slightly softer than with fresh peaches, but the flavor will still be wonderful.
Why didn’t my jam set properly?
There are a few common reasons. Your peaches might not have been ripe enough—underripe fruit has less natural pectin. You might have undercooked the jam, so it didn’t reduce enough. Or you might have reduced the sugar too much. Sugar helps the jam set by interacting with the pectin. If you’re having trouble, try using a candy thermometer and cook the jam to 220°F (104°C) for a foolproof set.
How long does this jam last in the refrigerator after opening?
Once opened, this jam will keep in the refrigerator for about 3 weeks. Because it’s made without commercial preservatives, it won’t last as long as store-bought jam. Always use a clean spoon when scooping out jam to prevent introducing bacteria that could cause spoilage.
Can I water bath can this jam for shelf-stable storage?
I don’t recommend it for this particular recipe. Because this jam has a lower sugar content and no added pectin, it may not be acidic enough for safe water bath canning. If you want shelf-stable jam, look for a recipe specifically designed for canning that includes the proper sugar-to-fruit ratio and acidity level. This recipe is designed for freezer storage only.
Can I reduce the sugar even more?
You can reduce the sugar to 1 cup, but I wouldn’t go lower than that. Sugar plays a crucial role in both the texture and preservation of the jam. If you reduce it too much, you’ll end up with a runny sauce rather than a spreadable jam. For a lower-sugar option, consider using this jam as a topping for pancakes or ice cream where a looser texture is fine.
Pin This Recipe!
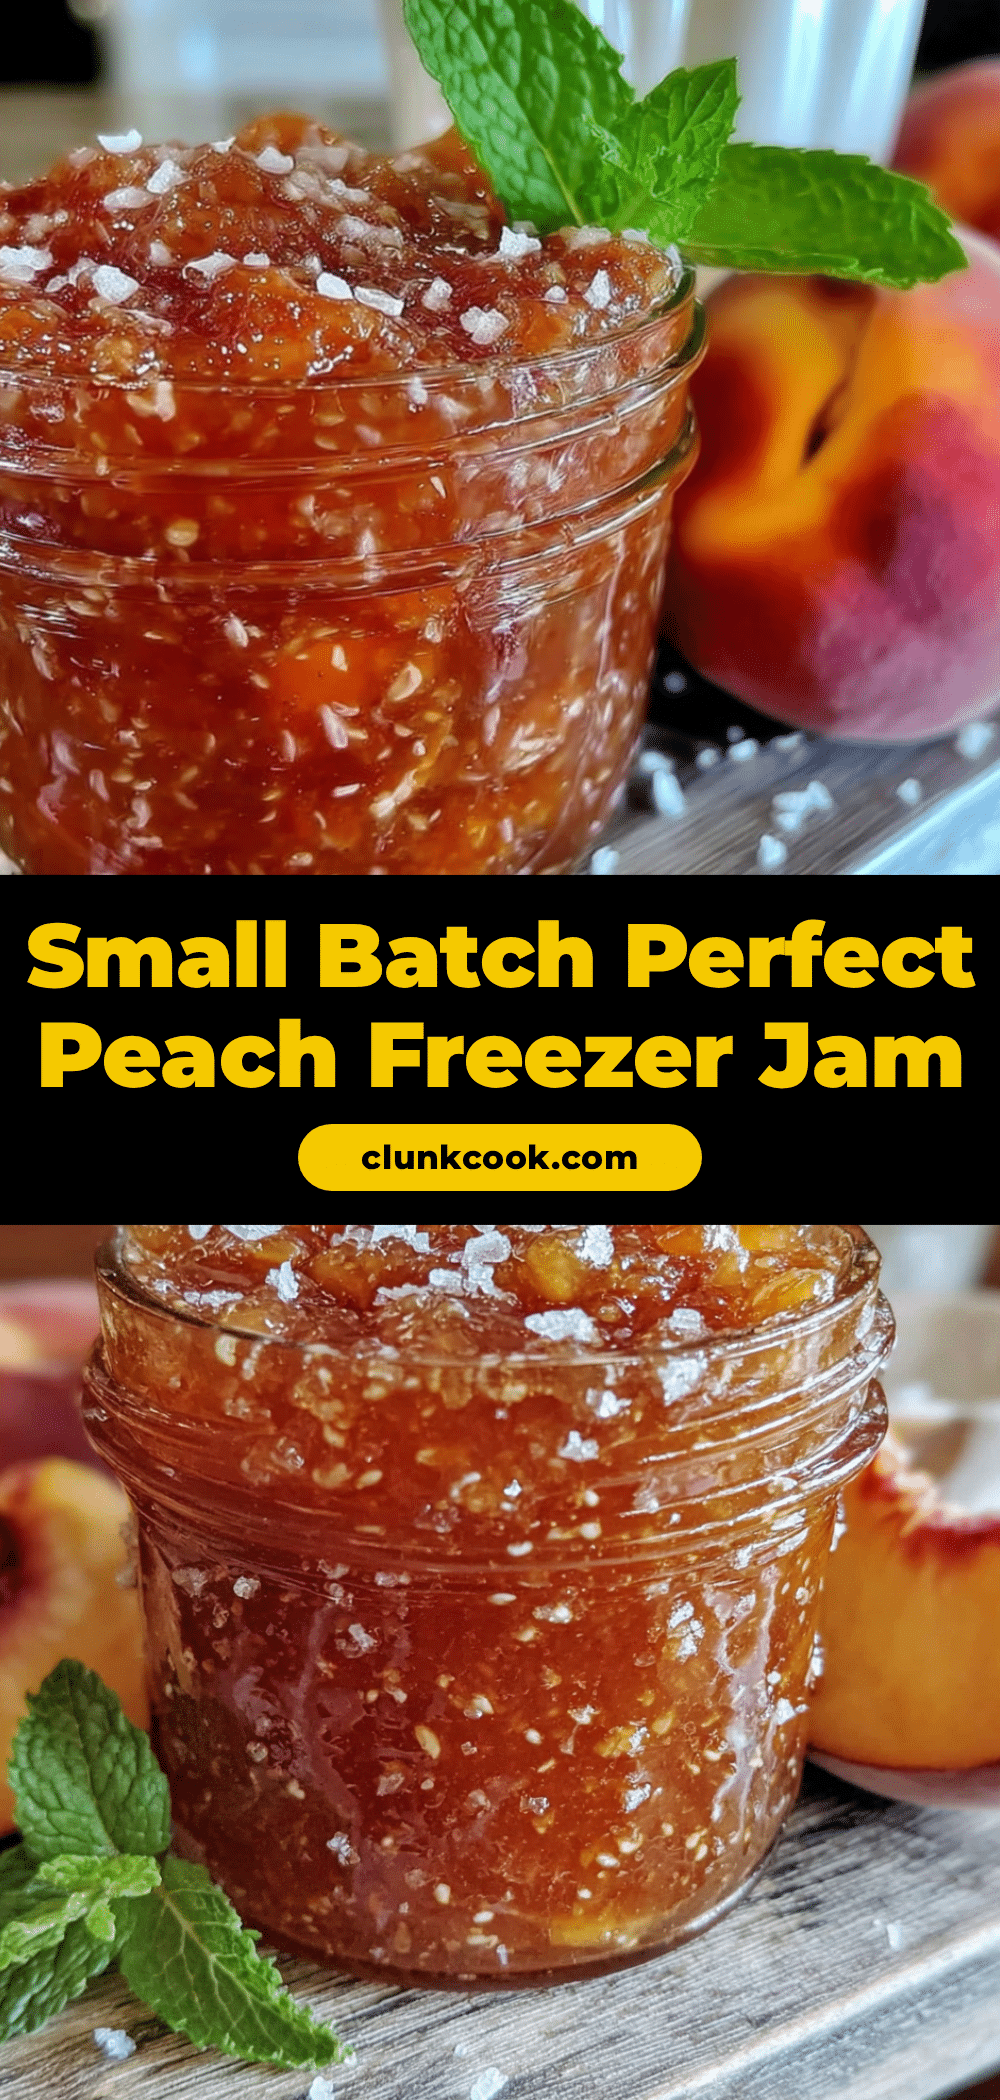
Easy Small-Batch Peach Freezer Jam (Best No-Pectin Recipe)
This easy small-batch peach freezer jam requires no pectin and no complicated water bath canning. Made with ripe peaches, sugar, lemon, and a little kitchen magic, it’s the perfect way to use up a fruit windfall and tastes like pure summer in a jar.
- Prep Time: 15 minutes
- Cook Time: 20 minutes
- Total Time: 35 minutes
- Yield: 3-4 half-pint jars 1x
- Category: Condiment
- Cuisine: American
Ingredients
- 2 pounds ripe peaches (about 5–6 medium peaches)
- 1 ½ cups granulated sugar
- 2 tablespoons fresh lemon juice
- 1 teaspoon vanilla extract (optional but recommended)
- Pinch of salt
Instructions
- Prep your peaches: Bring a pot of water to a boil. Score a small X on the bottom of each peach with a knife. Drop the peaches into the boiling water for 30-45 seconds, then transfer them to a bowl of ice water. The skins will slip right off. Cut the peaches in half, remove the pits, and chop them into small pieces—about ½-inch chunks. You should have about 4 cups of chopped peaches.
- Mash and combine: In your large pot, add the chopped peaches. Use your potato masher or a fork to mash them to your preferred consistency. I like mine a little chunky, so I leave some small pieces. Add the sugar, lemon juice, and salt. Stir everything together until the sugar starts to dissolve. Let the mixture sit for about 10 minutes—this helps draw out the peach juices.
- Cook the jam: Place the pot over medium-high heat and bring the mixture to a full, rolling boil. This means the bubbles keep rising even when you stir. Once it’s boiling, reduce the heat to medium and let it cook for 15-20 minutes, stirring frequently. The jam will darken slightly and start to thicken. Don’t walk away—jam can burn quickly if you’re not paying attention.
- Test for doneness: Here’s the trick I learned after my first failed batch. Grab that small plate from the freezer. Drop a tiny spoonful of jam onto the cold plate and let it sit for 30 seconds. Run your finger through the jam. If it wrinkles and holds its shape, it’s done. If it’s still runny, cook for another 2-3 minutes and test again.
- Add the vanilla: Once the jam passes the plate test, remove the pot from the heat. Stir in the vanilla extract. This is a step I add off-heat so the vanilla flavor doesn’t cook away. Give it a final stir and taste it. Adjust with a tiny pinch more salt if it tastes too sweet.
- Fill your jars: Let the jam cool in the pot for about 5 minutes—this helps it thicken slightly more and makes it easier to handle. Ladle the jam into your clean jars, leaving about ½ inch of headspace at the top. Wipe the rims clean with a damp paper towel and screw on the lids.
- Cool and freeze: Let the jars cool completely on the counter. This can take 1-2 hours. Once they’re at room temperature, pop them in the freezer. The jam will keep for up to 6 months frozen, or about 3 weeks in the refrigerator once opened.
Notes
Don’t skip the peeling step—peach skins can make the jam taste slightly bitter. Watch your heat carefully to avoid scorching. Trust the plate test, not your eyes; hot jam looks runny. Use ripe but not mushy peaches. Double the batch if you want, but don’t triple it. The jam will look runny when hot but will set as it cools. For best flavor, let the jam sit in the freezer for a week or two before using.
Nutrition
- Serving Size: 1 tablespoon
- Calories: 45
- Sugar: 10
- Carbohydrates: 11
- Fiber: 0.5
Keywords: peach freezer jam, no pectin jam, small batch jam, easy jam recipe, homemade jam, summer jam, peach jam


