Love this? Save it for later!
Share the inspiration with your friends
Last Saturday afternoon, I was reorganizing my cluttered bookshelf when my quiet neighbor, Mr. Jenkins—the kind of guy you’d never peg for a dessert enthusiast—started chatting about this incredible frozen treat he’d whipped up for his granddaughter. Honestly, I wasn’t expecting to get recipe tips from the guy who usually just waves hello from his porch, but there I was, jotting down the method for these Refreshing Frozen Strawberry Lemonade Bars with Layered Goodness. The sun was blazing outside, and the thought of something icy, sweet, and tangy was exactly what I didn’t know I needed.
Mr. Jenkins described how the bars had this perfect balance of tart lemonade and sweet strawberries, all layered over a buttery crust that somehow stayed crisp even after freezing. I made a bit of a mess trying to measure everything out while he patiently corrected my numbers (turns out, those little details matter more than I thought). Maybe you’ve been there—trying to recreate a dessert you heard about in the most unlikely of moments, hoping it turns out as good as the story sounds.
What stuck with me was how simple the ingredients were and how this unexpected recipe quickly became my go-to summer refreshment. I keep making these bars—not just because they taste amazing, but because they remind me of that sunny afternoon’s surprise conversation. Let me tell you, these bars are a real treat for anyone who loves that perfect combo of sweet and tart, especially on a hot day. If you’ve got a sweet tooth and a hankering for something cool and zesty, this recipe might just become your new favorite.
Why You’ll Love This Recipe
Having tested these Refreshing Frozen Strawberry Lemonade Bars with Layered Goodness multiple times, I can say with conviction this recipe is a winner for many reasons. From my experience, it’s a breeze to make, and the results have always impressed everyone I’ve served them to—no matter their age or preference.
- Quick & Easy: The whole recipe comes together in under 45 minutes, with most of the work done while the bars chill. Perfect for when you want a cool treat without spending hours in the kitchen.
- Simple Ingredients: You don’t need a special trip to the store. Strawberries, lemons, sugar, and some pantry staples like flour and butter are all you need.
- Perfect for Summer Gatherings: Whether it’s a backyard barbecue, a picnic, or just beating the heat on a lazy afternoon, these bars fit right in.
- Crowd-Pleaser: Kids, adults, picky eaters—everyone asks for seconds. The tart lemonade layer balances perfectly with the sweet strawberries.
- Unique Layered Texture: Unlike other frozen desserts, the distinct layers provide a fun texture shift from crumbly base to creamy lemonade and fruity strawberry topping.
This isn’t your average frozen lemonade bar. What makes it stand out is the layering technique and the freshness of the strawberries paired with real lemon juice. The crust stays firm but buttery, the lemonade layer is smooth and tangy but not overpowering, and the strawberry topping adds a burst of natural sweetness. Honestly, it’s the kind of dessert that makes you pause and savor each bite—close your eyes and imagine a summer breeze on a hot day.
What Ingredients You Will Need
This recipe uses simple, wholesome ingredients to deliver bold flavor and satisfying texture without the fuss. Most of these are pantry staples, plus fresh fruit that’s easy to find year-round.
- For the crust:
- 1 ½ cups (180g) all-purpose flour
- ⅓ cup (65g) granulated sugar
- ½ teaspoon salt
- ¾ cup (170g) unsalted butter, melted (I prefer Land O Lakes for its creamy texture)
- For the lemonade layer:
- 1 cup (240ml) fresh lemon juice (about 4-6 lemons; use Meyer lemons if available for a sweeter, less tart flavor)
- 1 ¼ cups (250g) granulated sugar
- 4 large eggs, room temperature
- 2 tablespoons (15g) all-purpose flour
- ½ teaspoon baking powder
- 1 tablespoon lemon zest (optional, for extra zing)
- For the strawberry layer:
- 2 cups (300g) fresh strawberries, hulled and sliced (in summer, swap with fresh; frozen works fine off-season)
- 2 tablespoons (25g) granulated sugar
- 1 tablespoon freshly squeezed lemon juice
Ingredient tips: If you want a gluten-free version, swap the flour in the crust with almond flour or a gluten-free blend. For a dairy-free option, try coconut oil instead of butter in the crust; it’ll add a subtle coconut touch. I’ve also played around with adding a pinch of ground ginger to the strawberry layer for a little warmth—totally optional but worth trying!
Equipment Needed
- 9×9-inch (23×23 cm) square baking pan – I like using a glass pan for even baking, but metal works too.
- Mixing bowls – a couple of medium and large ones for different layers.
- Electric mixer or whisk – to beat the eggs and mix the lemonade layer smoothly.
- Food processor or pastry cutter – helpful for making the crust crumbly without overworking.
- Citrus juicer – makes extracting fresh lemon juice faster and less messy.
- Spatula and wooden spoon – for folding and spreading layers evenly.
- Measuring cups and spoons – accuracy is key, especially with baking powder and flour.
If you don’t have a food processor, a sturdy pastry cutter or even two knives can break down the crust ingredients just fine. For juicing lemons, a handheld reamer works wonders and is budget-friendly. Keeping your butter slightly chilled before melting will help prevent greasiness in the crust, a trick I learned after one too many crumbly disasters.
Preparation Method
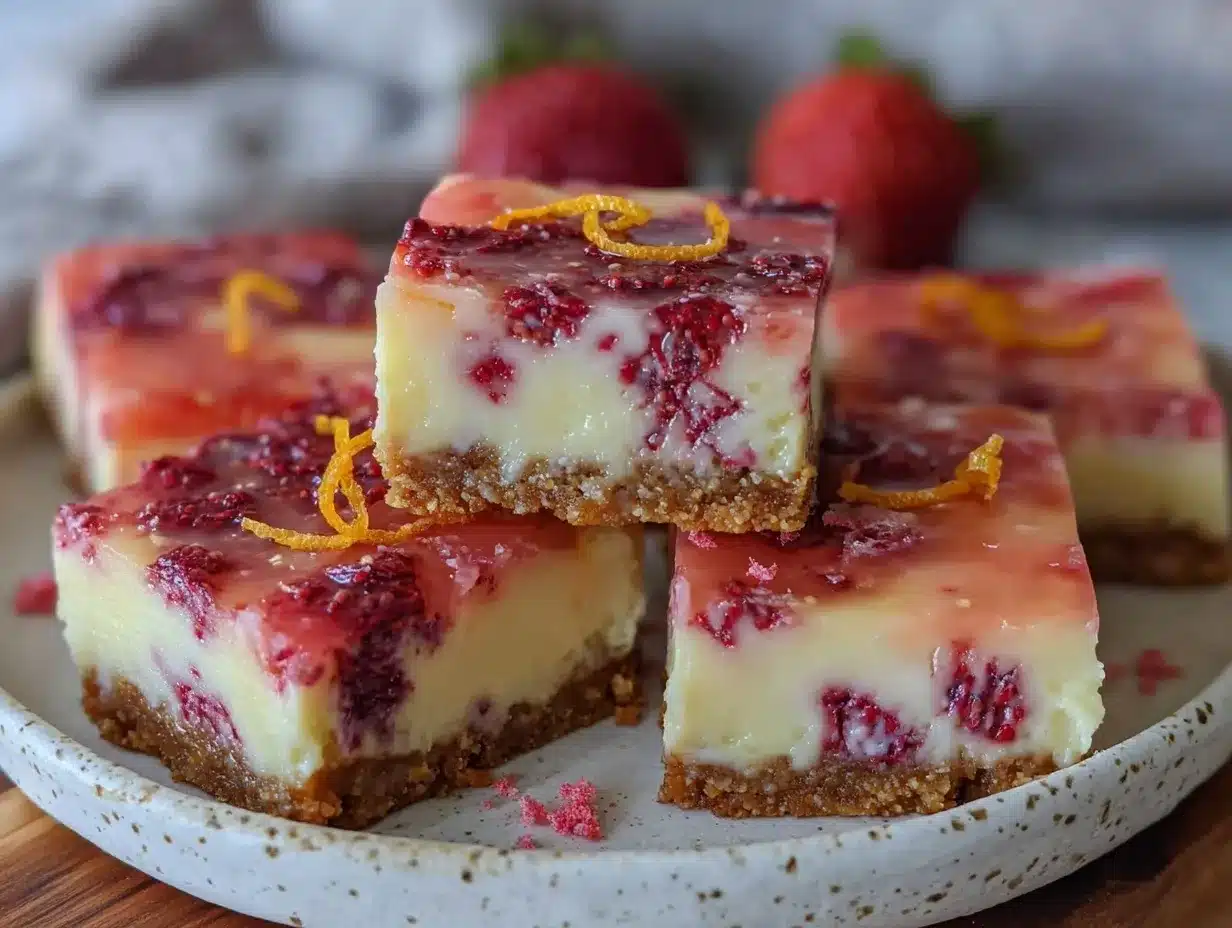
- Prepare the crust: Preheat your oven to 350°F (175°C). In a medium bowl, combine 1 ½ cups flour, ⅓ cup sugar, and ½ teaspoon salt. Pour in the melted butter and mix until the mixture resembles coarse crumbs. Press this evenly into the bottom of your 9×9-inch pan. Bake for 18-20 minutes or until golden brown along the edges. Let it cool while you prepare the next layer.
- Make the lemonade layer: In a large bowl, whisk together 1 cup fresh lemon juice, 1 ¼ cups sugar, and 4 eggs until smooth. Add 2 tablespoons flour, ½ teaspoon baking powder, and optional lemon zest. Mix well to combine. Pour this mixture over the cooled crust. Bake at 350°F (175°C) for 20-22 minutes. The center should be just set but still slightly jiggly. Remove and let cool completely.
- Prepare the strawberry topping: While the lemonade layer cools, combine the sliced strawberries with 2 tablespoons sugar and 1 tablespoon lemon juice in a bowl. Let them macerate for about 10 minutes, stirring occasionally. This draws out the juices and sweetens the berries naturally.
- Assemble and freeze: Once the lemonade layer is cool, spread the strawberry mixture evenly on top. Cover the pan tightly with plastic wrap or foil and freeze for at least 4 hours, preferably overnight. This step lets the flavors meld and the bars firm up.
- Serve: Remove from freezer about 10 minutes before slicing to soften slightly. Cut into 12 bars and enjoy the refreshing layers of tart lemonade and sweet strawberry goodness.
Pro tip: If your lemonade layer cracks a bit during baking, don’t worry—it still tastes amazing! Also, using room temperature eggs helps prevent curdling in the lemonade layer. I’ve learned that one the hard way. The key is not to rush the chilling step; patience pays off with perfect texture.
Cooking Tips & Techniques
Making these frozen strawberry lemonade bars is straightforward, but a few tried-and-true tips can make your results shine every time. From my kitchen experiments, here’s what I’ve picked up:
- Use fresh lemon juice: It makes a huge difference in flavor. Bottled lemon juice just won’t give you that bright, fresh zing.
- Don’t overbake the lemonade layer: It should be just set with a slight jiggle. Overbaking dries it out and ruins the texture.
- Let the crust cool fully: Pouring the lemon layer on a hot crust can cause uneven baking or sogginess.
- Macere the strawberries: This step sweetens the berries and creates a natural syrup that enhances the top layer’s flavor.
- Freeze uncovered for the first hour: Helps the surface set, then cover to prevent freezer burn.
- Use a sharp knife warmed in hot water: Makes slicing through frozen bars cleaner and less crumbly.
I once skipped macerating the strawberries and ended up with a dry, dull topping. Lesson learned! Also, multitasking by prepping the strawberry layer during baking saves time. Remember, a little patience with chilling is the secret weapon here.
Variations & Adaptations
This recipe is pretty flexible, so you can tweak it to suit dietary needs or flavor preferences. Here are some of my favorite twists:
- Vegan version: Replace eggs with flax eggs (1 tablespoon flaxseed meal + 3 tablespoons water per egg), use coconut oil instead of butter, and swap sugar for maple syrup or coconut sugar.
- Berry swap: Blueberries or raspberries work wonderfully in place of strawberries for a different berry twist.
- Herbal hint: Add fresh basil or mint finely chopped to the strawberry layer for a refreshing herbal note.
- Gluten-free crust: Use almond flour or a gluten-free baking mix for the crust. Just press firmly to hold together well.
- Extra creamy lemonade layer: Stir in a few tablespoons of cream cheese or Greek yogurt to the lemonade layer before baking for a richer texture.
One time, I swapped in blood oranges for lemons and added a touch of cardamom—it was unexpectedly fantastic. Feel free to experiment and make this recipe your own; it loves a little creativity!
Serving & Storage Suggestions
These frozen strawberry lemonade bars are best served cold but not rock solid—let them sit 10 minutes at room temperature before slicing. This lets the layers soften just enough for clean cuts and maximum flavor release.
For presentation, I love garnishing with whole fresh strawberries or a light dusting of powdered sugar. They pair beautifully with a tall glass of iced tea, sparkling water with mint, or even a light rosé for a grown-up twist.
Store leftovers tightly wrapped in the freezer for up to 2 weeks. When reheating, thaw in the fridge overnight or on the counter for an hour. Avoid microwaving, which can turn the bars mushy and ruin the layers.
Fun fact: the flavors actually deepen after a day or two in the freezer, so if you can wait, let them rest before enjoying. It’s worth it.
Nutritional Information & Benefits
Each bar offers a refreshing treat with about 180 calories, 8 grams of fat, 25 grams of carbohydrates, and 2 grams of protein. The fresh strawberries and lemons provide vitamin C and antioxidants, which support your immune system and skin health.
This recipe is naturally low in cholesterol and can be adapted for gluten-free or vegan diets. The moderate sugar level balances sweetness without going overboard, making it a better option than many store-bought frozen desserts.
From a wellness perspective, I appreciate how this recipe uses real fruit and fresh lemon juice instead of artificial flavorings. It feels like a little indulgence that’s still mindful.
Conclusion
These Refreshing Frozen Strawberry Lemonade Bars with Layered Goodness are a summer staple in my kitchen now. They’re easy to make, taste amazing, and bring back that unexpected chat with Mr. Jenkins that brightened a slow Saturday afternoon. I hope you enjoy making them as much as I do.
Feel free to swap ingredients or add your favorite twists—this recipe is forgiving and fun. If you try it, I’d love to hear how you customized your bars or any tips you picked up along the way.
Go ahead, treat yourself to a slice of sunshine and let these bars bring a little cool joy to your day. Don’t forget to share your experience or questions below—I’m always eager to chat about good food!
Frequently Asked Questions
Can I use frozen strawberries instead of fresh?
Yes, frozen strawberries work fine. Just thaw and drain any excess liquid before using to avoid soggy topping.
How long do the bars keep in the freezer?
They keep well for up to 2 weeks when wrapped tightly. For best texture, consume within that time.
Can I make these bars ahead of time for a party?
Absolutely! Make them a day or two in advance and keep frozen until serving. Just remember to let them soften slightly before cutting.
Is there a way to make the crust more crunchy?
Use chilled butter and press the crust firmly into the pan. Baking it until golden also helps maintain crunch after freezing.
Can I substitute the sugar with a natural sweetener?
You can try honey, maple syrup, or coconut sugar, but results may vary slightly in texture and sweetness. Adjust quantities to taste.
Pin This Recipe!
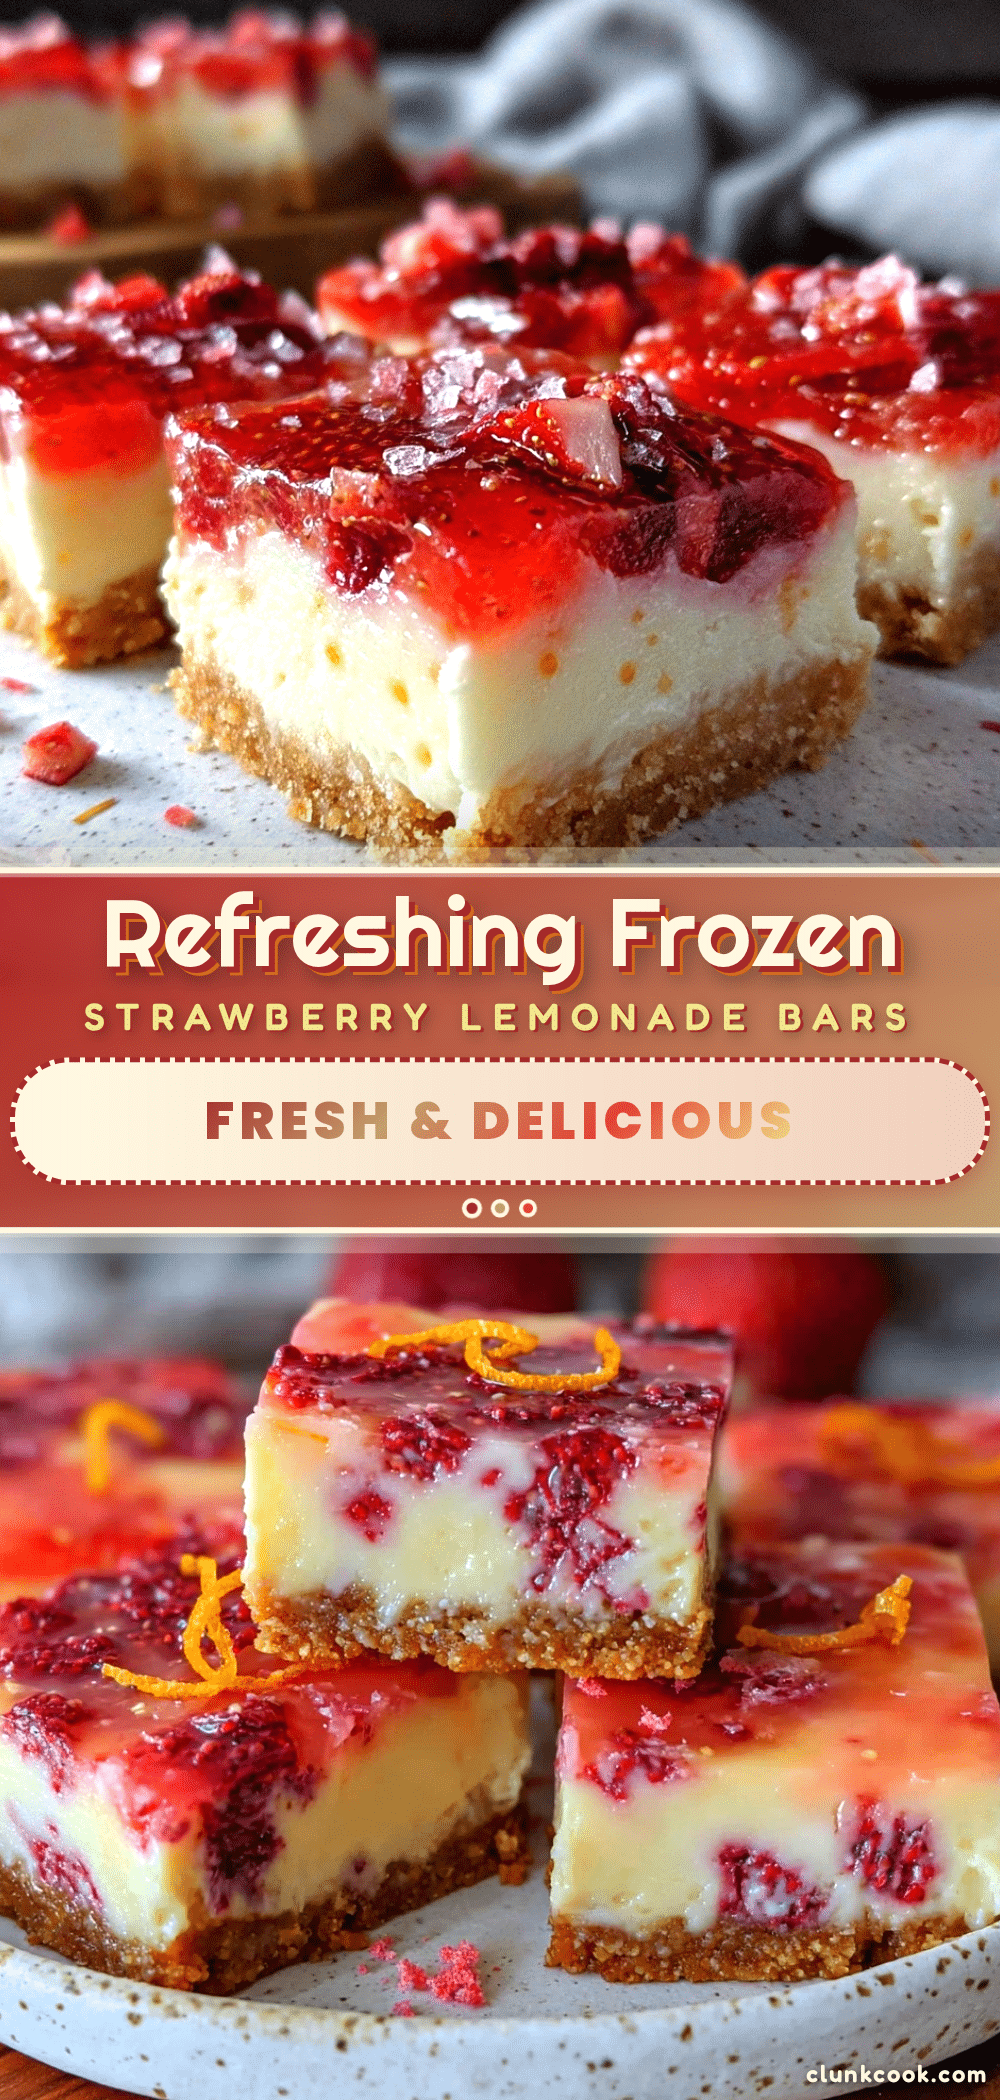
Refreshing Frozen Strawberry Lemonade Bars

A layered frozen treat combining a buttery crust, tangy lemonade layer, and sweet strawberry topping, perfect for summer refreshment.
- Prep Time: 15 minutes
- Cook Time: 40 minutes
- Total Time: 4 hours 55 minutes
- Yield: 12 bars 1x
- Category: Dessert
- Cuisine: American
Ingredients
- 1 ½ cups (180g) all-purpose flour
- ⅓ cup (65g) granulated sugar
- ½ teaspoon salt
- ¾ cup (170g) unsalted butter, melted
- 1 cup (240ml) fresh lemon juice (about 4–6 lemons)
- 1 ¼ cups (250g) granulated sugar
- 4 large eggs, room temperature
- 2 tablespoons (15g) all-purpose flour
- ½ teaspoon baking powder
- 1 tablespoon lemon zest (optional)
- 2 cups (300g) fresh strawberries, hulled and sliced
- 2 tablespoons (25g) granulated sugar
- 1 tablespoon freshly squeezed lemon juice
Instructions
- Preheat oven to 350°F (175°C). In a medium bowl, combine 1 ½ cups flour, ⅓ cup sugar, and ½ teaspoon salt. Pour in melted butter and mix until coarse crumbs form. Press evenly into bottom of 9×9-inch pan. Bake 18-20 minutes until golden brown. Let cool.
- In a large bowl, whisk together 1 cup fresh lemon juice, 1 ¼ cups sugar, and 4 eggs until smooth. Add 2 tablespoons flour, ½ teaspoon baking powder, and optional lemon zest. Mix well. Pour over cooled crust. Bake at 350°F (175°C) for 20-22 minutes until center is just set but slightly jiggly. Cool completely.
- Combine sliced strawberries with 2 tablespoons sugar and 1 tablespoon lemon juice. Let macerate for 10 minutes, stirring occasionally.
- Spread strawberry mixture evenly over cooled lemonade layer. Cover tightly with plastic wrap or foil and freeze at least 4 hours or overnight.
- Remove from freezer 10 minutes before slicing. Cut into 12 bars and serve.
Notes
Use fresh lemon juice for best flavor. Do not overbake the lemonade layer; it should be slightly jiggly. Let crust cool fully before adding lemonade layer to avoid sogginess. Macerate strawberries to enhance sweetness. Freeze uncovered for first hour, then cover to prevent freezer burn. Warm knife in hot water for clean slicing. For gluten-free crust, substitute flour with almond flour or gluten-free blend. For dairy-free, use coconut oil instead of butter.
Nutrition
- Serving Size: 1 bar
- Calories: 180
- Fat: 8
- Carbohydrates: 25
- Protein: 2
Keywords: frozen strawberry lemonade bars, summer dessert, layered bars, frozen treats, strawberry lemonade, easy dessert, refreshing dessert


